
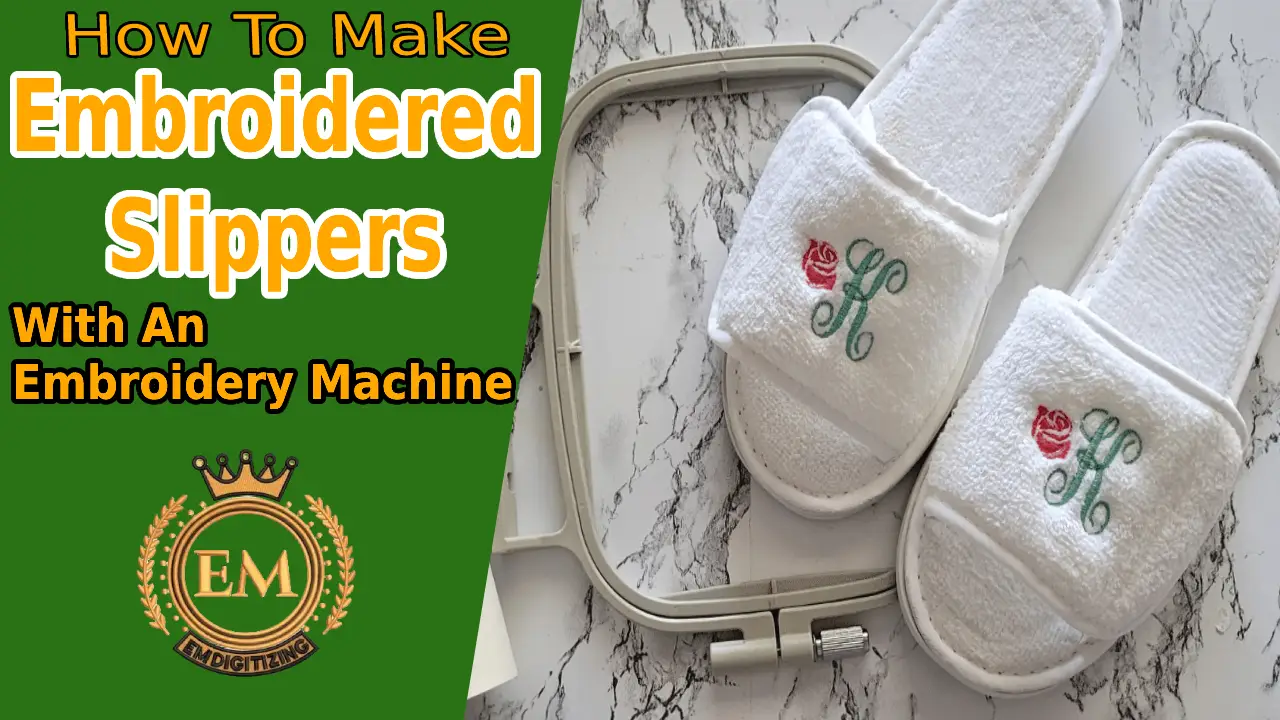
Embroidery On Custom Slippers
- Embroidery is everywhere. This means this artwork is not only confined to the fabric. You can embroider on your favourite bags, shoes, garments, caps, hoodies, pillows, other accessories and a lot more. Here’s not the end of the list.
- Embroiders follow a set of patterns but many of them go to create their design based on their inspiration.
- If you are an artist by nature and have your embroidery machine, now you can decorate your world. In this part, we will explain the embroidery supplies needed for embroidered slippers.
- Some of you got afraid because it might be difficult to access the inside of the shoe to stitch and hoop for machine embroidery. But with us, you can get easy access to the tips to reach your target of embroidered slippers. Let’s start!
Tools And Supplies Needed To Embroider Slippers
If you haven’t thought about embroidering your slippers, this post is for you. First thing you need to have a couple of tools and supplies vital for making embroidered custom slippers. Stay active while choosing the best supplies for your projects of embroidered slippers and others.
What you need:
- Slippers
- Embroidery floss
- Needle
- Stabiliser
- Water soluble topping
- Measuring tools
- Scissors
- Marking pen
- Embroidery machine
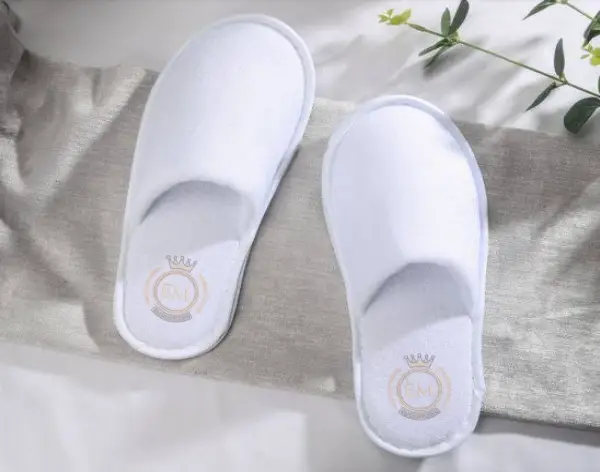
1-Slippers
The selection of slippers is entirely up to you. It’s your choice whether you want embroidered slippers for your housework or something like hostel slippers etc. Secondly, the choice of slippers is linked to the embroidery machine you have. For example, if you are using a multi-needle embroidery machine with a free arm. Your slippers should be fitted to the arm. But in case you want to embroidered slippers for housework. You can easily go with the single-needle embroidery machine.
Look for slippers with soft fabric(foamy material)and hooks that are cosy to wear and embroider.
2- Embroidery Floss/Thread
- All of the amazing art that is created by the embroidery machine is entirely due to the thread and needle you have used. Embroidery threads come in a variety of weights. In the case of slippers, you only embroidered the tiniest design on a small area. The weight of the thread generally means the thickness of that thread.
- The 30-weight thread is heavier and wouldn’t give a clear look with the small design in the case of embroidered slippers.
- 40-weight thread is recommended for making embroidered slippers and it may be polyester, cotton or rayon embroidery thread.

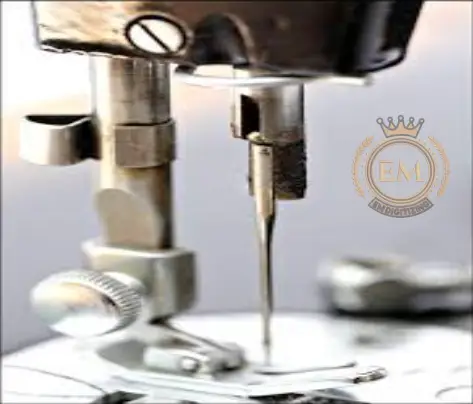
3- Needles
75/11 is considered a universal embroidery needle for the majority of embroidery applications. It works well with polyester thread. But depending upon your design and slippers, you can use sharp needles in your embroidery machine that differ in size.
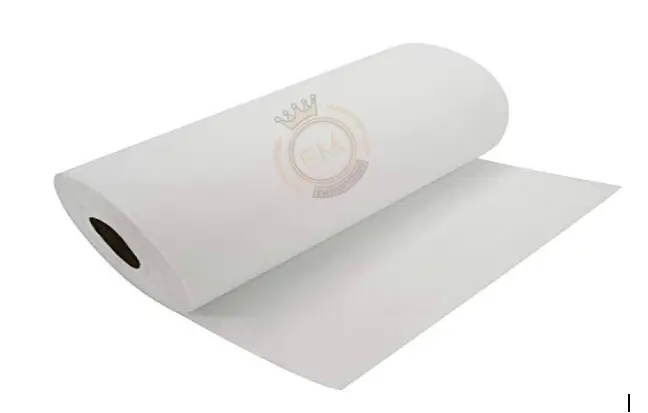
4- Stabilizer
- You all are familiar with the function of the stabilizer in the embroidery. In embroidering slippers, the role of the stabilizer is to Keep the straps of the slippers moving around during embroidery because it is not an easy way to hoop the straps during embroidered slippers.
- Precaution should be needed while dealing with stabilizers. Because slippers are made up of soft fabric, the use of a stabilizer can damage the stuff when it is removed roughly. It is recommended to use and then remove the stabilizer nicely from the embroidered slippers at the end. Commonly used stabilizers for embroidered slippers are given below. You can change your preference according to the stuff.
- Tear-away
- Wash-away
5- Other Tools
Marking pens, scissors, topping etc. Above mentioned tools should be utilised nicely to give a final look to your embroidered slippers.
Start Embroidered Slippers With The Machine
Are you ready to do something exclusive? Let the process begin.
Step 01- Mark The Area On the Slippers For Embroidery
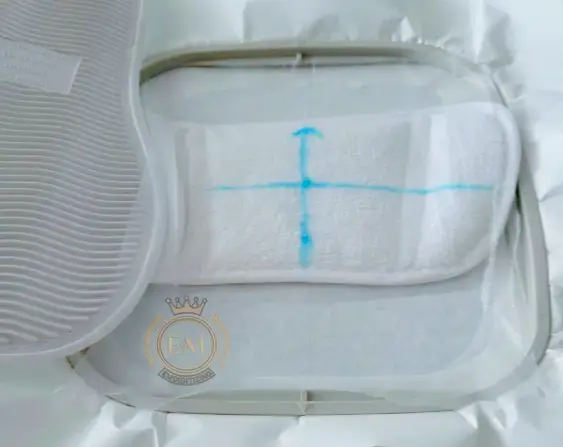
- It is obvious from the above-mentioned statement that you need to mark the target area first on your slipper. There are water-soluble marking pens available for this purpose.
- Mark the centre ( horizontally or vertically) of the slippers where you want to embroider.
- To make it vertically, line up your design with slippers at the top. Don’t allow it to follow the toe portion of the slipper.
- Make sure to clear the embroidery machine head and presser foot regularly.
Step 02- Fix The Slipper To The Stabilizer
- In this step, hoop the Stabilizer of your own choice and remove the paper layer.
- Mark a line to the centre with a pencil that helps to line up the slippers.
- To set proper orientation, place enough embroidery blank outside of the embroidery machine to get a fine result and to avoid stitching errors.
- After that, place the centre of the marked slippers on the marked stabilizer.
- Then cut the piece of water-soluble topping and put it over the slippers. It will stick to the stabilizer.
- To avoid any disruption while moving the embroidery machine, tape the slippers to the side of the hoop.
Step 03- Get Your Embroidery Machine Ready
- Place a hoop into the embroidery machine and load the embroidery design of your own choice. (file containing letters, floral design and whatever you want)
- When you hoop your slippers, rotate the design to match this orientation.
- Line up your needle in the centre of the design.
- Don’t forget to ensure that your embroidery machine is not running into the sole of embroidered slippers.
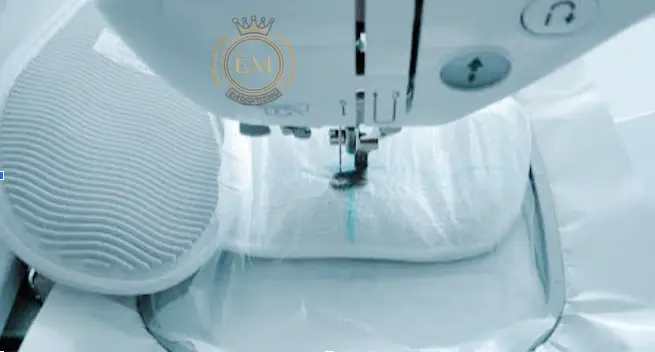
Step 04- Start Embroidering
- Press the start button and watch your embroidery machine actively.
- Don’t allow the rubber sole of the slippers to stick under the presser foot of the embroidery machine.
Step 05- Give Your Slippers A Final Look
- Once you have done this, remove the hoop from the machine.
- Then rip up the adhesive stabilizer nicely to avoid any damage to the delicate interior loops of embroidered slippers.
- Trim the excess thread from the back of the design.
- Remove excessive topping and marking pens by placing embroidered slippers under the running water.
- Let it dry. Now you have your own embroidered slippers to add to your wardrobe. This is the end of the process of making embroidered slippers.
Conclusion
Hopefully, this article will boost your mind and let you wonder about the new and best ideas to decorate your slippers of any type. What you need to do is to follow these steps carefully for embroidered slippers. If you know how to deal with the supplies and embroidery machines, you will be able to achieve marvellous results. So if you are hunting to do something interesting, embroidery on slippers is the best option to choose. Once you have done this, you will become addicted to doing this more and more.


