
Embroidery designs can add that perfect touch to your projects, but if they’re not properly centered, they can throw off the entire look. Center embroidery designs are crucial for achieving a professional finish that catches the eye and elevates your work.
Let’s take a closer look at why centering is so important and the benefits it brings.
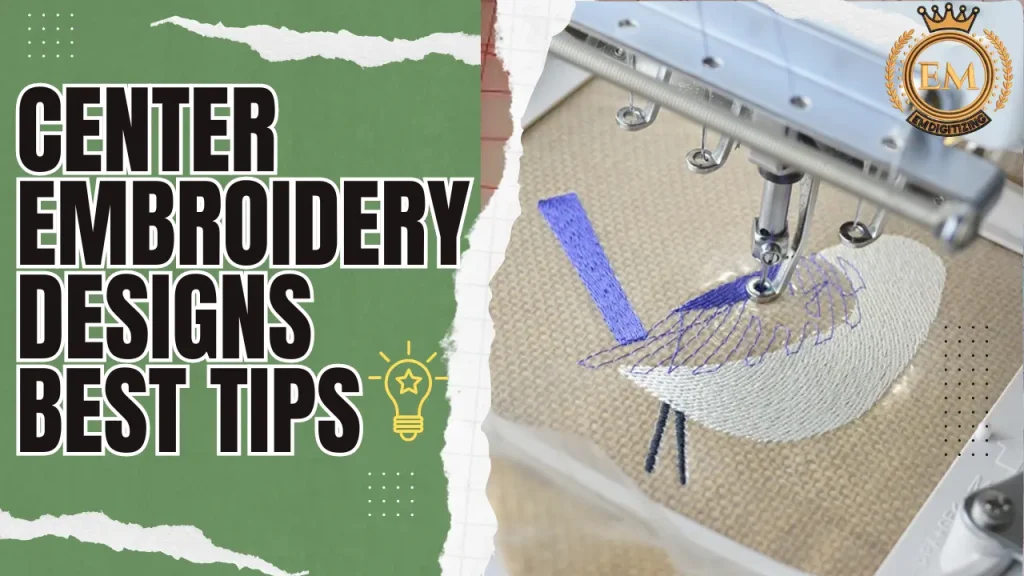
Center Embroidery Designs Best Tips
Why Center Embroidery Designs Is Crucial For A Professional Finish?
Imagine a beautifully embroidered design that’s slightly off-center.
It’s like wearing mismatched socks or a crooked tie – it just looks off.
Centering your machine embroidery designs ensures that the focal point is perfectly positioned, drawing attention and creating a visually pleasing balance. It’s all about that symmetrical appeal that gives off an air of professionalism.
Preparing The Fabric And Embroidery Hoop
Get your fabric and hoop ready with these easy tips for center embroidery designs, making your crafting smoother and more precise.
Selecting The Appropriate Fabric For Embroidery
Choosing the right fabric for your embroidery project is key to achieving a perfectly centered design. Go for a fabric that’s stable and doesn’t stretch or distort easily.
If you choose something like stretchy spandex, your design might end up looking more like a Picasso painting than a clean and centered masterpiece.
Opt for fabrics like cotton or linen that are sturdy and ready to be adorned with your embroidery prowess.
Choosing The Right Embroidery Hoop
The embroidery machine hoop is like the frame for your design, so it’s essential to choose the right one. Make sure the hoop is large enough to comfortably fit your fabric with a bit of extra room around the edges.
This allows you to maneuver your fabric without restricting the centering process. Remember, you want to create embroidery magic, not wrestling moves.
Marking The Center Point On Fabric
Now mark the center point on your fabric:
Finding The Center Of The Fabric
Finding the center of your fabric is like finding the center of attention at a party – it’s all about precision and confidence (and a little bit of instinct).
Fold your fabric in half lengthwise and widthwise, making sure the corners match up perfectly. The intersection of these folds marks the center of your fabric. Voila! You’ve found the bullseye for your embroidery masterpiece.
Techniques For Marking The Center Point
Now that you’ve found the center of your fabric, it’s time to make it official with some markings. You can use various tools like fabric markers, chalk, or even a tiny embroidery machine hoop dance routine (just kidding, stick to the markers).
Make a small dot or a cross at the center point to guide your placement later on. It’s kind of like leaving breadcrumbs, but way more useful and less likely to attract hungry woodland creatures.
Adjusting The Embroidery Design For Centering
Once you mark the design, it’s time to adjust the design for proper center embroidery design:
Resizing The Design As Needed
Before you start stitching, take a good look at your design and make any necessary adjustments. If your design is too large to fit within the boundaries of your hoop, it’s time to do some resizing.
With the help of your embroidery software or machine, shrink the design down until it fits snugly within the hoop.
You don’t want your design throwing a temper tantrum and demanding more space than it needs.
Centering Embroidery Design Within The Hoop
Now comes the fun part – centering your design within the hoop. Use the markings you made on your fabric as a guide. Align the center of your design with the center point on the fabric.
Adjust it with the precision of a surgeon until it looks just right. Take a step back and admire your work. You’re like the Michelangelo of machine embroidery – well, maybe not exactly, but close enough.
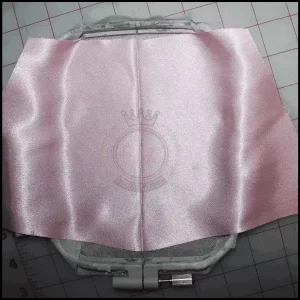
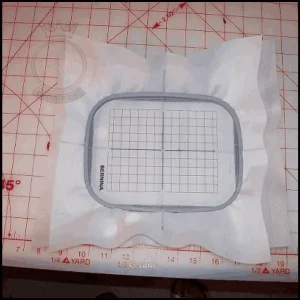
Hooping The Fabric And Stabilizing
When it comes to machine embroidery, hooping the fabric is like giving it a big, snug hug. It’s important to do it right to ensure a beautifully centered design.
To start, position your fabric in the embroidery hoop, making sure it is taut and wrinkle-free. Think of it as getting your favorite t-shirt ready for a night out – smooth and stylish.
Properly Securing The Fabric In The Hoop
Just like a good hair tie, you want to make sure your fabric is securely fastened in the hoop.
Tighten the hoop screws firmly enough to keep the fabric in place, but not so tight that it’s gasping for air. We don’t want any fabric fainting spells, do we?
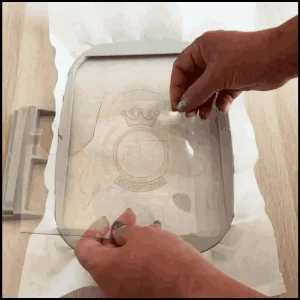
Adding Stabilizer For Support
Now that your fabric is locked and loaded in the hoop, it’s time to bolster it with some stabilizer. Think of a stabilizer as the trusty sidekick to your fabric, providing support and preventing any unsightly puckering.
Choose the right stabilizer based on your fabric type and hoop it up alongside your fabric. It’s like putting a superhero cape on your embroidery project.
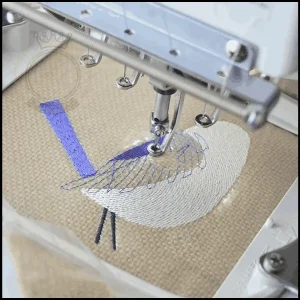
Machine Embroidery Process For Center Embroidery Designs
Now that everything is in its right place, it’s time for the main event – the machine embroidery process. Prepare yourself, dear embroiderer, for some serious magic.
Setting Up The Embroidery Machine
Get your machine ready to rumble by attaching the embroidery hoop securely.
Make sure your machine is set to the appropriate settings for your design, like thread color, stitch density, and stitch length. We’re not just sewing here; we’re creating a masterpiece!
Executing The Embroidery Process
Hit that start button and watch as your machine takes over, transforming your marked design into a stunning embroidered creation.
It’s like having your very own personal assistant, but one that sews instead of fetching coffee. Sit back, relax, and enjoy the show as your design comes to life stitch by stitch.
Final Verdict
So there you have it, the step-by-step process of how to center embroidery designs during machine embroidery.
With a little hooping finesse, design alignment prowess, and some machine embroidery magic, you’ll be creating perfectly centered masterpieces in no time.
Happy stitching!
EMdigitizing: Leading Embroidery Digitizing Expert
If you are interested in any kind of embroidery project, then EMdigitizing is the best option for you. We offer embroidery digitizing and vector art services with a fast turnaround time. You can also visit and check our website as well as our best services.
We also offer a great 50% discount on all our services for our respected first-time clients. We also offer free quotes generated in just 5 minutes.
You should grab this limited-time offer and take your embroidery project to the next level with EMdigitizing.
If you’ve any queries regarding this topic, you can ask them. Thank you for taking the time to read this article.
Frequently Asked Questions:
To improve embroidery quality, ensure you’re using the right needle and thread for your fabric, maintain proper tension in the thread, and use a stabilizer to keep the fabric taut and stable during embroidery.
Good embroidery design requires selecting the right colors and thread types, understanding the fabric’s properties, and using a well-digitized design that suits the material and purpose of the embroidery.
To fix machine embroidery mistakes, carefully remove the erroneous stitches with a seam ripper or small scissors, being cautious not to damage the fabric. Then, re-hoop the fabric and re-embroider the corrected design.
Embroidery might not be smooth due to issues like incorrect thread tension, using the wrong needle or thread, improper stabilization of the fabric, or a problem with the embroidery machine’s settings.


