
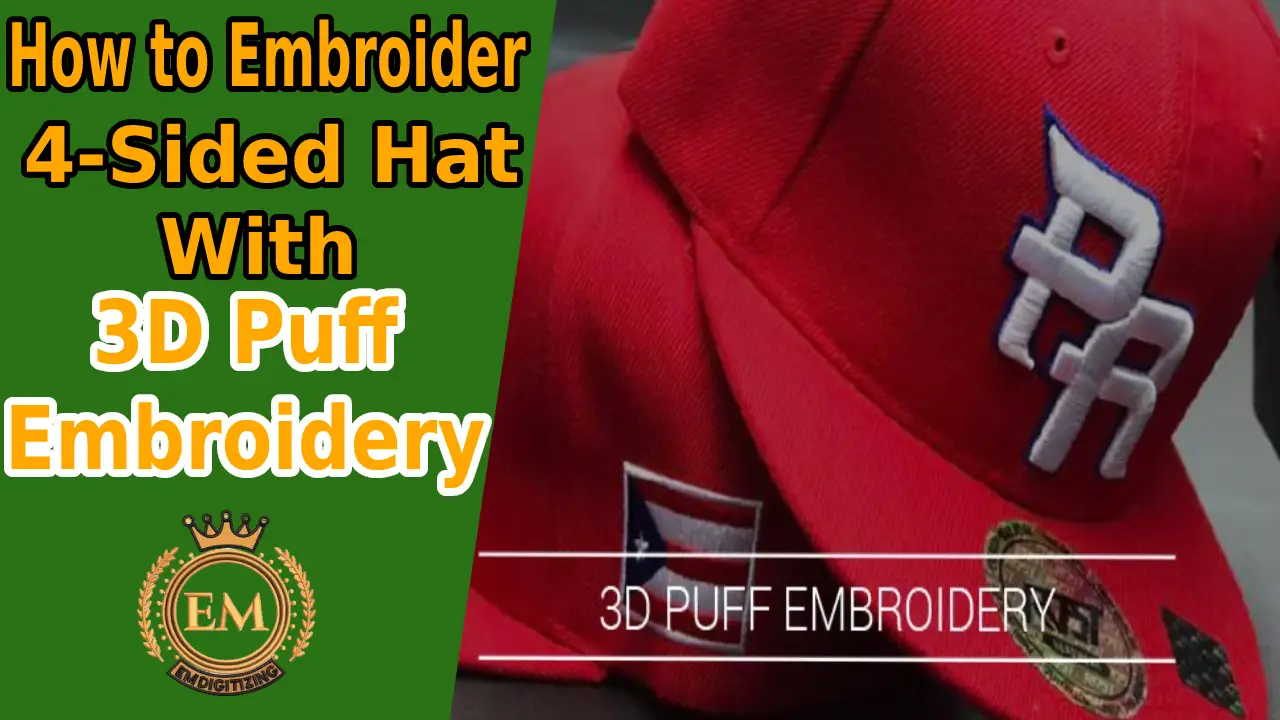
3D Puff Embroidery
 3D puff embroidery is a kind of embroidery in which objects/figures are raised from the base to give a 3 dimension look.
It is obvious from the name that 3D puff embroidery enables the design to be puffed out or bold which can be seen from a far distance. In 3D puff embroidery, foam is used between the hat and the embroidery. That after stitching allows the puff to be secured in place. This foam comes in a variety of thicknesses ranging from 2mm-3mm. Once you complete sewing, the 3D puff is removed from the design but your design remains Intact on custom caps, hats, garments and other apparel items. You can hide this foam by using the same colour thread or by applying multiple thread stitches.
Note: You are advised to avoid using stiff foam because at the end of the process you have to remove it. If this foam is hard, it will be difficult to remove and it will deteriorate your embroidery.
The raised portion of 3D puff embroidery can be any letter, logo, or other design on your hats or apparel. So the people who want to advertise their brand, and demand high-quality hats for sports, couple hats, and uniform caps can go to have 3D puff embroidery on their hats or apparel by embroidering puffed logos, designs or other symbols etc.
Choice and Location of the 3D Puff Embroidery Design on Hats
3D puff embroidery is not only confined to the front side of the hat. You can sew it on the left front panels, on the sides and also on the back side of the cap. But it can be tricky as in 6-panel hats seams run down the centre of the embroidered area. It is vital to ensure the choice of the correct style for 3D puff embroidery design. Due to the thick or raised appearance, 3D puff embroidery occupies more space on the hat and there is limited space on the sides of the cap. The best position to apply 3D puff embroidery is on the front or back of the cap. Use of round or block-shaped letters(0.25-0.33inch wide)for 3D puff embroidery is recommended. For creating artwork, try to use round corners where your needle perforates the design and foam completely for stitching.
Steps of the embroidered hat with 3D puff embroidery
Let’s walk through the steps of an embroidered hat with 3D puff embroidery.
Step 1- Put together the required materials
Pick up the Hat-The first step in 3D puff embroidery starts with the selection of hats up to your choice. Tons of hat designs are freely available on the internet. You can choose what you want to wear either baseball caps, dad hats, flat bill hats, sports hats etc. The structured hat is my choice for 3D puff embroidery to achieve high-quality results.
Embroidery Needle(use the needle that allows multiple strands of threads to pass on.)
Embroidery Thread
Make sure to use a wide range of thread colours. It is an important part of any type of embroidery.
Foam– used to give a 3D look to your design. Use white or black foam of 2-3mm thickness.

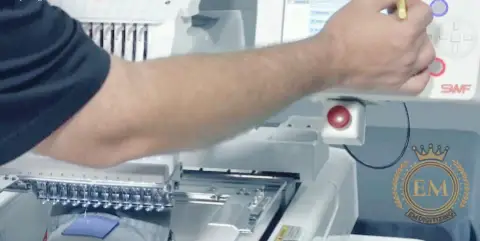
Embroidery Machine
It is the same kind of machine used for other types of embroidery. This machine comes in many varieties of sizes.
Computer and Software
These are used to digitize the design for 3D puff embroidery before file transfer to the machine.
Embroidery Hoops
Place your hat over the hoop to keep it in place before locking it into the machine. These hoops were moved during embroidery by the machine to create the design.
Adhesive Spray
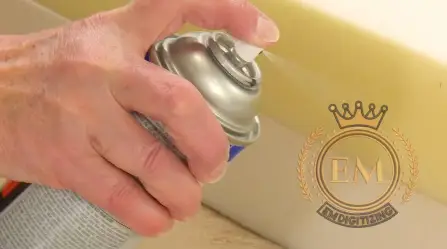 It is used to adhere the foam in the target place during 3D puff embroidery.
Heat gun or sharp tweezers
Used to tear off the excess foam from the 3D puff embroidery design or to heat the foam so it will be removed easily at the end of an embroidering hat with 3D puff embroidery.
Step 02: Digitize a Design for 3D Puff Embroidery and Transfer it to the Machine
After picking up the hat, the next step is to create the design. Let’s take the example of the block letter T. There are some basic rules you have to follow for digitizing letters in the case of 3D puff embroidery.
- First of all, convert letters from text to segments in vector form by using a break-apart tool from the software. Make three pieces of the letter T and give them different colours according to your convenience.
- Check the sequence view to see the run stitches in each segment and to remove excess stitches if required.
- Draw the outline of the letter with a run stitch and change this stitch to 1.5milimeters and convert it into a bean stitch that is run multiple times as required in 3D puff embroidery. It runs 1 stitch forward and 2 stitches backwards, often called a triple run.
- Then make sure the start point of each segment is at the beginning point of the endpoint of the previous segment. Line up the dots for each piece and make sure they are not overlapped with the next segment.
- Now extend your stitch on the pull area of your letter to ensure that it will cover the foam when you finish your 3D puff embroidery.
- Then add a zig-zag underlay inset distance of 2mm so it will not mesh down the foam and increase density to 75%.
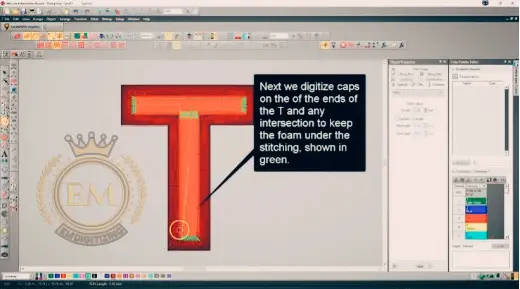
- Start first with your bottom segment to create a cap with a satin stitch at the open end of the letters that should be of the same colour as the colour of the letter to hide the edges of the foam and hold it inside the letter.
- Make sure your anchors and nodes are on the right edge of the outline. Create a cap on one side of the segment and add a run stitch to the other side of the segments and repeat the process until a cap is formed on each side of the open end of the segments. Then create a run stitch that runs parallel to the original stitch created around the whole letter. Do the same process with the top piece of the cap as you did with the bottom piece of the segment.
- Go to the top end and add caps at the open ends with a run stitch to connect two caps.
- Now your design is ready and you can print it out to see the exact size of the embroidery. Or you can now save it as a DST file and transfer it depending on the type which machine can read the design file and enter elements as orientation and thread colour sequence and set the machine to manual/automatic mode.
Step 03- Add a Hoop
Now I’m going to attach cap hooping to the machine. On the top of the hoop, there is a small plate with a line where I’m going to line up in front of the cap. Pull out the sweatbands from underneath the cap and secure the place with a band and hoop the cap to the machine.
Step 04- Add 3D Embriodery Foam
Once you have done the embroidery, now cut the piece of foam. Cut the foam one-half inch bigger than the finished embroidery. Sometimes you need to make adjustments to the size.
Thick foam enables the 3D puff embroidery design to stand up off the hat. It is important to change the colour during 3D puff embroidery. Once you complete working with one colour, stop your embroidery machine. Then cut off the piece of foam large enough to cover the rest of the design and repeat the process for different colours. The foam colour should be close to the colour of the thread used for stitching the 3D puff embroidery design. Foam comes only in a basic colour that couldn’t be matched with every thread colour. So people generally use white colour foam for light colours and black foam for all dark colours.
Step 05- Start the Machine
Next, we press the start and machine embroidery and go to work on sewing on the 3D puff embroidery foam. Outline the area of foam then sew a satin stitch so it can cut the foam to easily put it off. The puffy portion should be sewn at the end. First, sew all the flat sections around the foam. As the needle penetrates, it creates the whole and excess foam will be pulled away. Now stop the machine to tear off the excess foam and complete the rest of the embroidery to cover the foam. Make sure the part of the design must be bulky so that foam can work over it to give it a 3D look.
Important Note:
- Avoid embroidering over the puff because it will flatten the puff.
- Graphing lines between letters should be between 3mm to 10mm thick because more thickness will give a more puffy or 3D effect.
- If you are using more than one letter on your 3D puff embroidery cap, spacing between them should be considered because foam causes the shape to expand and lessen the spacing so that letters will touch each other if there is not enough spacing.
- Capping Objects should be used to place the foam and to avoid foam from bulging at the edges. There is no need for an underlay and the space between stitches should be 0.16mm.
Finalized your Work
When the embroidery machine completes its job, excess foam can be used. Use sharp tweezers to tear off the foam. And the use of a heat gun will shrink the small fragments of foam and they will disappear from the embroidery to reveal the look of your 3D puff embroidery logo/letter on your cap.
Conclusion
Here’s the end of the post. I’m pretty sure that you will like the process of embroidering a cap with a 3D puff embroidery look. Many people are not doing 3D puff embroidery. It might be tricky at initial but practice makes the man perfect. People not only want to have this embroidery on caps, but they also use trousers, t-shirts and bags etc. You are advised to follow these steps to obtain magical results and to please your customers too. If you will add this 3D puff embroidery into your business, more customers rush towards you along with their family and friends. Hence, your embroidery business will shoot up abruptly.


