
What is an Embroidery Machine?
The term “machine embroidery” refers to the process of making a pattern on a textile of one’s choice using a sewing machine or an expert embroidery machine. It is commonly used commercially, as it is an excellent tool for branding products or uniforms, but it can also be used to create patterns for purely decorative purposes. There are two main types of machine embroidery: free motion and computerized.
With free-motion machine embroidery, designs are made using the basic zig-zag sewing machine, but this can be quite limited. It is also labor-intensive and time-consuming, as the embroiderer is required to manually design the different sewing machine settings.
On the other hand, as the name implies, computerized machine embroidery is controlled by computers. These industrial and commercial embroidery machines, as we use them here in Custom Planet, have a hooping or framing system that holds the embroidered part of the fabric under the sewing needles. The area is then automatically moved by machine to create designs from pre-programmed digital embroidery patterns.
Many machines in the market vary in size, from a single needle to multi-needle machines. Let’s take a brief look at each of these types of machines:
Single Needles
Single-head embroidery machines are normally more user-friendly and are primarily used for basic sewing and digital embroidery designs. Can you guess why it is called a single needle machine? Because only one needle stays in place while the embroidery arm moves on the flatbed and embroiders the design you choose.
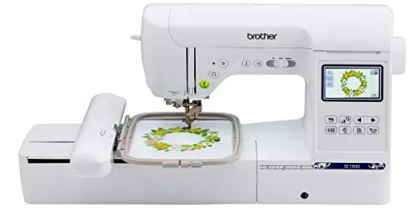
One small downside of a single needle is that you have to change the thread whenever you have a change of color. These machines are widely available in most shopping centers and sewing stores and will probably be the simplest type of machine for you.
While these machines are great for user-friendly and enthusiastic embroiderers, if you want to start a business or make money from your embroidery, this may not be the right machine for you. The largest hoop size for most single needle machines is 8 × 12. This means that embroidering on the backs of jackets, hats and caps, bags, and other large / uniquely shaped items is extremely difficult or impossible.
Multi Needles
Although they may be a bit more difficult to master, multi-head machines are “all done” when it comes to embroidery. The use of a multi-needle machine opens up unlimited potential for your embroidery. Although there are learning curves when starting out on a multi-needle machine for the first time, it’s not something you can’t handle, especially with all the great educational resources available online these days.

These machines have 4-16 needles, each of which sews the color of its own thread. This is a huge benefit as you will save more runtime than you need to change colors manually.
Another major advantage of the multi-needle embroidery machine is the size of the hoop. Typically, multi-needle hoops start at 4 × 4 and extend to jumbo-sized hoops (jacket backs, etc.). Most also have hat frames that allow you to embroider hats/caps.
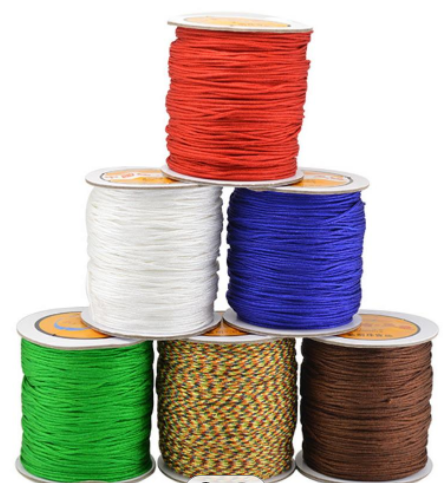
Embroidery Thread
It’s no secret that your embroidery machine uses thread to sew your designs. With so many threads to choose from (raven, polyester, cotton, metal, etc.) it’s hard to know which one to choose and where to start. Before we begin, it is important that we select and understand the weight of our thread.
The good news is that almost all machine embroidery designs have been digitized for standard 40wt thread. There are a few exceptions, but most websites suggest that you use them in the design description.
Now that we understand the weight of the thread, let’s jump into the different types of threads:
Polyester
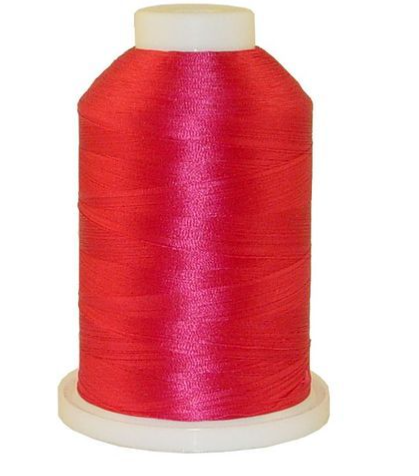
This is the cheapest and most popular form of machine embroidery yarn, hard to break, easy to use, and available in every color. Easy to use This thread is a great choice because of its strength and attractive shiny shape.
This type of synthetic thread will stand the test of time compared to Raven. Polyester yarn is machine washable, making it an excellent choice for embroidery items that require a lot of washing (clothes, towels, bedspreads, etc.).
Rayon
Rayon yarn is not as synthetic as polyester, and because of this, it is not as strong. This can lead to the breakage of multiple threads with designs that were not properly digitized, so I recommend using this type of thread with the designs of reputable vendors. Rayon is remarkably soft to the touch and creates a beautiful look and feel.
Unluckily, this can be bypassed-but not unless you’re a techie who knows what he’s doing. I always recommend using Rayon to sew our Vintage 1950 Free Standing Lace (FSL) designs to get a beautifully finished product.
Cotton
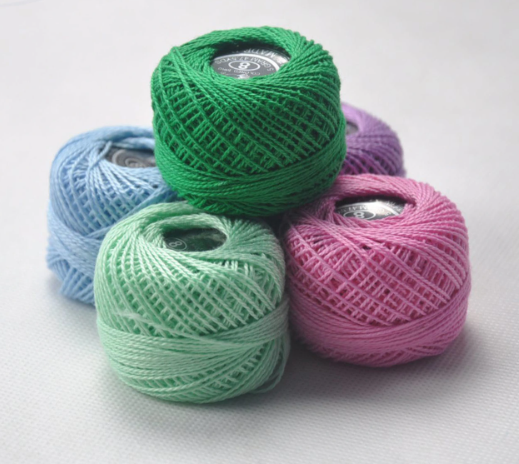
The advantage of using cotton is that it gives your design a more hand-embroidered shape and feel. This makes cotton yarns perfect for reusable designs, quilts, and cross stitch designs. To learn more about Embroidery Threads and the 5 best thread brands.
Metallics

The metallic thread gives an incredible shape and makes your design feel like a tight wire, but it can be very difficult to master. Most people struggle with metallic thread because all the threads break. Often people become very frustrated and give up metal thread.
Embroidery Stabilizer

Embroidered sewing machines use a raffle foot that is not actually on the fabric and there is no feed dog under the fabric to keep it in place. The stabilizer “tightens” the fabric to keep it tight because the embroidery sewing machine does its job, working with proper hopping.
There are many stabilizers in the market, including cut-away, tear-away, wash-away, etc.
Cut-Away
Cut-Away stabilizers are the strongest and most stable. Although it can be used on any type of fabric, it is best when sewing on stretch or woven fabrics. The reason you call it a cut-away stabilizer is because of how you remove it.
Once you have finished sewing your design, you can easily cut off any excess stabilizer left around your stitches. Make sure you leave the stabilizer in place under the stitches, as this will keep your stitches in place indefinitely.
Tear-Away
Tear-Away stabilizers are used when you need to remove most of the stabilizer from the back of your design (between stitches and open spaces). Tearing can be used on almost all fabrics, but exclude stretched and woven fabrics. To remove this stabilizer, you just have to cut or find the open end of the stabilizer and tear it.
Wash-Away
Wash-away stabilizers are perfect for designs/projects in which there is no sign of stabilizer after the design is completed. A good example of this would be free-standing lace or a design that can be seen from the front and back. This stabilizer is not as strong as the others but works wonders. Also, it’s magic; just rub the water on the stabilizer and it will disappear! That’s why it is called Wash-Away.
Embroidery Hooping
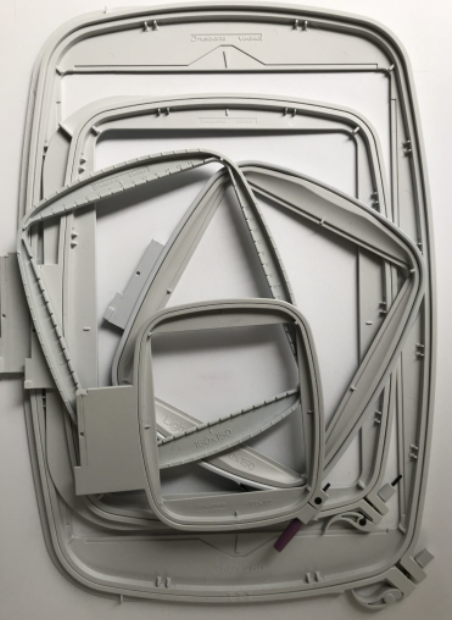
The easiest way to think about hopping is that the hoop acts as your pressing foot because the embroidery sewing machine sews the design.
Hooping isn’t that complicated once you catch it. In general, we recommend that you adjust your hoop to the correct size before you actually bend your fabric. We also recommend that you avoid fighting the hoop after the fact, again, to avoid burning the hoop.
Embroidery Designs
Embroidery machines generally have at least a few built-in designs. The cost of the machine usually affects the number of built-in designs. Each machine brand has its own file format that the computer recognizes. Before purchasing any additional design, consult the Machine Manual to identify the appropriate file format as well as design size limitations. I suggest you read our article on Understanding Machine Embroidery File Formats to understand file formats in the embroidery world better.
Conclusion
Now you know what you will need to start a machine embroidery. Learning to embroider is an exciting journey, and we would love to be a part of it!
I hope you enjoyed learning how to use the embroidery machine and some of the tips and techniques of embroidery. If I missed something or anything else you need help with, please let me know, and I’ll work on more tutorials!


