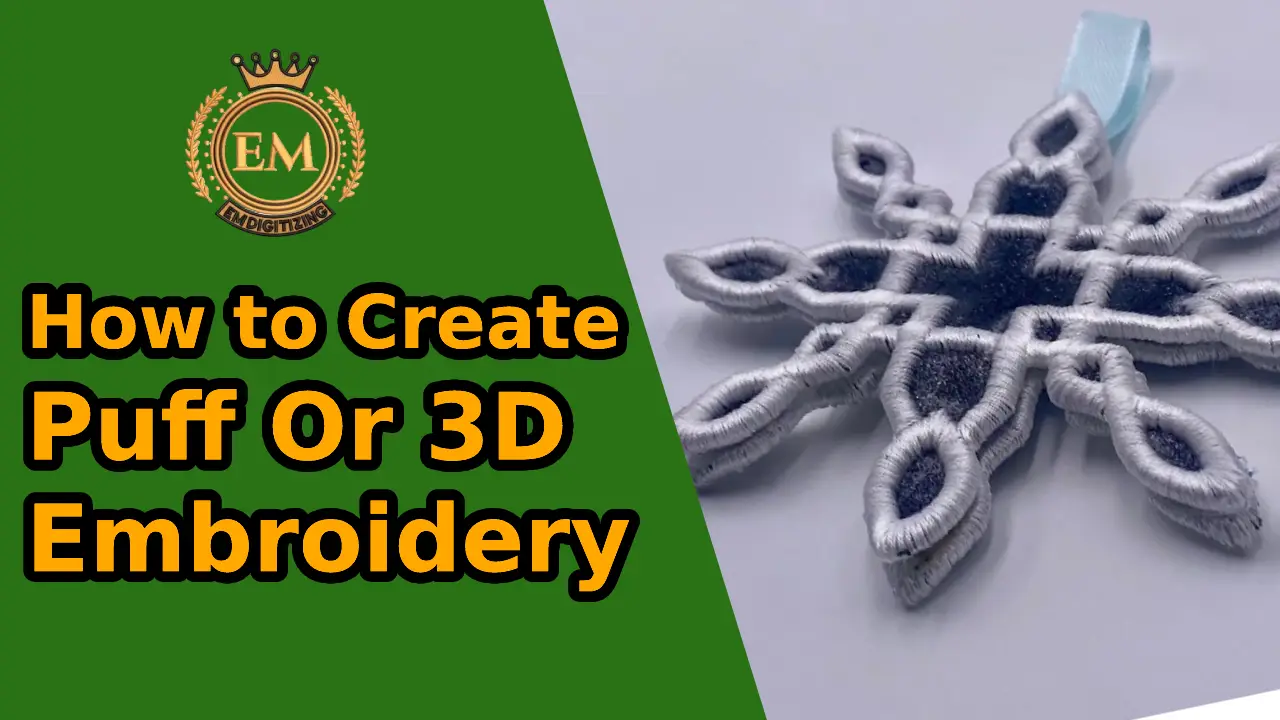
Puffy Foam is commonly used to achieve 3D-like embroidery. It is very popular commercially for logos on caps and backpacks, but as you can see in the tulip design I created for this article, you can embroider it in a decorative machine to give your design an extra dimension.
Digitizing for puffy foam can be a bit more technical than your daily digitizing, but if you make sure you follow some rules, it’s not really that complicated. This can be done easily with Hatch Embroidery Digitizer.
What is Puff or 3D embroidery?
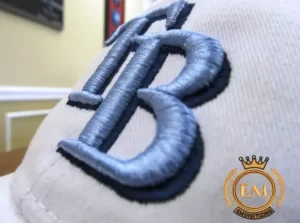 Puff or 3D embroidery is an embroidery process in which we add a piece of foam that is placed under the embroidery so that it can be lifted or 3D made an appearance. It is called Puff or 3D embroidery. Puff or 3D embroidery works best on a hat or can be used for clothing like jackets that are not washed often. This is not usually the case recommended for a garment that can be washed frequently or placed in a dryer. It is also not recommended for clothes that are dry-cleaned. This will cause the foam to crumble during the drying process or dry cleaning processes due to the chemicals used.
This is the embroidery where a piece of art or letters puffs on top of the rest. You will usually find this type of embroidery on baseball caps, sports hats, and the like. The mascot or some characters can be raised to add depth and height to the design. 3d puff embroidery can be scary, but it doesn’t have to be. Doing this type of embroidery can help you win more customers and get more orders by doing something that many of your competitors don’t offer or take the time to learn.
Embroidery Digitizing Services
Which type of foam to use?
There are many foam products on the market but you have to be careful where do you buy them? They have 2 mm, 3 mm, and 4 mm foam. I use a 3mm product. I get the best results from it and it gives me the high loft that I need and my customers have always been very happy with it. Embroidery supply distributor, not craft store. Your foam should be designed for embroidery. This foam is very different and will react differently.
I buy my foam at SM Crystal in Buffalo, NY. They sell it in one-color packages and multi-color packages so you have a variety of basic colors in hand.
Always try to match the color of the foam to the color of the thread. It doesn’t always happen possible but uses the shade of the closest color you can. Never use contraindications in the color. Sometimes I used the same color as my hat when I didn’t have one. The color of the foam is like a thread. You will need to experiment with it. Sometimes it will work and sometimes may not. There are many variables here.
How do I sew a puff / 3D embroidery design?
The process of embroidering with puffy fonts, logos, and designs is a bit different from regular embroidery, but not more difficult. First of all, know that using 3D Puff has more cost and more stitches in the design. It’s as easy as sewing:
- Sew all your flat embroidery first.
- Make a stop in the machine after your last flat piece
- Place the puff on the area you want to sew and restart the machine.
- Sew a border around your puff area.
- Remove excess puff material
- Complete the design and clear the excess puff foam material.
Some basic tips to get started with foam embroidery:
Digitizing is important. You will need to apply long stitches to fill the space that the foam is taking. We recommend using software such as Puffy Fonts to simplify yourself. There may be some trial and error in this part of the design, so take some time to test.
Learn how to program stops on your machine. You should be able to stop after a certain color change.
Keep the foam down and use tape or sticky tech spray to keep it in place. Once the first stitches have gone into the foam, you don’t have to worry about moving on.
Some basic tips to get started with 3D embroidery:
- Digitizing is important. You will need to apply long stitches to fill the space that the foam is taking. We recommend using software such as Puffy Fonts to simplify yourself. There may be some trial and error in this part of the design, so take some time to test.
- Learn how to program stops on your machine. You should be able to stop after a certain color change.
- Keep the foam down and use tape or sticky tech spray to keep it in place. Once the first stitches have gone into the foam, you don’t have to worry about moving on.
- Foam works best on designs with good underlay borders and satin stitches across the foam. Note that no design can be done in foam. For example, heavy filling stitches or too many underlays on the foam may not give the desired shape.
- Using a sharp needle can help clean up the foam. Make sure to use the backing that you usually do on a design. This type of embroidery requires support to stabilize.
Stabilizer Used for 3D Embroidery
If you are embroidering 3D foam on hats, I would suggest using a tear o stabilizer. Since it is a cap and does not have much flexibility, the stabilizer is the easiest to tear (hence the name). Hats are also not usually washed much, which helps in the longevity of the foam. The less you wash, the longer the foam will last.
If you’re using 3D foam on anything wearable, I’d recommend using a cutaway mesh. As I always say, “If you wear it, don’t tear it.” I won’t use a show mesh, so you don’t see it through clothing.
How to Create Puff or 3D Embroidery
- Run the regular embroidered elements first – With the “foam” design, you need to run the regular embroidered elements first. All embroidery legacy designs are designed with this in mind.
- Stop the machine – Once all the regular embroidery colors are done, your coloring information sheet will give you the suggested color of the thread and then the word “foam”. Upon reaching this color change, the design should go to the top of the design, and you should stop your machine.
- Lay the foam – At this point, you will place the foam inside the areas where the embroidery will be done. (Always trying best to use the same colors of thread and foam whenever possible).
- Sew take-down stitches – The first stitches on the bottom are “take-down” stitches to secure the foam in the fabric.
- Continue sewing – then, the design will proceed to remove all areas of the foam.
- Remove the foam – now that you are ready to remove the foam, it should be easily torn with designs that have been properly digitized.
- Done! – Now you know how to do foam embroidery.
Step By Step How To Digitize Puff or 3D Embroidery
Step 1:
Digitize the regular embroidered elements of the first design, placing the filled areas and white letters down as you normally would. Once you’ve eliminated these elements, program a stop at the top of your embroidery field. This allows you to keep the foam down while the sewing head is out of the way. If you insist on trying to make ready-made hats, you will program your stop towards the top of the hat, so there is no way to sew heads.
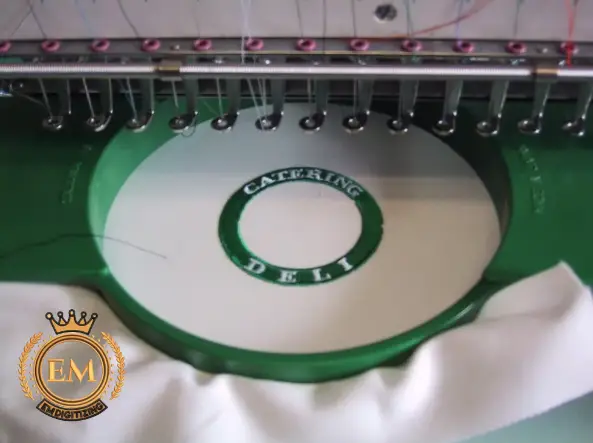
Step 2:
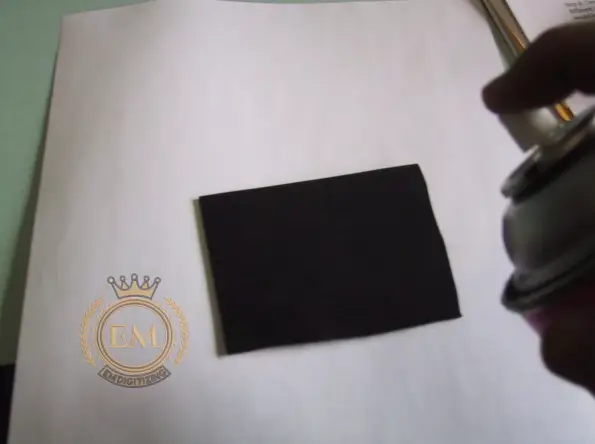
Before putting the foam down, give it a quick shot of adhesive spray to reduce movement when dealing with the bottom. Remember foam comes in different colors. Try to match the colors of your foam and thread as closely as possible.
Step 3:
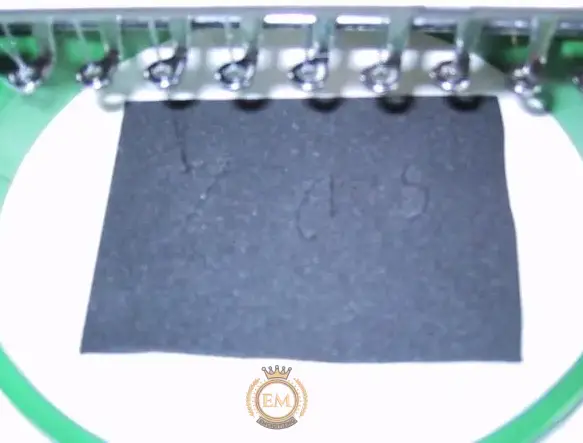
Using manual stitching, I would usually cut down the design from the inside out. With reference to the “Zeyda’s” logo, I did a manual stitch on the “d” and “s” to stabilize the foam elements before actually starting the “Z”.
Step 4:
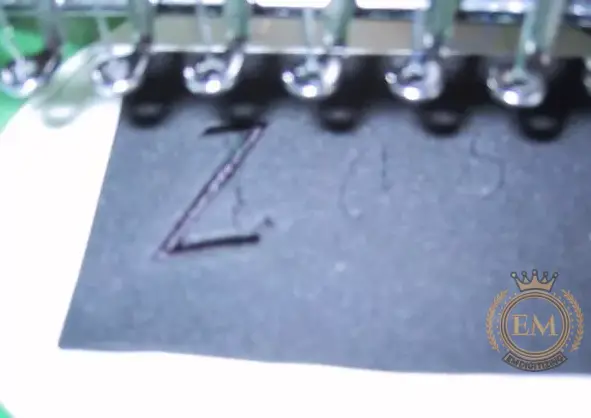
Once you have lowered the “Z”, you need to carefully place the underlay about .2 mm away from the outer column. The value of the underlay should be set to 1 mm. This will help to drill the foam before the column seam goes down.
Step 5:
With foam, you not only have to worry about the base column, but you also have to “cut” the ends of your columns. This will give you a neat and clean cut when you remove the foam. You must digitize your “end” before starting your column.
Step 6:
Density is the key to cleaning foam. Everyone’s software is slightly different from the language values, so I’ll try to solve it in percentage terms. If your normal value was 100%, the foam would require 50-40% density, twice the amount of stitches normally required. There are a few other important things to keep in mind; Short stitches may need to be modified (increasing the number of stitches and lengthening short stitches, so that your corners have more density and coverage). Overlap your columns where they meet. If you don’t overlap, the foam makes a difference, showing large pieces of foam. Add a little more than your average bridge fee. Foam usually looks better on larger columns and moves.
Step 7:
Repeat these steps for each letter or element until all of your foam areas are complete. As you can see, there are many more steps, and it’s important to follow the underlay and the columns correctly. Digitizing alone is more laborious than regular digitizing. Then don’t mind your editing session.
Finalizing the foam:
If you’ve got it here, congratulations! As you can see, there are more steps than regular embroidery needs, and it is important to follow the bottom and columns correctly. Digitizing alone is more labor-intensive than regular digitizing. Then don’t mind your editing session.
Tearing and removing your foam is also a matter of priority. We will steam the panels before tearing the foam. I have also heard of companies that use hat guns to try to shrink the foam a bit. Both of these methods can only help promote quality, so try them out. Once the foam has exploded, we will have a team of people who will use sharp but slightly blunt objects to push the foam where needed. The foam seems to have its own mind. It never comes two times in the same way.
After digitizing their first foam design for them, users often comment, “If I only knew how much work it was, I’d charge more.”
For those of you who haven’t been intimidated by me, working with Foam can be very creative and rewarding if you want to go through the curves of learning. Something can be said about having a reputation for performing a difficult technique well. You can charge for it! If you do it the right way, it doesn’t have to be a loss leader and can get a business at your doorstep that you wouldn’t have seen otherwise.
Conclusion
Using puffy embroidery foam is a great way to promote your stitches, giving your design a 3D effect and feel. When using 3D foam embroidery designs, remember to use a clearly digitized design for this use to ensure the safety of your machine and apparel.
Our how-to-create puff or 3D embroidery tutorial will tell you how easy it is to use foam in your design. This technique is a quick and easy way to add attractiveness to your clothes!
Hopefully, this tutorial has helped you to understand more about embroidery with foam.
3D embroidery
Puff embroidery, also called 3D embroidery, is an effect that is achieved by placing a piece of foam on the fabric as it is being embroidered. When everything is done correctly, foam spreads under the stitches, creating a 3D, embossed, or tactile effect in the embroidered design.
Foam embroidery is the place where your stitches are raised by embroidering your embroidery designs or letters on or around the garment, giving it a 3D effect and feel. Adding 3D foam when embroidering can be a great way to enhance your creativity!
Flat embroidery occurs when the thread is flattened on the cap. In the picture above, this is the red thread. Partial 3D puffs, however, when a combination of both flat and 3D puffs are used in a hat.
I have experienced how embroidery washes and I would like to share with you what I have found! The short answer is: yes!
2D embroidery allows very sophisticated designs with a maximum of 9 colors per design and more details, such as a picture or a very sophisticated logo. Not suitable for designs like 3D embroidery pictures. 3D embroidery is more suitable for simple and bold designs such as brand names in words, or simple graphical logos.
