
Have you ever used a cutting machine such as Silhouette, Cricut, or Brother Scan and Cut machines?
If yes, then you’re very familiar with SVG files because these machines love SVG file formats. Embroidery machines and cutting machines are different from each other but they also have some similarities.
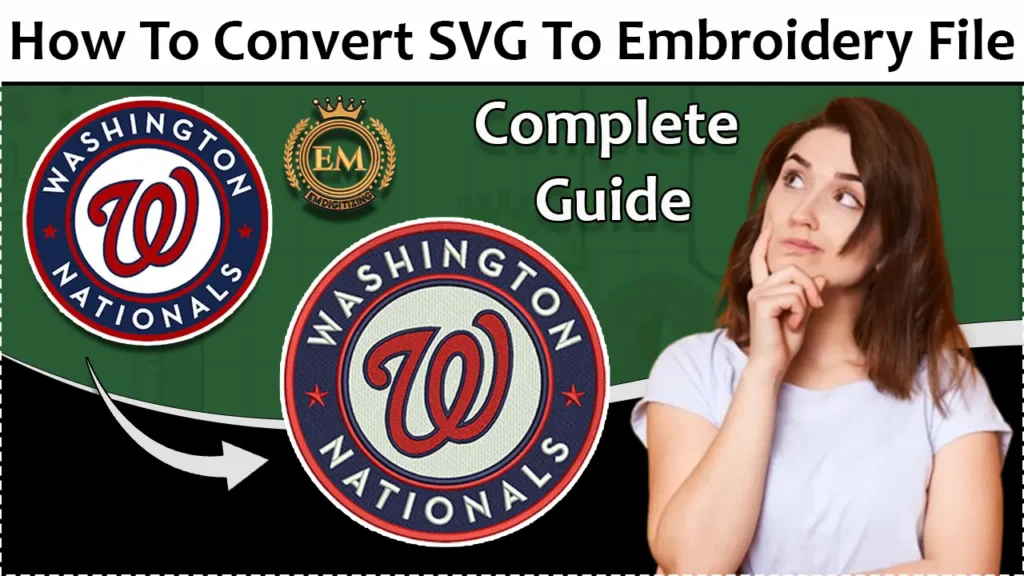
Let’s have a look at them and we also discuss how you can convert SVG to embroidery file so that it is compatible with your embroidery machine.
How To Convert SVG To Embroidery File – Full Tutorial
Is Converting An SVG To Embroidery File Possible?
Yes, you can convert SVG files to embroidery designs. But you have to keep in mind that embroidery files are distinct from SVG files because they contain more instructions about embroidery.
So, this is not a regular conversion process. Your digitizing software needs more information to transform SVG to the file that your machine can read. Despite this, SVG files serve as a great support for creating an embroidery design.
And if you want to learn how you can convert SVG files into embroidery files, keep on reading!
What Are The Similarities And Differences Between SVG Files And Embroidery Files?
As we already mentioned above, both these files have some similarities and differences.
Now, have a look at them so you can easily understand how they differ.
Similarities:
Both files are file formats that the machine can read and follow the instructions in these files. SVG files are inserted in the cutting machine and it cuts out the shape of the design.
Similarly, embroidery files are inserted in the embroidery machine. It follows the instructions in the file and stitches out the beautiful design.
Both file formats have strokes and fill. For instance, some designs just have fill stitches, some have strokes and some have combinations of both
Differences:
Now, move to the difference: what makes both files differ from each other?
SVG files are less complicated than embroidery files because they only contain information about lines, points, directions, and colors.
On the other hand, embroidery files contain the type of stitch, stitch direction, stitch density, thread colors, machine stop timing, etc.
The Embroidery Software You Use For SVG To Embroidery File Conversion Will Affect Your Results:
You already know that embroidery files are more complex than SVG, so SVG to embroidery file conversion is not a simple process.
There are many software available such as SewArt, Inkscape, Stitch Artist 3, or Wilcom embroidery software.
In this article, we’ll show you two different methods to convert SVG files to embroidery files. In the first method, we’ll use the free embroidery software INKSCAPE with INK/STITCH, and in the second one, we’ll use the inexpensive software SEWART.
Methods Of Converting SVG To Embroidery File:
Now, it’s time to discuss the conversion process using 2 types of software.
Method # 1: Using Inkscape And Ink/Stitch Embroidery Software:
The simplest way to convert SVG to an embroidery file is by using the software Inkscape with the Ink/Stitch plugin.
It is a free vector art-based embroidery software and is compatible with both PC and MAC. It is very useful for creating or converting embroidery file formats. We have used it many times and discovered that it has almost all the features that expensive software has, like Adobe Illustrator.
So, if expensive software is beyond your budget, give it a try and see for yourself how amazing this is.
First, you’ve to install Inkscape, and once you install it add the Ink/Stitch plugin. This plugin helps you to make an embroidery file from a vector file that you make in software.
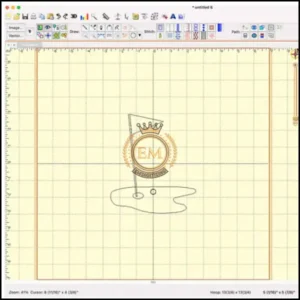
Step 1: Upload The SVG File To Inkscape:
In step 1, import the SVG file into the software by clicking on the graphic tab. You can also create
Step 2: Convert SVG To Embroidery Format:
Now, click on the file tab, select the save option, and then choose your desired embroidery file format.
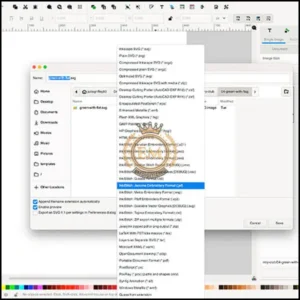
Pro Tip: If you don’t find your desired file format in the listed menu. Don’t worry there are many file conversion software available online for free. Choose one and convert the format into one that you need.
Congratulations!
Your file is ready to use for creating outstanding embroidery designs using an embroidery machine.
Now, this software is updated and gives you more control to enhance the quality of your design. For instance, you can add borders, change stitch types, or even change the start and end points of threads.
What a cool software it is….Right? It is suitable for most basic designs. Now, you’ll see software that gives you more control than this software in an affordable price range.
Software: Method # 2: Using SewArt Embroidery Software:
Another method you can use to convert SVG to embroidery files is by SewArt software.
It is an affordable digitizing software that allows you to convert different types of files like SVG or pixel-based files (PNG) and create designs based on the information in the image.
Inkscape and SewArt have the same function that allows you to create your own design. However, SewArt is primarily focused on creating embroidery designs.
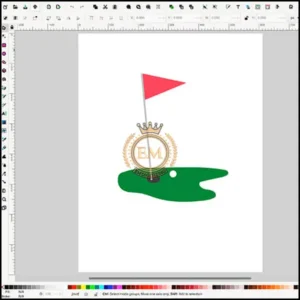
Step 1: Open Sewart And Import The Svg File:
This software is best for SVG conversion because it easily understands the different shapes and lines. So, when you import SVG format it immediately finds different areas and you can apply fills and stork to those areas as you want.
Step 2: Select Stitch Types For Various Areas:
To select different types of stitches for different areas click on the icon which looks like a machine. Now you’re ready to choose stitch types for each area. Also, you can set the stitch density or angle.
Step 3: Rearrange Your Stitch Order:
After choosing the stitch types and thread color you can change the order of stitches. For instance, if you choose to embroider with a red color on multiple areas you can set the stitch order like that machine stitch with red thread at once.
Step 4: Save In The Embroidery File Format Of Your Choice:
We mentioned earlier that SewArt provides more options so you can save your file to any embroidery file format.
If you get SewArt Pro, you’ll get more control over your design and convert it into a piece of art.
Final Words:
That’s all for today and we will give you two methods of converting SVG to an embroidery file. Hope so one of these will be helpful for you and easy to convert SVG to high-quality embroidery design.
But if you don’t understand the process or don’t have time to convert it and are looking for an expert digitizer. Then your search ends here.
EMdigitizing is your trusted partner in embroidery digitization and vector art services, serving clients worldwide.
What’s great about EMdigitizing is they’re really fast and do a super job. You can get a free quote in less than 5 minutes. And guess what? If you’re a new customer, you’ll get a huge 50% discount on all their services.
Don’t miss out on this amazing offer. Click the link, and EMdigitizing will make your embroidery designs look awesome. It’s a fun and easy way to make your embroidery projects even better!
Frequently Asked Questions:
You can convert SVG to an embroidery file with two different methods In the first method, we’ll use the free embroidery software Inkscape with Ink/Stitch, and in the second one, we’ll use the inexpensive software SewArt.
There are many software available such as SewArt, Inkscape, Stitch Artist 3, or Wilcom embroidery software that give you full control over your design and help you to transform ordinary design to embroidery file format with high-end results.
There are lots of embroidery file formats available like DST, EXP, JEP, PES, and much more. But you’ve to select according to your embroidery machine model and brand. So first, check your machine’s manual and select according to the file format suggestion.
Yes, because SVG files only contain information about lines, points, directions, and colors. On the other hand, embroidery files contain the type of stitch, stitch direction, stitch density, thread colors, machine stop timing, etc.
Unfortunately, there is no easy way to transform a raster picture into an embroidery file. Embroidery files have stitch instructions, whereas raster images are composed of pixels.
Before you can convert a raster picture to an embroidery file, you’ll need to convert it to a vector format, like SVG, using tools like Adobe Illustrator or Inkscape. Then, just follow the instructions stated above.


