
Can embroidery be removed without damaging the cloth?
The answer to this question is “Yes”. There are several easy ways to remove embroidery from the clothes which you will get to know through this article.
Embroidery is actually a very good way of adding style or decorating your fabric. If you want to remove embroidery due to some reasons then don’t worry, you are on the right page. You just need to follow our instructions and you can remove or convert your embroidery into your desired design.
There are some best yet easiest embroidery tips that you will learn in this article:
So let’s get started!
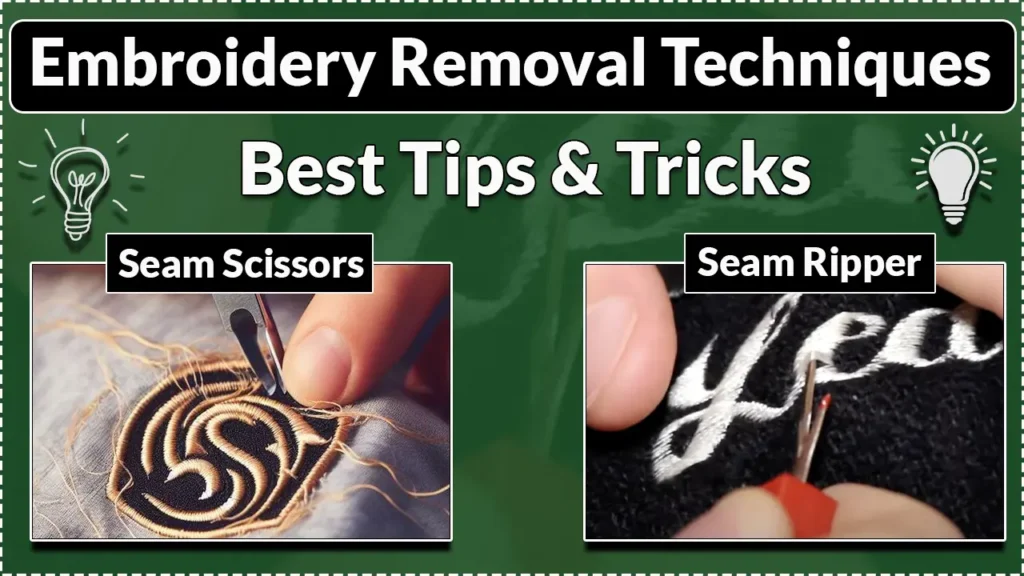
Embroidery Removal Techniques: Best Tips & Tricks
What Are The Methods For Embroidery Removal?
Embroidery contains hundreds or thousands of stitches and in order to remove them you will have to cut each stitch and for this purpose, you will have to be patient.
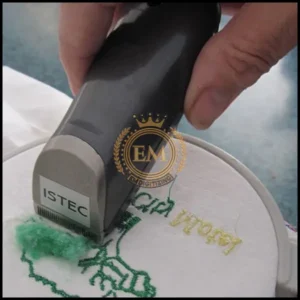
1. Embroidery Eraser:
An embroidery eraser or stitch eraser is one of the easiest methods of removing embroidery. For this purpose, you will have to purchase it from a fabric store or online. These erasers are not suggested for hand embroidery but it is well suitable for caps, jackets, and shirts logos.
How you can use them is described below:
Step # 1: Turn The Cloth Over:
First of all, you will have to turn the fabric over so that its back can be revealed. If you remove the embroidery from the back it would be much easier to work as the embroidery at the back is thinner so it will be easy for the eraser to cut through.
Step # 2: Using Eraser Across The Stitching:
For this, you have to push the eraser slowly across the stitching by about 1 inch (2.5 cm) and then lift it up. Repeat this procedure and once you have finished the first row, move to the second and repeat the same process.
Keep going until you have removed all the embroidery designs. In case of less embroidery removal, you will have to do it once.
Step # 3: Turn The Cloth To The Front:
Now on the front, you have to remove stitches by hand. You can use a needle or a seam ripper under the stitches and then pull them up and pluck the threads out with the help of your fingers.
Step # 4: Repeating The Process (If Needed):
You will have to repeat the process because everything will not come out on the first attempt.
Step # 5: Removing Fuzz Using A Lint Roller:
A lint roller is used to remove the thread dust from the fabric. If you don’t have a lint roller then you can use a masking tape for this purpose. Remove the thread dust from both the back and front. Some threads or stitches may also be revealed so for this use a seam ripper to take them out.
2. Seam Ripper:
Step # 1: Turn The Fabric Over:
For this, you will have to turn the cloth over because working from the back is recommended. If you work from the front then there are chances that you might notch the fabric.
Step # 2: Cutting The Stitches:
Slide the seam ripper under those stitches which you have decided to remove. After sliding through the stitches, lift it upwards. Seam rippers contain a blade that will cut through the threads.

Step # 3: Removal Of Stitches From The Front Side:
You can easily remove stitches from the front side by using a darning needle. Slide the needle under the stitches and lift them away.
Step # 4: Repeat The Process:
The process should be repeated unless the whole embroidery is removed.
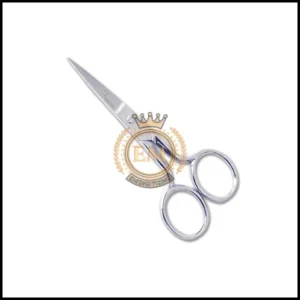
3. Embroidery Scissors:
Embroidery scissors are specifically designed to cut the threads or tiny snippets of the fabric. These are small, sharp and provide a comfortable grip. These are recommended for small embroidered areas.
The procedure is as follows:
Step # 1: Turn The Cloth:
Firstly, turn the cloth to the back so that the threads can be easily removed without damaging the fabric.
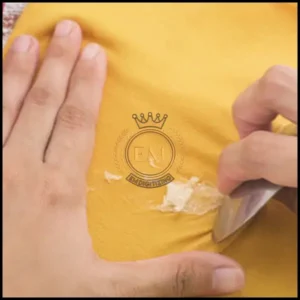
Step # 2: Snip The Threads:
With the help of a scissor tip, snip the threads in a way that the fabric is not damaged. In the case of a large piece of embroidery, snip the threads only a few inches or centimeters at a time.
Step # 3: Turn To The Front Side:
After turning the right side of the cloth, cut the stitches. Make sure that all the threads have been removed from both sides.
Step # 4: Clean The Area:
Both the front and back sides of the cloth should be cleaned and the holes should be removed with the help of a lint roller.
How To Remove Embroidery Patch?
How to get an embroidered patch off?
It depends on the type of backing whether it is an iron-on patch or a sew-on patch. There are three methods for removing patches which are as follows:
1. Use Iron:
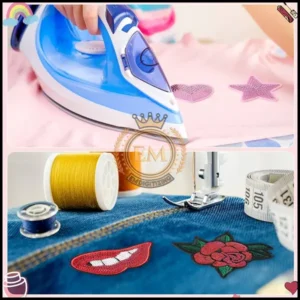
- Cover the patch with a thin cloth or wax paper.
- Turn the iron on and press on the covered patch for about 15 seconds.
- Now lift the cover and check if the edge of the patch is loosened.
- If the patch is not softened then again cover and iron the patch.
- When you see that the adhesive has softened then remove the edge of the patch with the help of a tweezer until it is completely removed.
2. Use Adhesive Remover:
- For this, you will have to turn your cloth or fabric inside out.
- Now take your adhesive remover and apply it to the back of the patch.
- Rub the liquid for a minute into the cloth.
- Now check if the patch is completely or partially removed.
- If the patch is removed then trim it off with the help of scissors.
3. Removing An Embroidered Sew-On-Patch:
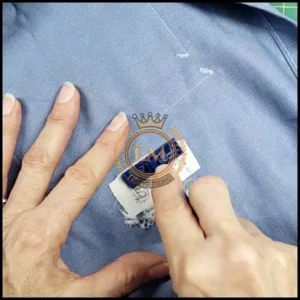
- First of all, bend the fabric down in a way that the stitches from the patch are revealed.
- Now push the curving blade of the seam ripper against the stitching.
- Be gentle by doing this because you might cut your fabric.
- The seam ripper should be centered onto the stitch and push the blade against the thread.
- Repeat this step unless the patch is lifted from the cloth.
- Use a tweezer or scissors to remove extra threads from the cloth.
Bottom Line:
Removing the embroidery might seem audacious but if you follow the techniques that are mentioned above it will be much easier for you. The only thing you have to do is be patient.
If you are interested in any kind of embroidery project, then EMdigitizing is the best option for you. We offer embroidery digitizing and vector art services with a fast turnaround time. You can also visit and check our website as well as our best services.
We also offer a great 50% discount on all our services for our respected first-time clients. We also offer free quotes generated in just 5 minutes.
You should grab this limited-time offer and take your embroidery project to the next level with EMdigitizing.
If you’ve any queries regarding this topic, you can ask them. Thank you for taking the time to read this article.
Frequently Asked Questions:
The fastest way of removing embroidery is to use a sharp tool such as a seam ripper and embroidery scissor. These both can make your work easy.
The best technique for removing embroidery backing is the use of iron or the adhesive remover but you have to be very careful because it might damage your fabric.
One of the easiest ways to remove embroidery stitches is the use of a seam ripper. It helps in cutting thread without damaging your fabric.
Embroidery stitches can be easily removed by a stitch eraser, seam ripper, trimmer, or embroidery scissor.
The difficult stitches can be easily removed by using an embroidery eraser, seam ripper, or tweezers. By using any of these, seize the stitch, pull up the knot, and snip the stitch.


