
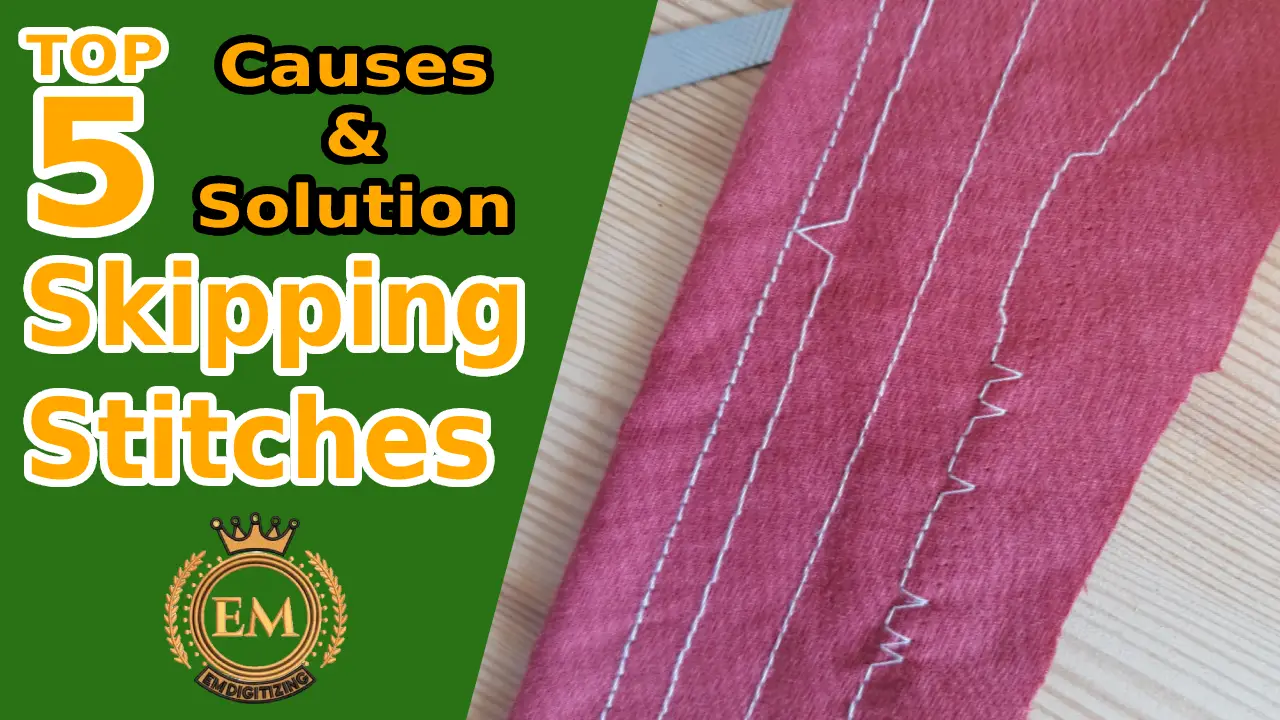
Why Embroidery Machines Skipping Stitches
Stitches are formed when the upper embroidery thread and the lower bobbin thread intersect. When the upper and lower threads fail to create a perfect connection, the stitch does not form.
Problems with the top or bobbin thread can be responsible for this problem. Sometimes a machine skips all the stitches because it doesn’t pick up the bobbin thread at the beginning of the design sequence. This is sometimes called a false start. The top 5 Causes of skipping stitches are the following:
1. Using Bad Needle
As I mentioned, the most common cause of dropped stitches is a problem with the machine needle. Here are some examples of bad machine needles:
- Your machine needle may be slightly bent, although you may notice the bend.
- Needlepoint may become dull due to repeated use.
- Your needle may have a nick.
Note that the needle is an optional and inexpensive part of your embroidery machine. So it is better to change it after some time to avoid stitches. In addition, it is ideal to use the right size and type of needle for your work.
2. Using Bad Thread
Thread quality can also be a reason why your embroidery machine is dropping stitches. Note that high-quality thread has minimal fading or damage. Hence, they are less likely to break or cause problems while your device is working.
Experienced embroiderers usually recommend re-threading machines at the first sign of a missed stitch. But, please make sure you follow your machine’s instructions.
Also, it’s best to use the right thread to match your needle and fabric to get the best results. By doing this, you are preventing further problems from occurring and your piece from being ruined.
3. Using the Wrong Needle
In addition to checking your needle for damage, it’s also a good idea to check if it’s the right size. Note that choosing the right needle can make the difference between completing or skipping stitches.
Like threads, needles come in different sizes and fineness levels. Therefore, knowing which one is best for your embroidery machine and fabric is essential for good results. Also, it ensures the longevity of your machine.
4. Dusty Bobbin Race
Another common cause of dropped stitches is dust or lint in the bobbin race. You can try cleaning it and see if your machine will work better than before.
5. Wrong Machine Tension
You may also want to check the tension on your machine if you notice that the stitching is different in certain areas. Adjust it by following your machine’s instructions or experimenting with the dial. But, make sure to test it with scrap material first to make sure it works well.
You can also try loosening or slowing down your grip while sewing and see if that fixes the problem. If not, you can also try adjusting the tension on your bobbin case.
How to Solve the Embroidery Machine Skipping Stitches
When my embroidery machine starts skipping stitches, I check this list of troubleshooting steps.
1. Check the Upper Thread
Clear the upper thread path, and reset your embroidery machine.
Make sure to thread with the presser foot. (Although you can lower the presser foot when it’s time to use the needle threader.)
Also, cleaning between the upper thread guides and tension discs can help remove any unsightly thread fragments. Clean an embroidery machine just like you would a sewing machine.
2. Check the Needle
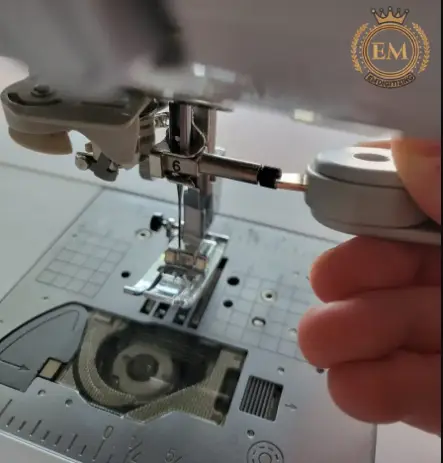
For something so small, the needle can cause big problems for embroiderers. When I’m experimenting with embroidery stitches, I always check my needle first. A damaged, bent or scratched needle can affect how the lower and upper threads interact. Even if your needle looks fine, go ahead and replace it if it’s already been used.
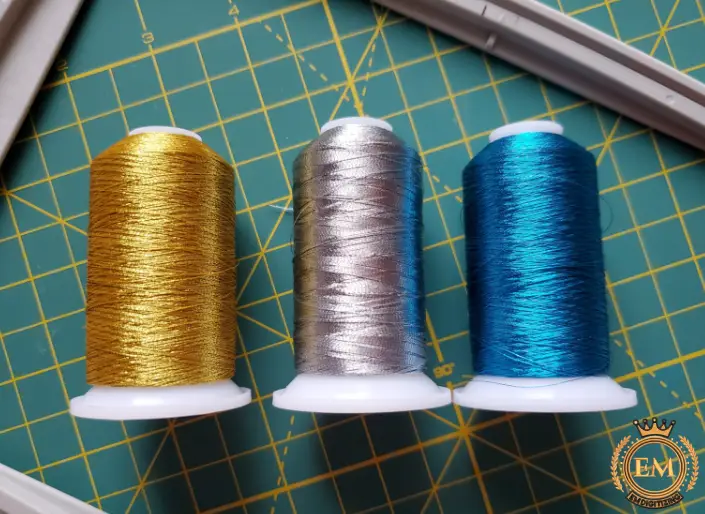
However, before you get that new needle, make sure you have the right type of needle (ballpoint, universal, sharp, etc.) and needle size for your fabric and thread. For example, if you use metallic threads, choose a topstitch or metallic needle with a large, long eye. If you are using thick thread, don’t expect that big thread to fit comfortably inside the eye of a small needle!
Also, if you are using a sewing machine needle for your embroidery, try a specific embroidery needle. This will be best for most projects.
Finally, stretchy woven fabrics may benefit from a ballpoint embroidery needle, while thick, dense fabrics such as marine vinyl may require a larger needle with a sharp point.
For guidance about needle selection, Check out my post on choosing the best embroidery needle.
3. Check Your Supplies
Thread
Consider switching to a new brand or type of thread, especially if this is the first time you’ve used a specific thread spool on your machine. Poor quality or old threads are not meant for high-speed embroidery, and certain types of thread (metallic!) require more patience and troubleshooting. Also, some machines are only available with thread brands.
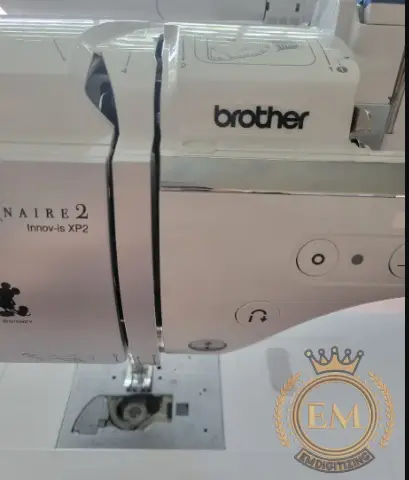
For example, I can’t understand why my brother hates Luminaire XP2 Coats and a certain maroon color of Clark thread, but it does. So, I know to avoid using this thread with my machine.
Stabilizer
There is a reason for this, but when I use my machine to run long-basting stitches on a very thin stabilizer, sometimes the stitches pull through the stabilizer and almost seem like they won’t be made at all. This is not a problem with my machine but with my stabilizer.
So, just check to make sure you have the best stabilizer selection for your fabric and embroidery design features.
4. Check the Bobbin and Case
If you’ve never cleaned your embroidery machine before, you’ll be amazed at the lint and tiny bits of thread you’ll find under your needle plate. Remove the needle plate and then the bobbin, and clean the inside of the bobbin case. Then, remove the entire bobbin case and clean the bottom basket.
Use a small brush and keyboard vacuum for cleaning purposes. As you clean, inspect all parts of your machine for small nicks. (The bobbin itself, the needle plate, and the bobbin case.) If you see something or want to completely rule out an unseen problem, temporarily replace these parts with new ones.
5. Adjust Tension as a Last Resort
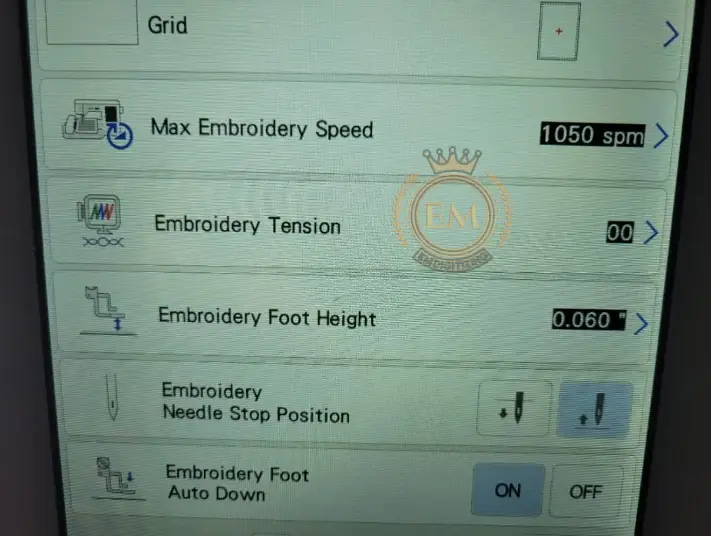
If you examine the back of your embroidery design and see that the top thread is not pulled to the back, adjust the top tension. Trying to reduce it and see if it makes a difference. If your upper thread is pulled too much toward the back of the fabric (with minimal to no bobbin thread visible), increase the upper tension.
Conclusion
I hope these troubleshooting steps for embroidery machine skipping stitches help you get your machine back up and running well. Please share any other troubleshooting steps that worked for you in the comments to help other embroiderers!


