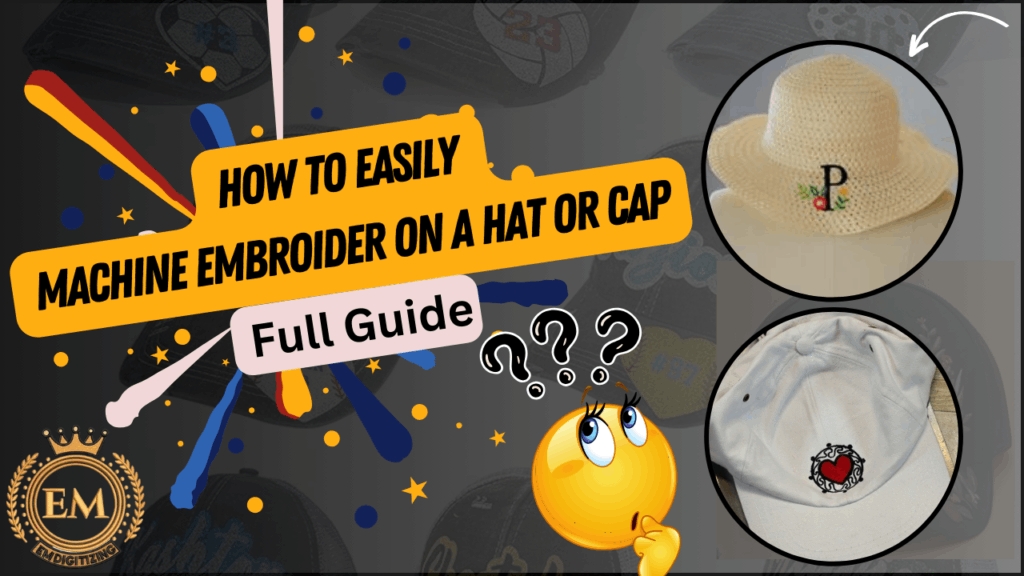
How to Easily Machine Embroider on a Hat or Cap | Full Guide
How to Easily Machine Embroider on a Hat or Cap | Full Guide
Introduction:
Embroider on a hat or cap using an embroidery machine is a fun way to show off your own style. Additionally, it is a satisfying hobby that can be learned at home with only a few inexpensive tools. With a little practice, you can make beautiful, complicated designs on your best hats.
This comprehensive guide covers all the fundamentals of machine embroidery for caps and hats. We’ll review everything you need to know, from terminologies to the best embroidery digitizing software.
How to Easily Machine Embroider on a Hat or Cap | Full Guide
Embroider On Hat Or Cap Terminology And Types
Understanding the terms used for hats and caps is crucial before we start the embroidery procedure. These are some important terms to understand:
a) Crown
The top section of a hat on the head is called the crown. Typically, a fused buckram backing is found inside a structured cap’s crown, supporting it. The crown of the cap comprises 4, 5, or 6 panels. For instance, baseball caps typically have a 6-panel cap, the most popular configuration.
b) Visor
A visor is a flat or curved bill extending from the hat’s front and providing shade and sun protection. A sun visor section can be flat or curved, and the strap frequently has an adjustable Velcro closure in the back.
Visors are often worn in outdoor activities such as golf, tennis, volleyball, and softball, where eye protection from direct sunlight is desired, and the absence of a crown allows for airflow.
c) Buckram
The backing you can see on the rear of the front panels is that. This makes the twill fabric stiffer and provides a stable foundation for embroidery. Buckram is a cotton fabric that has been stabilized to make it stiffer; however, it can also be constructed of plastic mesh.
Using plastic mesh caps, use less dense designs because these can generate bullet-proof zones that break thread or needles.
d) Sweatband
A sweatband is a band that lines the interior of a hat or cap to shield it from sweat from the head. It is commonly constructed of leather for felt hats and fabric for straw hats. It increases the lifespan of the hat or cap and keeps it clean and dry.
e) Closure
In order to make a hat fit better, a closure is used. It is usually attached to the back of the hat and comes in a variety of forms, including snug, flexible, and adjustable. Closures are usually made with hooks and loops, clips, or plastic snaps.
Embroider On Hat Or Cap: Choose Your Suitable Cap
Variety is key in the world of ball caps. If you go to a cap website or catalog, you will see that you have thousands of options to choose from. You can customize your hat in a wide variety of ways, including color, material, crown height, bill style, back closures, and more.
There are hundreds of hat brands and styles available. However, most caps fall into one of three categories:
1. OPF Hats For Embroidery
OPF Hats For Embroidery
Embroiderers often choose OPF (One-piece front) hats because they are simple to hoop and embroider and have no center seam. OPF caps have a laminated back that provides them stability, making them perfect for embroidery. The wide range of OPF hat designs and colors makes them a flexible choice for any embroidered design.
EMdigitizing offer embroidery digitizing services for OPF hats. We can digitize simple to comlex designs that everyone will love. We digitize design according to your needs and choices with 24/7 customer support.
2. Varsity Hats For Embroidery
Varsity Hats For Embroidery
Collegiate or varsity hats are a standard choice for embroidery. They usually have a structured crown and bill and are made of wool or a wool mix. Hats used by high school and college athletes typically feature an embroidered team logo, monogram, or name. Additionally, they can have their name, number, or other personalized designs embroidered on them.
Many people choose to embroider on varsity or college caps because they are durable, stylish, and can be changed to fit any team or group. You can also use them to make promotional hats and giveaways.
3. Sports Caps For Embroidery
Sports Caps For Embroidery
The simplicity and popularity of sports caps make them ideal for embroidery. They last a long time, are easy to wear, and have a lot of space for customization. They’re a great accessory that can be worn anywhere, from the gym to a night out with friends to the office.
How To Embroider Cap Hats?
There are many options available for the placement of designs on hats. Some options are given below. But before we have something exciting for you. We offer embroidery digitizing services for hats. We design it in such a way that you can place it anywhere on the hat and make it beautiful.
Let’s dive in:
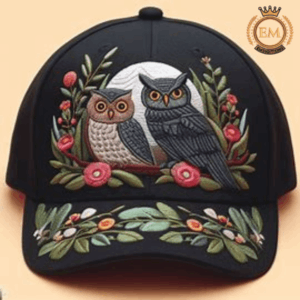
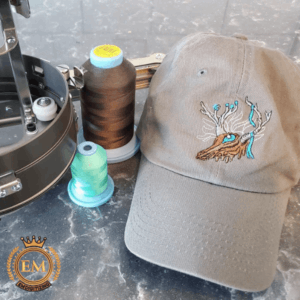
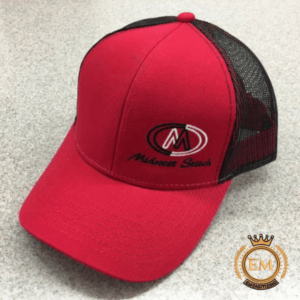
Embroidering The Front And Center Of Hats
Embroidering The Front And Center Of Hats
The front of a cap is where most embroidery goes because it’s the most visible and easiest to embroider. The primary distinction between ball caps is whether or not the front panels are structured.
Most structured caps have a buckram backing fused together on the inside. This makes the top of the cap stand up. Hats that aren’t structured, like school and college caps, don’t have this and tend to be more flexible.
It’s easy to embroider on structured caps that have buckram backing inside. You can use cap backing to give your unstructured cap some shape. You don’t have to use the back clip on wide-angle cap frames, especially for bigger designs.
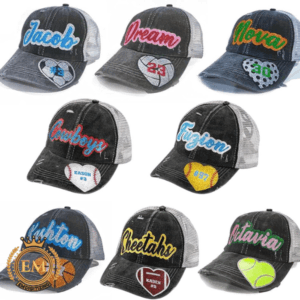
Embroidering The Side Of Hats
Embroidering The Side Of Hats
For side placement, you need to use the back clip(s) on the cap frame. The main job of the back clip(s) is to attach caps to the side. Wide-angle cap frames aren’t all the same!
The most noticeable difference is the number and placement of clips on the back. Some wide-angle frames have a huge clip on the back or sometimes two smaller ones.
Some companies employ multi-clips. You should always use side clips when placing caps on the side. If caps don’t have buckram on the sides, you need cap backing for side places.
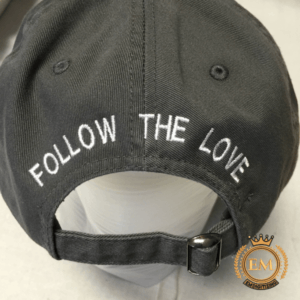
Embroidering The Back Of Hats
Embroidering The Back Of Hats
The placements on the back of the caps are easy. Most embroidery machines come with a small circular hoop specifically designed for this purpose.
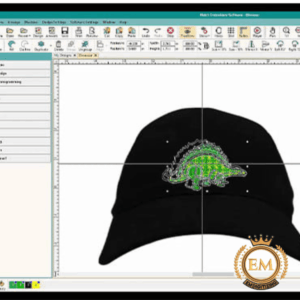
Digitizing Embroidery Designs For Cap And Hats
Digitizing Embroidery Designs For Cap And Hats
To run on a machine, a hat must be hooped properly. More importantly, the embroidery pattern must be scanned exactly for a curved surface.
Designs need to be digitalized just for caps to get the best results. Most professional digitizers will digitize a hat design considering its size. If you can’t find the right design online or rather not pay to have it outsourced, you can try digitizing it yourself.
But it can be challenging to digitize design yourself, so here you need digitizing experts.
Don’t worry!
EMdigitizing has got you covered. We offer embroidery digitizing services with fast turnaround at affordable prices. We digitize designs in every file format so your machine can read them easily. You can contact us, and we’ll get back to you as soon as possible.
Our experts suggest that when digitizing caps, you should always begin at the bottom and work your way up to the middle, then to the left and right sides of the design. This technique, called center-out digitizing, is used to lessen the pull and push effect.
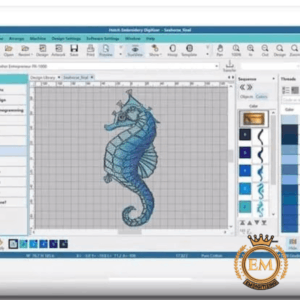
Embroidery Digitizing Software For Hats: Best Options
Embroidery Digitizing Software For Hats
There are a number of choices when it comes to software for digitizing embroidery designs for hats. For those interested in embroidery digitizing for hats and caps, here are some programs to consider:
Hatch Embroidery: Hatch Embroidery is a well-liked digitizing software for embroidery, and it has several tools that are useful for making embroidery designs for headwear.
Wilcom Embroidery Studio: Wilcom EmbroideryStudio is another well-known embroidery digitizing program with various tools for making embroidered patterns for headwear.
Pulse Embroidery Software: It is an all-inclusive embroidery digitizing program with several tools for designing embroidered patches and logos for headwear.
It’s crucial to think about the software’s features and capabilities and the skill level needed to utilize it effectively when selecting embroidery digitizing software for hats.
If you find these software difficult to operate, then you can contact us for your embroidery digitizing designs. Our digitizing experts manually digitize your designs with 100% quality guaranteed. So click here and get you design done quickly. For an amazing offer, keep on reading.
How To Hoop Cap Hats For Embroidery?
Before embroidering, hats and caps must be hooped. Whether you’re a beginner or an expert, hooping caps can be challenging without correct guidance. People often post about unsuccessful embroidery hat projects and blame their machines.
They had no idea that improper cap hooping might have dire consequences. If your hoops aren’t clean, the embroidery won’t be clean when you do embroidery.
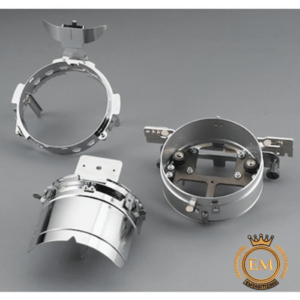
Please note that a cap hooping attachment is required before continuing. The three primary parts of this attachment are:
How To Hoop Cap Hats For Embroidery
Attachment of Hooping
Description
Driver
The driver goes over the machine’s arm and fits perfectly.
Cap Frame
The cap frame is the part of the cap that holds the hat.
Jig
The jig holds the cap frame in place so that hoops are more accurately placed.
Step-By-Step Guide To Hoop A Cap For Embroidery
If you want a perfect hoop, follow these steps:
Ensure that your cap frame is firmly attached to the jig.
Place the peak mount and band out of the way and set the cap frame for the hat in place.
Adjust the hat so the red line coincides with the central seam and the inner band is out of the way.
Adjust the cap frame band or strap so that it fits correctly between the hat’s top and the base of the cap.
Cover the hat’s peak with a protective cloth and secure the peak mount to prevent accidental marks when embroidering.
PREMIUM OFFER
If you’re looking for the best embroidery digitizing and vector art services, then EMdigitizing is your go-to place. We currently offering 50% off your first order and you can also get a FREE QUOTE in just 5 minutes from our experts.
So, are you ready to take your embroidery project to the next level?
Please get in touch so that we can discuss your needs and work together to transform your ideas into beautiful works of art.
You can embroider on the center, front, back, or side of the hat. Firstly you need to properly hoop the cap. Then apply a stabilizer if needed. Later, thread the machine and follow the instructions of your machine to embroider the design.
The size and complexity of the design and the embroidery shop determine the cost of hat machine embroidery. However, a simple embroidery design would cost you between $10 and $50.
You may have to pay more if you want a more intricate pattern or if you need your hat embroidered soon. On the other hand, EM Digitizing offers quick turnaround times on designs at reasonable rates.
If you want to embroider a hat or cap, you’ll need a special embroidery hoop or frame. You should hoop the hat so that the fabric is smooth and wrinkle-free. Apply an embroidered stabilizer layer to the hat and let it dry.
If you want to embroider on the side of a baseball cap, you should hoop it so that the side panel is taut. Insert the stabilizer under the side panel inside the cap. Follow your machine’s guidelines to embroider the pattern.
Request A Quote
Get embroidery digitizing cost estimation for free within few minutes.

 Your cart is empty

