How to Get Embroidery Design Files With Easy Steps
How to Get Embroidery Design Files With Easy Steps
In this article, we will go over the steps involved in getting embroidery design files, including where to find them, how to download them, and how to load them onto your embroidery machine.
How to Get Embroidery Design Files With Easy Steps
Introduction:
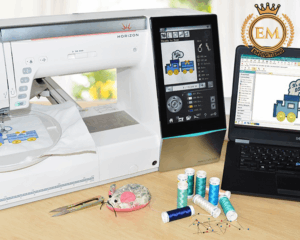
Embroidery design files are digital files that can be loaded onto an embroidery machine to create unique designs on fabrics or other materials. These files come in a variety of formats, and can be created by professional digitizers or by hobbyists using embroidery software.
Steps to Get Embroidery Design Files:
Let’s look at some important steps you need to know in order to get your embroidery design file:
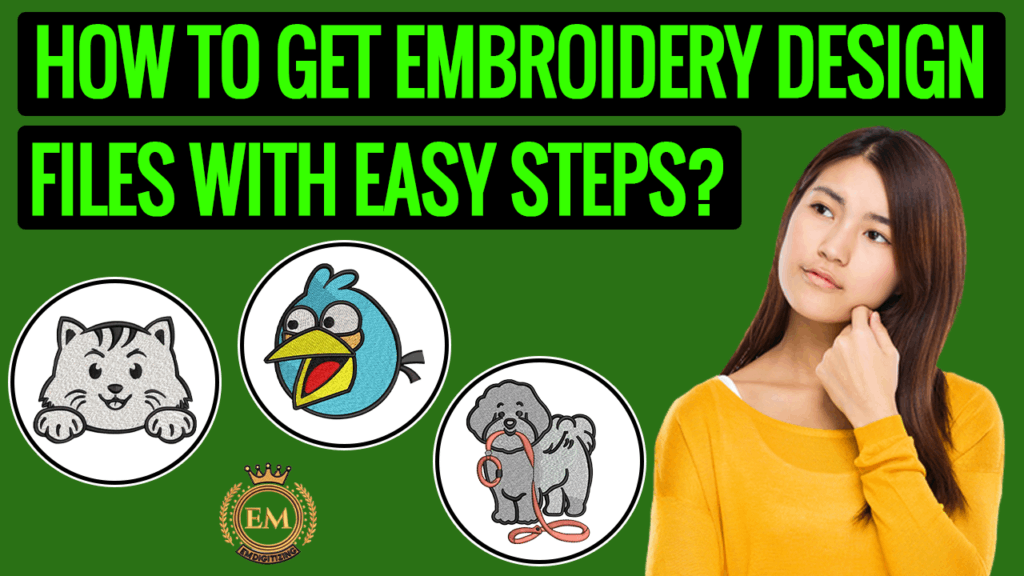
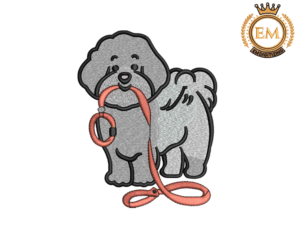
Step 1: Choose Your Embroidery Design
Choose Your Embroidery Design
The first step in obtaining an embroidery design file is choosing the design you want to use. This could be a design you’ve created yourself, a pre-made design from a website, or one that’s included with your embroidery machine.
If you are looking to add a personalized touch to your projects, look no further than ZDIGITIZING and EM DIGITIZING! Our expert digitizers can take your ideas and create high-quality embroidery design files that are sure to impress.
From logos and monograms to intricate designs, we have the experience and expertise to bring your vision to life. Contact us today to learn more about our custom digitizing services and take the first step towards creating truly unique and personalized embroidery projects.
Step 2: Determine the File Format
Determine The File Format
Different embroidery machines require different file formats, so it’s important to determine the format required for your machine. Some common file formats include .dst, .pes, .exp, .hus, and .jef. Check your embroidery machine’s manual or consult the manufacturer’s website to determine the file format your machine uses.
Step 3: Find a Source for the Design File
Find A Source For The Design File
There are many sources available for embroidery design files. Some of the most popular options include websites that specialize in embroidery design files, online marketplaces, and subscription-based services. Some companies even offer free embroidery design files to their customers.
Step 4: Purchase or Download the Design File
Once you’ve found a source for your embroidery design file, you can either purchase it or download it for free, depending on the source. Looking for a reliable source of high-quality embroidery design files that are guaranteed to be compatible with your embroidery machine? Look no further than ZDIGITIZING and EM DIGITIZING! Zdigitizing’s subscription plan gives you access to a vast library of embroidery designs in various file formats, so you can choose the ones that work best for your needs.
Plus, our designs are created by our expert digitizers to ensure top-notch quality and stitchability. Subscribe to our plan today and start creating stunning embroidery projects that are sure to impress! Be sure to check the file format before downloading or purchasing to ensure it’s compatible with your embroidery machine.
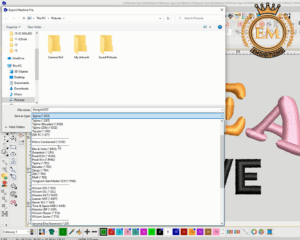
Step 5: Transfer the Design File to Your Embroidery Machine
Transfer The Design File To Your Embroidery Machine
Once you’ve obtained the design file in the correct format, it’s time to transfer it to your embroidery machine. The method for doing this will vary depending on your machine and the type of file transfer method it supports. Some machines may require a USB drive, while others may support Wi-Fi or Bluetooth connections.
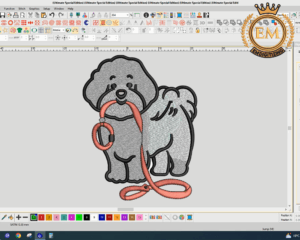
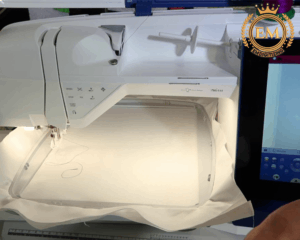
Step 6: Set Up Your Embroidery Machine
Set Up Your Embroidery Machine
Once the design file is transferred to your machine, it’s time to set up your machine for embroidery. This will typically involve selecting the design file and adjusting the settings on your machine to ensure the design is embroidered correctly.
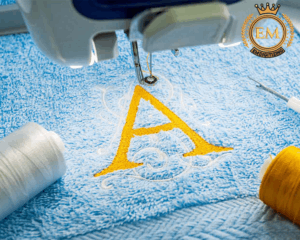
Step 7: Start Embroidering
Start Embroidering
Once everything is set up, it’s time to start embroidering your design. Follow the instructions on your machine to ensure the embroidery is done correctly, and enjoy your personalized and custom-designed creations!
Conclusion:
To get embroidery design files, you need to choose a design, download the file, transfer the file to your embroidery machine, set up your machine, and start the embroidery process.
We hope you enjoyed reading this article as we did in writing.
If you want to customize logo embroidery digitizing services, EM DIGITIZING will be your best choice. At EM DIGITIZING, we deliver the best embroidery logo digitizing services with the best quality. We offer 50% off on all our services to our potential customers on their first order. So, get a free quote now and we will get in touch with you.
Hope this article will be helpful for you guys!
If there’s any question related to this article feel free to comment to us. And, thanks for reading!

 Your cart is empty

