Cutwork embroidery is a technique commonly used on fabrics to give a decorative touch. It’s similar to appliqué, but instead of adding fabric, you cut it out. Doing this leaves open the spaces that are finished with the satin stitch.
It’s easy to look at cutwork embroidery and think that intricate designs take weeks (or months) to complete, but with an embroidery machine, you can create beautiful cutwork embroidery in a single afternoon. All you need to do is a hoop, trim, sew and rinse — it’s that easy!
It’s easy to look at cutwork and think that intricate designs take weeks (or months) to complete, but with an embroidery machine, you can create beautiful cutwork in a single afternoon. All you need to do is a hoop, trim, sew and rinse — it’s that easy!
Embroidery Digitizing Services
Cutwork Embroidery
Cutwork embroidery involves freestanding embroidery that is sewn onto the fabric. Depending on your design and the look of the project you desire, the cutwork design can be surrounded by fabric, or it can be half and half freestanding on your fabric.
Designs for Cutwork Embroidery
Cutwork embroidery designs are specially designed for cutwork. These designs include specific steps to aid implementation. First, they will add a cut line. This will give you an outline of where you will cut your freestanding embroidery to look. You will cut inside the stitched lines. If your stabilizer is attached to your fabric, don’t cut your stabilizer, just your fabric. Next, another embroidery file will be sewn. It will fit perfectly with where you cut your fabric. This will be your chosen embroidery design and should look similar to the stitch and cutwork design.
Stabilizer for Cutwork Embroidery
You don’t always realize how important a stabilizer is until you’re doing cutwork! It’s also important to make sure you’re using the right stabilizer. If you use a cutaway stabilizer for any cutwork embroidery project, you’ll spend a lot of time trying to get your scissors out of the design. As the point of the cutwork embroidery is freestanding embroidery, you want nothing to be left behind or shown in your embroidery. This technique requires the use of a wash-away stabilizer. Getting rid of your stabilizer shading is as easy as washing your design in hot water.
Note: I would recommend doing a test with your wash-away stabilizer first as all household water is different. If hot water isn’t removing the stabilizer, try adding a little fabric softener or hair conditioner.
Fabrics for Cutwork Embroidery
The fabric you use in your cutwork embroidery projects can affect your results. If you use fabric with too much or too little density, it can cause too much movement or cause your design to sew poorly. I recommend using a cotton material but make sure your item is washed first to ensure it doesn’t shrink after you sew it.
Threads for Cutwork Embroidery
Although the many different types of thread make it difficult to determine what is best to use for cutwork, I recommend using rayon thread. Rayon is flattering, has a high sheen, and offers many different color choices. It can perform well in high-speed sewing and has a soft feel, perfect for intricate embroidery. I would not recommend using poly. Although it has a high breaking point, the synthetic nature of poly makes it slightly spongy in feel and appearance when the stabilizer dissolves.
Scissors for Cutwork Embroidery
You can use any embroidery scissors, but when it comes to cutwork embroidery, I recommend using 6-inch double-edged curved scissors. That’s because of how they are designed. The handle is curved, allowing you to reach in and under your fabric like a shovel. The blade of the scissors points upwards. This is because the blade doesn’t cut through anything you don’t want to cut, such as the stabilizer or the underside of the fabric. This finish also helps with precision and intricate detailing, which is essential when creating cutwork in embroidery.
How To Do Cutwork Embroidery – Tutorial
I want to show you a really cute project cutwork Easter project. This is a cutwork egg with an Easter bunny inside. You can read below what I’m going to do with them.
This pattern comes from advanced embroidery designs. The largest hoop size on my machine is 5 x 7 and this pattern is 5 x 8. I was shocked, but it works. I don’t understand why I thought this pattern was too big for my machine, but it still fits inside my hoop. I can’t promise your own machine though. I originally picked up this pattern for free last year. They have monthly free designs. If it wasn’t free I would be afraid to buy it thinking it wouldn’t work for my machine.
Step 1:
Choose your clothes. It is best to use small print. I used a bright pink tone for the first tone and the white thread. For the second I used an off-white tone-on-tone fabric with a pastel different color thread. Keep a full bobbin wound as well as a fresh sharp embroidery needle for this project.
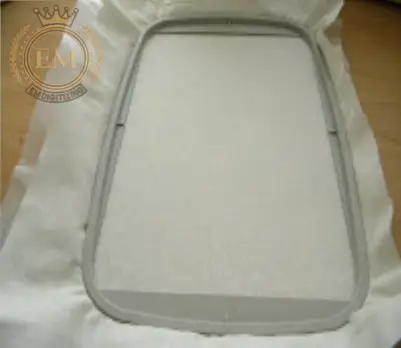
Step 2:
Hoop fabric with water-soluble stabilizer on the bottom right side. Both are in a cycle. Swing hard.
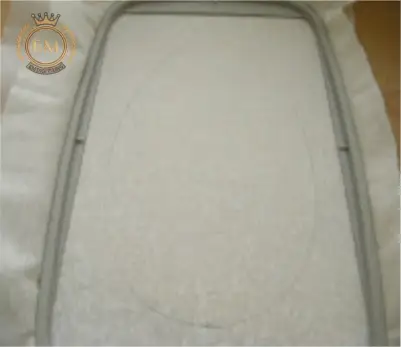
Step 3:
The first stitch is a straight stitch around the outside of the egg. Remove your hoop from the machine and cut a small section of fabric from the outside of this stitch. I cut about half an inch off which you can see below. Look carefully. The stitching is inside where I cut. I cut a half inch outside the seam. Remember these two things: 1. Just remove your hoop from the machine. Do not remove clothes from the hoop! 2. Don’t cut your water-soluble stabilizer. Just cut the fabric! (I’m not trying to be corny here 😉 I really want to emphasize these two things.)
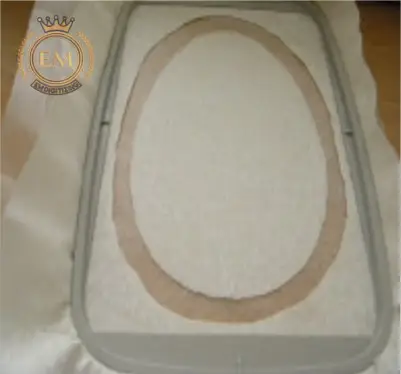
Cut very close to the stitching line for best results. On the first sample I did, the pink one, I was afraid to cut too close and it was hard to clean up the frayed edges. On the second sample, I cut about 1/32″ to 1/64″ of an inch, very close to the seam!
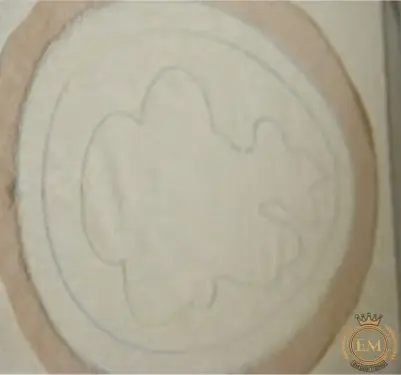
Step 4:
The second stitch is the outline of the inside of the egg and the outline of the interior design.
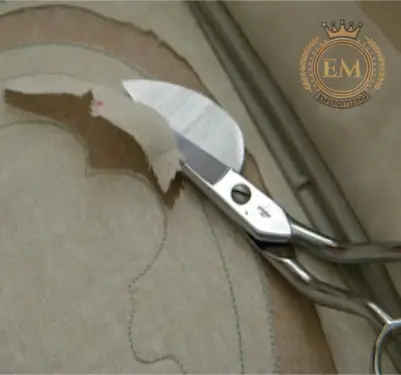
Step 5:
Once again remove the hoop from your machine and cut only the fabric between the rabbit and the inner egg. Maintain the stabilizer. Applique scissors are a very handy tool for cutting close to the sewing line.
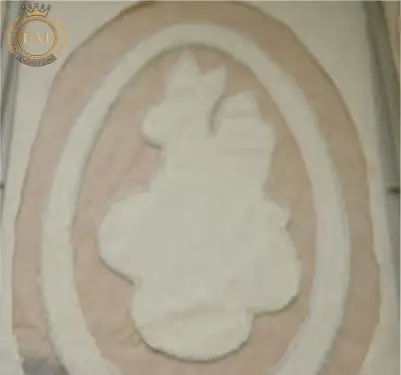
Step 6:
The third stitch is the work and design of all the lace. That’s part takes the most time. Just sit back and check out some blogs and read a little while the machine does its magic.
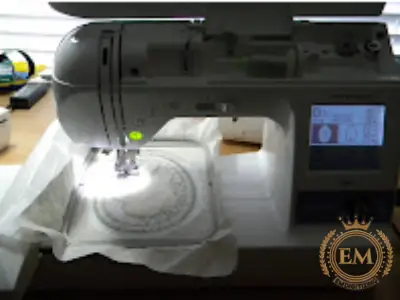
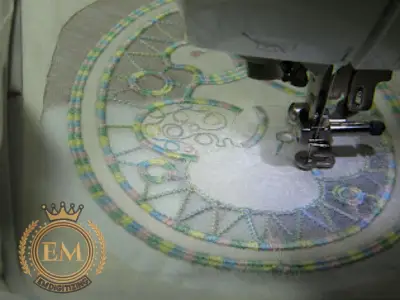
Step 7:
The fourth and final stitch is a decorative stitch between the inner and outer egg lining. You can change the thread color according to you.
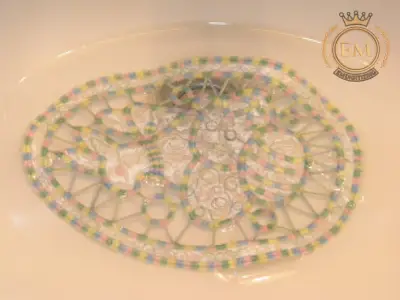
Step 8:
Remove the hoop and separate the fabric from the hoop. Cut the stabilizer near the outside of the egg and submerge the entire project in water. This will dissolve the water-soluble stabilizer. Press, dry and enjoy!!!
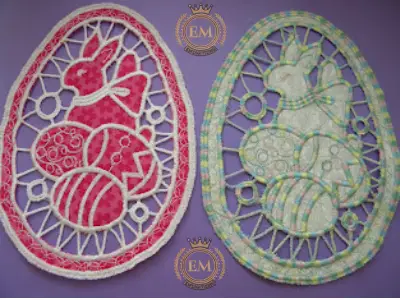
Conclusion
Hopefully, this tutorial has helped you understand a little more about cutwork embroidery. While the end result may look intimidating, the process is easier than you might think. If you haven’t already, try sewing your own cutwork embroidery design! Let me know if this tutorial helped or if you have any questions below!
Cutwork or cut work, also known as punto tagliato in Italian, is a needlework technique in which parts of textile, usually cotton or linen, are cut out, resulting in “holes”.
Cutwork is a surface embroidery technique and uses two main stitches: running and buttonhole stitch. It is worked on fine linen or cotton cloth or lawn. It is usually worked in threads that match the color of the fabric, traditionally white or ecru.
Cutwork is generally considered a part of whitework embroidery. It is used to decorate household items (table linens, fine hand towels, curtains, bed linens), church linens, and even clothing.
Cutwork is an embroidery technique where small sections of fabric are cut out and the raw edges are completely covered with stitches. Cutwork is often done on linen with designs on the edge or as part of the embroidery on the linen.
Fine zigzag stitching
Use a fine zigzag stitch to join all the edge pieces together. Connect the bobbin thread to the embroidery thread so that the front and back of the lacework match.
