
How are metallic threads made?
Let’s start by talking about how metallic threads are made so you can understand why they can cause so many problems.
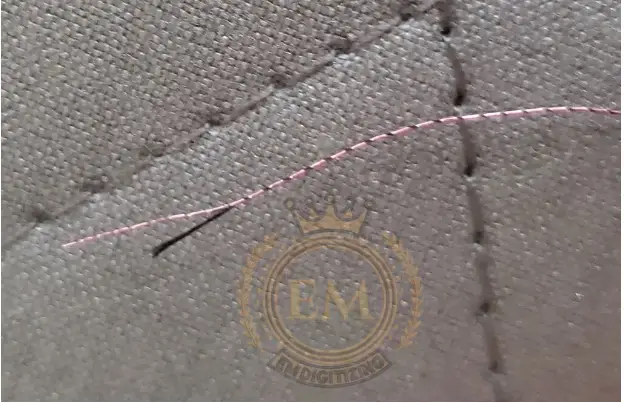
Above, I took one apart to show you the two layers!
As you can see, metallic threads are made with a layer of metallic foil wrapped around a strong nylon or polyester inner thread core. It’s not too difficult to separate the layers by hand, which means your machine will happily separate the layers for you if it’s not set up properly.
Despite the foil wrapping, these threads should be relatively smooth to the touch. However, if they don’t run easily with two fingers, they can’t run easily through your machine!
Why is it so challenging to embroider with metallic thread?
 Think of your sewing machine needle moving up and down at high speed and how it can affect that thin layer of wrapped metal.
If the thread rubs too fast against the fabric, the needle, or the inside of the machine, the metal foil can break.
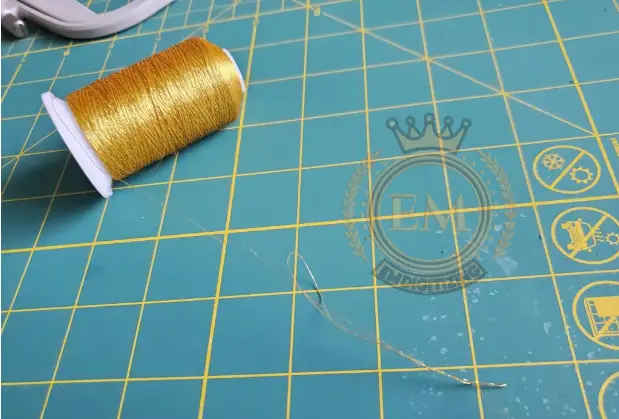
To complicate things, metallic thread tends to twist, kink, and coil as it leaves the spool (see above). Thus, if a kinky thread reaches the tension disc of your machine, it gets stuck. This causes the thread to break, break and stretch in front of this tension disc.
With the foil separated, this leaves only the thread part that penetrates your fabric and the metal foil backs up at the point of obstruction. Eventually, the inner cover breaks right after the foil are peeled off, and you’re left with a big mess.
Variations of Metallic Thread
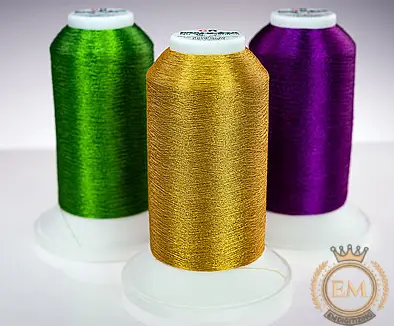
 Threads come in lots of fun, metallic colors, though! There are the usual gold and silver colors, but there are also beautiful pinks, turquoise, and even a variety of metallic threads.
Some machines are temperamental with different brands of metallic thread, so there is no one best brand of metallic embroidery thread. I’m currently using Thread Nanny metallic thread, which was gifted to me, and it’s been great. There are many brands to try with your machine though!
Also, the most common thread weight for a metallic thread is 40 wt, which is the standard weight for machine embroidery thread.
With some effort, you can find the metallic thread in different weights if you want different thread thicknesses for your project.
Tips for Metallic Embroidery Thread
Now, let’s go through the parameters and see the procedure of machine embroidery with metallic thread.
1. The Best Machine Embroidery Needles for Metallic Thread
During the embroidering with metallic thread, you need to switch from a standard 75/11 embroidery needle to a new metallic needle or topstitching needle.
Metallic and topstitch needles have extra large, long eyes to reduce friction and prevent the metallic threads from fraying and breaking. Metal needles also have a large groove and a large scarf to protect the delicate metal thread as it passes through the eye of the needle. (Confused about needles? Check out: Choose the Best Machine Embroidery Needle According to Your Project).
In terms of size, if you are embroidering on thin fabric and using 40-wt thread, start with an 80/12 needle. If you are embroidering on a thicker fabric or using 30 wt thread, start with a larger size 90/14 needle.
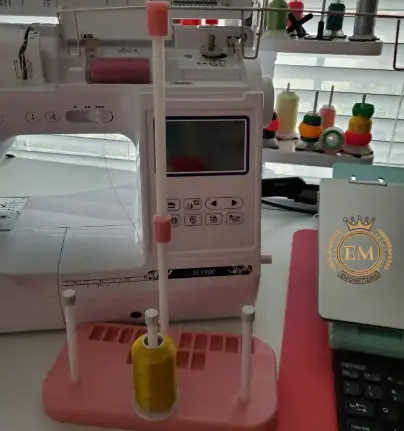
2. Add a Thread Stand or Alternate Spool Setup
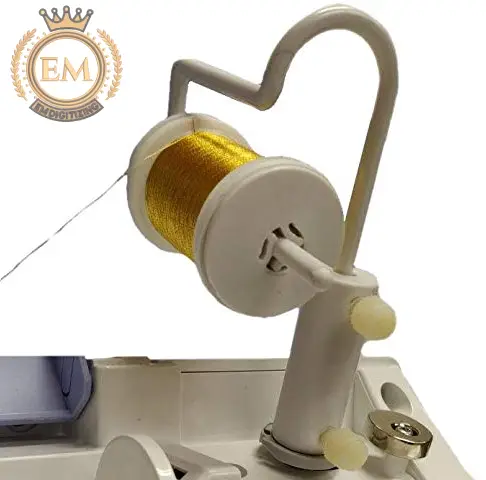
To prevent kinking of the metallic thread, avoid horizontal thread setups where the thread comes horizontally across the top of the spool. (See below).
When opening the wound horizontally as above, twist the metal thread more than removing the wound from a vertical position. Over time, the thread becomes more and more twisted until it breaks.
If your machine, like mine, only has a horizontal thread holder, you’ll need to find an alternative way to orient the thread. I have a Monster Embroidex thread stand (below) that I use to line my threads. It also works great for unraveling metal threads.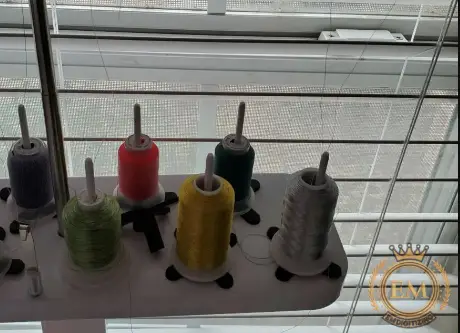
I also have a small thread stand that works quite well when I keep it away from my machine. I rarely use it though.
The longer (within reason) you position the thread stand with your machine, the longer it will take to unwind and relax before the thread is fed into the machine. If you can move a foot or two away, that’s great! However, my embroidery space is limited, so I work with the space I have.
Getting something like a spool holder on the bottom to attach to your machine’s bobbin winder will also improve thread feeding.
If you don’t want to buy a thread stand and want to MacGyver it at home instead, you can easily make your own thread holder too!
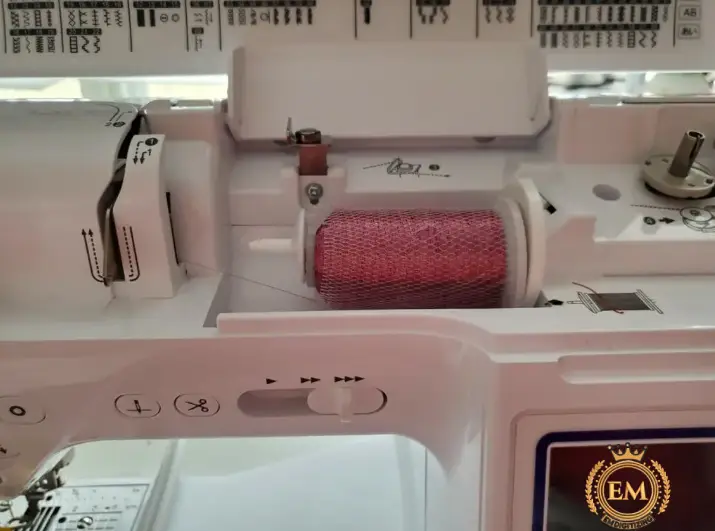
3. Thread Nets
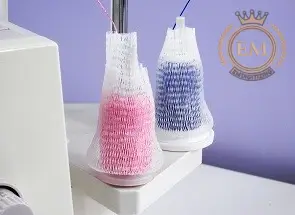
Using a thread net helps catch the feed and prevents the thread from falling under the spool and getting tangled. These nylon nets are also intended to remove the spinning thread before threading it into your machine.
I usually have pretty good luck with no thread netting and just a thread stand, but this is something else to try if you’re having consistent feeding issues. Just make sure the thread mesh covers the entire cone.
4. Stabilizers
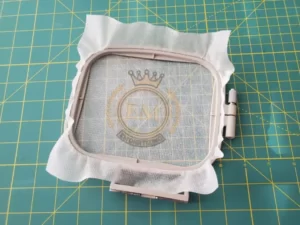 Choose your stabilizer based on the characteristics of the design you are using and the fabric you are embroidering on.
If you have options, choose a cutaway or no-show mesh instead of a tearaway stabilizer. The former two types are softer and more flexible, meaning the thread is slightly less likely to tear due to continuous piercing through them.
Also, avoid using adhesive stabilizers and adhesive sprays if possible. Avoid anything that can pull on this outer shell.
5. Design Selection
 Choose the design carefully when using metallic machine embroidery thread. (And, always do a test stitch before you start embroidering on expensive or irreplaceable fabric.)
For example, dense designs with overlapping stitch areas may not work best. Sewing through an extra layer of stitches in addition to the fabric and stabilizer makes the thread more likely to catch and break.
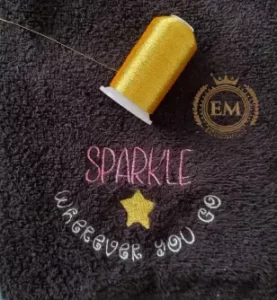
I usually like to stitch most of my designs in regular embroidery thread and add metallic thread at the end for a final pop of detail.
There are some instances where it may not be obvious that you are using metallic embroidery thread. For example, black metallic embroidery thread…looks like plain old black polyester embroidery thread to me!
6. Stitching Speed
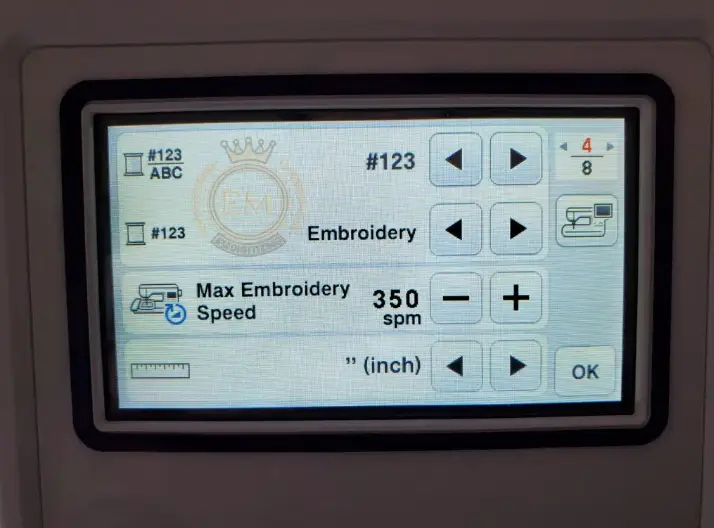
The faster your machine stitches, the more likely you are to have problems with thread breakage or breakage.
If you have a very fast machine, I recommend cutting the stitches as low as possible when you first start troubleshooting. My machine will run at 350 spm, which is what I use with metals.
Although the slow stitch means the design takes longer to sew, it’s much better than re-threading every few minutes when the threads break!
Slowing down the sewing speed not only reduces problems but also allows you to catch any errors more quickly and fix them before they cause problems with your design.
7. Thread Tension
As the metallic embroidery thread is unwound from the spool, it quickly reaches the tension disc of the embroidery machine. Loosening the machine tension reduces friction on these discs, preventing thread pulling, backing up and eventual breakage as it passes through.
As such, embroidering with metallic thread is one of the few times where you may need to lower your machine tension to get the best results.
This adjustment will be machine-specific, fabric-specific, and even thread-brand-specific, so there is no “best” tension for metallic threads. Your user manual will have instructions on how to adjust your machine’s tension from the default tension.
Make small changes initially rather than big changes. Without sewing out, you can test how tension changes affect the thread feed by trying to pull your thread through the machine by hand with each change you make.
Conclusion
Now that you know what goes wrong when using metal and its surrounding methods and how you can solve them, you should try using metal thread again, this time without the headache!
Let me know if you found this article helpful or if you have any questions below.


