Embroidered slippers are a stylish and personalized accessory that can add a touch of elegance and uniqueness to your footwear collection.
With the help of an embroidery machine, you can create intricate and beautiful designs on your slippers, turning them into one-of-a-kind fashion statements.
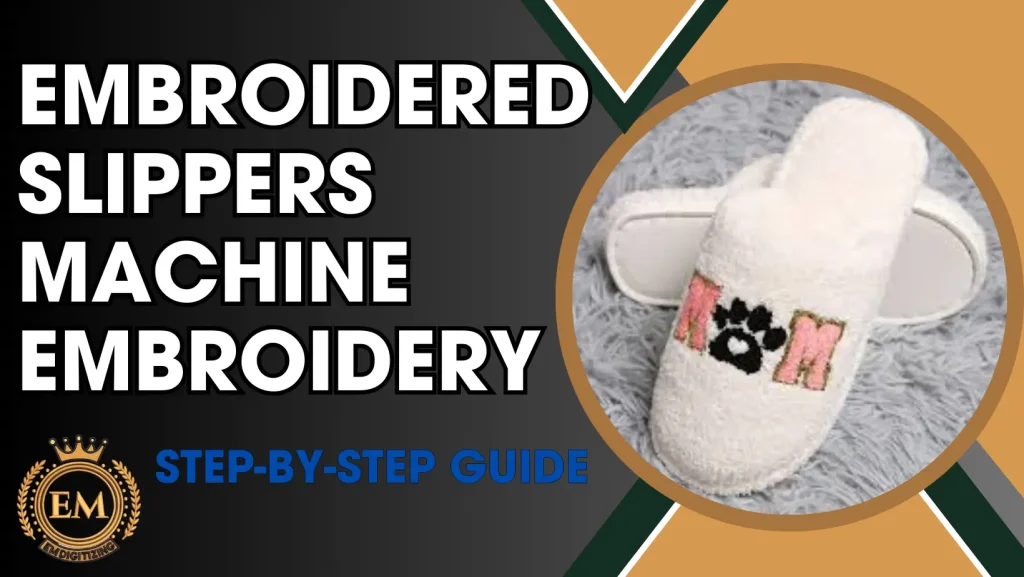
Whether you are a beginner or an experienced embroidery enthusiast, this article will guide you through the process of making slippers using an embroidery machine.
So, let’s dive into the world of embroidery and make your slippers truly extraordinary!
Embroidered Slippers Machine: Step-by-Step Guide
Choosing the Right Materials and Supplies
Before diving into the world of slipper embroidery, it’s essential to gather the right materials and supplies. Here are the key elements you need to consider:
Selecting the Perfect Pair of Slippers
Start by selecting a pair of slippers that you love and want to transform into a masterpiece. Choose slippers made from a fabric that is suitable for embroidery, such as cotton or microfiber.
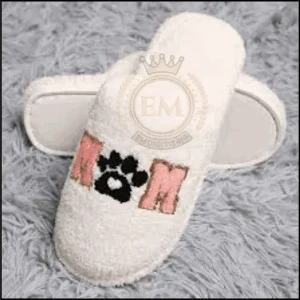
It’s important to ensure that the slippers have a smooth and flat surface to achieve the best embroidery results.
Exploring Different Embroidery Threads
The choice of embroidery thread can make or break your design. Consider the color, weight, and sheen of the thread to complement your slipper material and design.
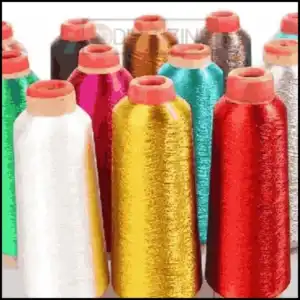
Cotton threads are ideal for a soft and matte finish, while polyester threads offer durability and a vibrant shine.
Other Essential Supplies for Embroidering Slippers
In addition to slippers and thread, you’ll need a few other supplies to get started. These include stabilizers to reinforce the fabric, embroidery scissors for precise cutting, and bobbin thread for the underside of your embroidery.
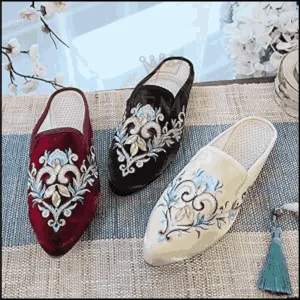
Don’t forget to have some needles and a good dose of enthusiasm too!
Preparing the Slippers for Embroidery
Before you can begin embroidering your slippers, it’s crucial to prepare them properly. Follow these steps to ensure successful slipper embroidery:
Cleaning and Prepping the Slippers
Give your slippers a gentle clean to remove any dirt, oils, or dust that may interfere with the embroidery process. Check the manufacturer’s instructions for specific cleaning recommendations.
Also, make sure the slippers are dry before moving on to the next step.
Choosing the Placement for the Embroidery Design
Decide where you want to position your embroidery design on the slippers. You can choose the toe, the heel, or even the sides. Consider the shape and size of your design, as well as the slippers’ structure.
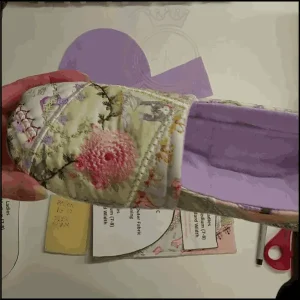
Mark the chosen position with a removable fabric marker or pins to guide you during embroidery.
Setting up and Using the Embroidery Machine
Now it’s time to bring out your embroidery machine and let the creativity flow. Follow these steps to set up and use your embroidery machine effectively:
Setting Up the Embroidery Machine
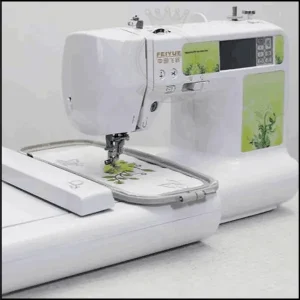
Begin by carefully reading the instruction manual for your specific embroidery machine. Make sure it is properly set up and all the necessary components, such as the hoop and embroidery foot, are attached securely.
Familiarize yourself with the machine’s threading process and ensure that the thread is loaded correctly.
Understanding the Machine's Controls and Functions
Embroidery machines come with various controls and functions that may seem overwhelming at first. Take the time to understand the basic features, such as selecting designs, adjusting stitch settings, and changing needle positions.
Thread and Needle Selection
Choose the appropriate needle and thread according to your design and fabric. Consult your machine’s manual for recommended thread and needle sizes.
Ensure the thread is properly threaded through the machine’s tension disks and threaded through the needle correctly. Double-check that the needle is securely attached before starting the embroidery process.
Selecting and Customizing Embroidery Designs
Selecting and customizing embroidery designs is a creative process that allows embroiderers to personalize their projects, making each piece unique.
Browsing Embroidery Design Options
When it comes to selecting embroidery designs for your slippers, the options are endless. You can find a wide range of designs online or even create your own.
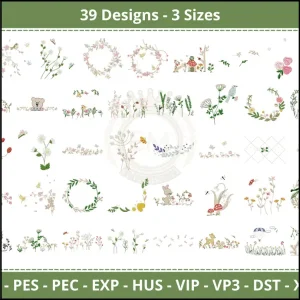
Take some time to browse through different websites and platforms that offer embroidery designs. From cute animals to intricate patterns, there’s something for everyone’s taste.
Note: If you don’t find any design you can send us your design for digitizing. We’ll convert it into machine-readable files with guaranteed quality at the most affordable price.
Importing And Modifying Designs
Once you’ve found the perfect embroidery design, it’s time to import it into your embroidery machine. Most machines allow you to connect them to a computer or simply transfer designs through USBs.
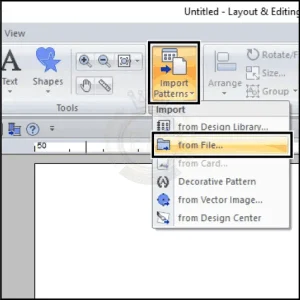
After importing, you can customize the design to fit your slippers. Resize it, change colors, or tweak any elements until you’re happy with the result.
Get creative and make the design your own!
Embroidering the Slippers
Embroidering slippers add a personalized touch to an everyday item, transforming it into a unique and thoughtful gift or a bespoke addition to your own wardrobe.
Hooping the Slippers
Before you start embroidering, you’ll need to hoop your slippers. This ensures that the fabric remains taut and stable throughout the process.
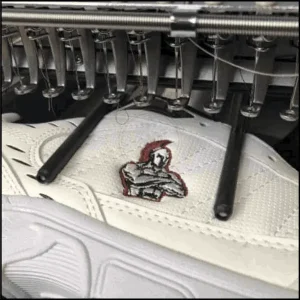
Gently stretch the slipper over the embroidery hoop, making sure it is smooth and without any wrinkles. Adjust the tightness of the hoop to secure the slipper in place.
Embroidery Machine Settings for Slippers
To achieve the best results, it’s important to set your embroidery machine accordingly. Use a size-appropriate embroidery needle for the type of fabric your slippers are made of.
Adjust the machine’s speed and tension settings to prevent any puckering or stretching of the fabric.
Remember to refer to your machine’s manual for specific instructions tailored to your model.
Embroidery Process Step-by-Step
Now that your slippers are hooped and the machine is set up, it’s time to let the magic happen! Simply press the start button and watch as the needle dances across the fabric, bringing your design to life.
Sit back, relax, and let the machine do its thing. Take a moment to appreciate how cool it is to witness a machine creating art right before your eyes.
Finishing and Caring for Embroidered Slippers
Finishing and caring for embroidered slippers are crucial steps to ensure the longevity and appearance of your personalized footwear.
Removing the Slippers from the Embroidery Hoop
Once the embroidery is complete, carefully remove the slippers from the hoop. Gently loosen any clamps or screws and lift the hoop away.
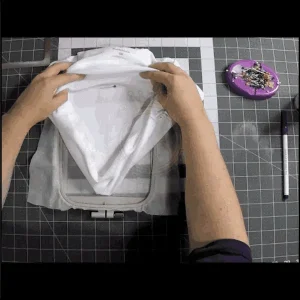
Be cautious not to damage the embroidered area or the slippers themselves.
Congratulations, you’ve successfully completed the embroidery!
Trimming and Securing Loose Threads
After removing the slippers from the hoop, take a close look at the embroidery. Trim any loose threads using small embroidery scissors. Make sure to snip them close to the fabric to avoid fraying.
If you notice any loose stitches or areas that need reinforcement, use a needle and thread to secure them. Pay attention to detail, and your slippers will look polished and professional.
Tips for Washing and Maintaining Embroidered Slippers
To keep your embroidered slippers looking their best, it’s essential to follow proper care instructions. Check the label or refer to the fabric’s guidelines to determine the best washing method.
Avoid using harsh detergents or bleach that could damage the embroidery. If possible, hand washing is recommended. Air drying is also preferable to prevent any potential shrinkage or distortion.
Advanced Tips and Techniques for Embroidery Machine Users
For users looking to elevate their embroidery skills, mastering advanced tips and techniques is essential.
Exploring Advanced Design Features
Once you’ve become comfortable with the basics of embroidery, it’s time to explore the advanced features of your machine.
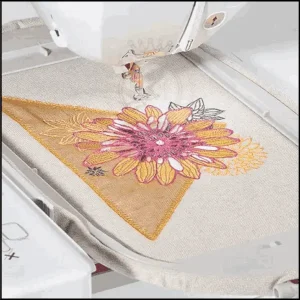
Experiment with different stitch styles, thread weights, and built-in designs. Get creative and push the boundaries of what your machine can do.
You’ll be surprised by the endless possibilities!
Troubleshooting Common Embroidery Issues
Embroidery may not always go as smoothly as planned. If you encounter any issues, don’t panic! Refer to your machine’s troubleshooting guide for guidance on problems like thread breaks, tension issues, or misalignment. Sometimes, a simple adjustment or rethreading can solve the problem.
Embrace the learning curve and remember that even experienced embroiderers face challenges.
Experimenting with Different Embroidery Styles and Effects
Once you’ve mastered the basics, it’s time to have some fun with embroidery. Explore different styles and effects to add your personal touch to your projects.
Play around with different thread colors, textures, and even embellishments like beads or sequins. Let your imagination run wild and create unique pieces that reflect your personality.
Conclusion
In conclusion, making embroidered slippers with an embroidery machine opens up a world of possibilities for adding personal flair to your footwear. By following the steps outlined in this article, you can create unique and eye-catching designs that reflect your individual style.
With practice and experimentation, you can continue to refine your embroidery skills and create even more intricate and impressive designs.
So, unleash your creativity, have fun, and enjoy the journey of making beautiful embroidered slippers that are sure to turn heads wherever you go.
Happy stitching!
EMdigitizing: Embroidery Digitizing Expert At Your Service
If you are interested in any kind of embroidery project, then EMdigitizing is the best option for you. We offer embroidery digitizing and vector art services with a fast turnaround time. You can also visit and check our website as well as our best services.
We also offer a great 50% discount on all our services for our respected first-time clients. We also offer free quotes generated in just 5 minutes.
You should grab this limited-time offer and take your embroidery project to the next level with EMdigitizing.
If you’ve any queries regarding this topic, you can ask them. Thank you for taking the time to read this article.
Frequently Asked Questions:
Yes, you can embroider shoes with an embroidery machine, especially if the shoe can be flattened or opened sufficiently to fit into the machine’s embroidery hoop, and with the use of a suitable stabilizer.
An embroidery machine can embroider on leather, but it requires a specific leather needle, appropriate stabilizer, and settings adjustments to prevent damage to the material.
For embroidering shoes, it’s advisable to use a leather or denim needle, depending on the shoe’s material, to ensure the needle can penetrate the fabric without causing damage.
The Brother SE600 or the Janome Memory Craft 500E are excellent machines for embroidery, offering a range of features that cater to both beginners and experienced users, with capabilities to handle various materials and intricate designs.
