
Embroidery is a beautiful and intricate craft that allows individuals to express their creativity and add personal touches to various items. However, one common challenge that embroiderers face is embroidery puckering – the unsightly wrinkling or distortion of fabric around embroidered areas.
Puckering can significantly diminish the embroidery quality and overall appearance of the final embroidery project. To achieve perfect embroidery results, it is crucial to understand the causes of puckering and implement preventive measures throughout the embroidery process.
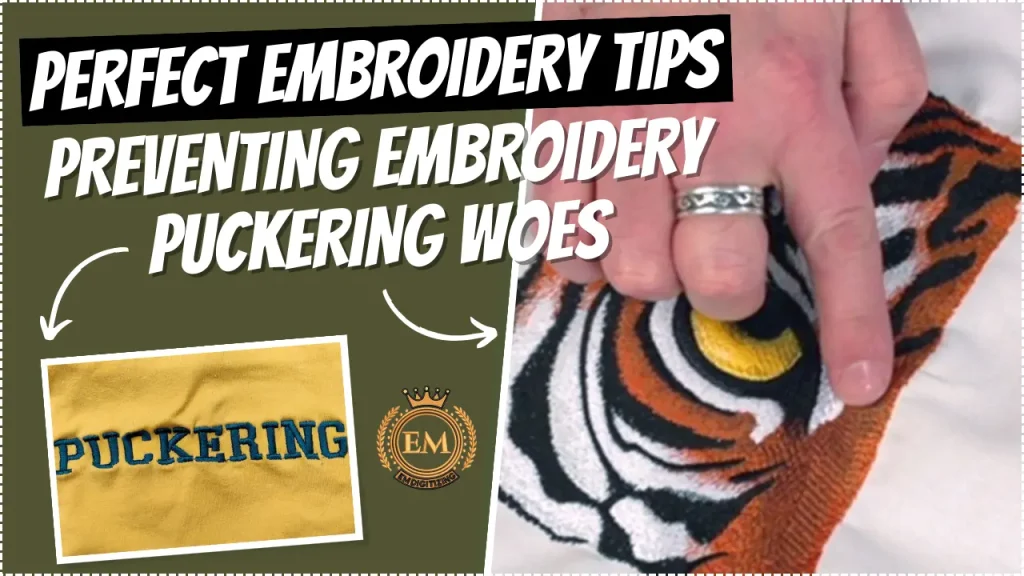
Perfect Embroidery Tips: Preventing Embroidery Puckering Woes
What is Embroidery Puckering?
Embroidery puckering is when the fabric around the embroidered design becomes wrinkled or gathered, giving your masterpiece a less-than-perfect finish. Instead of smooth and professional-looking stitches, you end up with a crinkly mess that can be quite frustrating.
Why is Preventing Puckering Important for Achieving Perfect Embroidery?
Nobody likes a wrinkled piece of embroidery, right?
Preventing puckering is essential if you want your embroidery projects to look polished and neat. Puckering not only affects the appearance of your work but can also make the fabric feel stiff and uncomfortable.
So, to achieve that picture-perfect embroidery, it’s crucial to tackle the causes of puckering head-on.
What Are the Causes of Embroidery Puckering?
To combat embroidery puckering, it’s important to understand what causes it in the first place. Here are a few common culprits:
Inadequate Hooping Techniques
Hooping is the process of securing the fabric in an embroidery hoop to keep it taut and stable while stitching. Inadequate embroidery hooping techniques, such as not hooping the fabric tightly enough or placing it unevenly, can lead to puckering.
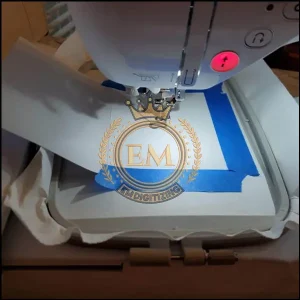
After all, if the fabric isn’t properly secured, it’s going to wrinkle and gather when the needle starts doing its thing.
Incorrect Tension Settings
Unsuitable Fabric Choices
Not all fabric types are created equal when it comes to embroidery. Some fabrics, like lightweight or stretchy ones, are more prone to puckering.
Their delicate nature makes them susceptible to wrinkling under the pressure of the embroidery stitches. Choosing the wrong fabric can set you up for puckering disappointment.
Proper Fabric Selection for Preventing Embroidery Puckering
Now that we know unsuitable fabric choices can contribute to puckering, let’s dive into how to make the right fabric selections that will help you avoid this embroidery nightmare.
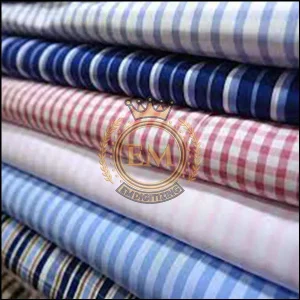
Considerations for Choosing Embroidery-Friendly Fabrics
When choosing fabrics for embroidery, opt for those that are stable and have a tight weave. Fabrics like cotton, linen, denim, and twill are great choices because they can handle the tension of the embroidery stitches without wrinkling.
Avoid fabrics that are too thin or have a lot of stretch, as they’re more likely to pucker.
Testing Fabric for Susceptibility to Puckering
Before starting a big embroidery project, it’s always a good idea to test the fabric for its susceptibility to puckering. Take a small piece of the fabric and stitch an embroidery design on it using different tension settings and hooping techniques.
This way, you’ll know how the fabric reacts and can make adjustments accordingly. It’s like a practice run before the main event!
Hooping Techniques to Avoid Puckering
Hooping might sound like something you’d see in a circus, but it’s actually a crucial step in preventing puckering.
Let’s explore some hooping techniques that will keep your fabric smooth and wrinkle-free.
Using the Right Hoop Size
Choosing the correct hoop size for your embroidery project is essential. A hoop that’s too small will stretch the fabric too much, causing it to pucker, while a hoop that’s too big will leave excess fabric that can also lead to wrinkling.
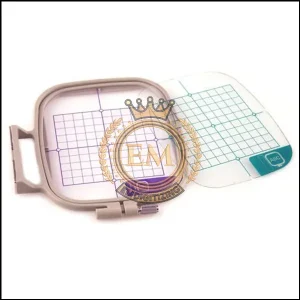
Find the hoop size that matches your design and fabric, and you’ll be well on your way to a pucker-free zone.
Proper Hooping Tension and Alignment
Once you’ve got the right hoop size, it’s time to focus on tension and alignment. Make sure the fabric is taut and evenly stretched within the hoop.
Smooth out any wrinkles or folds before securing it. Align the fabric so that it’s straight and centered within the hoop. Taking these extra steps will help prevent puckering and ensure your embroidery looks flawless.
Hoop Stabilizers and Their Role in Puckering Prevention
Hoop stabilizers are your secret weapon against puckering. These handy materials, such as tear-away or cut-away stabilizers, provide additional support to the fabric during embroidery.
They help distribute the tension of the stitches and prevent the fabric from puckering. Using the appropriate stabilizer for your fabric type can make a world of difference in achieving perfect embroidery results.
Choosing the Right Stabilizer for Smooth Embroidery
Embroidery stabilizers might sound like the secret agents of the stitching world, but they play a crucial role in preventing puckering and achieving flawless embroidery.
These trusty companions act as a support system for your fabric, keeping it taut and stable throughout the stitching process.
Different Types of Stabilizers and Their Purposes
Stabilizers come in various flavors, each with a specific purpose. Tear-away stabilizers are like the superheroes of puckering prevention, as they provide temporary support and can be easily removed after stitching.
On the other hand, cut-away stabilizers are more like bodyguards, offering long-term support by remaining attached to the fabric.
Water-soluble stabilizers, as their name suggests, vanish when exposed to water. They are great for delicate fabrics or embroidery designs with intricate details.
Finally, we have heat-away stabilizers, which disappear with the application of heat, making them ideal for fabrics that can’t handle moisture.
Matching Stabilizer to Fabric and Design Requirements
Just like you wouldn’t pair a leather jacket with flip-flops, it’s important to choose the right stabilizer for your fabric and design. Thick and heavy fabrics require more robust stabilizers to keep them in line, while delicate fabrics need gentle support to prevent distortion.
Consider the density and complexity of your design as well. Dense designs necessitate additional stability, so opt for stronger stabilizers. Conversely, lighter designs on delicate fabrics can get away with lighter stabilizers.
Experimentation is key here. Test out different stabilizers with scraps of your fabric and a variety of design types to find your perfect match. Once you’ve cracked the stabilizer code, you’ll be one step closer to embroidery nirvana.
Adjusting Tension Settings for Puckering Prevention
Embroidery machines might look like complex beasts, but don’t let their intimidating exteriors fool you. Hidden beneath the glossy surface lies a tension control feature, ready to tackle the puckering problem head-on.
Understanding Tension Settings on Embroidery Machines
Tension settings determine how tight or loose your stitching will be. Picture a tug-of-war between the upper and lower threads, with the fabric caught in the middle. Achieving perfect tension is like finding the sweet spot where both threads exert equal force.
Proper Tension Adjustments for Preventing Puckering
To prevent puckering, loosen up!
Well, at least when it comes to thread tension. Give your upper thread a bit more slack by slightly reducing its tension. This will allow the fabric to lay flatter and avoid the dreaded puckers.
Test out different tension adjustments until you strike the right balance. Remember, embroidery is an art, and a little trial and error is part of the process.
Tips for Preventing Puckering During Embroidery Stitching
We’re almost at the finish line! Here are some bonus tips to help you banish puckering from your embroidery world:
Starting with a Test Stitch-Out
Before diving into the main event, take a few minutes to stitch out a test design on a scrap piece of fabric. This miniature dress rehearsal allows you to catch any potential puckering issues early on and make necessary adjustments before embroidering on the real thing.
Using Proper Thread Tension
We’ve already talked about adjusting tension settings, but it’s worth mentioning again because it’s just that important. Don’t be afraid to experiment and tweak your tension until you find that sweet spot where puckering is banished.
Final Thoughts
Embroidery puckering is a common headache, but armed with the right knowledge and tools, you can conquer it like a boss.
Remember to choose the appropriate stabilizer, master your tension settings, and employ additional techniques to prevent puckering and keep your embroidery looking flawless.
Don’t be discouraged by a few bumps along the way. After all, even a pucker here and there adds character to your unique creations.
Happy stitching!
EMdigitizing: Embroidery Digitizing Expert At Your Service
Are you looking for help with turning your designs into embroidery?
Check out EMdigitizing! We specialize in embroidery digitizing and have a great deal for you. If you’re a first-time customer, you get a huge 50% off on all our services.
Our team is an expert in digitizing, they take your design and carefully digitize it, making sure it’s ready quickly and without costing you a lot.
Got any questions? Just contact us.
Our team is always here to help and will get back to you fast. And if you think this info is helpful, feel free to share it with your friends.
Thanks for reading, and happy stitching!
Frequently Asked Questions:
Puckering in embroidery often occurs due to a mismatch in the shrinkage rates of the fabric and the thread used, or from not using a stabilizer. It can also happen if the fabric is hooped too tightly or if the embroidery is too dense for the fabric.
To flatten puckered embroidery, you can try re-washing and drying the item, using steam from an iron (without directly pressing the embroidery), or gently stretching the fabric back into shape. Using a pressing cloth between the iron and the embroidery is also recommended to protect the thread and fabric.
Puckering in embroidery is typically caused by uneven tension in the stitches, the fabric and thread reacting differently to washing, or not stabilizing the fabric properly before beginning the embroidery. Choosing the right fabric, thread, and stabilizer, and ensuring even stitching tension can prevent this issue.


