Ricoma Mt-1501 Common Problems & Solutions
The Ricoma embroidery machine has a huge working area that is suitable for heavy items and a redesigned smallest sewing arm for hard-to-embroider areas. Popular among startups, the Ricoma embroidery machine can embroider anything from totes to drapery.
But there are some Ricoma mt-1501 common problems that you might face. So, in this article, we will discuss Ricoma mt-1501’s common problems and how you can solve them.
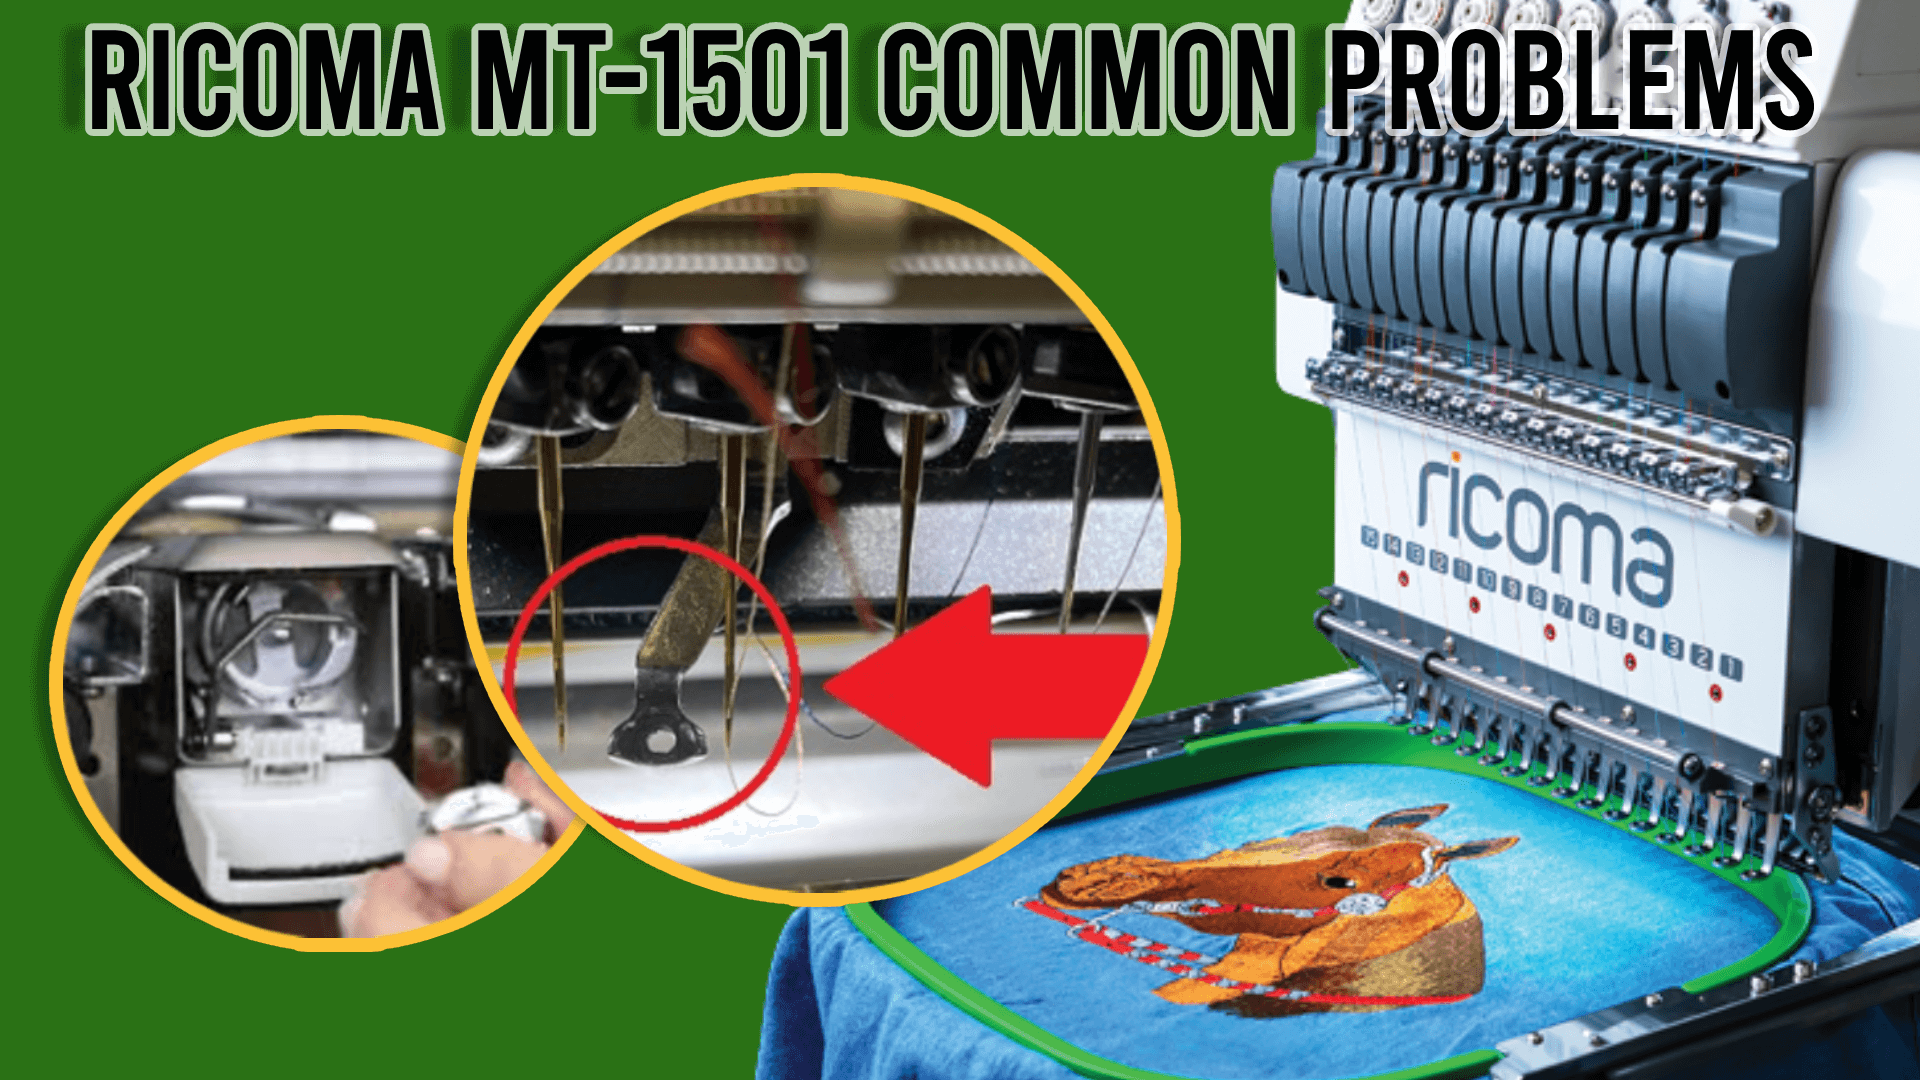
1. How To Resolve A ‘Main Axis Is Not At Hundred Degrees’ Error?
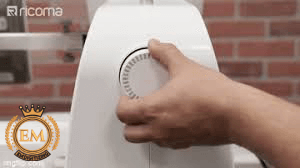
The Ricoma embroidery machine has to be at a hundred degrees for normal operations. Whenever the main axis error comes, it means the machine is telling you that the sensor isn’t aligned. To resolve this ‘MAIN AXIS IS NOT AT HUNDRED DEGREES’ error, on your panel, select the hundred-degree icon.
If a NO NEEDLE error is displayed, then the needle isn’t being detected over the working area. To correct the turn, turn off your machine. Then, place the degree wheel knob in your machine back and manually align it to hundred degrees. Turn on the machine again, and the machine will find a needle position automatically. After everything has finished loading, press the hundred-degree icon on the panel once again. If there are no more error messages shown, the machine is operational.
Embroidery Digitizing Services
2. What Is The Reason Behind Looping Stitches?
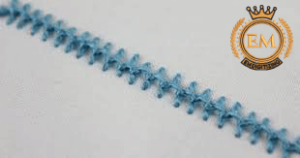
Looping stitches could be the result of incorrect threading. Ensure the top and bobbin threads are rightly threaded. If the machine is rightly threaded, check the thread tension. Plus, be certain to check the needle. An old or loose needle would cause looping and other Mt 1501 embroidery issues.
3. Is It Okay To Use A Similar Needle For All Kinds Of Projects?
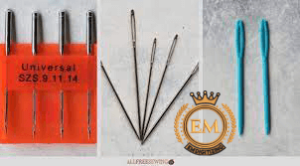
Ballpoint needles are used for almost every kind of project. Though, we suggest using sharp point needles on leather, satin, or any other fine fabric. For bulky material, we suggest using an 80/12 needle. On metallic threads, use a 90/14 needle, which has a bigger eye that will lessen friction as the thread passes through.
4. Is It Required To Use Backing On All Projects?
Yes, the backing is important to use on all projects because it is the stabilizer for your design. The backing you use will rely on the fabric you are embroidering. On heavyweight fabrics, use thick backings. For light in weight garments, use thin backings.
5. What Is The Best Suitable Thread For Embroidery?

Hundred percent polyester threads are best suitable for embroidery projects. A polyester thread is more reliable and tends to leave fewer tints as compared to a rayon thread.
6. Do Metallic Threads Work The Same As Rayon Or Polyester Threads?
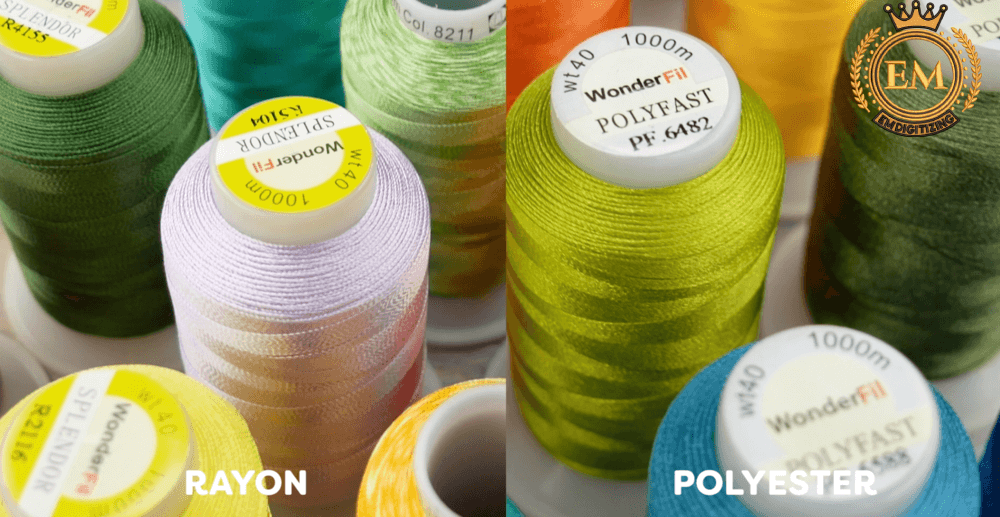
No, each type of thread works differently, so be certain to adjust the tension relying on the thread you use. For metallic threads, loosen the top tension knob and lessen the speed of your machine to about 500 spm for better-quality stitches.
7. How To Decide Which Size Of Hoop To Use?
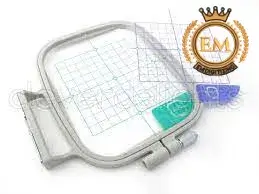
The size of the hoop relies on the size of the embroidery you want to create. The best hoop you can use is the smallest hoop that the design will fit in. You can place the hoop on top of the printout from your embroidery software to get an idea of the hoop size you must use for the specific design.
8. Where To Place The Most Commonly Used Color Spools?
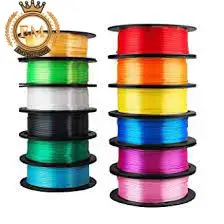
The most commonly used black and white color spools must be placed on the right side of the machine. You can as well place them toward the back of the thread rack if you don’t have enough space to walk toward the back of your machine to change spools.
9. What Is The Reason Behind The X Limit Error Or Y Limit Error, And How To Correct It?
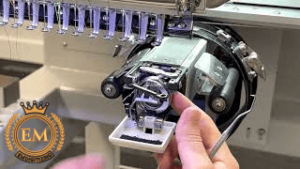
You are getting this error because your design might be very big for the hoop, or you are trying to stitch outside the preset hoop margin. You can either use a larger hoop or move the logo around so you stay within the boundaries of the hoop.
10. What Is The Reason Behind Thread Breaks?

There are some common causes that result in thread breaks:
1. The needle can be worn-out if you have been using it for a long time or on thick fabrics.
2. Your machine might be incorrectly threaded. Check the thread passage to ensure all the threads are positioned rightly.
3. Threads might be old or damaged
4. Prolonged exposure to air, heat, and light could make your thread weak. To prevent thread breakage, store the thread in a dark, cool place.
5. Hooping might not be tight enough
6. The tension might be very loose or very tight.
11. What Is The Reason Behind Getting A Pinch On Material?
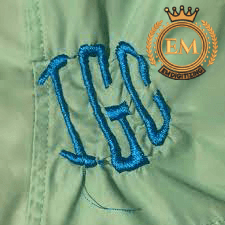
This is because of the hooping error. You have to create proper tension by ensuring the hooping is tight and the material isn’t wrinkled. Be certain not to stretch the fabric, so this could ruin the design. You might need a strong stabilizer.
12. Why Do Needles Break On Hats?
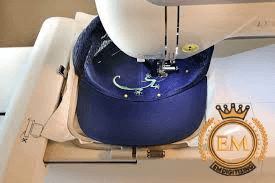
This is because the needle might be worn out. Structured hats have thick plastic or cardboard in the middle part, which could break the needle. When sewing caps, ensure the bill of the cap is as flat as possible. It is as well very significant to the digitized logo. You must be aware of which logos might be used for different fabrics. The way the DST was made might not be applicable to hats. Plus, the hooping might not be right.
13. When To Change The Needle’s Size?
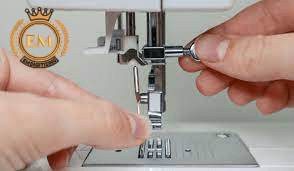
One must change the size of the needle to control the bending of the needle. The needle’s size relies on the size of the stitch you want to create. Usually, heavy materials need big needles, and light materials need small needles.
14. How Often Should A Needle Be Replaced?
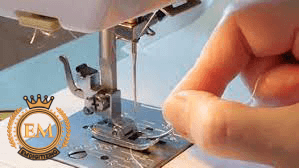
A basic guideline that a lot of professional embroiderers use to decide when to change needles is the 3 strikes rule. You must replace a needle whenever there have been three consecutive thread breaks on the needle. You must as well change a needle if it breaks or is skipping stitches.
15. Why Do Needles Break?
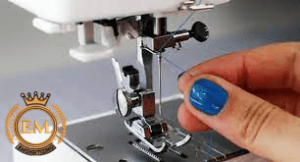
Needle breaks because of these common causes:
1. The needle is worn out, old, or twisted
2. The design might have a lot of stitches for the area
3. You might have hit a hoop
4. Hooping was not smooth or tight
5. The material is very thick for the needle’s type
Closing Line:
So, this was Ricoma mt-1501 common problems, common errors Ricoma machine, and how you can solve them. We hope you enjoyed reading this article as we did in writing.
If you want to customize embroidery logo digitizing, EM DIGITIZING will be your best choice. At EM DIGITIZING, we deliver the best embroidery logo digitizing services with the best quality. We offer 50% off on all our services to our potential customers on their first order. So, get a free quote now and we will get in touch with you.
Hope this article will be helpful for you guys!
If there’s any question related to this article feel free to comment to us. And, thanks for reading!
You can easily fix Ricoma mt 1501 common problems. You can fix a hundred degrees error. The Ricoma embroidery machine has to be at a hundred degrees for normal operations. Whenever the main axis error comes, it means the machine is telling you that the sensor isn’t aligned. To resolve this ‘MAIN AXIS IS NOT AT HUNDRED DEGREES’ error, on your panel, select the hundred-degree icon. If a NO NEEDLE error is displayed, then the needle isn’t being detected over the working area. To correct the turn, turn off your machine. Then, place the degree wheel knob in your machine back and manually align it to hundred degrees. Turn on the machine again, and the machine will find a needle position automatically. After everything has finished loading, press the hundred-degree icon on the panel once again. If there are no more error messages shown, the machine is operational.
Looping Stitches
Can We Similar Needles For All Kinds Of Projects?
Is It Required To Use Backing On All Projects?
Best Suitable Thread For Embroidery?
Do Metallic Threads Work The Same As Rayon Or Polyester Threads?
1. Simulate stitching with the handwheel.
2. Evaluate the upper thread path
3. Check the needle
4. Address possible bobbin issues
5. Address possible needle plate issues
6. Restart your machine
7. Select a different embroidery design
8. Adjust the tension
