Machine embroidery stabilizers play a crucial role in achieving beautiful and professional results in your embroidery projects. Whether you are a beginner or an experienced embroiderer, understanding the various types of stabilizers and how to use them effectively is essential.
In this comprehensive guide, we will delve into the world of embroidery stabilizers, exploring their significance, different types, and the factors to consider when choosing the right stabilizer for your project.
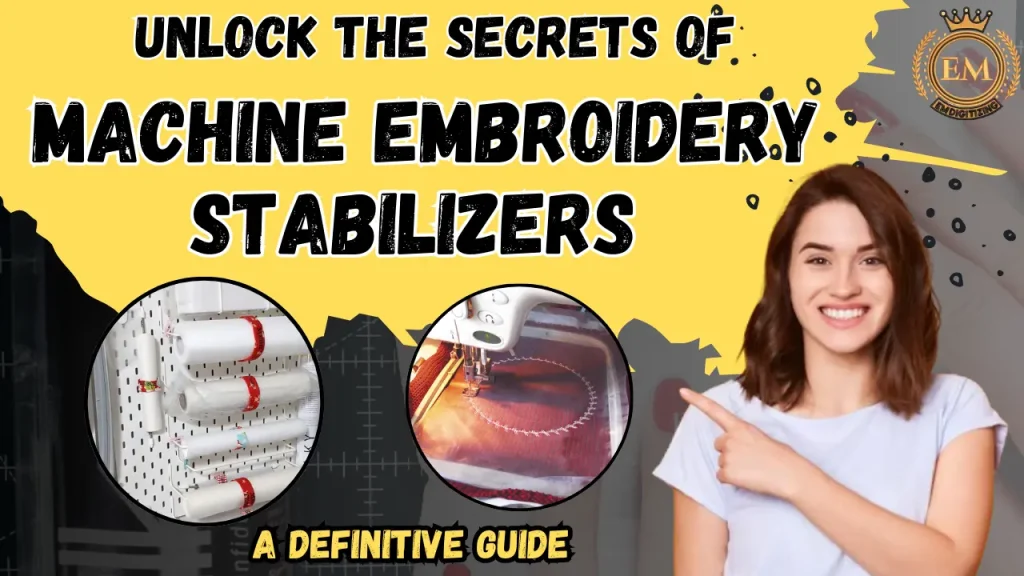
We will also provide valuable tips and techniques to help you prepare your fabric and stabilize it properly for embroidery, troubleshoot common issues, and ensure proper storage and maintenance of your stabilizer collection.
By the end of this guide, you will have a complete understanding of stabilizer for embroidery machine and how to use them to enhance your embroidery creations.
Unlock the Secrets Of Machine Embroidery Stabilizers – A Definitive Guide
What is a Machine Embroidery Stabilizer?
Think of a machine embroidery stabilizer as the backbone of your embroidery project. It’s a material, typically made of paper, fabric, or non-woven material, that provides support and stability to the fabric during the embroidery process.
By preventing fabric distortion, puckering, and shifting, stabilizers ensure that your design stays crisp, clean, and well-defined.
Importance of Stabilizers in Machine Embroidery
Embroidery machines work their magic by stitching intricate designs onto fabric at high speeds. Without a stabilizer, the fabric may pucker or stretch, leading to imperfect and disappointing results.
Stabilizers provide a solid foundation for the embroidery, allowing the machine to create precise stitches and preventing the fabric from getting caught in the needle or hoop.
In short, stabilizers are the secret sauce that transforms your embroidery from amateur to professional.
Understanding Different Types of Machine Embroidery Stabilizers
Not all stabilizers are created equal, and different projects require different types of support. Here’s a rundown of the most common types of stabilizers you’ll encounter:
Tear-Away Stabilizers
Tear-away stabilizers are easy to use and remove, making them a popular choice for beginners. They are typically thin, non-woven sheets that tear easily, leaving no residue on the fabric.
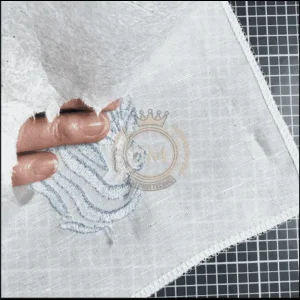
Tear-away stabilizers are suitable for stable fabrics and designs with minimal stitch density.
Cut-Away Stabilizers
Cut-away stabilizers are durable and provide long-lasting support. They are designed to remain in the fabric after embroidery, offering stability even for complex and dense designs.
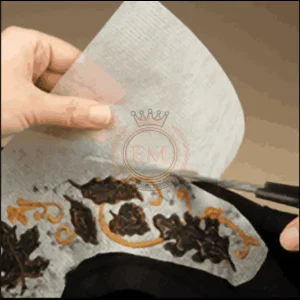
Cut-away stabilizers are ideal for stretchy or delicate fabrics that need extra reinforcement.
Wash-Away Stabilizers
Wash-away stabilizers dissolve or disintegrate when exposed to water, leaving no trace behind.
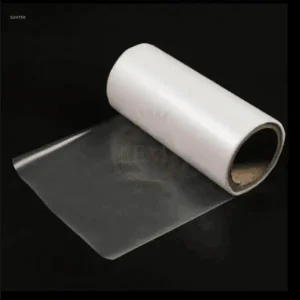
They are perfect for fabric that needs to retain its softness and drapability, such as lace or sheer materials. After embroidery, simply rinse the fabric to remove the stabilizer.
Heat-Away Stabilizers
Heat-away stabilizers disappear when heat is applied, such as with an iron or heat press. They are excellent for fabrics that can’t be washed or may shrink when exposed to water. Heat-away stabilizers are a convenient choice for fabrics like velvet, velvet, or faux fur.
Specialty Stabilizers
In addition to the main types mentioned above, there are also specialty stabilizers designed for specific purposes.
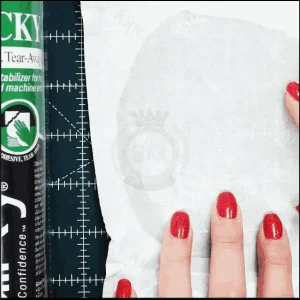
Examples include adhesive-backed stabilizers for easy positioning, light-sensitive stabilizers that disappear when exposed to sunlight, and even water-soluble stabilizers with added decorative elements like glitter.
Choosing the Right Stabilizer for Your Project
With so many stabilizer options out there, how do you pick the right one?
Consider these factors when selecting your stabilizer:
Considering Fabric Type and Weight
Take the fabric into account. Delicate and stretchy fabrics require more stable and supportive stabilizers, while sturdy fabrics may need less reinforcement.
Evaluating Design Complexity
The intricacy of your design affects the stability required. Dense and complex machine embroidery designs need a sturdier stabilizer to prevent distortion and shifting during embroidery.
Assessing Embroidery Techniques and Styles
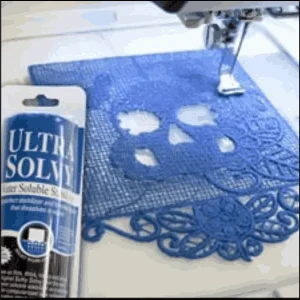
Different embroidery techniques, such as appliqué or freestanding lace, may call for specific stabilizers to achieve the desired results. Consider the technique and style you’re using when selecting your stabilizer.
Budget and Availability Factors
Stabilizers come in various price ranges, so consider your budget when making a selection. Also, check the availability of stabilizers in your area or online to ensure you can easily purchase the required type.
Preparing Your Fabric and Stabilizer for Embroidery
Now that you’ve chosen the perfect stabilizer, it’s time to prepare your fabric and get ready for embroidery.
Fabric Preparation Techniques
Prepare your fabric by washing and drying it beforehand to eliminate any shrinkage. Ironing the fabric smoothly helps in achieving a crisp embroidery.
Stabilizer Placement and Hooping
Depending on the project and stabilizer type, place the stabilizer either underneath or on top of the fabric before hooping.
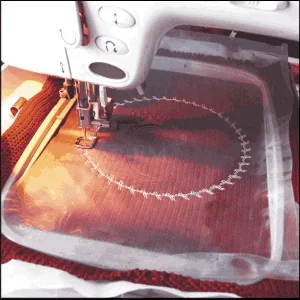
Proper hooping ensures that the fabric and stabilizer stay taut during the embroidery process.
Securing the Stabilizer to the Fabric
To prevent the stabilizer from shifting during embroidery, secure it to the fabric using pins, clips, or adhesive sprays. This will ensure that the stabilizer does its job effectively.
With the right stabilizer and proper preparation, you’re ready to embark on your machine embroidery journey. So, grab your favorite design, load up the thread, and let your creativity soar!
Maintaining Your Stabilizers
Techniques for Using Stabilizers in Machine Embroidery
Embroidery stabilizers are like the unsung heroes of machine embroidery. They provide the necessary support and structure to ensure your designs look flawless.
In this section, we’ll cover some essential techniques for using stabilizers effectively.
Basic Embroidery Stabilizer Guide for Different Fabrics
Just like how you wouldn’t wear stilettos to a hiking trip, not all fabrics require the same stabilizer. When choosing your stabilizer, consider the machine embroidery stabilizer chart for weight and stretchiness of the fabric.
Lighter fabrics like silk might need a lightweight stabilizer, while heavier fabrics like denim might require something sturdier. Experimentation and finding the right combination will lead to the best results.
Layering Stabilizers for Added Support
Sometimes, one stabilizer just isn’t enough. For extra reinforcement, try layering different types of stabilizers.
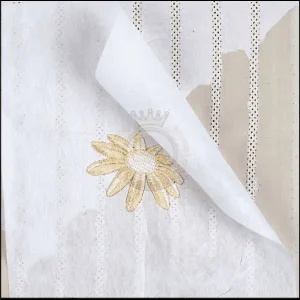
Combining a cut-away stabilizer with a tear-away stabilizer can provide the perfect balance of strength and easy removal.
It’s like wearing both suspenders and a belt – double the support, double the style!
Adapting Stabilizers for Specific Embroidery Effects
Stabilizers aren’t limited to just providing support; they can also help achieve different embroidery effects. For a 3D effect, use a water-soluble stabilizer on top of your design, stitch over it, and then rinse it away.
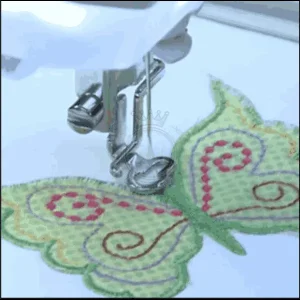
Or, for a lace-like appearance, try using a heat-away stabilizer that disappears with the application of heat. The possibilities are endless, so don’t be afraid to get creative!
Exploring Stabilizer Alternatives and Combinations
Stabilizers come in various forms, from traditional sheets to sprays and even adhesive-backed options. Each has its own unique properties and uses.
Don’t be afraid to experiment with different combinations and techniques to find what works best for you.
After all, embroidery is both an art and a science!
Troubleshooting Common Issues with Stabilizers
Stabilizers may be superheroes, but even they have their kryptonite. In this section, we’ll explore some common issues you might encounter when using stabilizers and how to tackle them like a pro.
Stabilizer Residue and Removal Techniques
Have you ever finished a beautiful embroidery project only to find stubborn stabilizer residue sticking around?
Fear not!
There are simple ways to remove it. From gently tearing it away to using a fabric-safe adhesive remover, you can bid farewell to that pesky residue and reveal the true glory of your work.
Preventing Fabric Shifting and Puckering
Fabric shifting and puckering during embroidery can be as frustrating as a bad hair day. To prevent this, make sure you’re using the appropriate stabilizer for your fabric, securing it properly, and avoiding excessive tension.
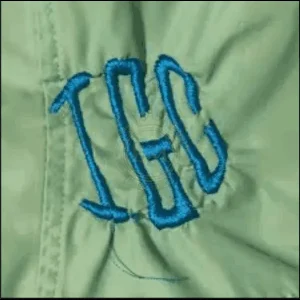
Taking these steps will ensure your fabric stays in place and your embroidery remains wrinkle-free.
Addressing Thread Breakage and Tension Problems
Imagine your machine chugging away happily, only to be halted by a thread breakage or tension issue. Ugh, the worst! But fear not, dear embroiderers.
By using the right stabilizer, checking your machine’s tension settings, and ensuring your thread is properly threaded, you can dodge these annoying setbacks and let your creativity soar.
Dealing with Stabilizer Compatibility Issues
Sometimes, finding the perfect stabilizer for a specific fabric and design can feel like searching for a needle in a haystack. If you encounter compatibility issues, such as the stabilizer not adhering properly or causing distortion, don’t fret.
Try adjusting the weight or type of stabilizer, or even consider using a different technique. Remember, embroidery is all about exploring and finding what works best for you.
Conclusion: Mastering Machine Embroidery Stabilizers for Stellar Embroidery
Congratulations, my embroidery enthusiasts! You’ve completed our complete guide to machine embroidery stabilizers. Armed with your newfound knowledge, you’re ready to conquer any embroidery project that comes your way.
So go forth, create stunning designs, and remember to give a nod of appreciation to those unsung heroes called stabilizers.
Happy stitching!
EMdigitizing: Embroidery Digitizing Expert At Your Service
If you are interested in any kind of embroidery project, then EMdigitizing is the best option for you. We offer embroidery digitizing and vector art services with a fast turnaround time. You can also visit and check our website as well as our best services.
We also offer a great 50% discount on all our services for our respected first-time clients. We also offer free quotes generated in just 5 minutes.
You should grab this limited-time offer and take your embroidery project to the next level with EMdigitizing.
If you’ve any queries regarding this topic, you can ask them. Thank you for taking the time to read this article.
Frequently Asked Questions:
The best stabilizer for machine embroidery often depends on the fabric type and the design’s complexity. Cut-away stabilizers are widely recommended for their durability and support, especially on stretchy or unstable fabrics, making them ideal for designs that will be frequently washed or worn.
To determine the right stabilizer for machine embroidery, consider the fabric’s weight, texture, and stretch, as well as the embroidery design’s density. Lightweight fabrics generally require a tear-away or cut-away stabilizer, while heavier fabrics may work well with lighter stabilizer options. Testing on a small fabric piece is advisable.
Stabilizers for machine embroidery come in various types, including tear-away, cut-away, wash-away, and heat-away. Tear-away stabilizers are easy to remove, cut-away provide more support for stretchy fabrics, wash-away dissolve in water, and heat-away vanish with heat application.
Choosing the “better” stabilizer is subjective and depends on the project’s needs. Cut-away stabilizers offer the most support and are excellent for high-density designs on stretchy fabrics, while tear-away stabilizers are great for quick projects on stable fabrics. Wash-away stabilizers are perfect for delicate or transparent fabrics where the stabilizer must be completely removed.
Generally, embroidery stabilizers are not reusable because they are designed to provide support during the embroidery process and are either removed or remain part of the project. However, excess pieces of stabilizer from cut-away materials can sometimes be pieced together for use in smaller projects.
