Embroider on napkin is not just a craft; it’s an elegant way to personalize and enhance your dining experience.
Whether for special occasions or everyday use, embroidered napkins add a touch of class and creativity to any table setting.
In this guide, we’ll walk you through the materials needed and the step-by-step process of embroider on napkin, ensuring you have all the information to start this rewarding project.
How to Embroider on Napkin Like a Pro
Material Needed for Embroider on Napkins
To begin embroidering your napkins, you will need the following materials:
- Napkins: Opt for high-quality cotton, linen, or a cotton-polyester blend. These fabrics are durable and provide a smooth surface that’s ideal for embroidery.
- Embroidery Machine: A reliable embroidery machine that can handle decorative stitches and accommodate different design sizes.
- Embroidery Thread: Polyester or rayon threads are preferred due to their durability and sheen. Choose colors that match or contrast nicely with your napkin fabric.
- Stabilizers: Select from cut-away, tear-away, or wash-away stabilizers based on your fabric type and design requirements.
- Additional Tools: An embroidery hoop that fits your design, sharp embroidery scissors for trimming threads, an iron and ironing board for preparing and finishing your napkins, design software if creating custom designs, and a water-soluble marking pen for design placement.
Deciding the Perfect Placement for Embroidery Designs on Napkins
When planning to embroider on napkin, choosing the right placement for your design is crucial for both aesthetic appeal and practical use. The placement not only affects how the design is perceived but also how the napkin functions during a dining experience.
For custom embroider on napkins, consider the following tips to determine the best placement for your embroidery designs:
Corner Placement
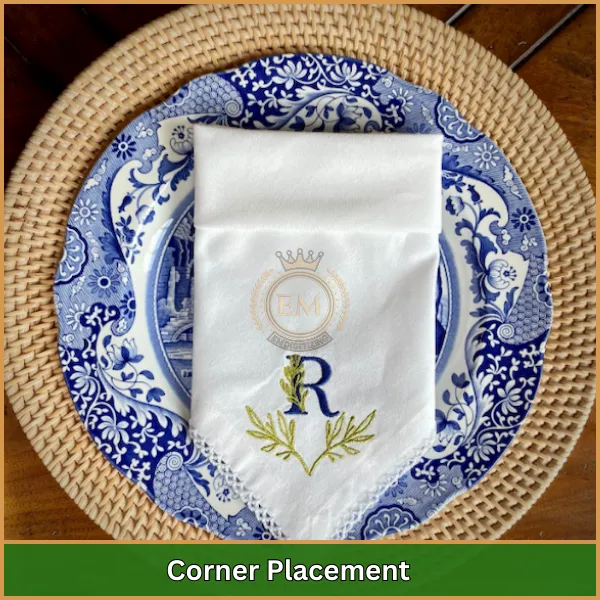
Often, the most popular choice for embroidery on napkins is the corner. This placement allows the design to be visible when the napkin is either folded or laid flat on a lap, making it ideal for both decorative and functional purposes.
It’s subtle yet allows enough space for a detailed design without interfering with the napkin’s usability.
Center Placement
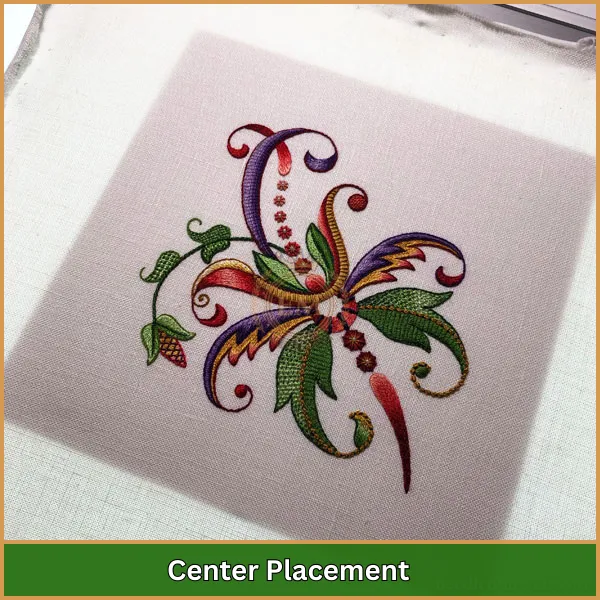
If the napkin will be used primarily as a decorative piece, such as in a napkin ring or a fancy fold, consider centering the design.
This placement makes a bold statement and is perfect for special occasions where you want the design to be the focal point of the table setting.
Border Embroidery
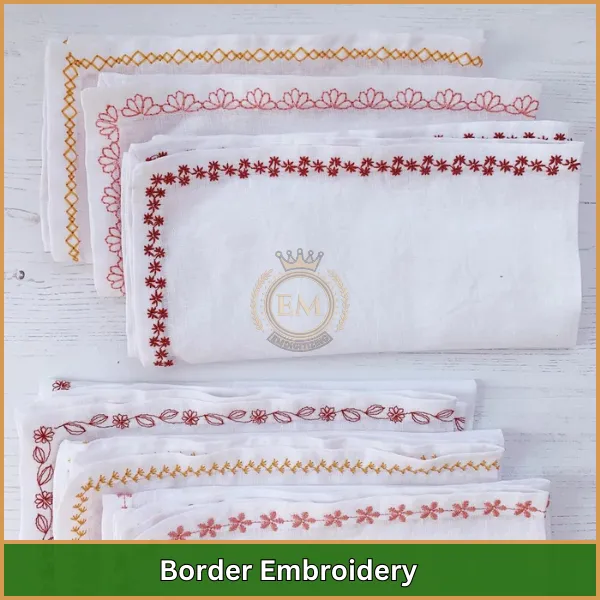
Embroidering a small, continuous design along the border of the napkin adds a touch of elegance without overwhelming the space.
This is suitable for both casual and formal settings and pairs well with monograms or discreet logos.
Pro Tip: Before finalizing the placement, consider how the napkin will be folded during typical use. The design should be positioned in a way that it remains visible in the most commonly used folds, enhancing the table’s overall look and feel.
By carefully considering these aspects, you can enhance the appearance and utility of your embroidered napkins, making them not only a functional part of meal service but also an integral part of your dining decor.
Step-by-Step Process of Embroider on Napkins
Embroidering napkins with a machine can transform ordinary cloth into a beautiful piece of art. Here’s how you can do it:
Step 1: Choose Your Napkins
Select high-quality napkins that will hold embroidery well. Cotton or linen napkins are ideal because they are durable and handle embroidery nicely. Make sure the napkins are clean and pressed before you start.
Step 2: Select Your Design
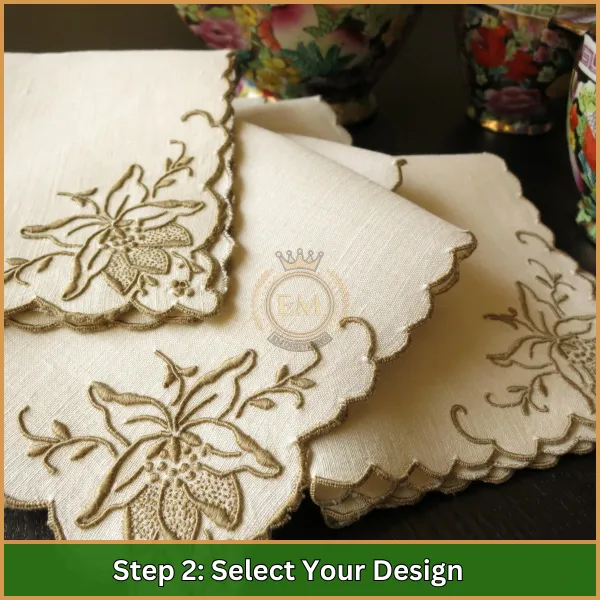
Picking the right design for your napkins is very important. Here’s an easy guide to help you choose the best design:
- Think About the Event: Choose a design that fits the event. Use elegant designs for formal dinners and fun designs for casual get-togethers.
- Size of the Design: Make sure the design is the right size for the napkin. It shouldn’t be too big or too small.
- Design Difficulty: Choose a design that matches how well you can embroider. Simple designs are better if you are just starting, while more detailed designs are good for those with more experience.
- Color Choices: Pick colors that look good with the color of your napkin.
If you want to make your own design, here are some tips:
- Start with a Clear Picture: Use a clear, high-quality picture to make sure your design turns out well.
- Keep it Simple: Simple designs are easier to turn into embroidery and usually look better.
- Plan Your Colors: Think about which colors will go where in your design.
If making your own design sounds hard, don’t worry! EMdigitizing can help. We turn your ideas into beautiful embroidery designs. Our digitizing services are precise and made just for you. Plus, get 50% off your first order with EMdigitizing, making it a great deal to start with your custom napkin embroidery!
Step 3: Hoop a Napkin
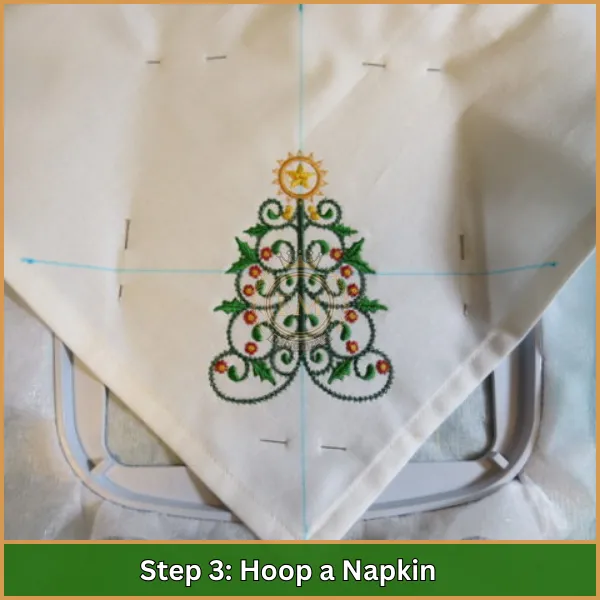
Place the area of the napkin where you want the design into an embroidery hoop.
Make sure the fabric is taut and smooth within the hoop to avoid any puckering during the embroidery process.
Step 4: Set Up Your Machine
Load your embroidery machine with the appropriate thread colors. You might want to use a bobbin thread that matches the napkin color so it will look neat and tidy on both sides. Set your machine to the correct settings for the fabric and design you are using.
Step 5: Start Embroidering
Begin embroidering, closely monitoring the process to ensure the machine is stitching the design correctly. Keep an eye out for any thread breaks or bunching, and adjust as necessary.
Step 6: Finish Up
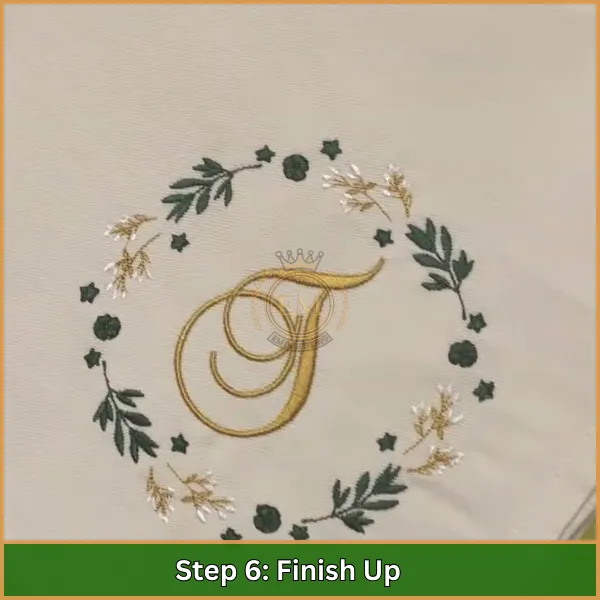
Once the machine has completed the embroidery, remove the napkin from the hoop.
Trim any excess threads and gently press the embroidered area with an iron to flatten out any distortions.
Step 7: Clean and Prep for Use
Lastly, wash the embroidered napkins according to the fabric care instructions. This will remove any stabilizer residues and prepare them for use at your next meal.
By following these steps, you can create beautiful, custom embroidered napkins that enhance any dining experience with a personal touch.
Creative Embroidery Ideas for Personalized Napkins
Here are some creative and appealing ideas for napkin embroidery that can elevate your dining experience or add a personalized touch to special events:
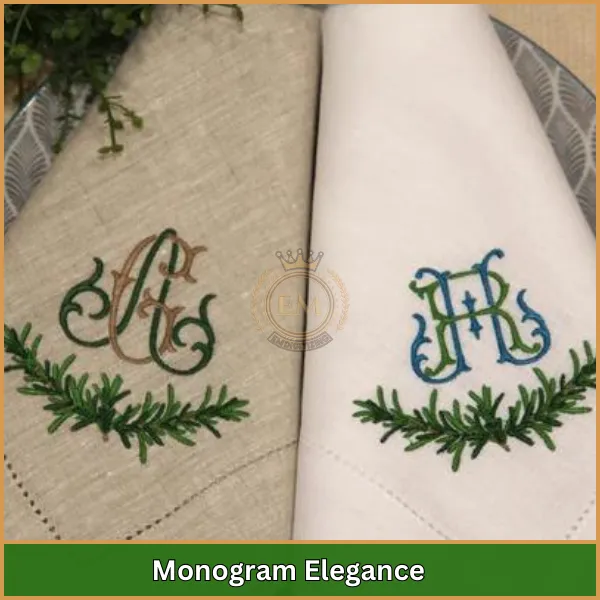
- Monogram Elegance: Enhance your table setting by embroidering the couple’s initials intertwined with their wedding date on each napkin. This classic approach adds sophistication and a personal touch to your wedding embroidered napkins.
- Floral Borders: Adorn the edges of your napkins with delicate floral embroidery that mirrors the wedding’s floral arrangements. This design brings a natural and romantic element to your table decor.
- Lace Accents: Mimic elements of the bride’s dress by using lace patterns in the embroidery. This elegant detail connects the decor with the bridal attire, enhancing the overall aesthetic.
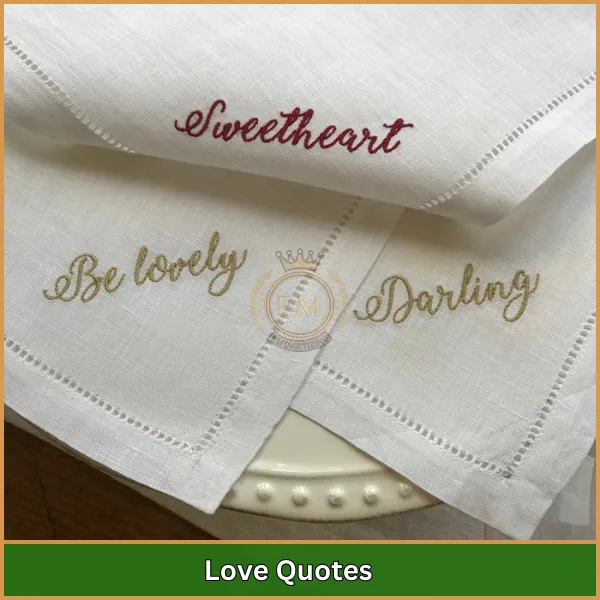
- Love Quotes: Stitch your favorite romantic quotes or heartfelt phrases on the napkins. This adds a unique and inspirational touch to each piece, making them memorable keepsakes for guests.
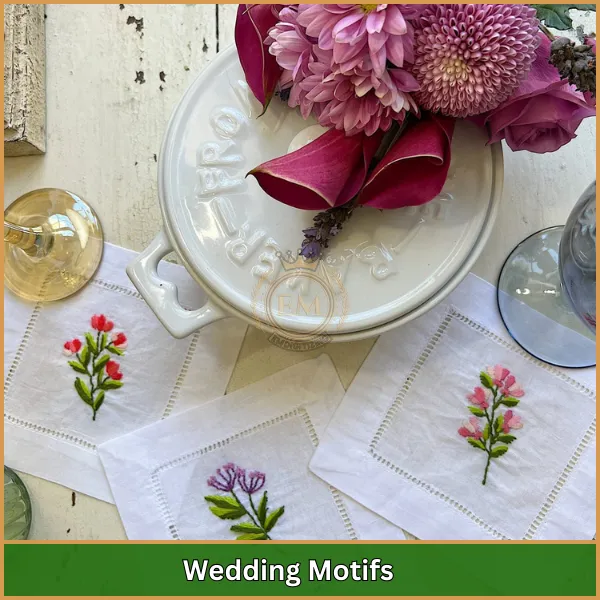
- Wedding Motifs: Opt for symbols that represent the couple’s journey or shared interests, such as intertwined rings or doves. These personalized designs make each napkin stand out and tell a unique story.
- Starlight Theme: For an evening or night-time wedding, use stars and a moon in silver or gold thread. This celestial design can sparkle under soft lighting, adding a magical atmosphere to the event.
- Heritage Patterns: Incorporate traditional designs or cultural symbols that reflect the couple’s heritage. This not only personalizes the napkins but also pays homage to family history, celebrating heritage in every detail.
These ideas aim to make your special day even more memorable and personal, showcasing thoughtful details when you embroider on napkin.
Conclusion
Embroidering napkins can transform ordinary linen into a masterpiece of personal expression and style. With the right materials and techniques, you can create beautiful, customized pieces that enhance any dining occasion.
If you’re looking for professional-quality designs, consider partnering with EMdigitizing. We offer expert digitizing services tailored to your creative needs, and for new customers, we’re delighted to offer a 50% discount on your first order.
Embark on your embroidery journey today and impress your guests with uniquely embroidered napkins!
FAQs
A water-soluble stabilizer is ideal for embroidering on napkins since it dissolves quickly and leaves no residue behind. For added strength in thicker napkin materials, you can employ tear-away or cut-away stabilizers.
Napkins are best embroidered on lightweight fabrics like cotton or linen because of their smooth surface, which makes sewing easier.
Place a stencil on the napkin, tape it down, and then apply fabric paint evenly with a sponge or brush to create a neat design.
Napkins come in a wide range of materials and designs, from cloth to paper, and serve a variety of purposes. Paper napkins are more practical for everyday usage and come in a wide variety of colors and patterns, while cloth napkins are typically reserved for special occasions and are more eco-friendly.
