
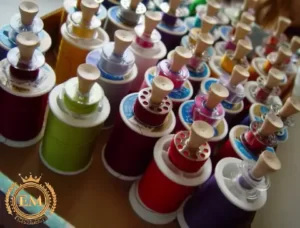
1. Thread Storage Bins
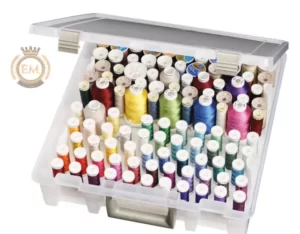
Although I prefer to keep my thread out where I can see it, there are some benefits to keeping your thread covered. Dust and lint accumulated on the thread can wreak havoc on the tension discs of the embroidery machine. So, if you keep your thread out on a shelf or rack, you should definitely take the time to clean it before you put it on your machine so that no dust or lint can come out.
If you keep your thread covered, however, you can avoid the whole problem of lint and dust accumulation. You can actually use a product specifically for thread storage, and they are aptly named “thread storage bins”. So, if you have shelf space and you want to take the time to sort your yarn by color, they are a great option for storing your embroidered yarn. If you group your threads by color in each box, you will know exactly which storage bin to remove.
2. DIY Shelf For Thread Storage
 One DIY solution I stumbled upon in my research was a re-purpose fence installed by a clever Sam Stress in his sewing room. He tied all his threads to all the planks of the fence. It seemed really cool and rustic and it served its purpose perfectly. And, the fact that he built a system to store his yarn from the remains around the house was worth nothing.
We say there is no old fence around your house. Other scrap pieces of wood will also work. If you have one, check your local menu. They have a scrap of wood where you can find what you need.
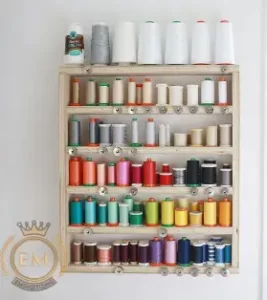
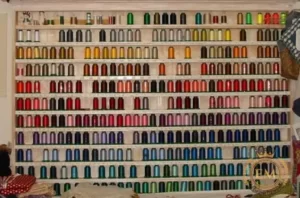
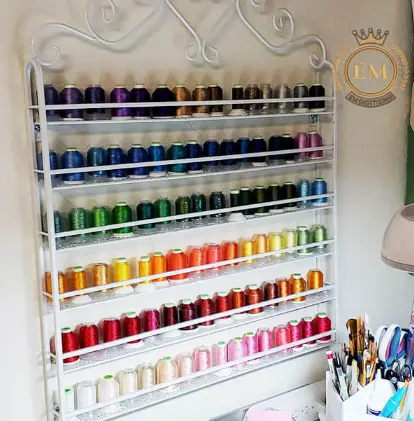
3. Wall-Mounted Rack
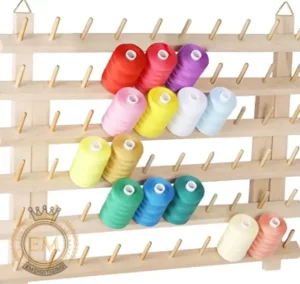 Like the thread stand, the rack mounted on the wall stores the thread in a compact and highly visible manner, where everything is at eye level. You can make a rack mounted on your wall and finish it with a beautiful frame that suits your decor. Also, you can store the bobbin for each spaghetti with the spaghetti, as long as the dowel or nail is long enough! Again, keep an eye out for direct sunlight – a shady spot is best.
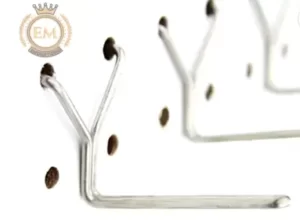
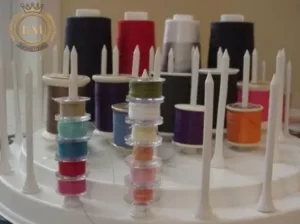
4. Bobbin Keepers
 Bobbins like to open and tangle. In addition, their small size makes them extra difficult to keep track of.
There are two basic ways to store bobbins: store them with matching thread spools or store all bobbins together. Choose an approach and stick to it – you’ll be thankful later.
You can store bobbins with spools in conjunction with smart products such as rubber bands, golf tees, or bobbin holders. If you choose to keep the bobbins separate from your spools, you can store them in small tones, in these specially made bobbin boxes, or even in regular ice cube trays.
5. In a drawer
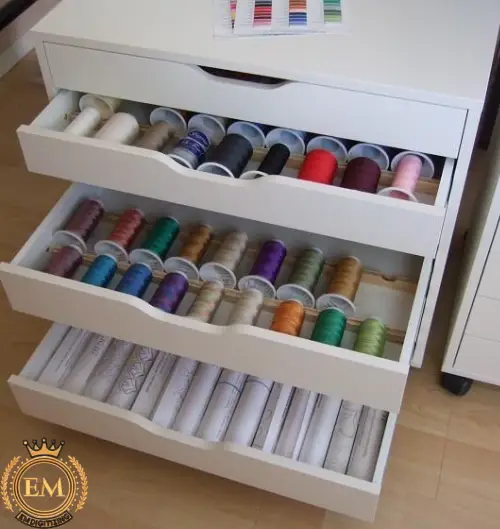 For a combination of a small spool and a bobbin, the same drawer will work perfectly. The threads are easily accessible but protected from fading and dust. In your drawers, spread spools around the colors to catch a glimpse of them. As your collection grows, erect the spool to save space. A simple tin or tray bobbin works well for storage.
6. Floating Shelves
 My Walmart thread racks are great but they don’t accommodate the large spools of yarn that I started buying. When I figured out how to use the thread stand I started investing in large spools of embroidered yarn Given, especially in the colors I use the most. So, to accommodate these large spools, I store them on a floating wall shelf above my existing thread rack.
7. Stackable, Portable Storage Containers
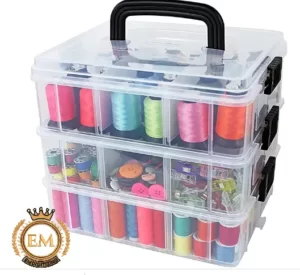 Another great solution for organize the thread that protects your thread from dust and lint is the Life Smart Clean, Plastic, Stackable Storage Tray. I think they are actually made for small toys, but they work great for the thread. Moreover, you can take your thread collection anywhere. Two 500-meter spools fit perfectly in each section, and you can set aside 1000-meter spools. You can stack as many sections according to your taste.
8. PEG Board
 Pegboard is a great way to organize the thread because it allows you to free up space on your floor and easily see all your threads. You only add one more peg to each spool of thread you collect.
I actually use pegboard for other types of tools in my craft room and 3D print the pegs and accessories needed to store my tools. And maybe a little silly because these thread holder pegs are so cheap.
9. Nail Polish Holder
 Do you know the nail polish holders you see hanging on the walls in the nail salon? Okay – what do you think? They also make great thread holders. Plus, you can buy them on Amazon for free. Then, you hang them anywhere: quick thread storage!
10. Modified cart with golf tees
 Another creative idea for organize the thread is to edit a simple rolling cart with golf teas. You only buy one rolling cart (preferably with a clear drawer you can see the color of the thread inside). You then cut pieces of cardboard to fit the bottom and plant golf teas through cardboard at regular intervals. Finally, you glue the cardboard with golf tees to the bottom of each drawer. Now place a spool of thread on each one.
A word of warning: before you go too crazy about this project, make sure the drawers are deep enough to keep the thread stand.
Conclusion
As you can see, there are advantages and disadvantages to all these different ways that you can organize the thread. But, I hope I have some new ideas to organize the thread.
I hope you enjoyed these ideas of sewing and thread organization from my craft room! I would love other tips for organize the thread if you have any! It’s only a matter of time before my thread station expands again, I’m sure.
So are you ready to manage your thread? I hope I have given a little encouragement.
If you want to learn about that which thread is best for your project then click here.


