
What is SewArt Software?
SewArt Software is known as an auto-digitizing program which means it lacks the manual digitizing tools of more expensive digitizing programs. Notably, SewArt Software does not have the bezier pen tool common in most digitizing programs. A bezier pen allows you to create and edit precise shapes that become part of your embroidery design. Instead, SewArt focuses heavily on creating embroidery designs from existing graphics.
Plus, the impact of all the bells and whistles of a full digitizing program gives SewArt a breath of fresh air. It’s a very easy program to learn: a great place to start for someone who wants to dip their toe in the digitizing waters. Plus, it’s a fraction of the cost of other digitizing programs, yet it allows you to learn some of the basics of creating embroidery designs.
To expand SewArt’s capabilities, you can also find some of the editing capabilities you’d expect to find in a full-fledged digitizing program in SewArt’s sister program, SewWhat-Pro. In SewWhat-Pro, you can edit the stitch order, combine stitch layers, etc… You can really achieve a lot by combining these two programs together.
Features of SewArt Sofware
- Reads raster or vector format picture (supported input formats include *.bmp, *.png, *.jpg, *.gif, *.svg, *.wmf, and *.emf)
- Allows pictures in other (unsupported) file formats to be pasted into the SewArt workspace
- Converts pictures into high-quality embroidery files for sewing.
- Supports output embroidery file formats including Brother (c) *.pes, Tajima (c) *.dst, Janome (c) *.jef, Melco (c) *.exp, Viking (c) *.hus New Pfaff (c) *.vip, Viking SE (c) *.vp3, and Singer (c) *.xxx (these can be converted to a wide variety of embroidery file formats by SewWhat-Pro, or other embroidery editors are compatible with most domestic and commercial machines)
- Contains image processing tools suitable for converting images into less colorful, smoother images
- Contains a variety of pattern fills that can be applied to stitch individual areas of the image.
- Supports both auto digitizing and manual digitizing options to give the user ample control over the digitizing process.
Getting Started with SewArt Software
The help that comes with SewArt contains a mini-tutorial that explains the steps necessary to load input image files and convert them to embroidery files. After opening SewArt Software by double-clicking the desktop icon, click the Help/Help Topics menu item. This will open the Getting Started main help page, which provides step-by-step tutorials for using SewArt’s various features.
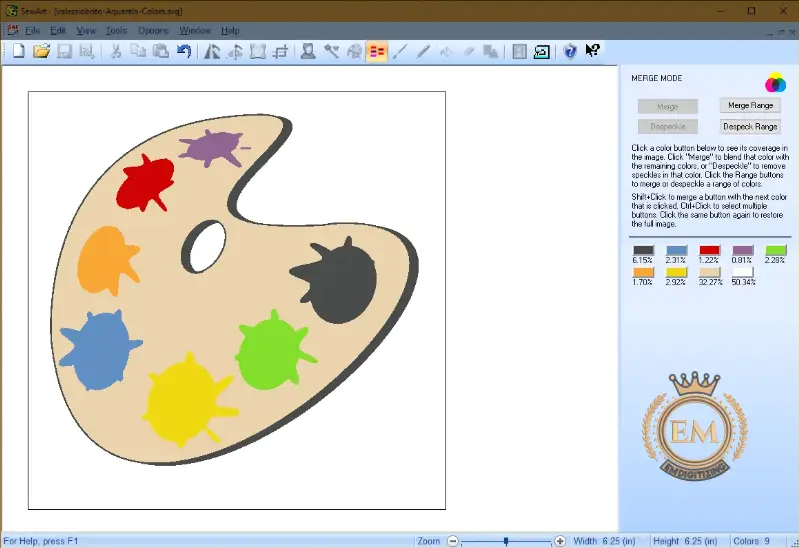
Several image processing tools are available in SewArt Software. In many cases, it will be necessary to use them to reduce color content and smooth the image file before it is stitched. Usually, clipart images are already smooth enough to be stitched quickly, so this is a good set of images to start using SewArt’s digitizing features.
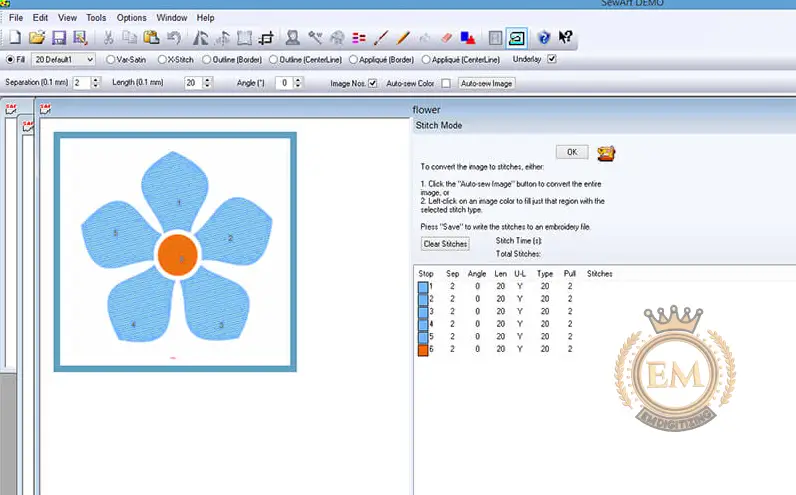
Once a suitable image is obtained, the auto-digitizing stitch mode is entered by clicking the Convert toolbar button (sewing machine icon). It offers a stitching toolbar from which to select pattern fill, stitch angle, etc. Options are available on this toolbar to automatically digitize the entire image or just one color or to manually stitch each color in the image.
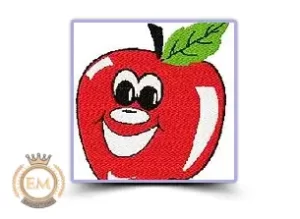 Below is a clip art image that was sewn with SewArt Software using the default pattern fill. A textured fill appears after converting an image to a stitch. In this case, the conversion procedure is taken less than 5 minutes to complete. More complex images will take longer and require the use of image conversion tools before creating the embroidery file.
Working Of SewArt Software
The general procedure for converting an image to an embroidery file using SewArt Software is:
- Import an image.
- Reduce the number of colors.
- Edit the graphic further to make it suitable for embroidery.
- Save the modified graphic.
- Convert the modified graphics into stitches by selecting all the different areas of the image that you defined in the transformation.
- Save the embroidery file in a suitable format.
After creating an embroidery file, it is often a good idea to edit the embroidery file further with an embroidery editor such as SewWhat-Pro. For example, you may want to change the stitch order of a thread or combine elements in thread color.
Two different modes of SewArt Software
When you’re using SewArt Software, you’re working in one of two modes. You may be in the Graphics Editor or the Stitch Editor. In the graphic editor, you are manipulating the picture to make it suitable for machine embroidery. In the Stitch Editor, you are selecting areas of color and assign stitch types and stitch orders.
- The first step in creating an embroidery design in SewArt Software is to edit the graphic itself.
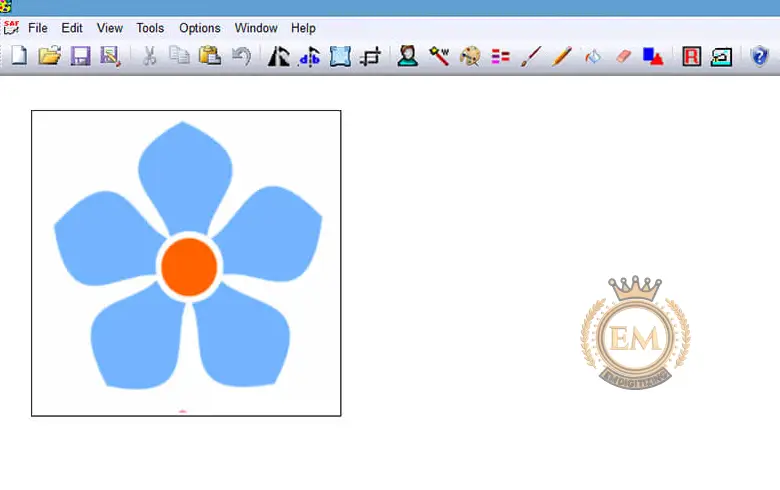
- The next step is defining the stitching areas.
Unexpected Capabilities
You might be surprised to learn some of SewArt’s advanced capabilities. Although it’s often written off as just an auto-digitizing program, SewArt Software actually allows you to make many choices about how you want to stitch your embroidery designs. You choose from many different stitch types and even specify your start and end points for each stitch area.
SewArt Sofware also allows you to make fine adjustments to your sewing areas. For example, you can change the bridge compensation to make sure there are no gaps in your stitched embroidery design. It also allows you to choose from a variety of stitches, and stitch angles while setting different levels of stitch density.
SewArt’s capabilities are such that you can create certain types of embroidery designs that you may have thought could only be created with expensive digitizing programs. Freestanding lace is a special type of embroidery file that creates stand-alone laces. Amazingly, you can actually create freestanding lace files in SewArt Software.
In addition to creating free-standing files, you can also create other types of machine embroidery designs such as appliqué and in-the-hoop designs. And if you use SewWhat-Pro’s editing capabilities, you can also set up a patch file in SewArt Software.
Conclusion
Well – I hope this review has helped you decide if SewArt Software is right for you. Tried it? Have ideas/comments/suggestions? Please add your thoughts below.


