What is Halftones Screen Printing? A Complete Guide To Halftones Screen Printing
In this article, we will provide a comprehensive guide to halftones screen printing. We will cover what are halftones, how they are created, and the best practices for achieving high-quality halftone prints. Whether you are a beginner or an experienced screen printer, this guide will provide valuable insights into the world of halftone screen printing. So, let’s dive in and explore everything you need to know about Halftones Screen Printing.
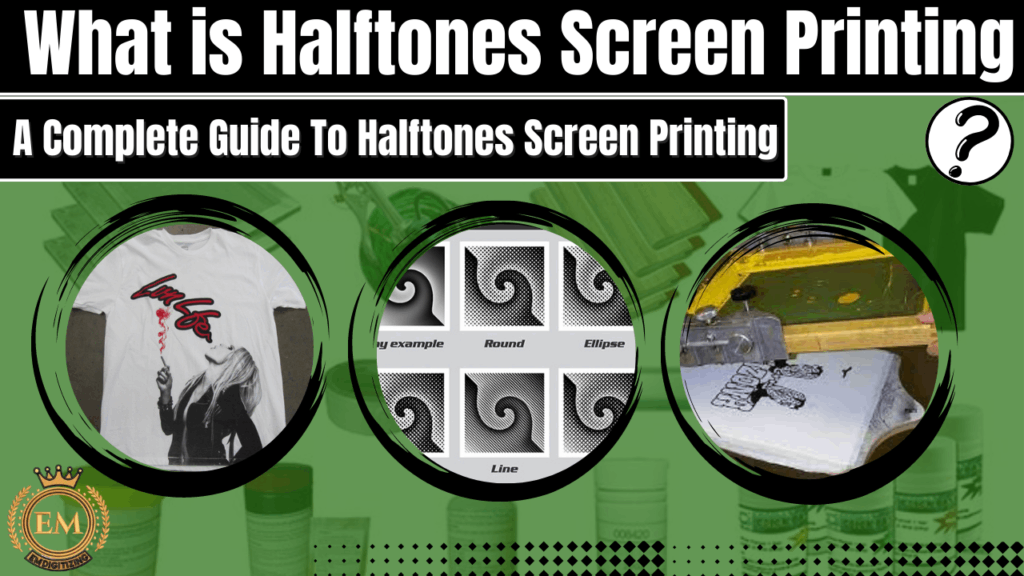
What is Halftones Screen Printing? A Complete Guide To Halftones Screen Printing
What Is Halftone Printing
Halftone screen printing is a printing technique used to reproduce photographic images and create various shades of colors by breaking down the image into tiny dots of varying sizes. The technique is widely used in the printing industry to print images on t-shirts, posters, and other promotional materials.
Now you know what is a halftone, let’s explore the various aspects of Halftones Screen Printing, including its history, how it works, and the equipment needed for the process.
History of Halftone Screen Printing
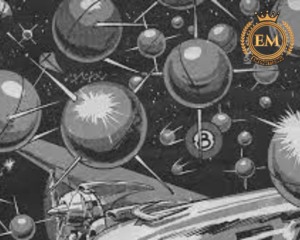
The concept of Halftones Screen Printing dates back to the late 19th century when newspapers began to use halftone printing to reproduce photographic images in their publications. Prior to this, images were manually engraved onto printing plates.
In 1881, a process for creating halftone photography printing was invented by Frederick Ives, an American photographer and inventor. Ives’ method involved photographing a continuous-tone image through a screen made of glass or metal, which had small dots of varying sizes. The resulting image was a halftone negative, which could then be used to create a printing plate for printing the image.
Over time, the technique was refined and adapted for use in Halftones Screen Printing, which became popular in the mid-20th century.
How Halftone Screen Printing Works
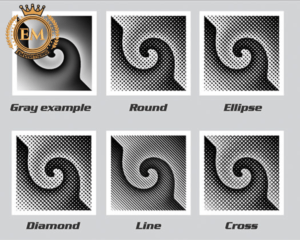
Halftone screen printing involves breaking down an image into small dots of varying sizes to create the illusion of different shades of color. The dots are arranged in a grid pattern, and the size and spacing of the dots determine the shade of color they represent.
The process involves the following steps:
Image Preparation:
The first step in Halftones Screen Printing is to prepare the image that will be printed. This can be done using graphic design software, which allows the user to adjust the size, contrast, and color of the image.
Creating the Halftone Image:
Once the image is prepared, it is converted into a halftone image using specialized software. The software breaks down the image into small dots of varying sizes, which are then arranged in a grid pattern.
Preparing the Screen:
The screen used in halftone screen printing is made of a fine mesh material that is stretched tightly over a frame. An emulsion that is sensitive to light is applied to the surface of the screen.
Exposing the Screen:
The halftone image is then placed onto the coated screen, and the screen is exposed to light. The areas of the screen that are exposed to light become hardened, while the areas that are not exposed remain soft.
Washing the Screen:
After the screen has been exposed, it is washed with water to remove the unhardened emulsion, leaving behind the areas of the screen where the dots will be printed.
Printing the Image:
The screen is then placed onto the printing press, and ink is applied to the top of the screen. A squeegee is then used to push the ink through the screen and onto the substrate (the material being printed on), creating the printed image.
Equipment Needed for Halftone Screen Printing
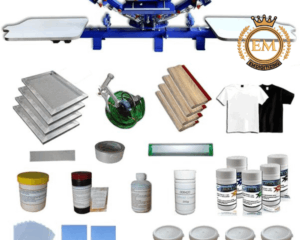
To create a halftone screen print, you will need the following equipment:
Screen:
The screen is the most important piece of equipment in halftone screen printing. It is made of a fine mesh material, such as polyester or nylon, and is stretched tightly over a frame.
Emulsion:
The emulsion is a light-sensitive material that is applied to the screen. It hardens when exposed to light, creating a stencil for printing.
Light Source:
A light source, such as a UV lamp, is used to expose the screen to light.
Printing Press:
A printing press is used to apply ink to the screen and push it through the mesh and onto the substrate.
Ink:
Ink is applied to the top of the screen and is pushed through the mesh and onto the substrate using a squeegee.
Squeegee:
A squeegee is used to push the ink through the screen and onto the substrate. It is important to use a squeegee that is the right size for the screen to ensure that the ink is evenly distributed.
Substrate:
The substrate is the material that the image is being printed on, such as a t-shirt, poster, or paper.
Halftone Software:
Halftone software is used to convert the image into a halftone image that can be printed using the halftone screen printing technique.
Cleaning Supplies:
It is important to keep the screen and equipment clean to ensure that the ink is applied evenly and the prints come out clear. Cleaning supplies such as emulsion remover, screen degreaser, and screen wash are necessary for this process.
Tips for Successful Halftone Screen Printing
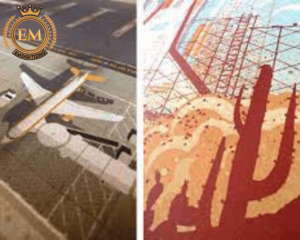
Halftone screen printing can be a challenging technique to master, but with the right equipment and techniques, it is possible to create high-quality prints. Here are some tips for successful halftone screen printing:
Use High-Quality Screens:
The quality of the screen will have a significant impact on the quality of the print. It is important to invest in high-quality screens that are designed for halftone screen printing.
Choose The Right Mesh Count:
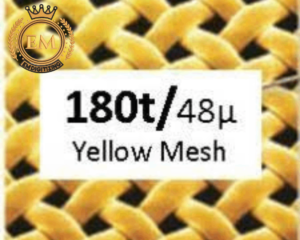
The mesh count of the screen will affect the size of the dots and the overall resolution of the print. It is important to choose the right mesh count for the image being printed.
Use The Right Ink:
The type of ink used will affect the color and quality of the print. It is important to use ink that is designed for halftone printing and that is compatible with the substrate being printed on.
Adjust The Exposure Time:
The exposure time will vary depending on the type of emulsion and light source being used. It is important to adjust the exposure time to achieve the desired level of detail and contrast.
Test Print:
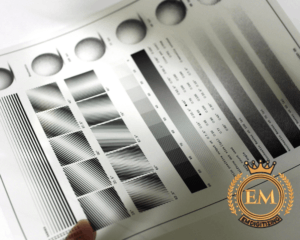
It is always a good idea to do a test print before printing a large batch of prints. This will help you identify any issues with the image or the printing process and make adjustments as needed.
Conclusion:
Halftone screen printing is a versatile and popular printing technique used to create high-quality prints on a variety of materials. The technique involves breaking down an image into small dots of varying sizes to create the illusion of different shades of color. With the right equipment and techniques, it is possible to create high-quality halftone prints that are sure to impress.
If you want to customize embroidery logo digitizing, EM DIGITIZING will be your best choice. At EM DIGITIZING, we deliver the best embroidery logo digitizing services with the best quality. We offer 50% off on all our services to our potential customers on their first order. So, get a free quote now and we will get in touch with you.
Hope this article will be helpful for you guys!
If there’s any question related to this article feel free to comment to us. And, thanks for reading!
Halftones in screen printing refer to the technique of creating a gradient or a continuous tone image by using dots of various sizes arranged in a specific pattern. These dots, when printed, blend together to create the illusion of shades of gray or color.
To create a halftone screen for screen printing, a special software or plugin is used to convert the continuous tone image into a pattern of dots. The size of the dots and the space between them can be adjusted to achieve the desired effect. The screen is then exposed onto a mesh screen for printing.
The best halftone setting for screen printing depends on various factors such as the type of ink, the color of the substrate, and the desired level of detail. Generally, a halftone frequency of 35-55 lines per inch (LPI) is recommended for most screen printing applications.
To create halftones for screen printing in Illustrator, the continuous tone image can be imported into Illustrator and then converted into a halftone pattern using the “Halftone” filter in the “Effect” menu. The settings can be adjusted to achieve the desired effect.
The purpose of halftones in screen printing is to reproduce photographic images or complex designs that cannot be printed using solid colors alone. Halftones allow for a range of tones and shades to be created using just one ink color, making the printing process more efficient and cost-effective.
