We have already established here the fact that every machine makes curious mistakes. And when the mistake is really bad, sometimes the best solution is to tear off your stitches and start over. But if you’re new to the game (or you’ve never made a mistake), you’re probably wondering how to remove the embroidery and if possible.
If you have a garment that you want to reuse, you may also be interested in removing the embroidery. For example, a child may own a jacket with a valuable monogram, and you may want to pass it on to the next child. It would be great if you could remove the old stitch and make a new monogram on top.
How To Remove The Embroidery
Embroidery is a great way to add style and detail to a dress. If you’ve messed up or just changed your mind about the design, however, you’ll need to remove the embroidery. Fortunately, this is easy to do. Then with a little ironing, you may even be able to seamlessly remove holes left by sewing!
Embroidery Digitizing Services
Tips On How To Remove The Embroidery
When embroidering, it is normal to have some backing and embroidery thread on the fabric because the backing is necessary to stabilize the fabric during the embroidery process.
When you finish the embroidery project, the last step is to remove the machine embroidery. If you are not careful, you can damage the fabric or the embroidery yourself if you do not use the embroidery removal tool.
Here are some tips to help you remove backups safely and easily:
Identify the type of backup used. This will determine the best way to remove the embroidery. If baking is water-soluble, you can soak it in hot water until it dissolves. If the baking is heat-driven, you can use a steam iron.
- Firstly, you will need a pair of scissors
- Second, you need to be careful not to cut the fabric.
- Eliminate the back of the extra embroidery around the outside of the design
- Gently peel off the back of the embroidery, taking care not to pull the stitches.
- If you encounter any resistance, stop and cut off this part of the back.
- After removing the backing, gently brush any loose embroidery threads (you will need to use a lint roller to remove any remaining threads).
- At last, you will need to iron the area to remove any wrinkles.
With a little patience, you can remove your embroidery in no time!
Tools For Remove The Embroidery
There are many tools available to help you remove the embroidery. Some are as simple as a pair of scissors, while others are more skilled as embroidery hoops.
The most common is to use a seam wrapper, a small, sharp tool that can be used to carefully cut stitches. Another option is to use a sharp knife or scissors to carefully remove the embroidery from the fabric.
It doesn’t matter which tool you use, the goal is to remove the embroidery and all the loose threads without damaging the fabric.
Use of hand razor
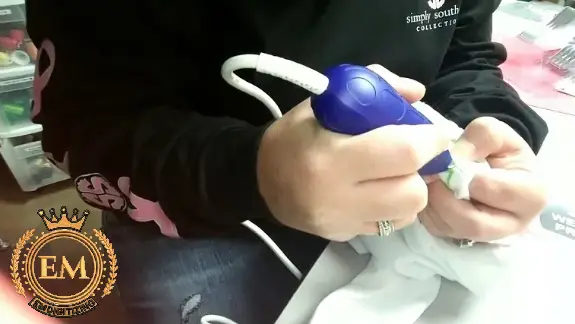
Manual razors work like sewing cleaners or electrical shavers, but faster. Plastic razors are very economical and can be easily found in any store.
Remove the embroidery by placing the material on a flat surface and keeping it stable. Now gently place the razor under the back of the embroidery.
After all the stitches are finished, turn the cloth over to remove the thread from the outside. Use a comb to clean all the remaining threads.
Use a sewing cleaner
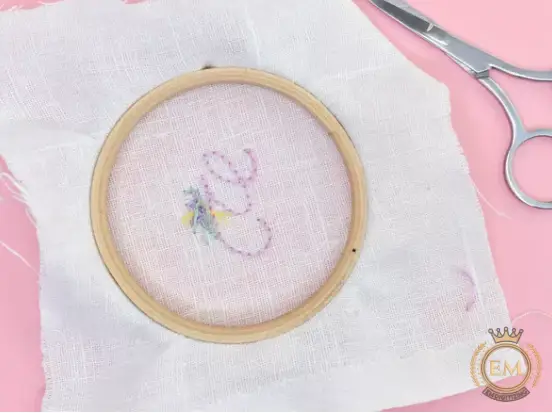
Sew cleaners are battery or electric sewing removers that are similar to electric razors or trimmers. This is done by cutting the embroidery with a small tooth.
How do I open the sleeves on the embroidery with a sewing eraser? Use a smooth surface when removing embroidery stitches using a sewing cleaner. If not, the chemicals can cause serious health problems.
You can see the stitching on your back in just a few seconds. Depending on the density of the fabric, a sewing cleaner will probably need several times until all unwanted stitches and stitches are removed.
Using a seam ripper
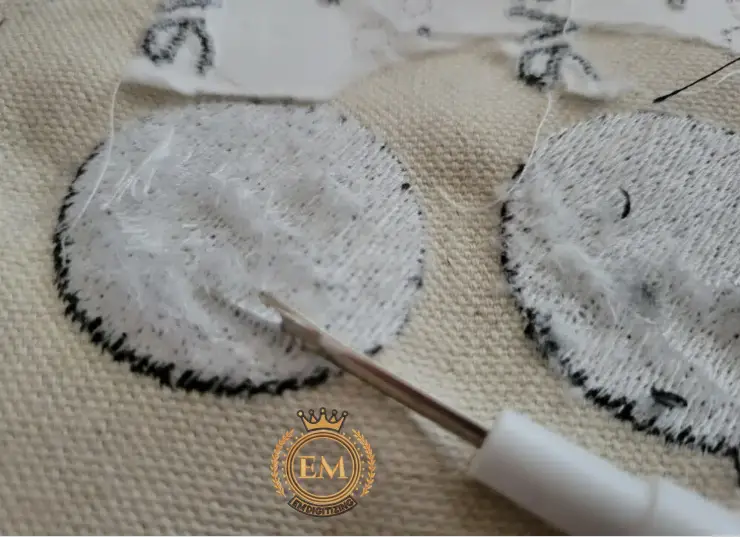
If you want to remove the embroidery with the back, the seam wrapper is the best tool for this task.
A seam wrapper is a tool used to remove the embroidery that has needle-like, sharp ends. The first step in removing the embroidered backing is to remove it from the outside with this special tool.
Simply insert the seam wrapper point under the seam, and gently move the tool back and forth to loosen the seams. Once the stitches are loose, you can carefully peel off the back. Continue around the embroidery frame until it is completely removed.
Use of electric shakers
If you have a piece of clothing that has embroidery on it that you want to remove, you can do a few different things about it. One option for removing the embroidery is to use an electric shaker.
It is a device that basically vibrates the fabric embroidery. This is a relatively quick and easy process and does not require any special skills or knowledge.
First, you will need to find an electric shaker which is found at most craft stores. Once you have taken your shaker, you will need to remove the backing from the embroidery.
To do this, you will need an embroidery in one hand and a shaker in the other. Stir the shaker vigorously until the dough is loose. If the backing is loose, you can remove it from the embroidery.
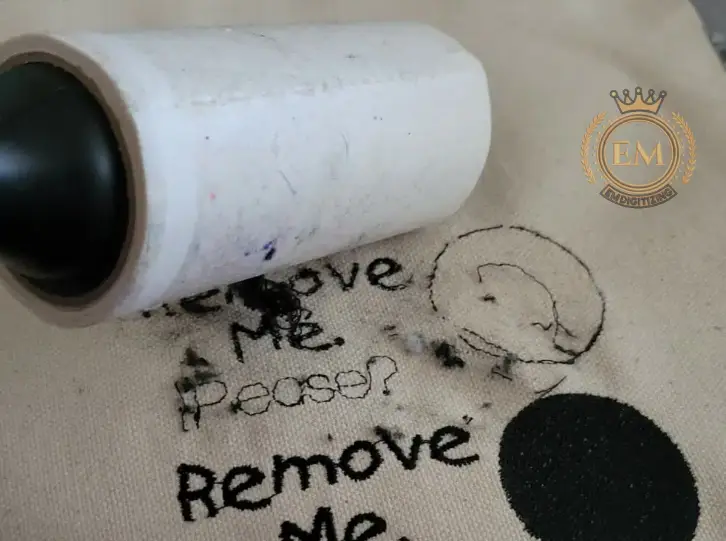
After removing all the stitches, the fabric is twisted and removed using your fingers. Use lint rollers or duct tape to clean the surface.
How do I remove the embroidery with embroidered scissors?
If you want to remove the embroidery from a garment, the best tool for this task is a pair of embroidered scissors. Embroidery scissors have a sharp, thin point that can be easily snatched from the embroidery thread without damaging the fabric underneath.
To remove the embroidery, start by cutting along the outer edge of the design to loosen it with a cloth. Then, carefully cut the individual stitches until the design is removed.
These scissors are specially designed to cut the embroidery thread and can do the quick job of removing unwanted stitches. Be sure to use sharp scissors and cut along the outer edge of the embroidery so as not to damage the fabric underneath.
If you have trouble removing the embroidery without damaging the fabric, try using a seam wrapper to gently lift the stitches.
What should I charge for removing the embroidery?
Many embroidery professionals will not offer embroidery removal services, simply because stitches can be difficult to remove and do not always give the best results. When removing stitches, it is very easy to make a wrong move and make a hole in the garment.
An experienced embroiderer told me that she was so confident in her removal skills that she would do it for – 12- $ 15. However, she will only work on the project if she thinks she will get good results after removing the embroidery.
Will removing the embroidery cause holes?
Sometimes the process of removing the embroidery can pierce your fabric. Again, this is more likely when you are removing the embroidery on the fabric which is more delicate.
Even if you remove the embroidery on the fabric which is very durable, you can sometimes see the holes where the thread in the previous embroidery went through the fabric. These small holes usually disappear when you wash clothes. Ironing can also help get rid of back embroidery marks.
But, even if you become a little more aggressive with the process of removing your embroidery and making large holes in your fabric, it is possible to hide the holes. You can actually embroider this hole and make a hole in your fabric. Basically, you seal the back and embroider the top, and you never know if the hole was there. This is quite satisfactory.
In fact, there are some crazy people out there who think it’s fun to “repair” clothes by embroidering holes. If you save some cut stabilizer on the back of the garment, you can embroider the top and the hole is no longer visible.
One woman I know likes to embroider on insect-eaten wool sweaters, cigarette butts, and favorite sweatshirts and windbreaker holes. Fabrics with holes, tears, and stains are often discounted at thrift stores and thrift stores which can present an interesting challenge to fix with embroidery.
Conclusion
Although embroidery is a beautiful craft, there are times when you want to remove it from the fabric. Maybe you made a mistake or the design is no longer your choice. Whatever the reason, it is not difficult to remove the embroidery with the backing.
Start by cutting the extra thread from the edge of the design. Then, use a seam wrapper to carefully remove the stitches. The stitches will take off the baking.
Once the stitches are removed, baking should come easily. If this does not happen, you can use a piece of tape to help remove it.
With a little time and patience, you can easily remove the embroidery with baking, and also remove machine embroidery stitches.
If you’ve messed up or just changed your mind about the design, however, you’ll need to remove the embroidery. Fortunately, this is easy to do. Then with a little ironing, you may even be able to seamlessly remove holes left by sewing!
Dip a clean cotton swab into the methyl ethyl ketone (immediately retrieve the can) and clean the pattern. MEK works well for dissolving many types of ink. Keep an eye on the fabric and the color of any embroidery. Rinse thoroughly, wash with mild soap, rinse again and dry.
It’s not difficult, so don’t worry too much. However, it is not easier than removing the hand-sewn embroidery. The steps are the same, however, there are some important differences that I am going to touch on. You start exactly as you would if you were following the steps of the last part.
At times like this when the design may be far from the center or the fabric and thread colors may not match well, you can remove the machine embroidery. This method will not damage the embroidered item and allows you to repeat your work without any signs of error.
The best way to remove an iron-on patch is to use an iron or hair dryer carefully to re-melt the adhesive. Other popular methods include freezing the patch to make the adhesive breakable. Finally, the adhesive remover patch can dissolve the glue in place.
