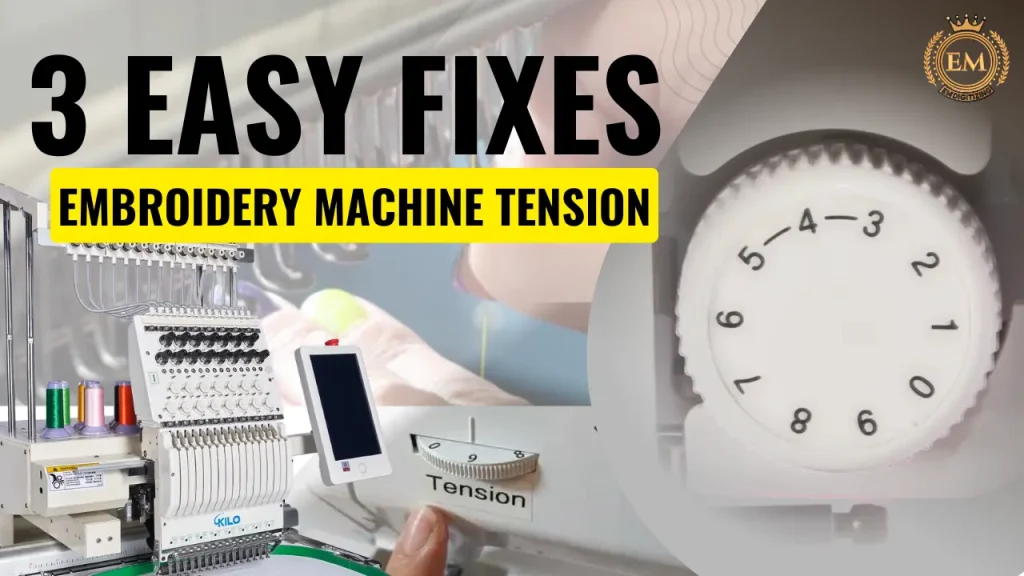
Have you ever faced thread loops, puckered fabric, or strange gaps in your stitches? These are all signs of embroidery machine tension problems. Many embroiderers, especially beginners, face these issues and think something is wrong with their machine. But often, it’s just the tension settings that need to be corrected.

In this article, we’ll guide you like a teacher and explain exactly how to fix tension step by step. You’ll also learn how to check signs of incorrect tension and what tools can help you get better results.
Fixing Embroidery Machine Tension in 3 Simple Steps
Common Signs of Bad Embroidery Tension
Before we start adjusting anything, it’s important to recognize the signs of poor tension. These are easy clues to watch for:
- Uneven stitches
- Loose loops on the back of fabric
- Bobbin thread showing on top
- Thread breaking or skipping
- Tight or puckered fabric
- Gaps between fill stitches
If you’re seeing any of these, your embroidery machine tension likely needs attention. Now let’s fix it in 3 simple steps!
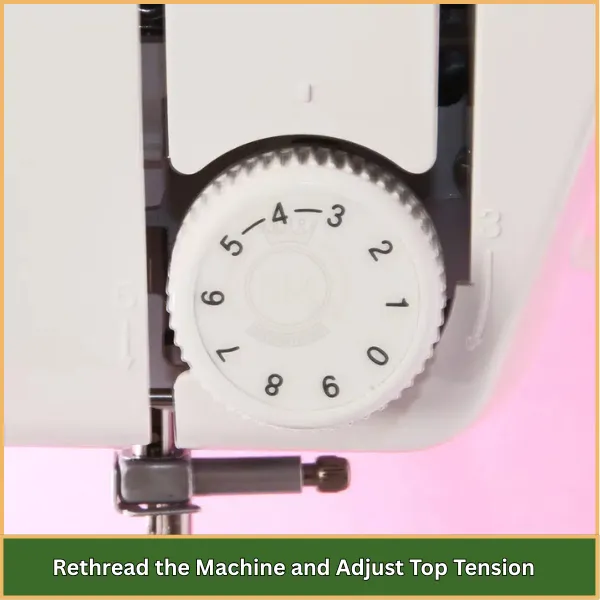
Step 1: Rethread the Machine and Adjust Top Tension

Turn off the machine and remove both the top and bobbin threads. Then, rethread the entire path carefully, make sure the thread goes through each guide, tension disc, and around the tension knob. A missed guide or loose threading can create immediate tension problems.
Once the threading is correct, find the top tension dial. Adjust it slightly:
- Turn right (clockwise) to increase tension
- Turn left (counterclockwise) to loosen it
Test your changes on a fabric scrap. If you see bobbin thread showing on top, your top tension is too tight. If the top thread is looping on the back, it’s too loose. Use an embroidery tension guide to check what proper stitches should look like and continue making small adjustments until things look balanced.
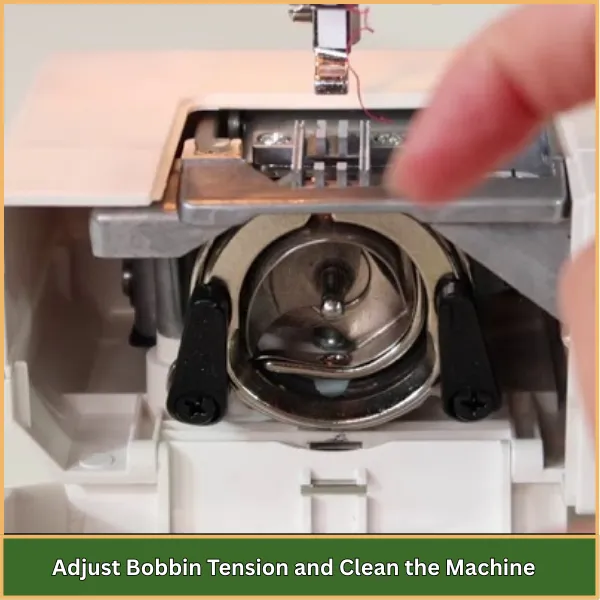
Step 2: Adjust Bobbin Tension and Clean the Machine

The bobbin tension is just as important as the top thread. Remove the bobbin case and gently pull the thread. You should feel slight resistance, not too tight or too loose.
To adjust:
- Use a small screwdriver on the bobbin screw
- Turn slightly (¼ turn at most)
- Right to tighten, left to loosen
This is called setting bobbin tension, and small changes make a big difference. After this, don’t forget to clean your machine. Dust, thread lint, or oil buildup can affect machine embroidery tension badly. Focus on:
- Tension discs
- Bobbin case
- Feed dogs
- Needle plate area
Clean these areas with a lint brush. A clean machine runs smoother and gives more consistent results.
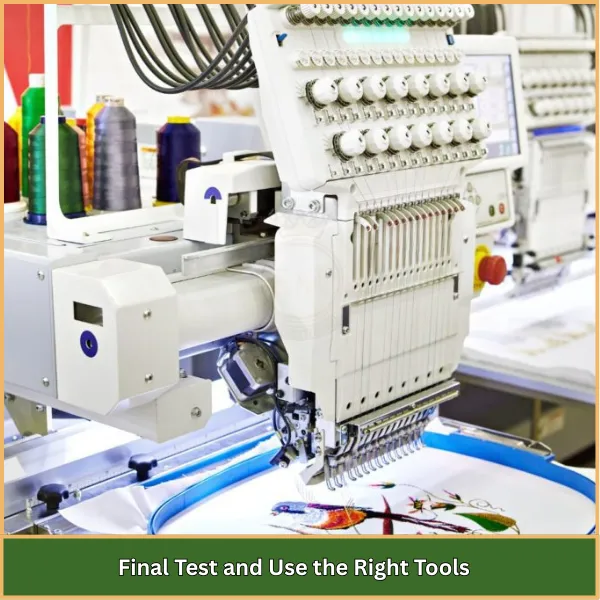
Step 3: Final Test and Use the Right Tools

After making adjustments, do a test stitch on similar fabric to your actual project. You’re looking for:
- No loops on the underside
- No tension on embroidery machine signs like pulling or uneven stitches
- Clean, flat stitches on both sides
If something still seems off, go back and fine-tune your settings. To prevent future issues, make sure you’re using:
- A thread stand (it allows smooth thread flow)
- Quality thread and needles (cheap ones can cause breaks)
- A reference chart or notes on what settings worked for each fabric type
Also, use an embroidery tension chart to keep track of what worked well on specific materials. It’ll save you a lot of time in future projects.
Conclusion
Fixing embroidery machine tension doesn’t have to be frustrating. With the right steps, rethreading properly, adjusting top and bobbin tension, cleaning your machine, and doing a final test, you can achieve smooth, balanced stitches on any fabric. These simple habits can help you avoid common tension issues and save both time and materials.
However, even when your machine is set up perfectly, a poorly digitized file can ruin your results. Uneven stitching, broken threads, and poor tension often come from bad design files. That’s where EMDIGITIZING comes in.
We offer expert-level embroidery digitizing services tailored to your machine type and fabric. With quick delivery, excellent stitch quality, competitive pricing, and support for all major file formats like DST, PES, and EXP, we help ensure your embroidery runs smoothly from start to finish.
And if you’re a first-time customer, we offer an exclusive 50% off to let you test our service at half the price. So don’t let low-quality files ruin your work, get your designs digitized by EMDIGITIZING today and see the difference professionalism makes.
FAQs
The best tension is when your stitches look even on both sides of the fabric—no loops underneath and no bobbin thread popping up. It depends on your fabric and thread, so always test before starting your real design.
Use a scrap fabric that matches your project and run a quick test design. Check both sides if the stitches are balanced without loops or thread showing through, your tension is correct. Adjust slightly if needed.
A good starting point is usually between 2.0 and 4.0 for top thread tension. However, every machine and material is different, so it’s best to test and adjust slowly for smooth, clean stitches.
Correct tension means the top and bobbin threads meet inside the fabric, forming flat stitches with no puckering. While most machines work well around 3 to 5, the perfect setting depends on fabric thickness and thread type.
