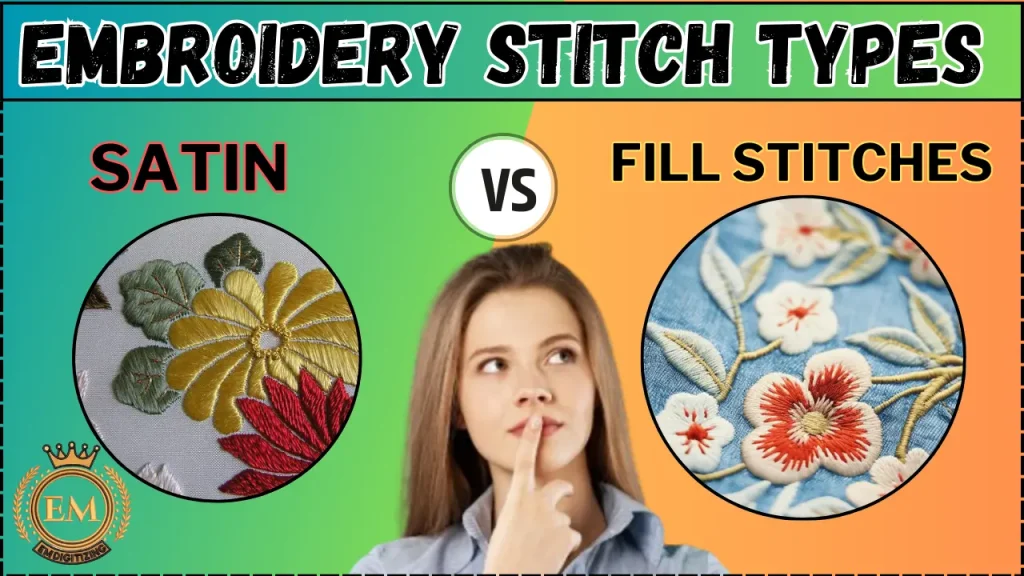
Machine embroidery is a captivating art form that allows for the creation of intricate and detailed designs on various fabrics and garments. Two popular stitch types used in machine embroidery are satin stitch and fill stitch.
In this article, we will delve into the intricacies of satin vs fill stitch, explore their unique characteristics, compare their appearances and textures, discuss their varied uses, and provide insights into factors to consider when choosing between them.
Whether you are a beginner or an experienced machine embroiderer, this article will provide valuable insights into the distinction between satin and fill stitch in machine embroidery.
Embroidery Stitch Types: Satin Vs Fill Stitch Explained
Understanding the Technique: Satin Stitch
Satin stitch is a fundamental and versatile embroidery technique known for its smooth, lustrous appearance.
Definition and Characteristics of Satin Stitch
A satin stitch is a technique where parallel stitches are placed next to each other to completely cover an area.
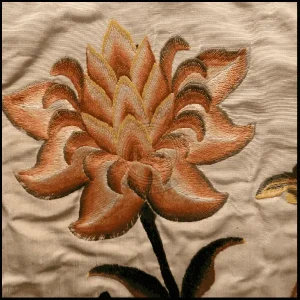
The stitches are close together, creating a smooth and shiny finish, reminiscent of satin fabric. Satin stitches are typically long and narrow and often used for creating outlines, lettering, and intricate detailing.
How Satin Stitch is Created?
To create a satin stitch, the machine moves back and forth in a straight line, with the needle penetrating the fabric on each pass.
The stitches are placed close together to ensure full coverage of the area being filled. The length and width of the stitches can be adjusted to achieve different effects.
Factors Affecting Satin Stitch Quality
Achieving a high-quality satin stitch requires attention to detail. Factors such as thread tension, stitch density, and stabilizer selection can impact the final result.
It’s important to choose the right thread weight and type for the fabric being used, as well as properly stabilize the fabric to prevent puckering or distortion.
Exploring the Technique: Fill Stitch
Fill stitch, a widely used technique in embroidery, is essential for adding solid areas of color or texture to a design.
Definition and Characteristics of Fill Stitch
Fill stitch, as the name suggests, is used to fill in larger areas within a design. Unlike a satin stitch, which consists of individual stitches placed close together, a fill stitch creates a solid, continuous fill by stitching rows or columns of stitches in a pattern.
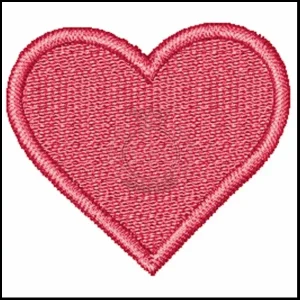
Fill stitches can vary in density and are commonly used for backgrounds and larger shapes.
How Fill Stitch is Created?
To create a fill stitch, the embroidery machine sews rows or columns of closely spaced stitches within the designated area. The stitches can be straight or angled, depending on the desired effect. The spacing between stitches can be adjusted to control the density of the fill.
Factors Affecting Fill Stitch Quality
Obtaining a clean and even fill stitch requires careful consideration of factors such as stitch direction, stitch length, and fabric tension.
Consistent spacing and proper thread tension are crucial to prevent gaps or bunching within the fill. Choosing the right stitch angle can also affect the appearance of the design.
Comparing Satin vs Fill Stitch Techniques
Comparing satin stitch and fill stitch techniques in embroidery reveals insights into their unique characteristics and applications.
Differences in Appearance and Texture
The satin stitch creates a smooth and glossy finish, ideal for detailed outlining and lettering. On the other hand, fill stitch creates a solid and substantial appearance, perfect for filling larger areas and creating texture.
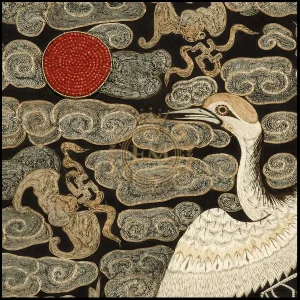
The choice between the satin vs fill stitch depends on the desired look and feel of your embroidery design.
Variations in Design Flexibility
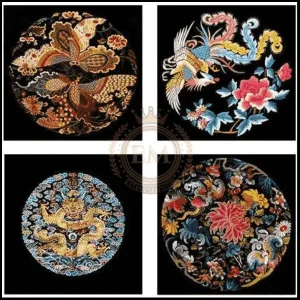
Satin stitch offers more flexibility in creating fine lines, curves, and intricate shapes due to its ability to closely follow the design’s contours. Fill stitch, while not as versatile in this regard, provides the advantage of covering larger areas more quickly.
Consider the complexity of your design and the desired level of detail when choosing between the two techniques.
Considerations for Stitch Density and Length
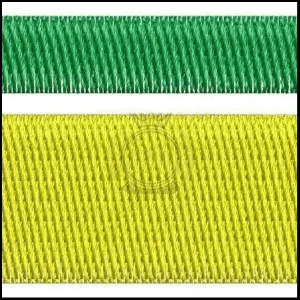
Satin stitch requires longer stitches to achieve a smoother finish, but too long of a stitch can cause the fabric to pucker. Fill stitch, on the other hand, can be stitched closer together to create a denser appearance.
Take into account the fabric type, design size, and desired effect when determining the appropriate stitch density and length for your embroidery project.
Remember, both satin vs fill stitch have their strengths and can be used in combination to create dynamic and visually appealing machine embroidery designs.
Experiment with different techniques to discover your personal style and unleash your creativity!
Factors to Consider When Choosing Between Satin vs Fill Stitch
When deciding whether to use satin or fill stitch in your machine embroidery, there are a few factors to consider.
Style and Design of the Embroidery
The style and design of your embroidery project will play a significant role in determining whether to use a satin or fill stitch.
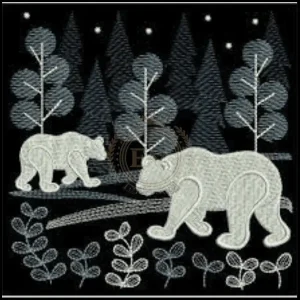
Satin stitch is perfect for creating smooth, sleek lines and shapes, while fill stitch is better suited for filling larger areas with solid color or texture. Consider the intricacy and complexity of your design to determine which stitch will best bring it to life.
Fabric Type and Texture
Another important factor to consider is the type and texture of the fabric you’ll be embroidering on. Satin stitch works well on smooth and lightweight fabrics, such as silk or satin, as it can glide smoothly across the surface.
On the other hand, textured or thicker fabrics, like denim or fleece, may benefit from a fill stitch, which can create more dimension and coverage.
Desired End Result and Durability
Think about the desired end result of your embroidery project and its intended use. Satin stitch can give a polished and elegant look to your designs, making it suitable for decorative pieces or detailed embellishments.
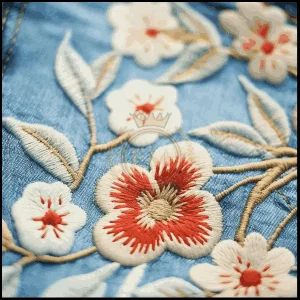
However, if durability is a concern, fill stitch may be a better choice, as it can withstand more wear and tear due to its dense and sturdy nature.
Applications and Examples of Satin vs Fill Stitch in Machine Embroidery
Satin and fill stitch have various applications in machine embroidery, and here are a few examples:
Embellishing Clothing and Accessories
Satin stitch can be used to embellish clothing and accessories, such as adding intricate details to a collar or accentuating a pocket.
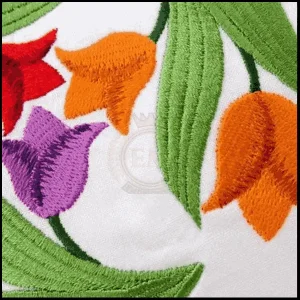
Fill stitch, on the other hand, is perfect for filling larger areas like the body of a bag or the front of a sweatshirt to create eye-catching designs.
Creating Text and Logos
Both satin vs fill stitch are commonly used in creating text and logos. Satin stitch gives a sleek and professional look to letters and small details
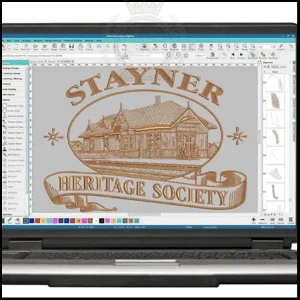
while fill stitch can be used to fill the background and make the text or logo stand out.
Adding Texture and Dimension to Designs
Fill stitch is excellent for adding texture and dimension to designs. It can be used to create realistic effects, such as replicating fur or adding a 3D effect to flower petals.
Satin stitch, on the other hand, can be used to outline and define these textured areas, giving the design a polished finish.
Conclusion on Satin vs Fill Stitch in Machine Embroidery
In conclusion, both satin and fill stitch have their unique applications and strengths in machine embroidery. Consider the style of your design, the fabric you’re working with, and the desired end result to determine which stitch to use.
With proper thread and needle selection, fabric stabilization, and machine adjustments, you can achieve high-quality results with both stitches.
So go ahead, have fun experimenting, and let your creativity shine through your machine embroidery projects!
EMdigitizing: Embroidery Digitizing Expert At Your Service
If you are interested in any kind of embroidery project, then EMdigitizing is the best option for you. We offer embroidery digitizing and vector art services with a fast turnaround time. You can also visit and check our website as well as our best services.
We also offer a great 50% discount on all our services for our respected first-time clients. We also offer free quotes generated in just 5 minutes.
You should grab this limited-time offer and take your embroidery project to the next level with EMdigitizing.
If you’ve any queries regarding this topic, you can ask them. Thank you for taking the time to read this article.
Frequently Asked Questions:
The satin stitch is often considered the best for filling space in embroidery, as it creates a smooth, dense, and even coverage. This stitch is ideal for covering larger areas with a sleek, shiny texture, making it a popular choice for adding solid blocks of color.
The bullion knot is commonly regarded as one of the hardest embroidery stitches. It requires precise wrapping of the thread around the needle and careful insertion back through the fabric, making it challenging to achieve uniform and neat results, especially for beginners.
The running stitch is typically the easiest and most basic embroidery stitch. It involves simple in-and-out stitches that form a dashed line on the fabric. This stitch is fundamental in embroidery and is often the first stitch learned by beginners.
The backstitch is known for its strength and durability. It overlaps stitches on the backside of the fabric, making it sturdy and ideal for outlines or details that require more structural integrity in an embroidery design.
The ideal stitch length in embroidery varies depending on the stitch type and the desired effect. Generally, a length of 1/16 to 1/8 inch (about 1.5 to 3 mm) is common for finer details, while longer stitches can be used for filling or decorative purposes. The key is consistency in length for a neat and uniform appearance.
