Embroidered placemats are like the superheroes of the dining table – they not only add a touch of elegance and charm but also protect your table from the perils of spills and stains.
With the power of embroidery, these placemats can transform a plain dining area into a stylish and personalized space that reflects your unique taste.
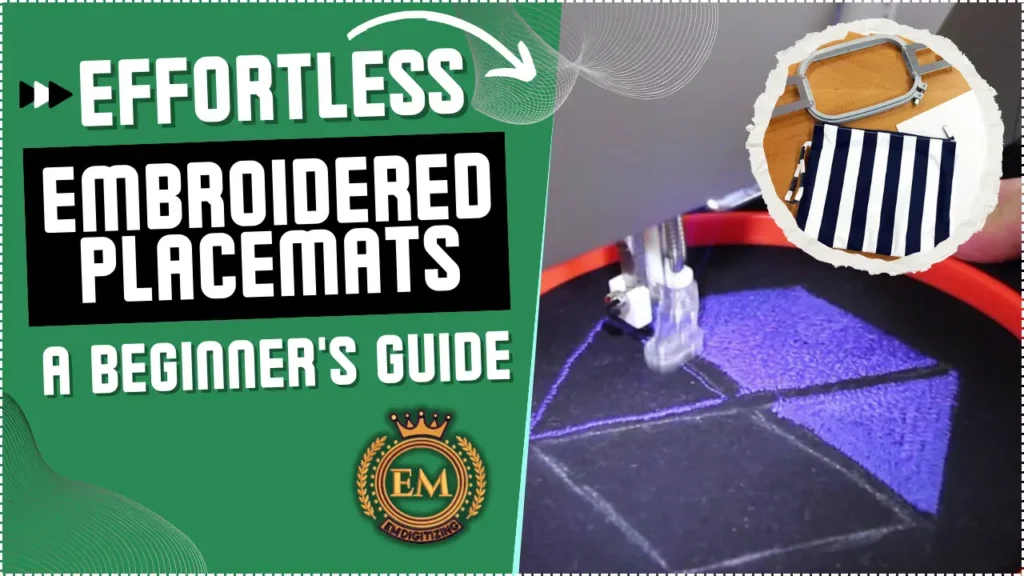
This comprehensive guide will walk you through the step-by-step process of effortlessly creating custom placemats.
So, let’s dive in and discover the art of crafting beautiful placemats with an embroidery machine.
Effortless Embroidered Placemats: A Beginner’s Guide
Gathering the Necessary Materials and Tools:
Before diving into the world of embroidered placemats, it’s essential items to gather the right materials. Here’s a handy checklist to get you started:
- Fabric: Choose a sturdy and washable fabric like cotton or linen, preferably in a color that complements your table setting.
- Embroidery thread: Opt for high-quality thread types in various colors to bring your design to life.
- Stabilizer: This magical material helps keep your fabric stable during the embroidery process, preventing any unwanted puckering or shifting.
- Needles: Get your hands on embroidery needles specifically designed for use with your embroidery machine.
- Bobbins: These little spools hold your thread, so make sure to have a few extras on hand.
In addition to the materials, you’ll need a few trusty tools to assist you on your placemat-making journey:
- Embroidery machine: The star of the show, this machine will bring your designs to life.
- Scissors: A good pair of sharp scissors will come in handy for cutting fabric, stabilizer, and threads.
- Ruler or measuring tape: Ensure accurate dimensions for your placemats with the help of a measuring tool.
- Marking pen or chalk: Use these tools to mark the placement of your design on the fabric.
- Iron: A hot iron will help you create crisp seams and remove any wrinkles from the fabric.
Selecting the Right Design and Preparing the Fabric:
When it comes to selecting a machine embroidery design for your embroidered placemats, the options are as vast as the universe.
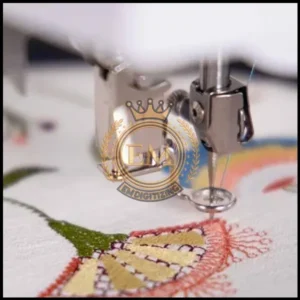
You can choose from intricate patterns, floral motifs, geometric designs, or even personalized monograms. Consider the overall theme or style of your dining area and let your creativity run wild.
Choosing Suitable Fabric And Preparing It For Embroidery:
Now that you have your design in mind, it’s time to choose the perfect fabric type for your placemats. Opt for fabrics that can withstand regular use and washing, like cotton or linen.
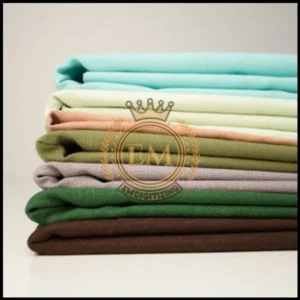
Make sure to prewash and dry your fabric to prevent any potential shrinkage after embroidery. Iron out any wrinkles to create a smooth canvas for your design.
Setting Up the Embroidery Machine for Placemat Embroidery:
Before firing up your embroidery machine, take a moment to familiarize yourself with its basic setup and functions.
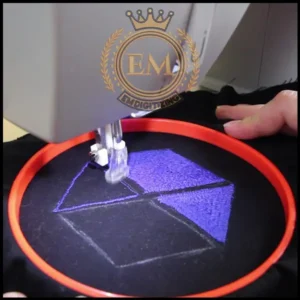
Read through the instruction manual and get to know the different buttons, knobs, and features. Understanding the machine’s capabilities will help you make the most of its potential.
Calibrating The Machine For Optimal Placemat Embroidery:
To ensure your placemat embroidery is nothing short of perfection, it’s crucial to calibrate your machine correctly. This involves adjusting the tension, selecting the appropriate needle and thread, and setting the right stitching speed.
Don’t worry, it’s not rocket science! Just follow the instructions provided by your machine’s manufacturer, and you’ll be well on your way to smooth and flawless embroidery.
Now that you have a grasp on the materials, tools, designs, and machine setup, it’s time to dive headfirst into the world of embroidered placemats.
Embroidering The Placemats: Step-by-Step Instructions:
Embroidering your own placemats can be as easy as pressing a button (well, almost). Follow these simple steps to create beautiful designs with your embroidery machine.
Step 1: Hooping The Fabric And Stabilizing It For Embroidery:
First things first, you’ll need to hoop the fabric onto your embroidery machine. Make sure the fabric is taut and smooth, like a freshly ironed shirt.
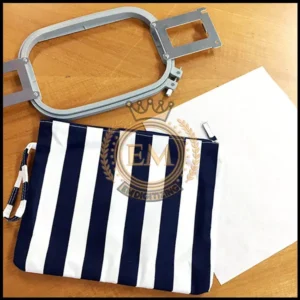
Then, stabilize the fabric with some stabilizer. Think of it as the superhero cape that keeps your design looking sharp and prevents fabric puckering.
Step 2: Uploading And Positioning The Design On The Embroidery Machine:
Now it’s time to choose your design. Browse through your embroidery machine’s library or upload your own.
Position the design on the screen to ensure it’s centered and aligned with your placemat. Consider this the virtual fitting room for your design.
Step 3: Adjusting Settings And Initiating The Embroidery Process:
It’s like setting the stage for a magnificent performance. Adjust the settings on your embroidery machine, like the stitch density and thread tension, to achieve the desired effect.
Once you’re happy with the setup, press that magical start button and watch your masterpiece come to life!
Finishing Touches: Trimming and Securing Threads:
So, you’ve completed the embroidery part, but we’re not done just yet. Let’s tidy things up and make sure your placemats look sleek and professional.
Trimming Excess Threads And Ensuring A Clean Finish:
Grab your trusty pair of scissors and trim any loose threads hanging around. It’s like giving your placemat a little haircut.
Snip, snip, and voila! Your placemat will look all dapper and ready to impress your guests.
Techniques For Securing Threads And Preventing Unraveling
To keep your embroidered design intact, you’ll want to secure those threads. You can use a few techniques like backstitching or tying knots at the beginning and end of each thread.
Think of it as giving your placemat a secure, tight hug to keep everything in place.
Lets Recap:
Congratulations, embroidery extraordinaire! You’ve mastered the art of embroidered placemats.
To recap, hooping and stabilizing your fabric, positioning the design, and adjusting settings are crucial steps for successful placemat embroidery. And let’s not forget the finishing touches of trimming and securing threads for that polished look.
Here’s a bonus tip: experiment with different fabrics and thread colors to unleash your creativity. And don’t be afraid to make mistakes – embroidery is all about trial and error. Embrace the imperfections, because they’re what make your placemats truly unique.
Now go forth, my embroidery aficionado, and create stunning placemats that will leave your guests in awe!
EMdigitizing: Embroidery Digitizing Expert At Your Service:
Are you looking for help with turning your designs into embroidery?
Check out EMdigitizing! We specialize in embroidery digitizing and have a great deal for you. If you’re a first-time customer, you get a huge 50% off on all our services.
Our team is an expert in digitizing, they take your design and carefully digitize it, making sure it’s ready quickly and without costing you a lot.
Got any questions? Just contact us.
Our team is always here to help and will get back to you fast. And if you think this info is helpful, feel free to share it with your friends.
Thanks for reading, and happy stitching!
Frequently Asked Questions:
The best types of placemats are those that match your decor and dining needs; cotton or linen for everyday use due to their durability and ease of cleaning, and more luxurious materials like silk or embroidered fabrics for special occasions.
To sew placemats, you need fabric (like cotton or linen), a sewing machine or needle and thread, scissors, measuring tape, and any desired decorative elements such as trim, ribbon, or embroidery materials.
Key rules of embroidery include choosing the right fabric and thread for your project, using an appropriate stabilizer, maintaining proper thread tension, and being patient and precise with your stitching technique.
Placemats protect your table from spills and heat damage, add an aesthetic touch to your dining table setting, and can be easily swapped out to refresh your decor or suit different occasions.
