Stickerei ist eine vielseitige und kreative Möglichkeit, Stoffen komplizierte Designs und Muster hinzuzufügen. Wenn es darum geht, den Ausschnitt eines Kleidungsstücks zu betonen, Eine Stickerei am Ausschnitt kann das Gesamterscheinungsbild wirklich aufwerten.
Mit dem Fortschritt in der Technologie, Stickmaschinen machen es einfacher denn je, Ergebnisse auf professionellem Niveau zu erzielen.
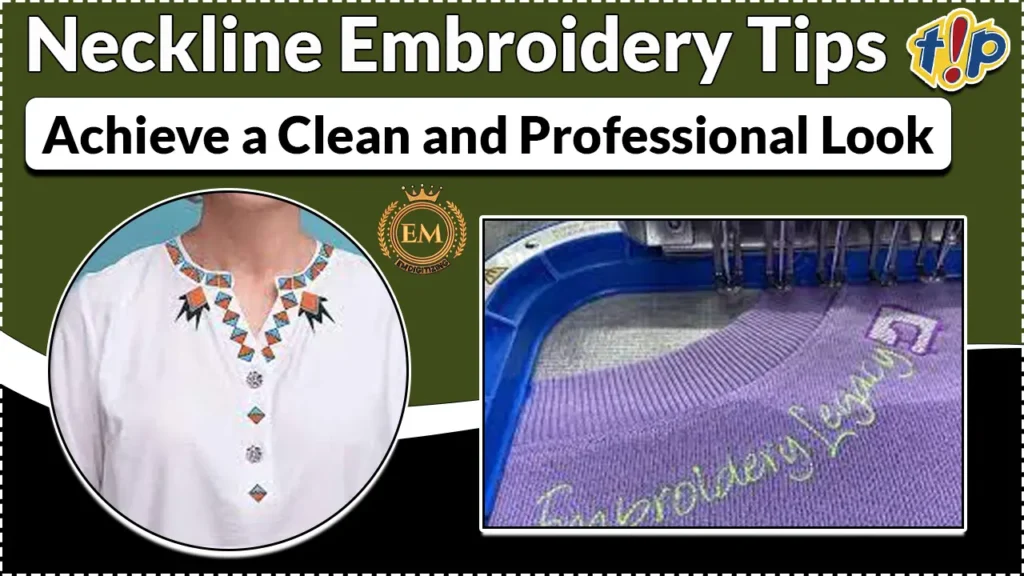
In diesem Artikel, Wir führen Sie Schritt für Schritt durch das Sticken des Halsausschnitts mit einer Stickmaschine.
So, let’;Lass uns eintauchen!
Tipps zum Sticken des Ausschnitts: Erzielen Sie ein sauberes und professionelles Aussehen
Erforderliche Materialien und Ausrüstung für die Halsausschnittstickerei:
- Stoff (Entscheiden Sie sich für leichte Stoffe wie Baumwolle oder Leinen, da sie leichter zu sticken sind und eine glatte Oberfläche bieten, auf der das Motiv glänzen kann)
- Stickgarne in Ihren Wunschfarben
- Stickrahmen zum Spannen des Stoffes
- Stickmaschinennadeln
- Stickstabilisator um den Stoff zu verstärken
- Schere
Stellen Sie sicher, dass Sie diese wichtigen Dinge zusammentragen, bevor Sie sich an Ihr Stickprojekt wagen.
Professionelle Ausschnittstickerei: Schritt-für-Schritt-Prozess:
Werfen wir einen Blick darauf, wie man den Ausschnitt besticken kann:
Schritt 1: Vorbereiten des Stoffes zum Sticken
Bevor wir mit dem Stickvorgang beginnen, it’;Es ist wichtig, den Stoff richtig vorzubereiten. Beginnen Sie mit dem Waschen und Bügeln des Stoffes um eventuelle Falten oder Fältchen zu entfernen.
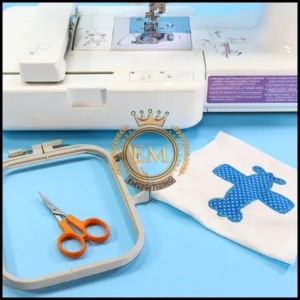
Dadurch wird eine glatte und makellose Stickoberfläche gewährleistet. Zusätzlich, Erwägen Sie die Verwendung eines Stabilisators auf der Rückseite des Stoffes, um Falten und Verformungen beim Nähen zu verhindern.
Schritt 2: Den Stoff richtig stabilisieren
Um Stoffverzerrungen beim Nähen zu vermeiden, it’;Es ist wichtig, den richtigen Stabilisator zu wählen. Für leichte Stoffe, Verwenden Sie zum einfachen Entfernen nach dem Sticken ein abreißbares Vlies.
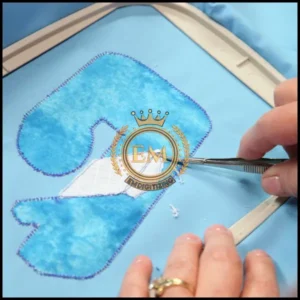
Für schwerere Stoffe, ein ausgeschnittener Stabilisator sorgt für langanhaltende Stabilität. Positionieren Sie das Vlies als Einheit unter dem Stoff und dem Rahmen, Stellen Sie sicher, dass der gesamte Stickbereich ausreichend unterstützt wird.
Schritt 3: Den Stoff einspannen
Das Einspannen ist ein entscheidender Schritt, um präzises und genaues Sticken zu gewährleisten. Zum Besticken am Ausschnitt, Spannen Sie den Stoff und das Vlies zusammen, Stellen Sie sicher, dass der Halsausschnitt innerhalb des Reifens zentriert ist.
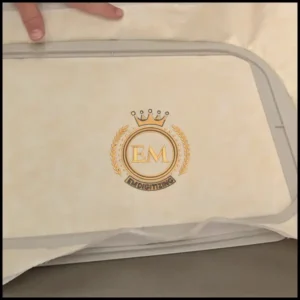
Befestigen Sie überschüssigen Stoff mit Klammern oder Stecknadeln am äußeren Teil des Rahmens, ensuring it doesn’;Der Stickvorgang wird dadurch nicht beeinträchtigt. Hier entlang, Sie können ein makelloses und professionelles Finish erzielen.
Schritt 4: Auswählen und Vorbereiten des Stickmusters
Bei der Auswahl eines Stickerei-Design für deinen Ausschnitt, Berücksichtigen Sie den Stil, Größe, und Form des Kleidungsstücks. Opt for designs that complement the neckline’;s Kurve und verbessern die Gesamtästhetik.
Ob Sie florale Motive bevorzugen, geometrische Muster, oder auch personalisierte Monogramme, there’;Es gibt eine Fülle von Designs für jeden Geschmack und Anlass.

Um eine perfekte Passform und Ausrichtung zu gewährleisten, it’;Es ist wichtig, das gewählte Stickmuster an die Form und Größe des Ausschnitts anzupassen.
Verwenden Sie dazu Software oder Apps, die speziell für das Sticken entwickelt wurden Passen Sie das Design an entsprechend. This will guarantee that the embroidery looks seamless and professional once it’;Es ist auf Ihr Kleidungsstück genäht.
Bonus-Tipp: Wenn Sie Ihr Design nicht selbst digitalisieren können, Sie können uns beauftragen. Wir digitalisieren Ihren Entwurf manuell und garantieren hochwertige Ergebnisse mit schneller Lieferung.
Schritt 5: Übertragen des Designs auf die Stickmaschine
Jetzt haben Sie Ihr Design fertig, it’;Es ist Zeit, es auf Ihr zu übertragen Stickmaschine. Bei den meisten Maschinen können Sie Designs über USB oder eine direkte Verbindung laden.
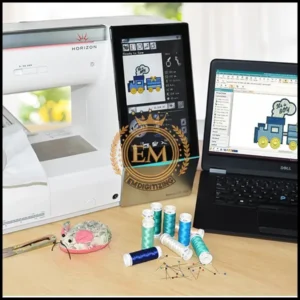
Befolgen Sie die Anweisungen des Herstellers, um die Designdateien auf Ihre Maschine zu übertragen. Überprüfen Sie noch einmal, ob das Motiv richtig auf dem Motiv positioniert ist Stickrahmen, Stellen Sie sicher, dass es perfekt zu Ihrem Ausschnitt passt.
Schritt 6: Einrichten der Stickmaschine für die Halsausschnittstickerei
Fadenauswahl und -vorbereitung
Wenn es um die Auswahl des Fadens für die Stickerei am Ausschnitt geht, Sie möchten etwas wählen, das zu Ihrem Stoff und Design passt.
Stellen Sie sich vor, Sie wählen das perfekte Accessoire für Ihr Outfit aus. Once you’;Ich habe deinen Thread ausgewählt, make sure it’;Es ist ordnungsgemäß auf die Spule gewickelt und durch die Maschine gefädelt.
Einstellen von Spannung und Nadelposition
Spannung ist wie die Goldlöckchen der Stickerei – sie muss genau stimmen.
Zu eng, und die Nähte könnten sich verziehen, too loose and they’;Ich werde schlampig aussehen. Check your machine’;Anweisungen zum Einstellen der Spannung finden Sie im Handbuch. And while you’;Ich bin dabei, don’;Vergessen Sie nicht, die Nadel richtig zu positionieren.
Stickmaschinenparameter einstellen
Now it’;Es ist Zeit, sich an die Arbeit zu machen und die Parameter der Stickmaschine einzustellen. Dazu gehört die Auswahl des passenden Stichmusters und die Anpassung der Geschwindigkeit.
You want to find the right balance between “;snail’;s pace”; and “;speed demon.”; Erinnern, Slow and Steady gewinnt das Stickrennen.
Schritt 7: Starten des Stickvorgangs
It’;s Showtime!
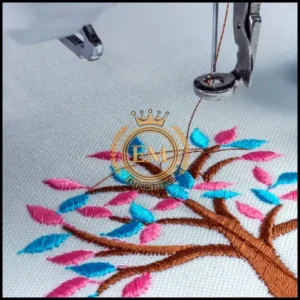
Während die Maschine gerade näht, Sie müssen ein aufmerksamer Vorgesetzter sein. Halten Sie Ausschau nach möglichen Pannen, wie verhedderte Fäden oder Stoffreste.
It’;Es ist Ihre Aufgabe, eine Stickkatastrophe zu verhindern. Und merke dir, a little pep talk never hurts – tell your machine it’;Ich mache einen tollen Job!
Endbearbeitungs- und Pflegetipps für Ausschnittstickereien:
Nach Abschluss des Stickvorgangs, Sie müssen Ihrem Ausschnittdesign den letzten Schliff geben:
Entfernen des Stoffes vom Stickrahmen
Herzliche Glückwünsche, you’;Ich habe die Ziellinie erreicht!
Entfernen Sie den Stoff vorsichtig vom Stickrahmen, Stellen Sie sicher, dass Sie Ihre ganze harte Arbeit nicht versehentlich zunichte machen. Stellen Sie sich das vor, als würden Sie ein zartes Schmuckstück abnehmen – langsam und sanft gewinnt den Tag.
Stickstiche zuschneiden und reinigen
Genauso wie man Spliss schneidet oder vereinzelte Augenbrauenhaare zupft, Auch Ihre Stickstiche brauchen manchmal etwas Pflege. Schneiden Sie alle losen Fäden ab und säubern Sie alle Stiche, um Ihrem Ausschnitt ein elegantes Aussehen zu verleihen.
Voila, you’;Ich bin ein Näh-Superstar!
Pflege des bestickten Ausschnitts
Ihr bestickter Ausschnitt verdient etwas Pflege, damit er weiterhin fabelhaft aussieht. Seien Sie beim Waschen vorsichtig, vorzugsweise von Hand oder im Schonwaschgang.
Vermeiden Sie scharfe Reinigungsmittel oder Bleichmittel, es sei denn, Sie möchten, dass Ihr Meisterwerk eine ungewollte Modekrise durchmacht. Und merke dir, immer an der Luft trocknen, um ein unerwartetes Schrumpfen zu vermeiden.
Endeffekt:
Abschließend, Das Sticken des Ausschnitts mit einer Stickmaschine eröffnet eine Welt voller Möglichkeiten, Ihren Kleidungsstücken komplizierte und schöne Designs hinzuzufügen.
Indem Sie den in diesem Artikel beschriebenen Schritt-für-Schritt-Prozess befolgen, Sie können professionell aussehende Ergebnisse erzielen und Ihre Kleidung auf einzigartige Weise personalisieren.
Denken Sie daran, sich Zeit zu nehmen, Experimentieren Sie mit verschiedenen Designs und Stoffen, und viel Spaß beim kreativen Prozess. Mit Übung und Geduld, you’;Sie werden sich bald darin auskennen, atemberaubende Stickereien am Ausschnitt zu kreieren, die Ihre Kleidungsstücke wirklich hervorstechen lassen.
EMdigitalisieren: #1 Anbieter von Stickerei-Digitalisierungsdiensten:
Sie müssen Ihre Stickdesigns in digitale Form umwandeln?
Schauen Sie sich EMDigitizing an. Wir bieten Stickerei digitalisieren und Vektorkunstdienste weltweit.
Im Augenblick, du kannst bekommen 50% Rabatt auf Ihre erste Bestellung. Erzählen Sie uns einfach von Ihrem Projekt, and we’;Wir unterbreiten Ihnen schnell ein kostenloses Angebot. Klick hier um Ihr Angebot in weniger als zu erhalten 5 Protokoll, So können Sie einfach planen und budgetieren.
Isn’;So toll ist das nicht?
Don’;Lassen Sie sich diese Chance nicht entgehen, hochwertige Dienstleistungen zu einem günstigeren Preis zu erhalten. But hurry this special deal won’;Es dauert nicht ewig.
Kontaktieren Sie uns noch heute für Ihr kostenloses Angebot und lassen Sie uns dabei helfen, Ihre Designs zum Leben zu erwecken.
Erinnern, wenn Sie Hilfe benötigen, Rufen Sie uns einfach an. We’;Wir sind hier, um es für Sie einfacher und günstiger zu machen!
Häufig gestellte Fragen:
Zu den grundlegenden Schritten beim Sticken gehört die Auswahl eines Designs, es auf den Stoff übertragen, Den Stoff in einen Stickrahmen einlegen, und dann verschiedene Stiche verwenden, um das Design zu vervollständigen.
Stickstiche machen, Du brauchst eine Nadel und einen Faden. Sie erstellen Stiche, indem Sie die Nadel durch den Stoff stechen und den Faden auf die gewünschte Länge ziehen, folgenden Mustern wie Laufstichen, Rückstich, oder Satinstich.
Bei der Stickerei am Ausschnitt kommen häufig Techniken wie Spiegelarbeiten zum Einsatz, Applikationen, oder komplizierte Stiche wie Kettenstiche und Satinstiche, um dekorative Muster um den Ausschnitt von Kleidungsstücken zu erzeugen.
