
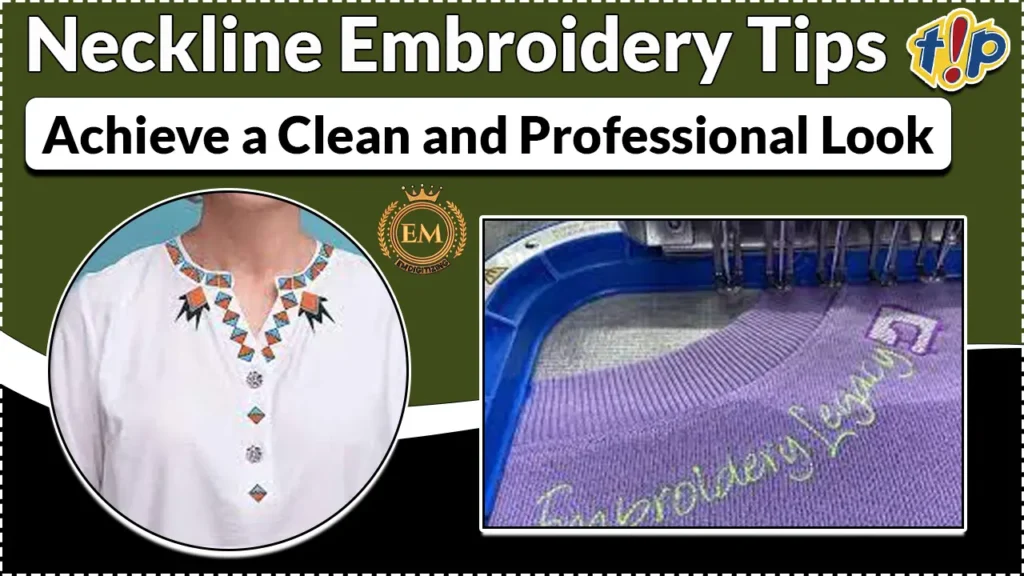
Il ricamo è un modo versatile e creativo per aggiungere disegni e motivi complessi al tessuto. Quando si tratta di valorizzare la scollatura di un capo, il ricamo della scollatura può davvero migliorare il suo aspetto generale.
Con il progresso della tecnologia, Le macchine da ricamo rendono più semplice che mai ottenere risultati di livello professionale.
In questo articolo, ti guideremo passo dopo passo attraverso il processo di ricamo sullo scollo utilizzando una macchina da ricamo.
Così, let’;tuffatevi!
Suggerimenti per il ricamo della scollatura: Ottieni un aspetto pulito e professionale
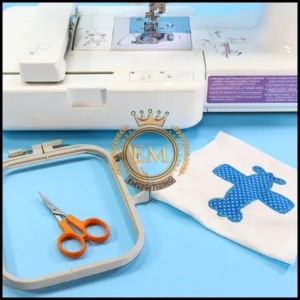
Materiali e attrezzature necessari per il ricamo dello scollo:
- Tessuto (Optare per tessuti leggeri come cotone o lino, poiché sono più facili da ricamare e forniscono una superficie liscia per far risplendere il disegno)
- Fili da ricamo nei colori desiderati
- Telaio da ricamo per tenere teso il tessuto
- Aghi per macchine da ricamo
- Stabilizzatore per ricamo per rinforzare il tessuto
- Forbici
Assicurati di raccogliere questi elementi essenziali prima di immergerti nel tuo progetto di ricamo.
Ricamo professionale sulla scollatura: Processo passo dopo passo:
Diamo un'occhiata a come eseguire il ricamo sullo scollo:
Fare un passo 1: Preparazione del tessuto per il ricamo
Prima di iniziare il processo di ricamo, it’;È fondamentale preparare adeguatamente il tessuto. Inizia lavando e stirare il tessuto per eliminare eventuali grinze o grinze.
Ciò garantirà una superficie di ricamo liscia e impeccabile. Inoltre, considera l'utilizzo di uno stabilizzatore sul retro del tessuto per evitare arricciature e distorsioni durante la cucitura.
Fare un passo 2: Stabilizzare correttamente il tessuto
Per evitare la distorsione del tessuto durante la cucitura, it’;È fondamentale scegliere lo stabilizzatore giusto. Per tessuti leggeri, utilizzare uno stabilizzatore a strappo per rimuoverlo facilmente dopo il ricamo.
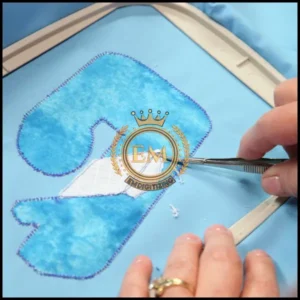
Per tessuti più pesanti, uno stabilizzatore tagliato fornisce stabilità duratura. Posiziona lo stabilizzatore sotto il tessuto e il telaio come una singola unità, assicurandosi che l'intera area di ricamo sia adeguatamente supportata.
Fare un passo 3: Intelaiare il tessuto
L'intelaiatura è un passaggio cruciale per garantire un ricamo preciso e accurato. Per ricamo sullo scollo, telaio il tessuto e lo stabilizzatore insieme, assicurandosi che la scollatura sia centrata all'interno del telaio.
Usa fermagli o spilli per fissare il tessuto in eccesso alla parte esterna del telaio, ensuring it doesn’;t interferire con il processo di ricamo. Da questa parte, puoi ottenere una finitura impeccabile e professionale.
Fare un passo 4: Selezione e preparazione del disegno da ricamo
Quando si seleziona un disegno del ricamo per la tua scollatura, prendi in considerazione lo stile, taglia, e la forma dell'indumento. Opt for designs that complement the neckline’;s curva e migliora l'estetica generale.
Sia che preferiate i motivi floreali, motivi geometrici, o anche monogrammi personalizzati, there’;è una pletora di disegni là fuori per adattarsi a tutti i gusti e l'occasione.

Per garantire una vestibilità e un allineamento perfetti, it’;s essenziale per adattare il design del ricamo scelto alla forma e alle dimensioni della scollatura.
Utilizzare software o app specificamente progettate per il ricamo a Regola il design di conseguenza. This will guarantee that the embroidery looks seamless and professional once it’;S cucito sul tuo capo.
Suggerimento bonus: Se non riesci a digitalizzare il tuo design da solo, puoi assumerci. Digitazziamo manualmente il tuo design e garantiamo risultati di alta qualità con una consegna rapida.
Fare un passo 5: Trasferimento del design alla macchina da ricamo
Ora che hai il tuo design pronto, it’;è ora di trasferirlo al tuo macchina da ricamo. La maggior parte delle macchine consente di caricare progetti tramite USB o connessione diretta.
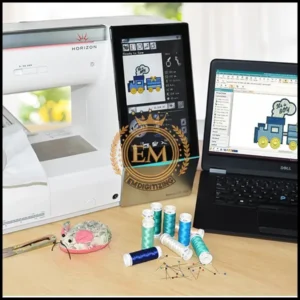
Seguire le istruzioni fornite dal produttore per trasferire i file di progettazione sulla macchina. Ricontrollare che il design sia correttamente posizionato su telaio da ricamo, Garantire che si allinea perfettamente con la scollatura.
Fare un passo 6: Impostazione della macchina da ricamo per il ricamo scollo
Selezione e preparazione del thread
Quando si tratta di selezionare il filo per il ricamo sulla scollatura, Vuoi scegliere qualcosa che completa il tuo tessuto e il tuo design.
Pensalo come scegliere l'accessorio perfetto per il tuo outfit. Once you’;Ve ha scelto il tuo thread, make sure it’;s correttamente avvolto sulla bobina e infilato attraverso la macchina.
Regolare la tensione e la posizione dell'ago
La tensione è come i poti d'oro dei ricami: deve avere ragione.
Troppo stretto e i tuoi punti potrebbero scontrarsi, too loose and they’;sembrerà sciatto. Check your machine’;Manuale S per istruzioni sulla regolazione della tensione. And while you’;re, don’;t dimenticare di posizionare correttamente l'ago.
Impostazione dei parametri della macchina da ricamo
Now it’;S è ora di scendere al business e impostare i parametri della macchina da ricamo. Ciò include la selezione del modello di punto appropriato e la regolazione della velocità.
You want to find the right balance between “;snail’;s pace”; and “;speed demon.”; Ricorda, Lento e costante vince la gara di ricamo.
Fare un passo 7: Avvio del processo di ricamo
It’;s showtime!
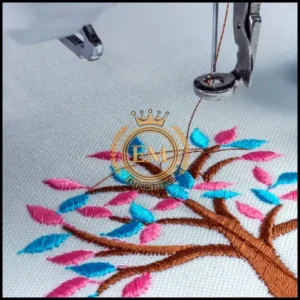
Mentre la macchina è impegnata a cucire, Devi essere un supervisore attento. Tieni d'occhio eventuali potenziali incidenti, come fili aggrovigliati o snags di tessuto.
It’;è il tuo compito per impedire che si verifichi qualsiasi disastro di ricami. E ricorda, a little pep talk never hurts – tell your machine it’;sta facendo un lavoro favoloso!
Consigli di finitura e cura per il ricamo scollo:
Dopo aver completato il processo di ricamo, Devi dare un tocco finale al design della scollatura:
Rimozione del tessuto dal cerchio
Congratulazioni, you’;VE ha raggiunto il traguardo!
Rimuovere con attenzione il tessuto dal telaio, Assicurarsi di non svelare accidentalmente tutto il tuo duro lavoro. Pensalo come togliere un delicato gioiello: le lente e delicate vince la giornata.
Rifinitura e pulizia dei punti di ricamo
Proprio come tagli quelle estremità divise o strappano quei peli del sopracciglio, I tuoi punti di ricamo a volte hanno bisogno di un po 'di toelettatura. Taglia eventuali fili sciolti e pulisci eventuali punti vaganti per dare la scollatura quel look lucido.
Voilà, you’;re una superstar cucitura!
Prendersi cura della scollatura ricamata
La tua scollatura ricamata merita un po 'di TLC per mantenerlo favoloso. Sii gentile durante il lavaggio, preferibilmente a mano o su un ciclo delicato.
Evita di usare detergenti duri o candeggine, A meno che tu non voglia che il tuo capolavoro attraversasse una crisi della moda indesiderata. E ricorda, sempre asciutto d'aria per evitare qualsiasi restringimento inaspettato.
Linea di fondo:
Insomma, La scollatura ricamo con una macchina da ricamo apre un mondo di possibilità per l'aggiunta di design intricati e belli ai tuoi capi.
Seguendo la procedura dettagliata descritta in questo articolo, Puoi ottenere risultati dall'aspetto professionale e personalizzare i tuoi vestiti in modi unici.
Ricordati di prenderti il tuo tempo, sperimentare con diversi design e tessuti, e divertiti con il processo creativo. Con pratica e pazienza, you’;presto diventerà abile nel creare splendidi ricami scollamenti che faranno risaltare i tuoi capi davvero.
EMDigitalizzazione: #1 Fornitore di servizi di digitalizzazione del ricamo:
Hai bisogno di trasformare i disegni da ricamo in forma digitale?
Dai un'occhiata a EmDigitizing. Stiamo fornendo digitalizzazione del ricamo e servizi artistici vettoriali in tutto il mondo.
Proprio adesso, puoi ottenere 50% dal tuo primo ordine. Parlaci del tuo progetto, and we’;Ti darò rapidamente un preventivo gratuito. Clicca qui per ottenere la tua citazione in meno di 5 minuti, Quindi puoi pianificare e budget facilmente.
Isn’;T così?
Don’;non perdere questa possibilità di ottenere servizi di qualità a un prezzo inferiore. But hurry this special deal won’;t ultimo per sempre.
Contattaci oggi per la tua citazione gratuita e lascia che ti aiuti a dare vita ai tuoi disegni.
Ricorda, Se hai bisogno di aiuto, Chiamaci solo. We’;essere qui per rendere le cose più facili ed economiche per te!
Domande frequenti:
I passaggi di base nel ricamo includono la selezione di un design, Trasferimento sul tessuto, Impostare il tessuto in un cerchio di ricamo, e quindi usando vari punti per completare il design.
Per fare punti ricami, Hai bisogno di un ago e un thread. Si crea punti spingendo l'ago attraverso il tessuto e tirando il filo alla lunghezza desiderata, seguendo modelli come il punto in esecuzione, punto indietro, o punto satinato.
La scollatura ricamo utilizza spesso tecniche come il lavoro dello specchio, Applique, o punti intricati come punto a catena e punto satinato per creare motivi decorativi attorno alla scollatura degli indumenti.


