When I first got my embroidery machine, I had no idea how many things you could embroider with it! Once I began to expand my horizons, I soon came to the concept of freestanding lace embroidery.
After that, I was hooked!
So, let’s talk about how to machine embroider freestanding lace, also known as freestanding lace.
Embroidery Digitizing Services
What is Freestanding Lace Embroidery?
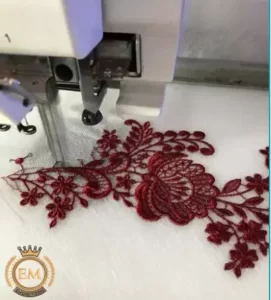
Freestanding lace embroidery designs are designs that support themselves after the stabilizer is removed. To make these embroidered beauties you sew directly onto the stabilizer rather than the fabric.
If you’re new to machine embroidery, you may have heard the term freestanding lace (sometimes shortened to “FSL” on social media). Now I’m sure you probably know what lace embroidery is, but you might not be clear on the difference between regular lace and freestanding lace. Simply put, regular lace must be sewn directly onto the fabric or piece of fabric while free lace is sewn onto a water-dissolved away stabilizer.
Use Of Freestanding Laces
Historically, freestanding lace has always carried with it a certain degree of sophistication. Due to its delicate nature, it has always been a perfect fit to complement the female figure on the dress. One of the most popular uses of lace, of course, is being sewn onto wedding dresses. However, lace doesn’t always have to appear in such a formal way. It also looks great on t-shirts, jeans, jackets, and many other wearable items.
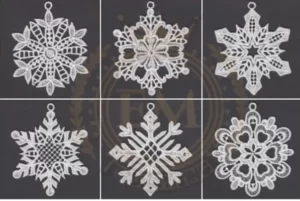 Freestanding lace patterns are also a great way to add some grace to your home. Whether it’s a tablecloth, a clothes hanger, or even a pillow, freestanding lace can add a touch of class to almost anything.
Over the past decade or so, “in the hoop projects” have become very popular with home embroiderers. Because of this, lace designs are now used (though not always freestanding) to create a variety of items such as freestanding lace earrings, Christmas ornaments, 3D angels, and more. Yes, we have many of these designs available on our site as well. For designs click here
Perfect Stabilizer for Freestanding Lace
I always use a water-soluble stabilizer (2 layers) when embroidering freestanding lace.
I used to double on the paper, the fibrous kind of wash-away stabilizer. But, I like to experiment. For this latest round of freestanding lace Christmas ornaments I made, I switched things up and instead used a layer of fibrous wash-away stabilizer on the bottom and a layer of water-soluble heavyweight film on top. . It worked better!
While the wash-away sometimes separated from really dense stitched areas, the water-soluble film provided more support and prevented the stabilizer from breaking down.
It might be worth experimenting with your machine to find out what works best for you. Combos to consider are two layers of Wash-A, one layer of Wash-A and one layer of water-soluble topping, and two layers of Wash-A and one layer of water-soluble topping.
Freestanding Lace Embroidery Supplies
- 75/11 embroidery needle (smaller size needles will leave smaller holes, which makes for a better final product!).
- 1 layer of wash-away (paper-like type) and 1 layer of heavy-weight water-soluble film stabilizer (such as Silky UltraSolve) or 2 layers of paper-like wash-away stabilizer.
- Thread (check the design for recommendations if purchased. If there are no recommendations, consider 40 wt embroidery thread first. Rayon or polyester work well, and even cotton is a good fade. provides.)
- Freestanding lace digitized design
How to Embroider Freestanding Lace – Tutorial
1. Set Your Hoop
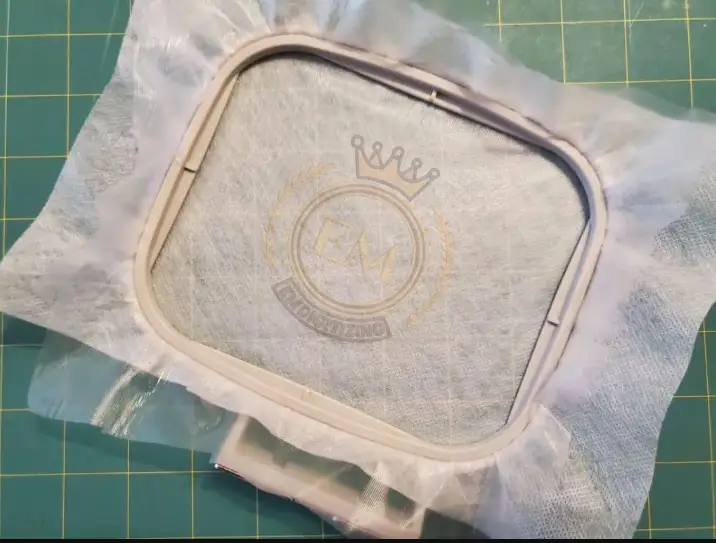
First, layer your water-soluble topping on top of the wash-away stabilizer. Next, tightly attach the two layers inside the smallest hoop that will fit your design.
In my experience, smaller hoops work better with denser freestanding lace designs. (If you’re new to embroidery and hooping, check out some of my embroidery hooping tips and tricks.) It’s very important that the stabilizer is stiff enough that it doesn’t move while your machine is sewing.
2. Set Your Machine
Download your embroidery design to your embroidery machine, and get it set up and ready to sew. One of the great things about sewing freestanding lace is that you don’t have to worry about centering your design because there is no fabric!
Next, carefully checked that your needle and thread are compatible.
It’s also important to check your bobbin thread. While you can get away with using white machine embroidery bobbin thread for most projects that don’t have exposed backs if the bobbin color matches the color of the upper thread, your freestanding lace design Will be more professional.
Just think, what lace accents have you ever seen with cream thread, for example, on the front and white thread on the back?
3. Start Embroidering
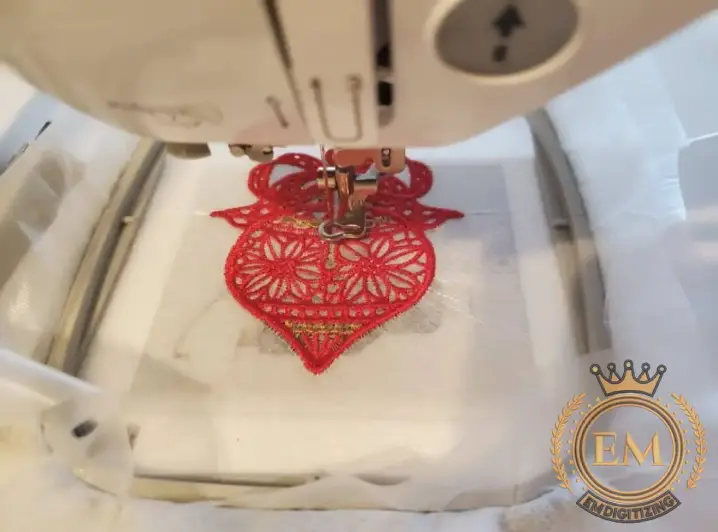
Place your embroidery hoop on the embroidery arm, lower your presser foot, and press start! Watch as your machine begins to embroider the lace design. Change colors as directed.
If your machine is a fast stitcher, consider reducing the stitch speed if you are having problems with good results.
4. Finishing Up
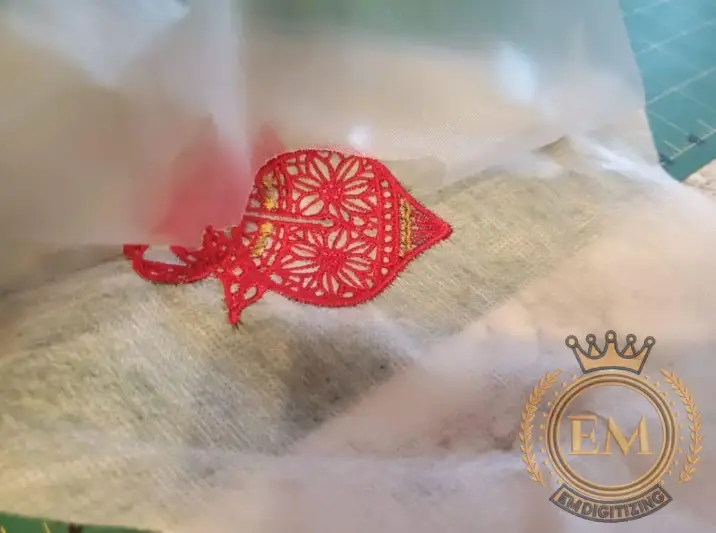
When the design is finished sewing, remove the hoop from the machine and open it up so that your design and stabilizer are on. Gently pull the water-soluble topping from the front of the design.
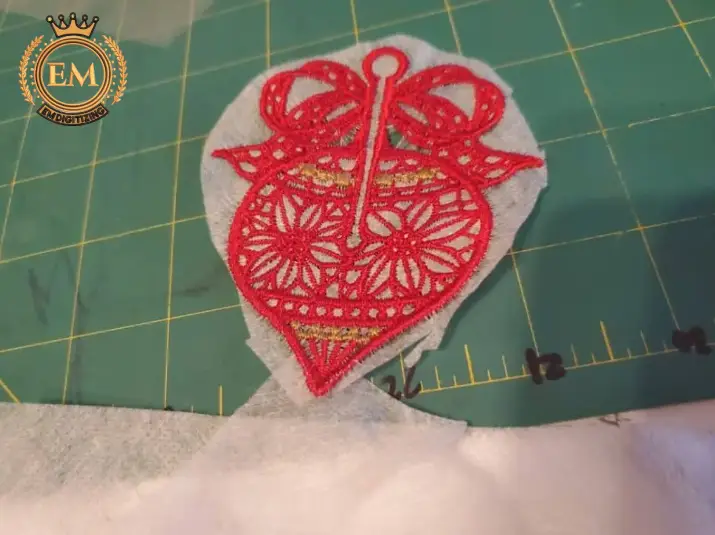
Next, use scissors to trim the wash-away stabilizer at the bottom near the sides of the design. Also, cut easily accessible jump stitches or threads.
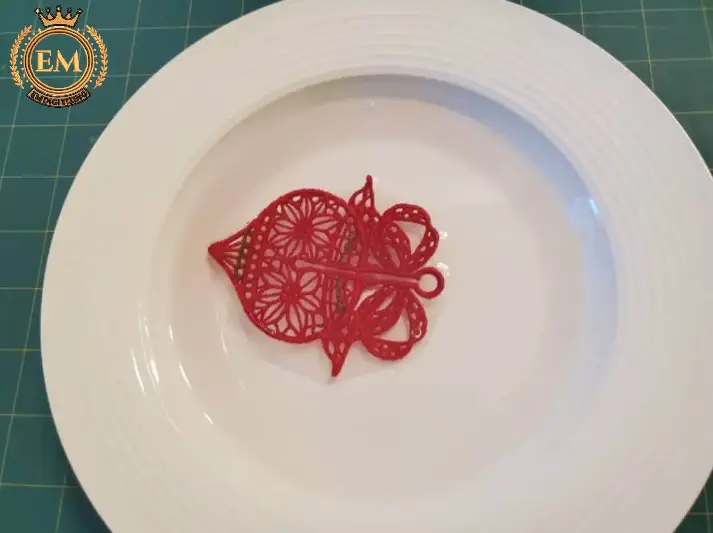
Take a small bowl of warm water and submerge your design. Water-soluble toppings and wash-away stabilizers should dissolve fairly quickly.
Once you see that most of it are gone, remove the design. By removing every bit of stabilizer before it goes under the stitch, you’ll leave behind to increase the strength of the design.
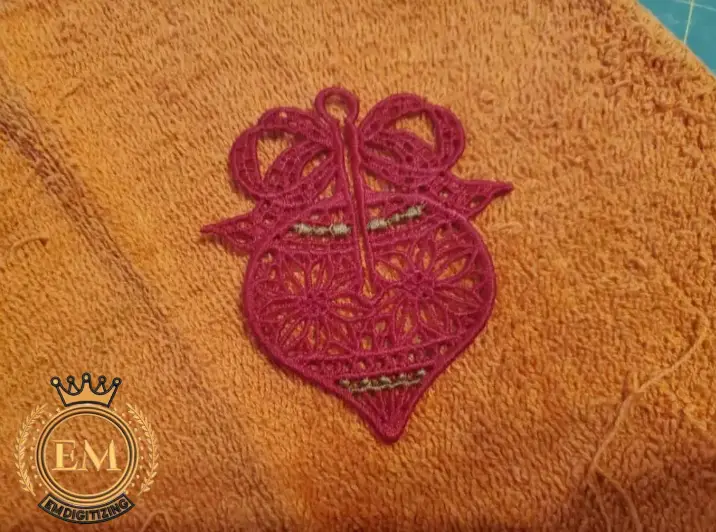
Carefully remove your freestanding lace project from the water and lay it on a dry towel. Make sure it is flat because it will dry that way. If you want a more 3-D design, try placing it at an angle!
After the lace is dry, cut off any extra thread you left the first time. If the design looks rough, you can press it well to straighten it. (Use a pressing cloth.) If it’s still too loose, try adding spray starch or other liquid stabilizer and pressing again to firm it up a bit more!
Conclusion
And that’s how you set up your embroidery machine to make freestanding lace. Just think of all the jewelry and gift possibilities you can make in the future!
After choosing the ideal thread for your freestanding lace project you’ll want to set your embroidery hoop with a water-soluble stabilizer. There are a few different types on the market, but we prefer the soft fabric stabilizer.
Often, over time, the freestanding piece will wilt a bit. You can always fix them with spray starch or by using a fabric stiffener like Terrell Magic. It’s a good idea to test any product on a scrap of similar fabric to see how it looks when it dries.
Freestanding lace or FSL is basically something made entirely of thread that you sew on your embroidery machine to form lace.
Burano lace, needle lace made on the island of Burano, a few miles from Venice, in the Venetian lagoon. Burano has a long-standing tradition of needle lace-making, although precise historical records are lacking.
Called snowflake, depression lace, or chicken scratch, this home form of embroidery took off as a way to make something out of almost nothing.
