
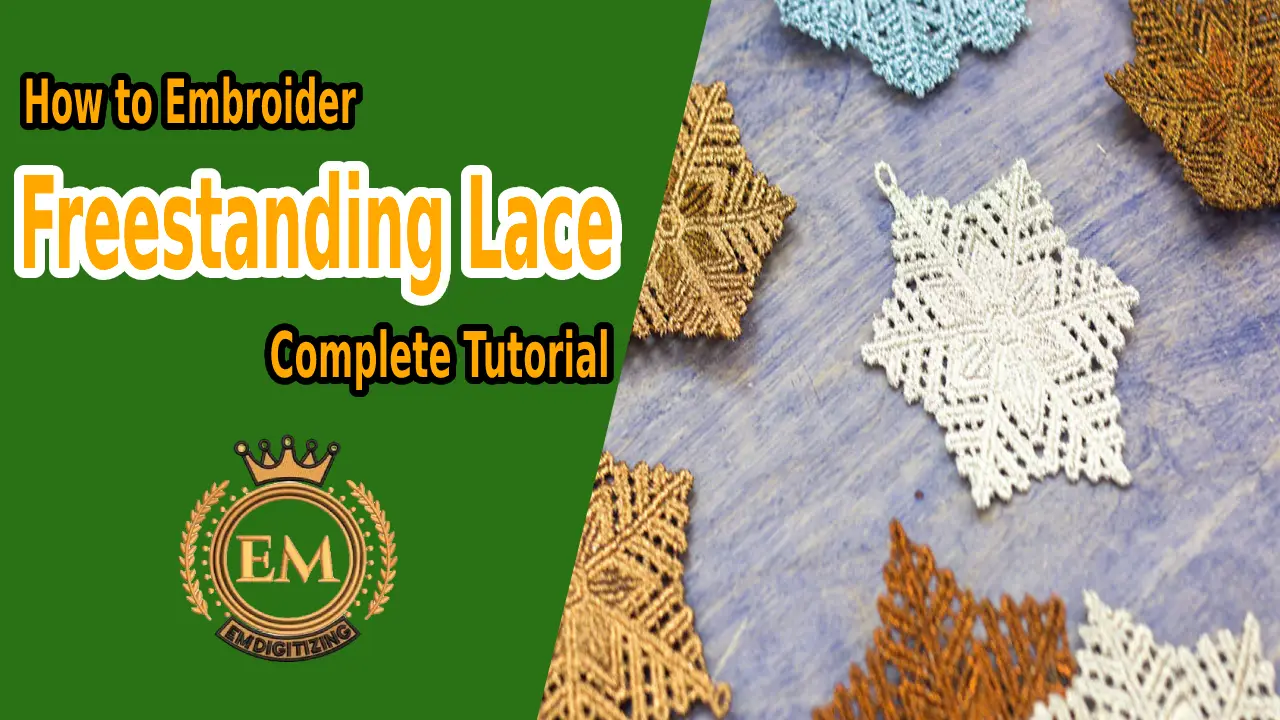
Qu'est-ce que la broderie en dentelle autoportante?

Dentelle autoportante motifs de broderie sont des modèles qui se soutiennent après le retrait du stabilisateur. Pour réaliser ces beautés brodées, vous cousez directement sur l'entoilage plutôt que sur le tissu..
If you’;je suis nouveau dans la broderie machine, vous avez peut-être entendu le terme dentelle autoportante (sometimes shortened to “;FSL”; sur les réseaux sociaux). Now I’;Je suis sûr que vous savez probablement ce qu'est la broderie en dentelle, mais vous ne comprenez peut-être pas clairement la différence entre la dentelle ordinaire et la dentelle autoportante.. Tout simplement, la dentelle ordinaire doit être cousue directement sur le tissu ou le morceau de tissu tandis que la dentelle libre est cousue sur un stabilisateur dissous dans l'eau.
Utilisation de lacets autoportants
Historiquement, la dentelle autoportante a toujours porté avec elle un certain degré de sophistication. En raison de sa nature délicate, cela a toujours été un ajustement parfait pour compléter la silhouette féminine de la robe. L'une des utilisations les plus populaires de la dentelle, bien sûr, est cousu sur les robes de mariée. Cependant, lace doesn’;Je ne dois pas toujours apparaître de manière aussi formelle. Il est également superbe sur les t-shirts, jeans, vestes, et bien d'autres articles portables.
 Les motifs de dentelle autoportants sont également un excellent moyen d'ajouter un peu de grâce à votre maison.. Whether it’;c'est une nappe, un cintre, ou même un oreiller, la dentelle autoportante peut ajouter une touche de classe à presque tout.
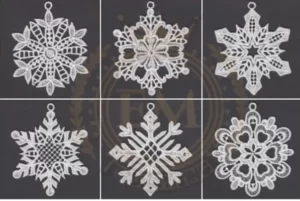
Au cours de la dernière décennie, “;in the hoop projects”; sont devenus très populaires auprès des brodeurs à domicile. À cause de ça, dentelle dessins sont maintenant utilisés (mais pas toujours autonome) pour créer une variété d'articles tels que des boucles d'oreilles en dentelle autoportantes, décorations de Noël, 3D anges, et plus. Oui, nous avons également plusieurs de ces modèles disponibles sur notre site. Pour les dessins Cliquez ici
Stabilisateur parfait pour la dentelle autoportante
J'utilise toujours un produit soluble dans l'eau stabilisateur (2 couches) lors de la broderie de dentelle autoportante.
J'avais l'habitude de doubler sur le papier, le type fibreux de stabilisant lavable. Mais, J'aime expérimenter. Pour cette dernière série de décorations de Noël en dentelle autoportantes que j'ai réalisées, J'ai changé les choses et j'ai utilisé à la place une couche de stabilisant fibreux lavable sur le fond et une couche de film épais soluble dans l'eau sur le dessus.. . Ça a mieux fonctionné!
Alors que le lavage se sépare parfois des zones cousues très denses, le film soluble dans l'eau fournissait plus de soutien et empêchait le stabilisateur de se décomposer.
Cela vaut peut-être la peine d'expérimenter avec votre machine pour découvrir ce qui vous convient le mieux.. Les combos à considérer sont deux couches de Wash-A, une couche de Wash-A et une couche de garniture soluble dans l'eau, et deux couches de Wash-A et une couche de garniture soluble dans l'eau.
Fournitures de broderie de dentelle autoportantes
- 75/11 aiguille à broder (des aiguilles de plus petite taille laisseront des trous plus petits, ce qui donne un meilleur produit final!).
- 1 couche de lavage (type de papier) et 1 couche de film stabilisateur hydrosoluble épais (comme Silky UltraSolve) ou 2 couches de stabilisateur lavable semblable à du papier.
- Fil de discussion (vérifiez la conception pour obtenir des recommandations si vous l'achetez. S'il n'y a pas de recommandations, considérer 40 poids fil à broder d'abord. La rayonne ou le polyester fonctionnent bien, et même le coton se décolore bien. fournit.)
- Conception numérisée en dentelle autoportante
How to Embroider Freestanding Lace –; Didacticiel
1. Réglez votre cerceau
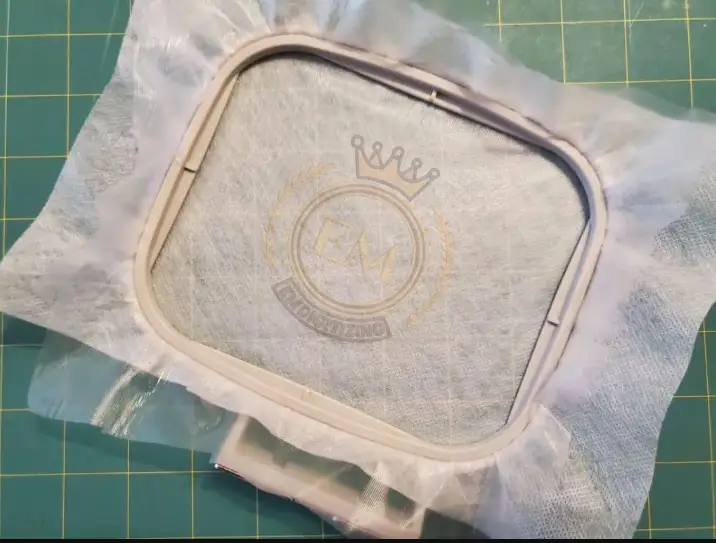
Première, superposez votre garniture soluble dans l'eau sur le stabilisateur lavable. Prochain, fixez fermement les deux couches à l'intérieur du plus petit cerceau qui s'adaptera à votre motif.
Dans mon expérience, les cerceaux plus petits fonctionnent mieux avec des motifs de dentelle autoportants plus denses. (If you’;je suis nouveau dans la broderie et le cerclage, Découvrez quelques-uns de mes trucs et astuces en matière de cerclage de broderie.) It’;s very important that the stabilizer is stiff enough that it doesn’;Ne bougez pas pendant que votre machine coud.
2. Réglez votre appareil
Téléchargez votre motif de broderie sur votre machine à broder, et je l'installe et je suis prêt à coudre. One of the great things about sewing freestanding lace is that you don’;Vous n'avez pas à vous soucier de centrer votre motif car il n'y a pas de tissu.!
Prochain, vérifié soigneusement que votre aiguille et votre fil sont compatibles.
It’;Il est également important de vérifier votre fil de canette. While you can get away with using white machine embroidery bobbin thread for most projects that don’;Le dos n'est pas exposé si la couleur de la canette correspond à la couleur du fil supérieur., votre conception de dentelle autoportante sera plus professionnelle.
Pensez juste, quels accents de dentelle avez-vous déjà vu avec du fil crème, par exemple, au recto et fil blanc au verso?
3. Commencez à broder
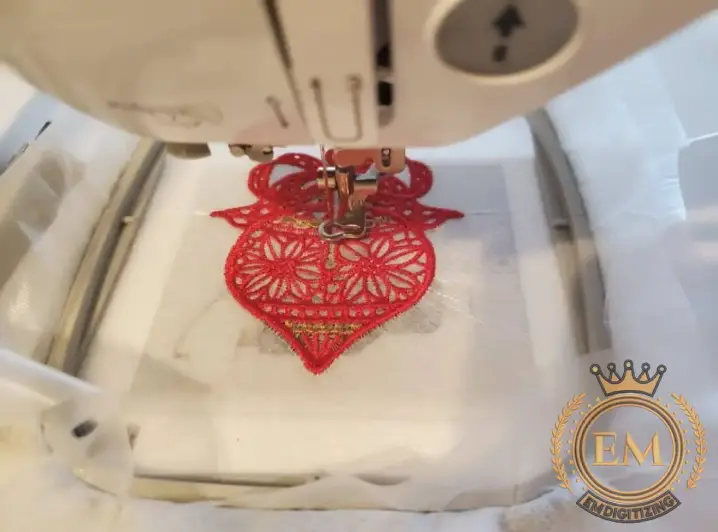
Placez votre cercle à broder sur le bras de broderie, baissez votre pied-de-biche, et appuyez sur Démarrer! Regardez votre machine commencer à broder le motif de dentelle. Changez les couleurs comme indiqué.
Si votre machine est une piqueuse rapide, pensez à réduire la vitesse de point si vous rencontrez des problèmes avec de bons résultats.
4. Finir
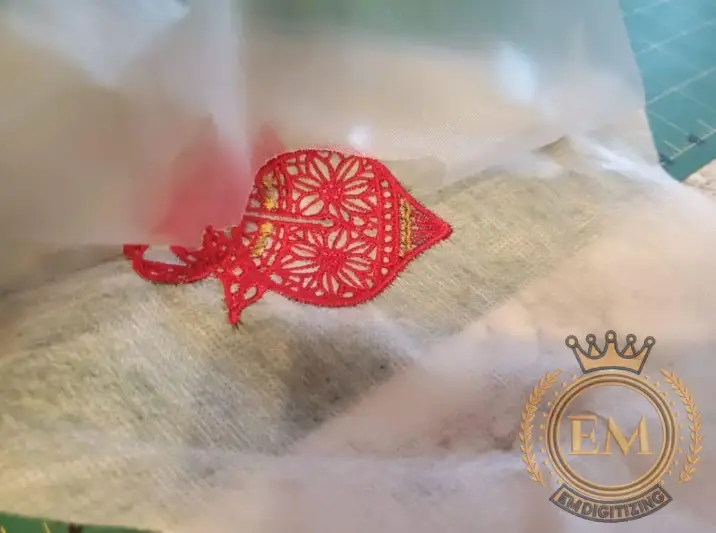
Lorsque le motif est fini de coudre, retirez le cerceau de la machine et ouvrez-le pour que votre motif et votre stabilisateur soient en place. Tirez doucement la garniture soluble dans l'eau de l'avant du motif..
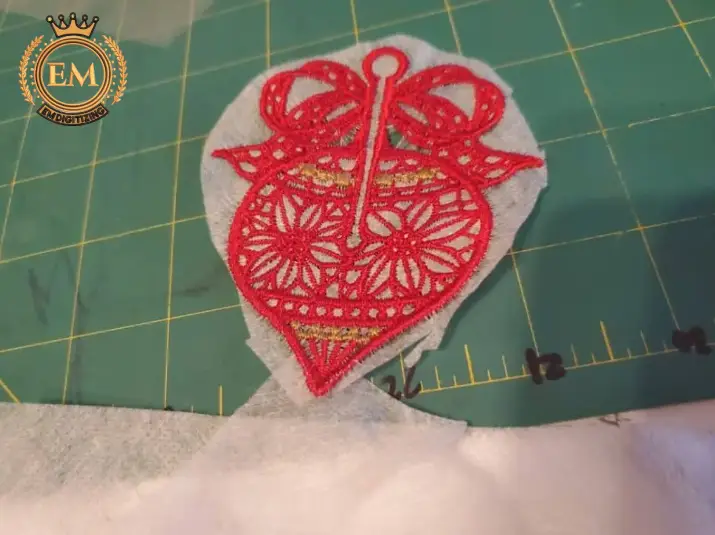
Prochain, utilisez des ciseaux pour couper le stabilisateur lavable en bas, près des côtés du motif.. Aussi, couper des points sautés ou des fils facilement accessibles.
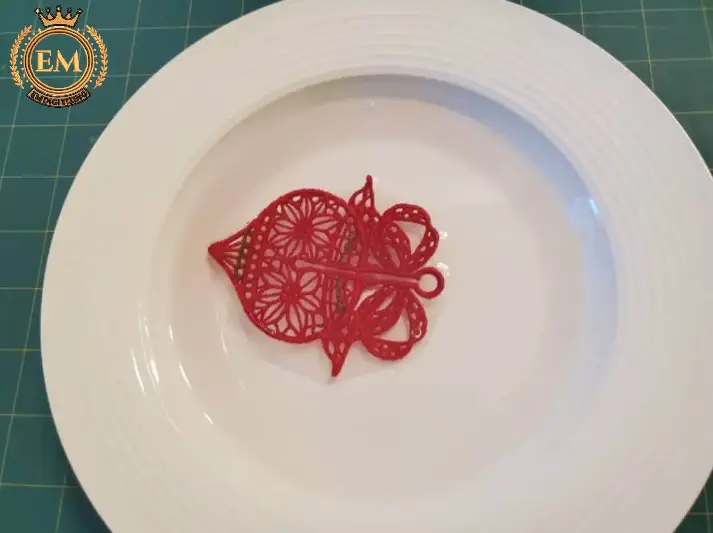
Prenez un petit bol d'eau tiède et plongez votre motif. Les garnitures solubles dans l’eau et les stabilisants lavables devraient se dissoudre assez rapidement.
Une fois que tu vois que la plupart ont disparu, supprimer le dessin. En retirant chaque morceau d'entoilage avant qu'il ne passe sous le point, you’;Je vais laisser derrière pour augmenter la force de la conception.
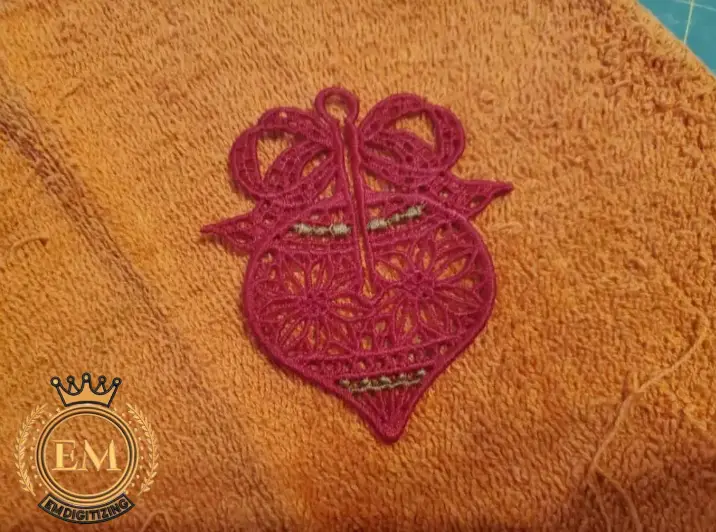
Retirez délicatement votre projet de dentelle autoportant de l'eau et posez-le sur une serviette sèche.. Assurez-vous qu'il est plat car il séchera de cette façon. Si vous voulez un design plus 3D, essayez de le placer en biais!
Une fois la dentelle sèche, coupez tout fil supplémentaire que vous avez laissé la première fois. Si le design semble approximatif, tu peux bien appuyer dessus pour le redresser. (Utilisez un chiffon pressant.) If it’;c'est encore trop lâche, essayez d'ajouter de l'amidon en spray ou un autre stabilisateur liquide et appuyez à nouveau pour le raffermir un peu plus!
Conclusion
And that’;Voici comment configurer votre machine à broder pour réaliser de la dentelle autoportante. Pensez simplement à toutes les possibilités de bijoux et de cadeaux que vous pourrez créer à l'avenir.!


