
In these uncertain times, it is essential for everyone to take all necessary precautions to stay safe and healthy. One way to protect yourself is to wear a face mask when you’re out in public.
But what if you want to look decent and stylish while staying safe? This is where we can help!
As a company that dedicates itself to educating our customers and providing resources for the tanning community, we’ve put together this step-by-step reusable face mask tutorial and free design downloads.
Plus, this blog will walk you through each step of the process so you can easily make your own in-the-hoop face mask. You will only use your embroidery machine and materials that you probably already have at home.
Material Required
The face mask design pattern we provide for free download has fewer stitches, so you can use fewer resources to produce more products.
Here’s what you’ll need to get started:
- Face mask embroidery design
- Tape
- Scissors
- Snaps
- Measure the lace
- Elastic cord for face mask strap
- light
- cloth
- A sheet of tearaway baking
What kind of fabric should you use?
Some of the fabrics used to make your face mask can help with breathing and effectiveness in limiting the spread of infectious diseases.
- Cotton is an excellent fabric to help filter out larger particles and has excellent breathability.
- Nylon is also a recommended fabric because it has a high filtration rate, but has limited breathability.
You can do a quick test to make sure the material you have will provide some protection by holding it up to the light and seeing if you can see through the fibers. No matter what you choose to make your face mask with, having something to cover your face is better than nothing.
In-The-Hope Embroidered Face Mask Tutorial
This project is simple, easy, and fun. You can even get creative with fabric patterns and thread and wire colors. You will have three .DST downloads are available for this design in small, medium, and large so you can create a face mask that fits perfectly.
Step 1:
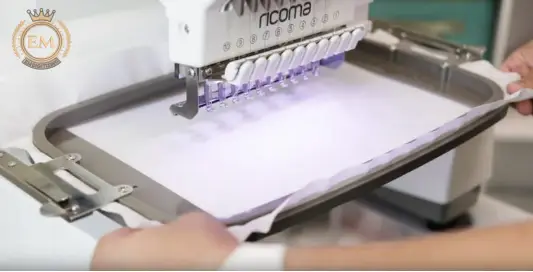
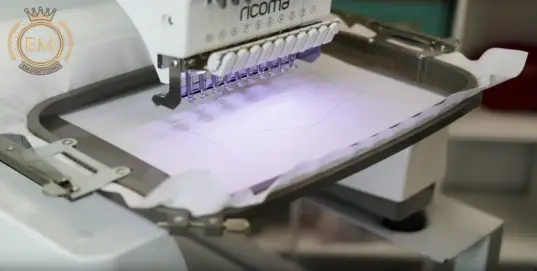
Since this is an in-the-hoop project, a sewing machine is not required. The embroidery stitches will hold the face mask. So, simply hoop a sheet of tearaway backing and place your hoop in your embroidery machine.
Step 2:
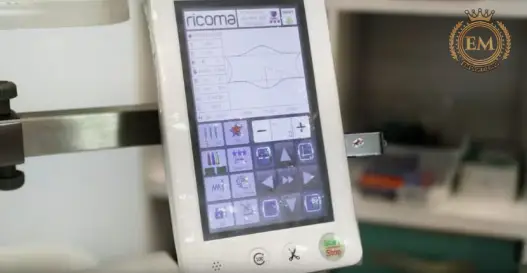
Download the .DST file to your machine and select the hoop size based on the mask size and design.
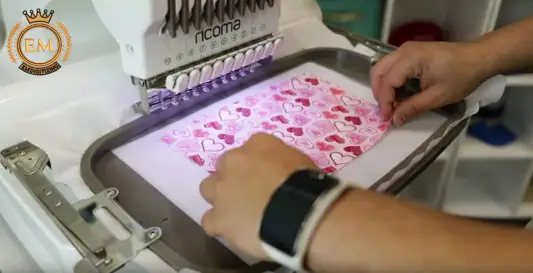
Step 3:
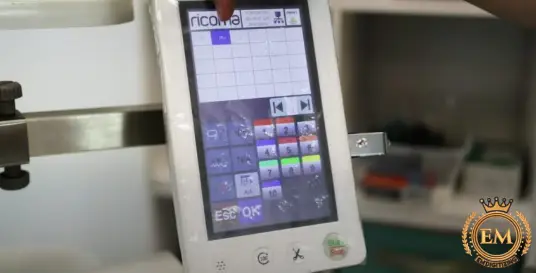
Select color and select “Frame Out” for the first two steps. You can find this option in the color settings screen on your machine. This means that every time the design is colored, the hoop will move away from the needle bar so you can place the next piece of your face mask into the hoop.
Step 4:
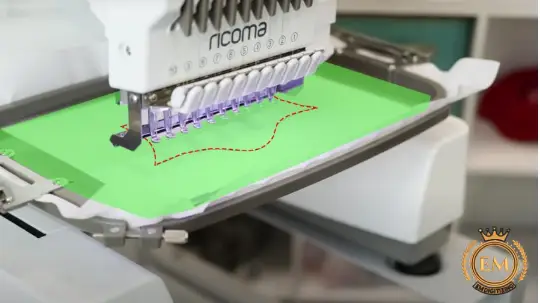
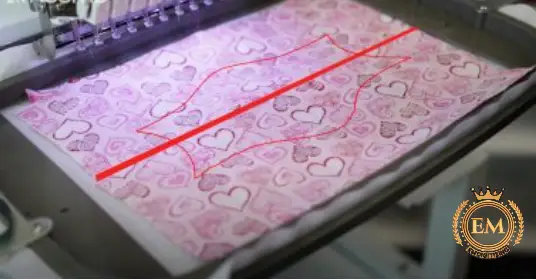
Be sure to lock your machine and run a quick trace to ensure your design will fit within the confines of your hoop.
Once you’ve checked that your design fits, start sewing your trace! This section will outline your design. That way, after the hoop is framed out, you’ll be able to see the exact shape and size of your mask outlined on the back.
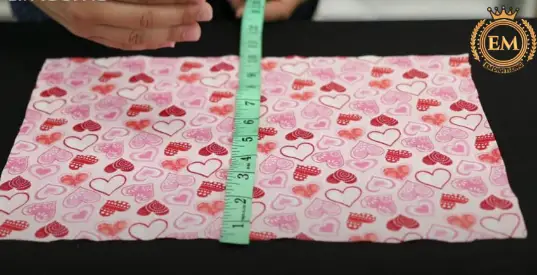
Step 5:
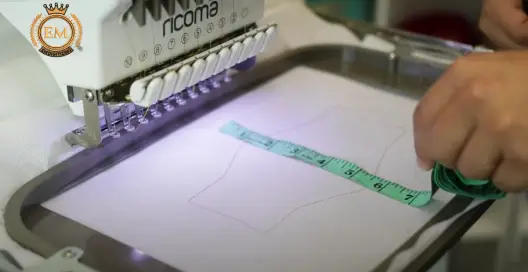
Use your measuring tape to measure your face mask.
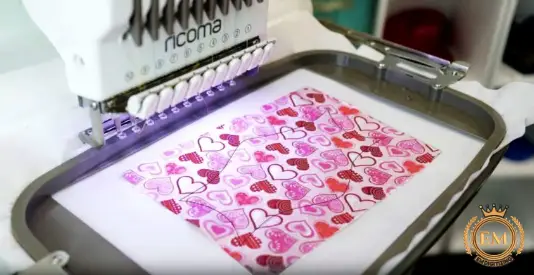
After measuring your mask design, cut a piece of fabric that is larger than the design to place on the trace stitch.
Place the main fabric over the trace stitch with the design facing up.
Pro tip: Double-check your work and make sure your fabric is covering the entire area of your trace stitch.
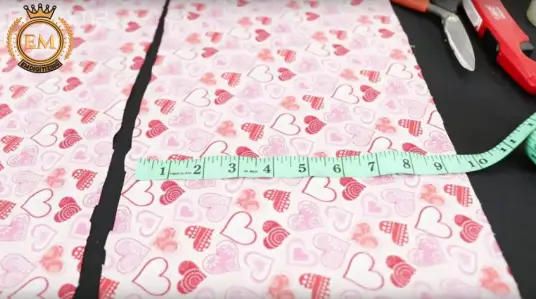
Step 6:
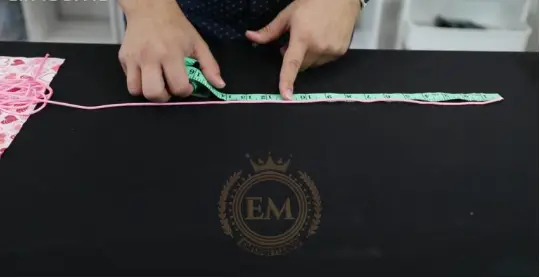
Measure the strands to make sure they are long enough to wrap around your head. Once you have the right size of the fabric cut four identical pieces.
Step 7:
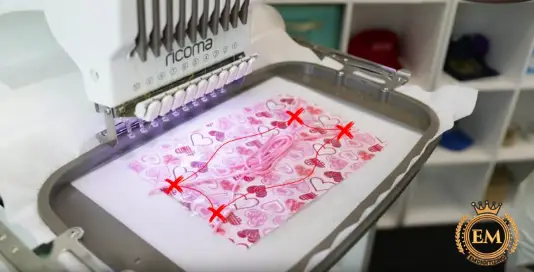
Take each piece and place it at each corner of the design outline, making sure to leave the very tip of the string of the fabric and the rest of the string diagonally towards the center of the mask.

Press Start. The machine will now sew the strap at each corner point. After sewing the string in place, you’ll need to cut an extra piece of fabric to hold the top.
Step 8:
This second piece of fabric is going to act as a holder for whatever filter you decide to put in your mask. Cut an additional piece of fabric that measured the same size as the first piece and add 2 inches to the height.
Step 9:
Cut the fabric in half horizontally to make 2 identical strips.
Place two new strips of fabric over your mask with the design facing down. Make sure they completely cover the mask and that they overlap each other. This shouldn’t be a problem because you’ve cut your entire piece with an extra two inches, so you have more fabric to work with.
Arrange the fabric pieces so that the slit between the strips is centered in the center of the mask.
Step 10:
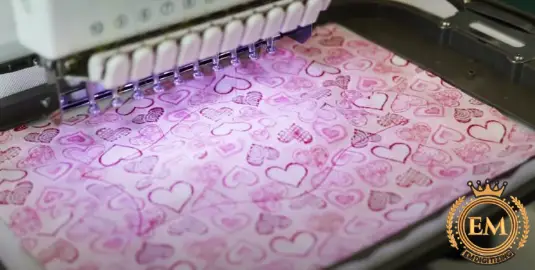
Now you are ready to put the whole mask together! Press start on your machine and the mask will be sewn together inside out, taping the straps neatly away from the inside.
Step 11:
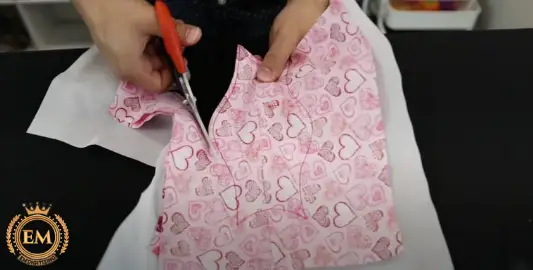
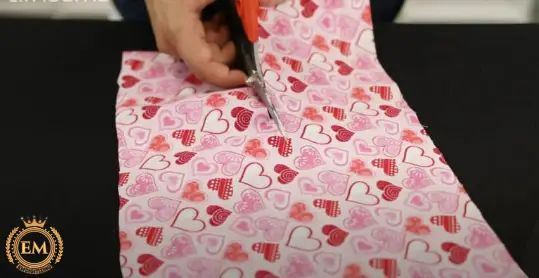
Unfold the final product and cut around the edge of the stitches to cut out your mask.
Pro tip: Be careful don’t cut too close to the stitches. Doing so may cause it to let off.
Step 12:
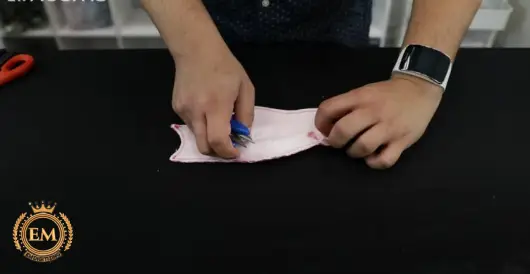
Use your tweezers to clean off the excess thread on the back of your mask (the side with the stabilizer) and carefully cut the piece to make the hole. Be careful not to tear through the mask fabric.
Finally, tear off the rest of the stabilizer.
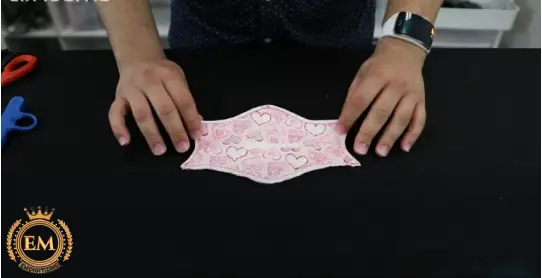
Step 13:
Flip the mask over again and pull the mask inside out using the filter slit you made with your secondary fabric. Remove any tape and leave the straps, tugging on the stitches as you go to fully tighten the mask.
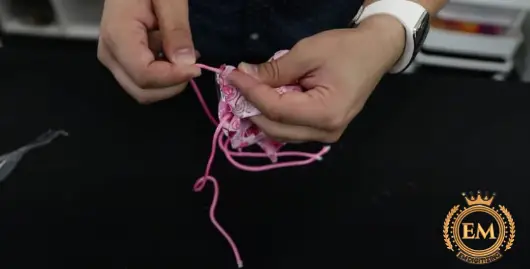
Step 14:
Now that your face mask is complete, we recommend taking your lighter and burning the ends of the straps to avoid any future fraying.
Conclusion
I am sure this article will help you understand how to embroider your own face mask in an easy way. I hope this helps you guys!


