Müssen Stickereien entfernen, aber besorgt darüber, Ihren Stoff zu beschädigen?
Es kann zunächst schwierig erscheinen, aber mit den richtigen Werkzeugen und sorgfältigen Schritten, Sie können Stiche sicher entfernen, ohne Löcher oder Markierungen zu verlassen.
Ob es sich um einen Designfehler oder eine alte Stickerei handelt, die Sie nicht mehr wollen, Nach einem Schritt-für-Schritt-Prozess schützt Ihr Stoff und hält es frisch aus.
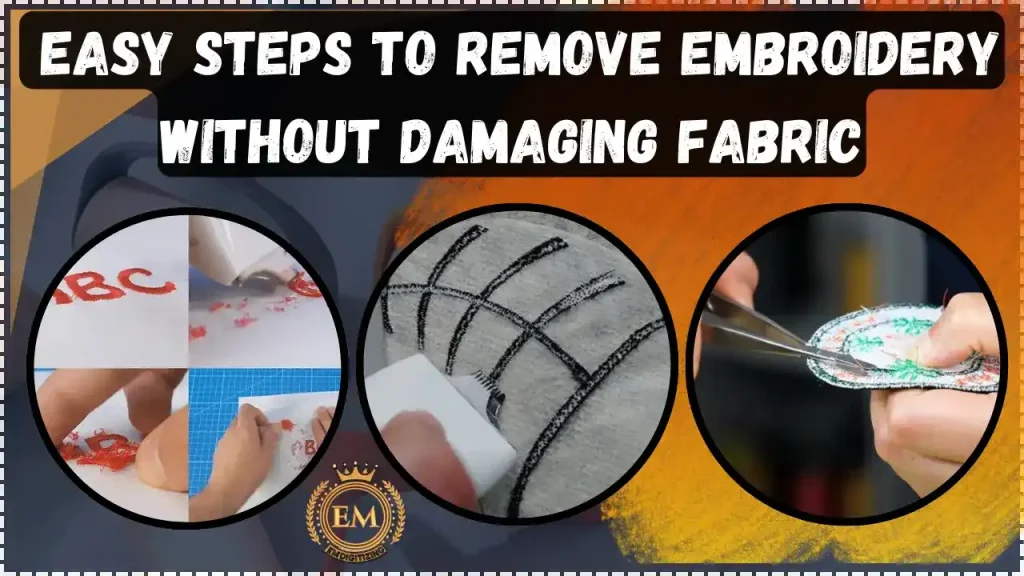
In diesem Ratgeber, Wir werden Sie durch detaillierte und dennoch einfache Methoden zur Entfernung von Stickereien führen, ohne Schäden zu verursachen, So können Sie mit Leichtigkeit mit jedem Stickmisshap umgehen!
Einfache Schritte zum Entfernen von Stickereien, ohne den Stoff zu beschädigen
Können Sie die Maschinenstickerei entfernen??
Ja, Das Entfernen von Maschinensticken ist möglich und kann mit den richtigen Werkzeugen und sorgfältigen Techniken erfolgen. Whether it’;s ein Stickerei-Design Sie mögen nicht mehr oder einen Fehler, der behoben werden muss, Sie können es ausziehen, ohne Ihren Stoff zu ruinieren.
Jedoch, Es erfordert Geduld, Besonders für kleine Stiche oder detaillierte Designs. Einige Stoffe, Wie Leder, Samt, oder dünne Materialien, kann nach der Entfernung Nadelspuren oder Schäden zeigen.
In diesen Fällen, Kann Stickerei ohne Probleme entfernt werden?
Nicht immer, aber mit Sorgfalt und der richtigen Methode, Sie können das Risiko eines Schadens verringern.
Wesentliche Werkzeuge zum Entfernen von Stickereien
Um die Stickerei erfolgreich zu entfernen, ohne Ihren Stoff zu beschädigen, Es ist wichtig, die richtigen Werkzeuge zu haben. Diese Tools machen den Prozess reibungsloser und sicherer, Stellen Sie sicher, dass Sie Stiche herausnehmen können, ohne das Material zu schädigen.
Hier finden Sie eine Liste der Optionen zur Entfernung von Stickereien, die Sie benötigen:
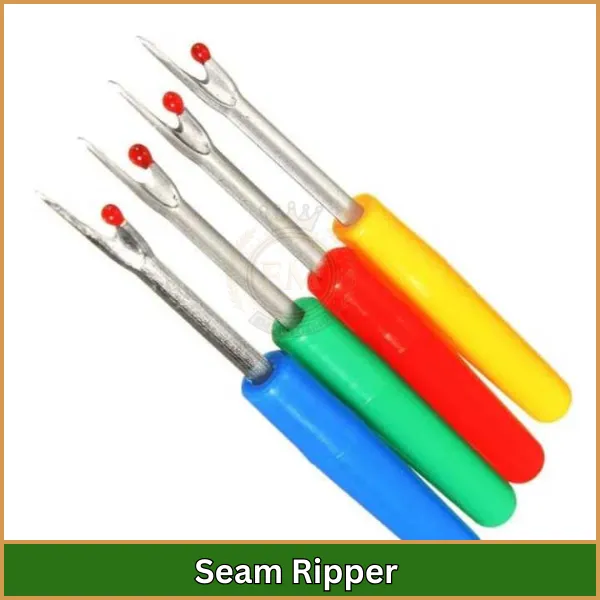
Nahttrenner: So klein Stickstich Das Entfernungswerkzeug ist so konzipiert, dass es mit Präzision Stiche durchschneidet. Es ist ideal, um die Stickerei sorgfältig zu entfernen, ohne den Stoff darunter zu schneiden.
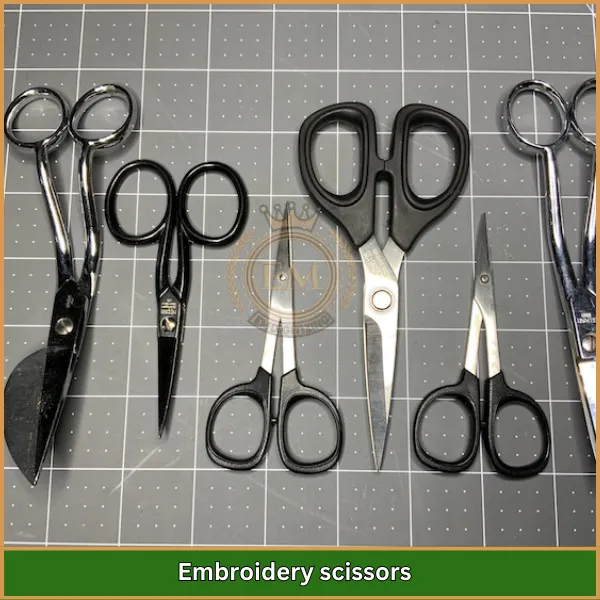
Stickerei: Diese sind klein und scharf, sie perfekt zum Trimmen von Fäden in engen Bereichen machen. Ihre spitzen Spitzen helfen, versehentliche Stoffschnitte zu vermeiden.
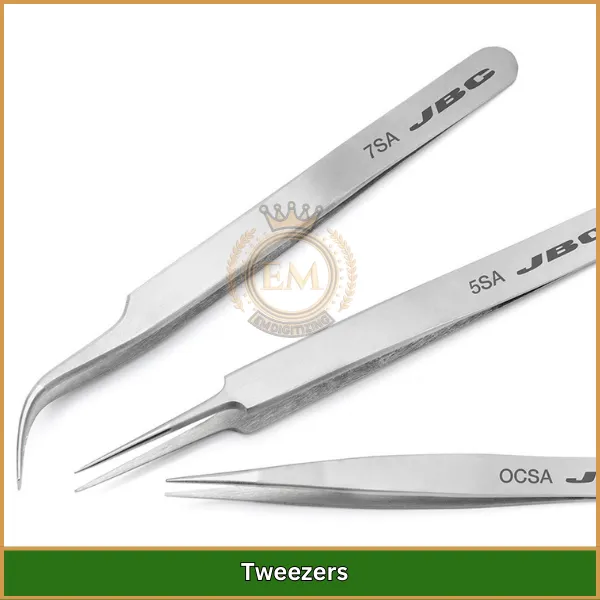
Pinzette: Sobald Sie die Stiche geschnitten haben, Pinzetten sind nützlich, um lose Fäden herauszuziehen und verbleibende Bits zu entfernen.
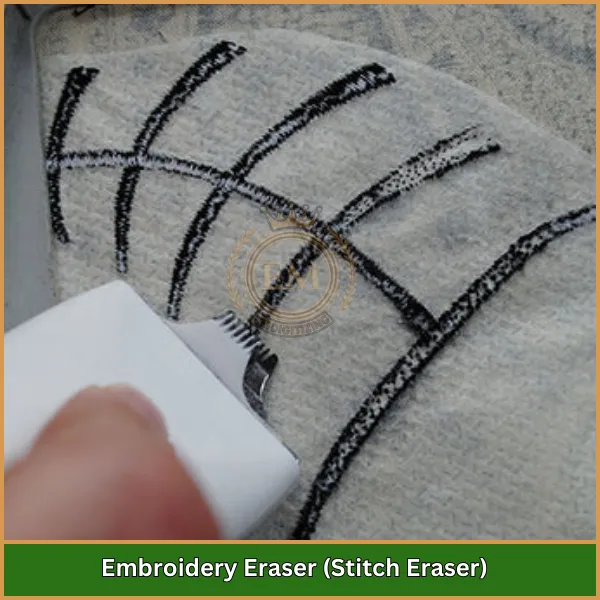
Stickeraser (Stich Eraser): Dieses elektrische Werkzeug, Ähnlich wie ein Trimmer, ist großartig, um größere Stickereien schnell und effizient zu entfernen.
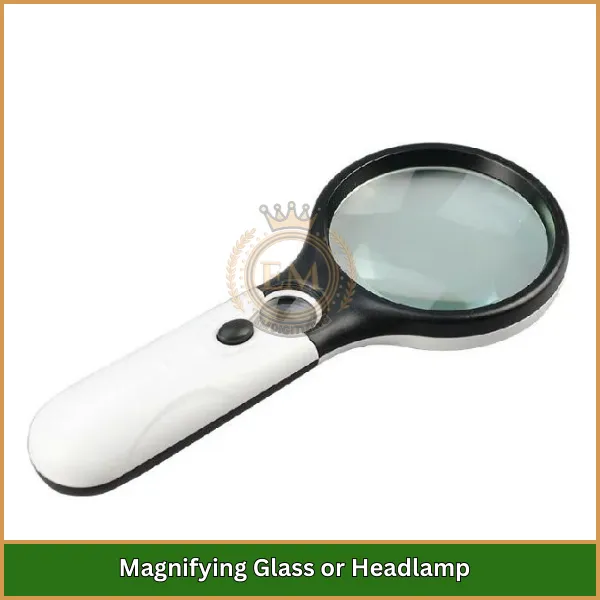
Vergrößerung von Glas oder Scheinwerfer: If you’;Arbeiten Sie an detaillierten oder kleinen Designs, Wenn Sie ein Lupenglas oder eine Scheinwerfer verwenden, können Sie jeden Stich deutlich sehen.
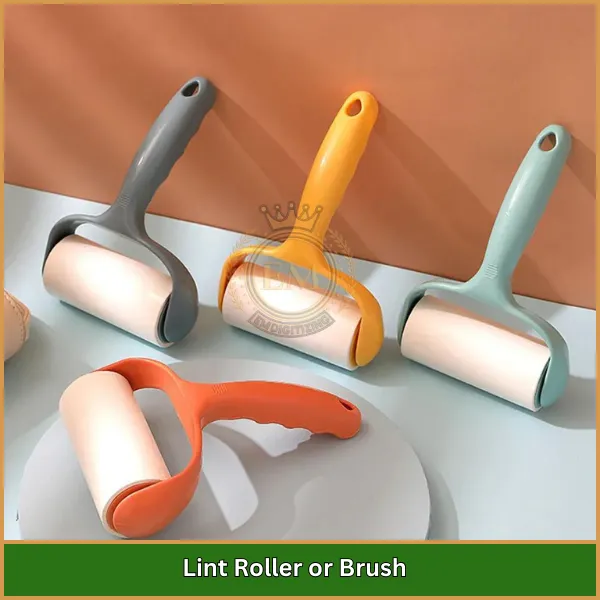
Fusselwalze oder Pinsel: Nach dem Entfernen der Stiche, Eine Fusselwalze oder eine Pinsel hilft dabei.
Diese Werkzeuge machen das Stickerei entfernt leichter bearbeiten, und die Verwendung jedes Entfernungswerkzeugs stellt sicher, dass Ihr Stoff intakt bleibt.
Wie man Stickerei entfernen | Beste Möglichkeiten
Das Entfernen von Sticken kann schwierig sein, Aber mit den richtigen Methoden, es wird viel einfacher. Hier sind die 3 Beste Möglichkeiten, Maschinenstickerei zu entfernen, ohne Ihren Stoff zu beschädigen:
- Verwenden eines Stickerasers
- Verwendung eines Nahttrenners
- Verwenden von Stickereien
1. Verwenden eines Stickerasers
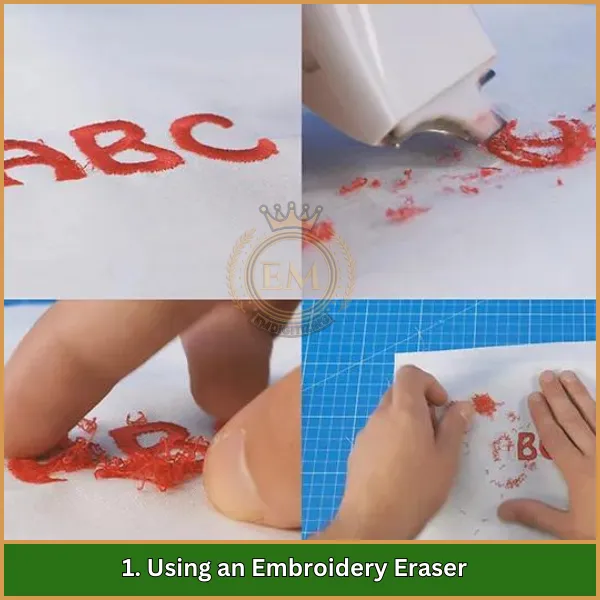
- Drehen Sie den Stoff nach außen - Drehen Sie Ihren Stoff nach innen nach außen, um die Stiche leichter zugreifen zu können.
- Stoff in einen Reifen legen - den Stoff mit einem befestigen Stickrahmen um es fest zu halten, während Sie Stiche entfernen.
- Schalten Sie den Stickeraser ein - Führen Sie den Stickeraser vorsichtig über die Stiche, Ausüben gerade genug Druck, um die Gewinde zu schneiden, ohne den Stoff zu beschädigen.
- Ziehen Sie die Fäden - Sobald die Fäden geschnitten sind, Drehen Sie den Stoff die rechte Seite nach außen und ziehen Sie Pinzetten zum Ausziehen der losen Fäden.
- Reinigen Sie den Stoff - Verwenden Sie eine Lintwalze oder eine Pinsel.
2. Verwendung eines Nahttrenners
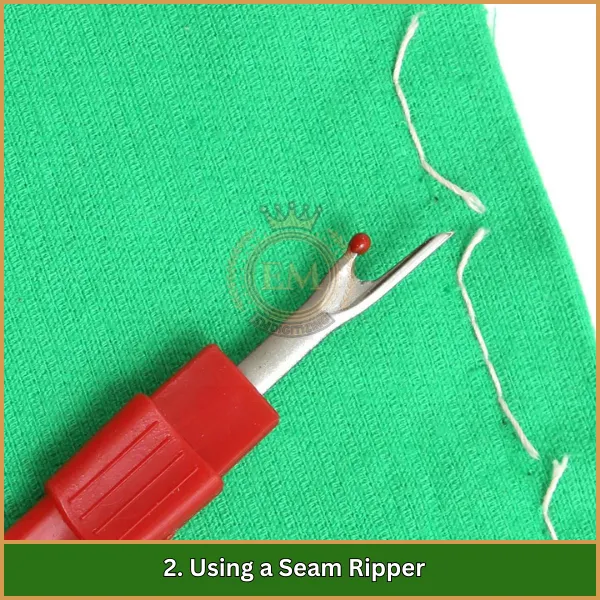
- Drehen Sie den Stoff nach außen - Drehen Sie zunächst Ihren Stoff nach innen nach außen, um leicht zugänglich zu machen und Stiche von hinten zu entfernen.
- Setzen Sie die Nahtripper unter Stiche ein - Schieben Sie die Nahtripper unter ein paar Stiche und heben Sie sie vorsichtig an, um sie zu schneiden.
- Ziehen Sie die Fäden - Drehen Sie den Stoff nach vorne und verwenden Sie Pinzetten oder Ihre Finger, um die gelösten Fäden herauszuziehen.
- Wiederholen Sie den Vorgang - Schneiden Sie weiter und ziehen Sie Stiche, bis das gesamte Design entfernt ist.
- Reinigen Sie den Stoff - Entfernen Sie eine Lintrolle, um alle übrig gebliebenen Gewinde oder Fuzz zu entfernen.
Diese Methode ist der beste Weg, um die Stickerei sorgfältig und effektiv zu entfernen.
3. Verwenden von Stickereien
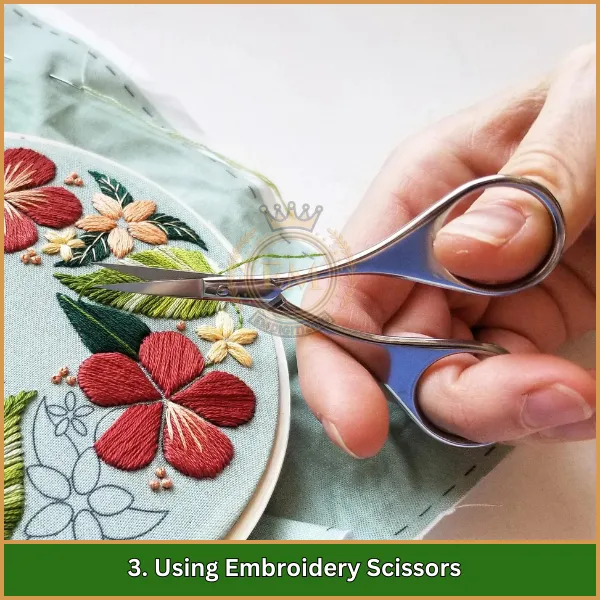
- Drehen Sie den Stoff nach außen - Beginnen Sie mit dem Stoff nach innen nach außen, damit Sie die Stiche deutlich sehen können.
- Schneiden Sie die Stiche vorsichtig ab - Verwenden Sie die scharfe Spitze Ihrer Stickschere So ein paar Stiche gleichzeitig zu schneiden, ohne den Stoff zu beschädigen.
- Lose Fäden herausziehen - Drehen Sie den Stoff die rechte Seite nach außen und ziehen Sie die losen Fäden vorsichtig mit Pinzetten oder Ihren Fingern heraus.
- Weiter schneiden und ziehen - Schneiden Sie weiter und ziehen Sie Fäden, bis alle Stiche entfernt wurden.
- Reinigen Sie den Bereich – After you’;wieder fertig, Verwenden Sie eine Fusselwalze, um einen verbleibenden Faden oder Fuzz abzuräumen.
Diese Methode eignet sich hervorragend für genaue Arbeiten, vor allem in kleineren Bereichen, Während Sie Ihren Stoff vor Schaden schützen.
Wie man hartnäckige Stickpatches entfernen?
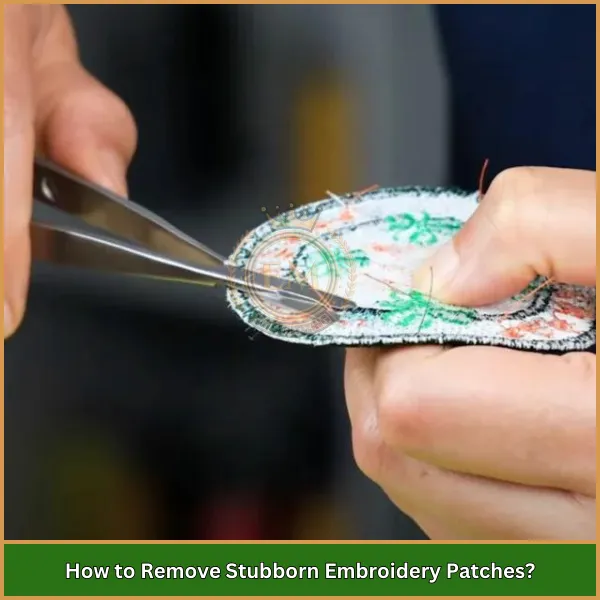
Das Entfernen von Patches kann schwierig sein, Besonders wenn sie fest an den Stoff genäht oder festgeklebt werden. Hier ist eine einfache Anleitung zum Entfernen Stickerei-Patch ohne Ihr Kleidungsstück zu beschädigen:
- Schneiden Sie die Stiche - Wenn der Patch aufnäht ist, Beginnen Sie damit, den Stoff nach außen zu drehen. Verwenden Sie einen Nahtripper oder eine kleine Schere, um die Stiche sorgfältig von hinten zu schneiden. Dies wird den Patch lockern.
- Den Patch abziehen - Sobald die Stiche geschnitten sind, Ziehen Sie den Patch vorsichtig vom Stoff weg. Wenn es nicht so einfach abfällt, Es kann Klebstoff geben, das es an Ort und Stelle hält.
- Verwenden Sie Wärme für Kleberflächen - Wenn der Patch festgeklebt ist, Legen Sie ein Tuch darüber und verwenden Sie ein heißes Eisen auf einer niedrigen Umgebung. Die Hitze erweist den Kleber, erleichtert es, den Patch abzuziehen.
4. Entfernen Sie den verbleibenden Klebstoff - Für übrig gebliebene Klebstoff, Sie können einen Klebstoffentferner verwenden, der für Stoff sicher ist, Oder reiben Sie den Bereich mit einem feuchten Tuch und einer Seife.
Wenn Sie diese Schritte zum Entfernen von Patches befolgen, können Sie den Patch ausziehen, ohne den Stoff zu beschädigen.
Methoden zum Entfernen größerer Stickereien
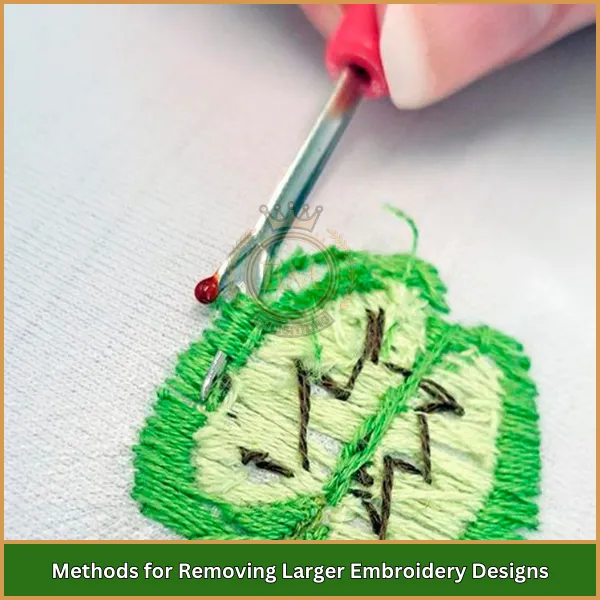
- Verwenden Sie einen Stickeraser - Ein Stickeraser ist ein elektrisches Werkzeug, Ähnlich wie ein Trimmer, Entwickelt, um schnell größere Stickereien zu entfernen. Es schneidet viele Stiche gleichzeitig durch, Es ideal für große oder dichte Designs.
- Stabilisieren Sie den Stoff mit einem Reifen - für größere Designs, Das Sichern des Stoffes in einem Stickrock hält ihn eng und macht den Entfernungsprozess reibungsloser. Dies verhindert, dass der Stoff sich bündelt, während Tools wie Radiergummi oder Naht Ripper verwendet werden.
- Abschnitte einschneiden - Im Umgang mit großen Stickebieten, Es ist hilfreich, das Design in Abschnitte zu unterteilen. Dies erleichtert es einfacher, sich auf einen Teil zu konzentrieren und sorgt für eine sauberere Entfernung.
- Verwenden Sie eine Schere für enge Bereiche - in detaillierten oder engen Stellen innerhalb des großen Designs, Stickereien können dazu beitragen, die Fäden genau durchzuschneiden.
Diese Methoden sind wirksam, um größere Bekämpfung anzugehen Stickmotive, den Prozess schneller machen und das Risiko von Stoffschäden verringern.
Wird das Entfernen von Stickereien Marken oder Löcher verlassen?
Wenn Sie entfernen Maschinenstickerei, Es kann kleine Löcher oder Markierungen auf dem Stoff hinterlassen. Dies geschieht, weil die Fäden winzige Löcher im Material herstellen. Für dickere Stoffe wie Jeans, Diese Löcher sind normalerweise schwer zu sehen. Aber für dünne Stoffe wie Seide oder Baumwolle, Die Löcher sind möglicherweise spürbarer.
In Fällen, in denen das Entfernen von Löchern ein Problem wird, Sie können sie beheben, indem Sie über den Bereich wiederumbrodeln oder Fabrikreparaturtechniken verwenden. Wenn benötigt, Sie können sich nach professionellen Hilfe wenden, um benutzerdefinierte Designs zu erstellen, die alle Unvollkommenheiten abdecken können.
Häufige Fehler, die Sie vermeiden sollten, wenn Sie die Stickerei entfernen
Removing embroidery can be tricky if you’;Sehen Sie nicht vor. Hier sind einige häufige Fehler zu vermeiden:
- Zu hart ziehen - Wenn Sie die Fäden zu gewaltsam ziehen, Sie können den Stoff reißen. Sei immer sanft und geduldig.
- Verwenden der falschen Werkzeuge – It’;S wichtig, um die richtigen Werkzeuge zu verwenden, Wie eine Nahtripper oder eine Stickerei. Regelmäßige Scheren können den Stoff beschädigen.
- Zu viele Stiche gleichzeitig schneiden - Der Versuch, zu viele Stiche gleichzeitig zu schneiden, kann zu Fehlern führen. It’;Es ist besser, langsam zu gehen und ein paar Stiche gleichzeitig zu schneiden.
- Überspringen Sie die Reinigung - Nach dem Entfernen der Stiche, Stellen Sie sicher. Dies ist einer der wichtigsten Stickspitzen für ein ordentliches Finish.
Indem Sie diese Fehler vermeiden, you’;Halten Sie Ihren Stoff sicher und erleichtern Sie den Prozess viel einfacher.
Abschließende Gedanken
Das Abziehen unerwünschter Stiche mag zunächst schwierig erscheinen, aber mit den richtigen Werkzeugen und sorgfältigen Schritten, Sie können die Stickerei sicher entfernen, ohne Ihren Stoff zu schädigen. Wenn Sie den Techniken in diesem Handbuch folgen, können Sie alle Fehler mühelos beheben.
Wenn Sie an einem Stickprojekt arbeiten und benutzerdefinierte Designs benötigen, EMdigitalisieren ist hier, um zu helfen! Wir bieten schnell an, zuverlässig Digitalisierung von Stickereien.
Erstkunden können es genießen 50% aus allen Diensten, Und Sie können sogar eine bekommen Kostenloses Zitat in gerade 5 Protokoll.
Besuchen Sie unsere Website noch heute, um unsere Dienste zu erkunden und uns dabei zu unterstützen, Ihr nächstes Stickprojekt zum Erfolg zu machen!
Häufig gestellte Fragen
Der schnellste Weg ist die Verwendung eines elektrischen Nahtrippers, Was schnell durch Stiche schneidet, erfordert jedoch Präzision, um Stoffschäden zu vermeiden.
Schälen Sie die überschüssige Unterstützung vorsichtig weg, Dann verwenden Sie ein warmes, Feuchtes Tuch zum Erweichen und Entfernen des verbleibenden Rückens, ohne dem Stoff zu schaden.
Ja, Wenn Sie einen scharfen Nahtripper verwenden und geduldig arbeiten, erleichtern Sie den Prozess, ohne den Stoff zu beschädigen, ohne zu beschädigen.
Schieben Sie einen Nahtripper unter jeden Stich, Schneiden Sie den Faden, und heben Sie es aus. Verwenden Sie Pinzetten, um alle übrig gebliebenen Teile zu entfernen und mit kleinen Scheren zuzuschneiden.
Lösen Sie vorsichtig schwierige Stiche mit einem Nahtripper oder einer Nadel, Nehmen Sie sich Zeit, um Schäden zu vermeiden. Ein Vergrößerungsglas kann mit Präzision helfen.
