Wondering how to shift cross stitch directions using your embroidery software? Perfecting this technique can transform your projects, lending them both complexity and a refined appearance. Whether you’re a novice or a seasoned stitcher, learning to navigate this aspect of your software can seriously up your crafting game. This guide promises a clear, step-by-step breakdown of adjusting directions, helping you to achieve stunning results with ease.
Ready to dive in and give your embroidery a professional edge? Let’s get started!
How to Easily Change Cross Stitch Directions in Embroidery Software?
What is Cross Stitch Direction
It refers to the way each stitch is oriented in cross-stitch embroidery. Each stitch is made up of two diagonal threads that intersect to form an “X.” The direction of the stitches influences the visual appearance, texture, and alignment with the fabric of the finished embroidery.
Common Types of Directions of Cross Stitch
- Full Cross Stitch: This standard approach completes both legs of the stitch to form a full “X.” It’s the most commonly used method in cross-stitch patterns.
- Half Cross Stitch (One Direction Cross Stitch): This method involves completing just one leg of the stitch, resulting in a diagonal line. It is typically used for creating shading or lighter textures.
- Quarter Cross Stitch: This technique involves making a quarter of a full cross stitch, usually for adding fine details or highlights within a design.
- Upright Cross Stitch: Different from the traditional approach, this stitch includes a vertical and a horizontal stitch, which can be worked diagonally or in straight lines across the fabric, offering a unique texture and appearance.
- Double Cross Stitch: Also known as the Leviathan stitch, this involves two full cross stitches laid at 45 degrees to each other, forming a star-like shape. It is primarily used for decorative elements.
- Mini Cross Stitch: These smaller stitches cover just a quarter of the fabric’s square, perfect for detailed elements like eyes in a design.
Types of Software Used to Change the Direction of Cross Stitch
Selecting the right software to adjust directions is crucial for achieving the desired quality and ease in your embroidery projects. Below are three common software options, each with a brief overview and succinctly listed advantages and disadvantages:
Wilcom EmbroideryStudio
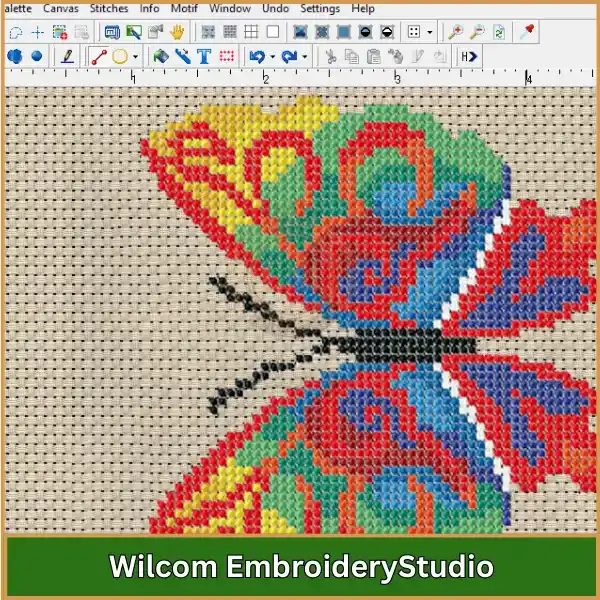
It is a comprehensive embroidery design software widely recognized in the industry for its extensive functionality and precision in embroidery digitizing and editing.
Advantages:
- Offers a wide range of advanced tools.
- Provides high precision for stitch adjustments.
- Widely adopted across the embroidery industry.
Disadvantages:
- High cost may deter hobbyists and smaller businesses.
- Steep learning curve due to its complex features.
Embird
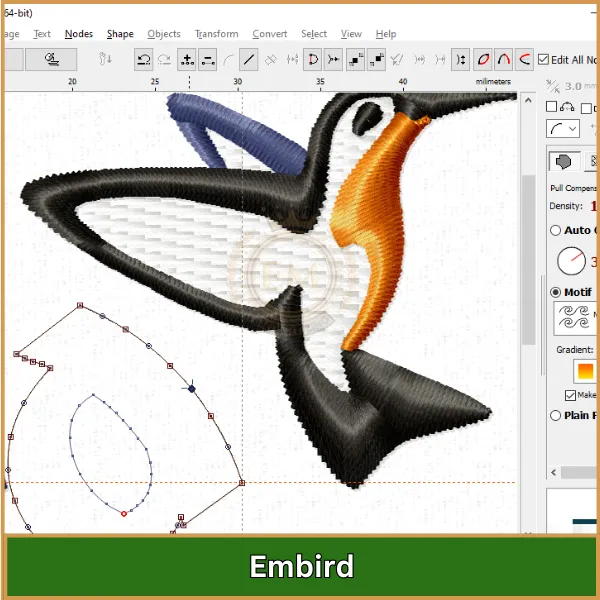
It is versatile embroidery software that allows for extensive format compatibility and modular functionality, appealing to both amateurs and professionals.
Advantages:
- Supports numerous embroidery formats.
- Modular purchases keep costs manageable.
- Strong support and tutorial availability.
Disadvantages:
- Dated user interface.
- Potential for bugs and glitches.
Cross Stitch Professional Platinum
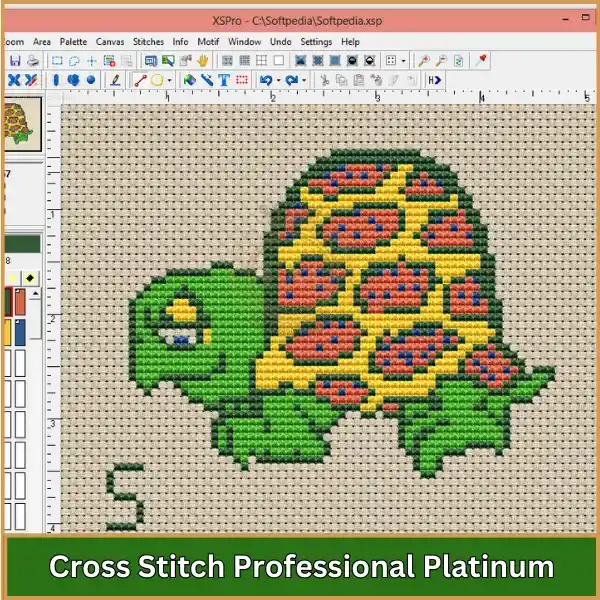
Specifically tailored for cross stitch projects, Cross Stitch Professional Platinum focuses on providing tools for automatic pattern creation and realistic stitch simulation.
Advantages:
- Specializes in cross stitch designs.
- User-friendly interface suitable for beginners.
- Features like 3D simulation enhance design preview.
Disadvantages:
- Limited to cross stitch, less versatile for other embroidery types.
- Infrequent software updates.
Adjusting Cross Stitch Directions in Wilcom EmbroideryStudio
Here’s a simple step-by-step guide to changing the direction of your cross stitches in Wilcom EmbroideryStudio, enhancing both the look and function of your embroidery designs.
Step 1: Launch the Application
Begin by opening Wilcom EmbroideryStudio on your system.
- Open the Design: Head to the “File” menu, choose “Open,” and locate the embroidery file you wish to alter. This file might be in .EMB or .DST format.
Step 2: Identify and Select the Embroidery Object
- Find the Object: In your workspace, spot the object or section where you want to modify the counted cross stitch directions.
- Activate the Object: Click the object to activate it, shown by the appearance of the selection handles.
Step 3: Access Object Settings
- Open Object Settings: Right-click the selected object to open the context menu and select “Properties,” or double-click the object to open its settings directly.
Step 4: Choose the Stitch Type
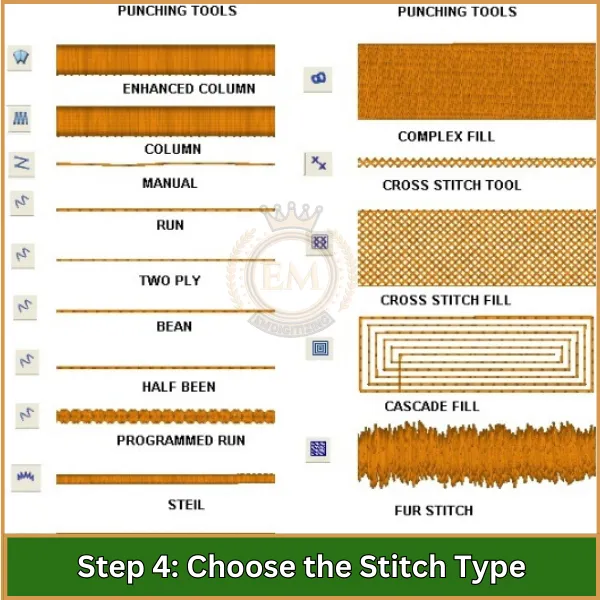
- Stitch Options: In the settings window, navigate to “Stitch Style.” Here, you can pick from various stitch styles like a full cross stitch or a half cross stitch.
Step 5: Set the Floss Direction
- Locate Floss Direction Control: Find the “Floss Direction” option within the same window.
- Choose Your Direction: For full stitches, select the overlay direction such as forward diagonal (/), backward diagonal (\), horizontal (+), or vertical (|) depending on your desired visual effect.
Step 6: Adjust the Half Cross Stitch Direction
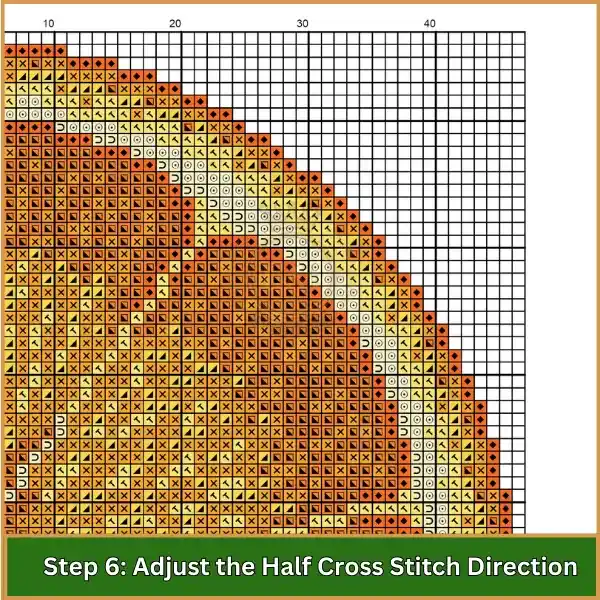
If your design includes cross stitch half stitch direction, fine-tune these settings:
- Orientation Settings: In the properties window, adjust the orientation for half-cross stitches to align with your design needs.
Step 7: Preview Your Adjustments
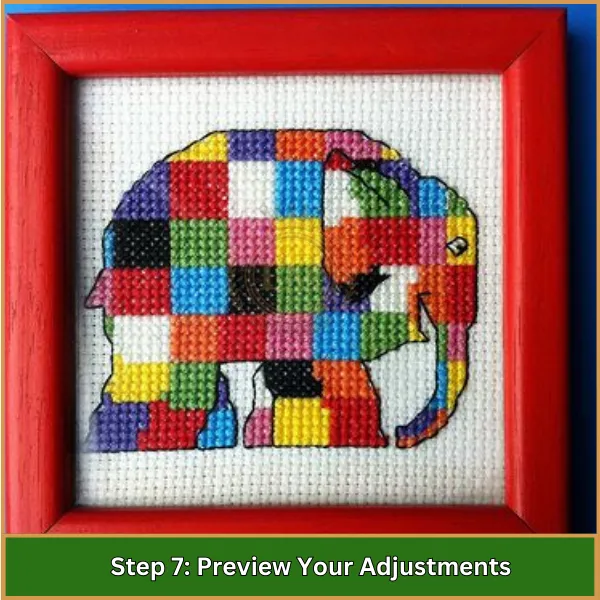
- Utilize the Preview Function: Activate the preview feature in Wilcom EmbroideryStudio to see the impact of your adjustments.
- Assess the Design: This allows you to evaluate and tweak the appearance before finalizing.
Step 8: Save the Modified Design
- Secure Your Edits: After you’re pleased with the changes, save your work by clicking “Save” or “Save As” to maintain a backup of the original design.
Step 9: Export or Print the Final Design
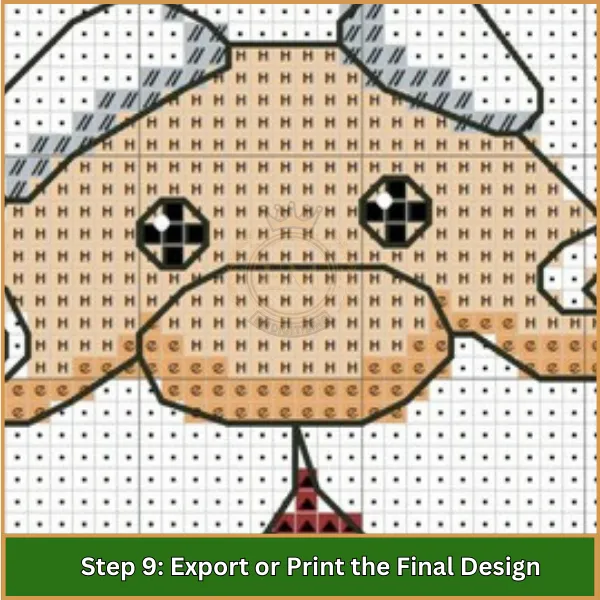
- Exporting: If you’re sending the design to an embroidery machine, go to “File,” then “Export,” and choose a suitable format like .DST or .EXP.
- Printing: For a physical reference, print your design by selecting “Print” from the File menu, which is helpful for manual stitching guidance.
Tips for Effortlessly Adjusting Cross Stitch Directions
- Maintain Consistent Direction: Ensure that the top arm of your cross stitch goes in the same direction for all stitches to achieve a neat finish.
- Unwind Your Thread: Let your needle hang occasionally to allow the thread to untwist, preventing uneven stitches.
- Use Empty Holes: When starting a new stitch, aim to come up in an empty hole rather than one with an existing thread to avoid splitting.
- Plan Your Stitching Order: Organize your stitching sequence to minimize gaps and ensure a smooth transition between directions.
- Railroading Technique: Consider using the railroading technique to keep multiple strands of thread flat and aligned, enhancing the overall appearance.
- Avoid Stitching Upwards: Complete all upward stitches in one go and then work downward to prevent using the same hole for consecutive stitches.
- Leave No Gaps: Try to stitch continuously without leaving gaps, as filling in later can lead to unevenness.
- Practice and Patience: Regular practice will help you become more comfortable with changing directions smoothly.
Conclusion
If changing cross stitch directions in your embroidery software is proving to be more complicated than expected, don’t worry—you’re not alone. Sometimes, adjustments can feel tricky, and that’s where EMdigitizing comes in. Whether you need help with stitch direction changes or even re-digitizing your entire design, we’ve got you covered.
At EMdigitizing, we offer high-quality digitizing services at unbeatable prices, much lower than market rates, without compromising on quality. Plus, we’re proud to provide lightning-fast turnaround times to get your designs ready in no time. And if you’re a first-time customer, you’re in luck—we’re offering a fantastic 50% discount just for you!
Why struggle when expert help is just a click away? Get in touch with us today and let us take your embroidery designs to the next level!
FAQs
Half cross stitches should generally go from the bottom left to the top right, maintaining consistency across your work for a uniform appearance.
In cross stitch, the direction of stitches can change based on the pattern or design to achieve different textures or shading effects.
To ensure your cross stitches all face the same direction, consistently stitch the first leg of each cross from bottom left to top right, and then cross it from bottom right to top left.
For standard cross stitching, the bottom stitch should go from bottom left to top right, and the top stitch should cross over from bottom right to top left for a neat finish.
