Are you tired of dealing with embroidery puckering when you’re working on your machine embroidery projects?
It can be frustrating to see all your hard work get spoiled by puckers in the fabric. But don’t worry! I’m here to help you understand why puckering happens and how to prevent it.
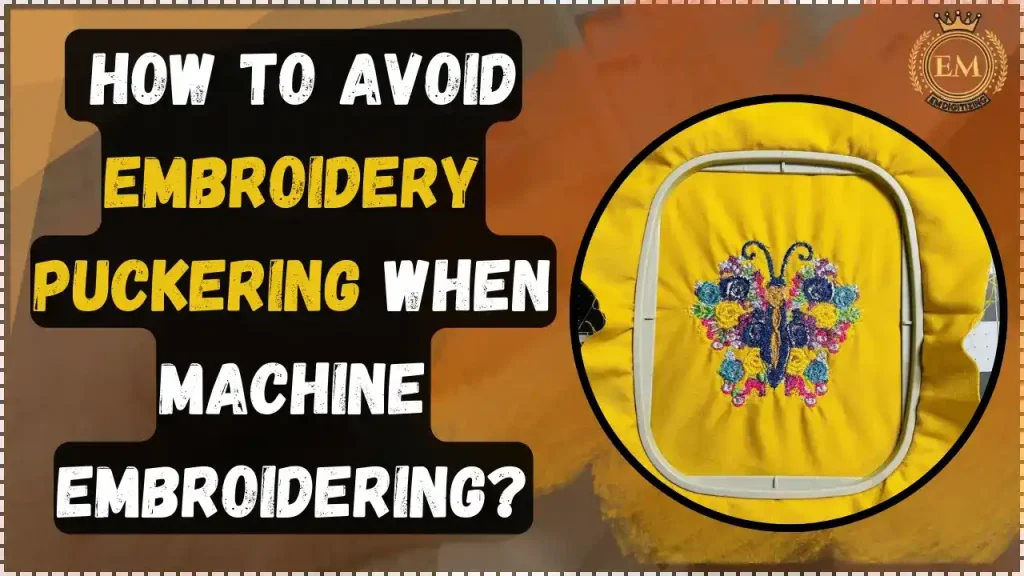
By the end of this guide, you’ll have the knowledge and tips you need to keep your embroidery looking smooth and professional every time.
Let’s dive in and tackle this common embroidery challenge together!
How to Avoid Embroidery Puckering When Machine Embroidering?
Understanding Embroidery Puckering
Puckering in embroidery occurs when the fabric around your stitches bunches up or wrinkles, making your design look bumpy or uneven. It’s like when you pull a tablecloth, and parts of it gather up; something similar happens with fabric when you’re embroidering.
This problem can make your beautiful embroidery look less tidy and professional.
Why Does Puckering Happen?
Puckering usually happens because the fabric moves around too much when you’re embroidering it.
If the fabric isn’t held tightly enough or if it’s a kind that slides easily, it can bunch up under the needle.
Imagine trying to write on a piece of paper that keeps slipping away—it’s hard to keep your writing neat, right? It’s the same with embroidery.
Types of Fabrics that Might Pucker
- Slippery fabrics: Materials like satin or nylon are smooth and can slide easily, which makes them tricky to embroider without puckering.
- Lightweight fabrics: Thin materials, such as linen or some cotton, can also wrinkle up easily because they aren’t very heavy.
- Stretchy fabrics: Fabrics that stretch, like those used in t-shirts, can pull out of shape when you embroider them, especially if they bounce back into shape after you release them from the embroidery hoop.
Common Causes of Embroidery Puckering
Puckering can mess up the smooth look of your embroidery, making it important to understand what causes it. Here’s a detailed look at why this happens and how you can spot the usual suspects that lead to puckering.
- Fabric and Material Characteristics
- Stabilizer Misalignment and Selection Errors
- Digitizing Challenges and Thread Tension Issues
Fabric and Material Characteristics
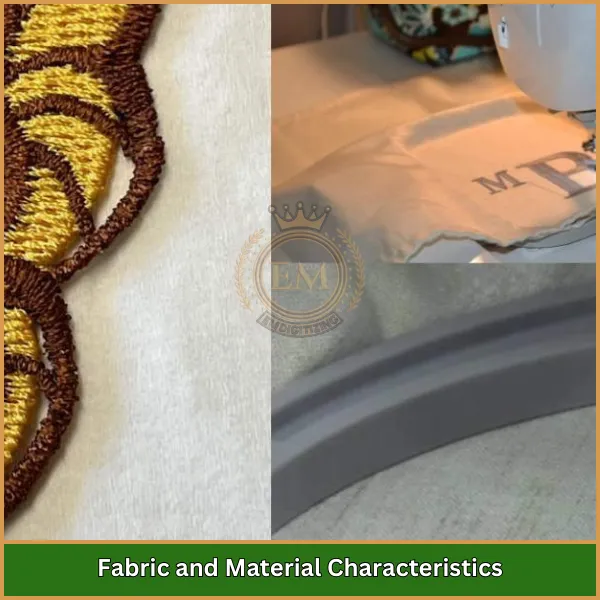
The type of fabric you use plays a big role in how likely it is to pucker. Some fabrics just don’t handle embroidery well because they’re either too stretchy, too thin, or too slippery.
For example, if you’re working with a slippery fabric like satin, it can move around too much under the needle. Similarly, lightweight fabrics like chiffon might gather up because they can’t handle the tension well.
Each fabric type has its own needs, so choosing the right one for your project is crucial for maintaining embroidery quality.
Stabilizer Misalignment and Selection Errors
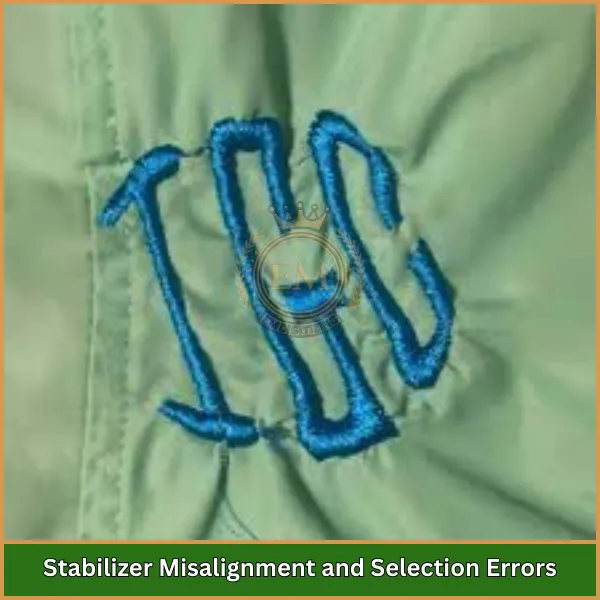
A stabilizer supports your fabric during embroidery, helping to keep it flat and in place. If the stabilizer isn’t correctly chosen or aligned, your fabric might move around or stretch while you embroider. This misalignment can cause the fabric to bunch up, leading to puckering.
It’s like putting the wrong foundation under a house; if it’s not right, things can go wonky.
Picking the right stabilizer for your fabric and making sure it’s applied properly are key steps in preventing machine embroidery puckering.
Digitizing Challenges and Thread Tension Issues
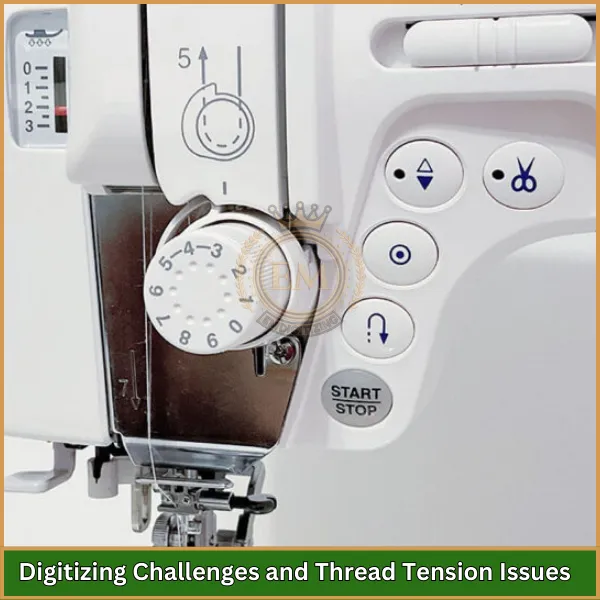
The way your embroidery design is created in the digitizing software can also lead to puckering. If the design is too dense or the stitching path is not optimized for your fabric type, the fabric can be pulled too tightly during embroidery hooping.
This tension from the thread as it pulls through the fabric can cause puckering. It’s essential to have your design digitized with the specific fabric in mind, considering factors like stitch length and density.
Comprehensive Solutions to Prevent Embroidery Puckering
To achieve smooth and professional-looking embroidery designs, it’s crucial to implement effective strategies that address common causes of puckering.
Here’s a guide to the comprehensive solutions that can help you prevent this issue
- Selecting the Appropriate Stabilizer
- Proper Fabric and Hoop Preparation Techniques
- Advanced Digitizing Tips for Reducing Density and Adjusting Underlay
- Optimizing Machine Settings for Thread Tension and Speed
Selecting the Appropriate Stabilizer
The right stabilizer forms the backbone of successful embroidery by supporting the fabric during the stitching process. Choosing a stabilizer that matches the weight and stretch of your fabric is essential.
For instance, use a cut-away stabilizer for stretchy materials to prevent the fabric from moving and a tear-away for more stable fabrics that don’t stretch. This ensures the fabric remains smooth and supported, minimizing the chance of puckering.
Proper Fabric and Hoop Preparation Techniques
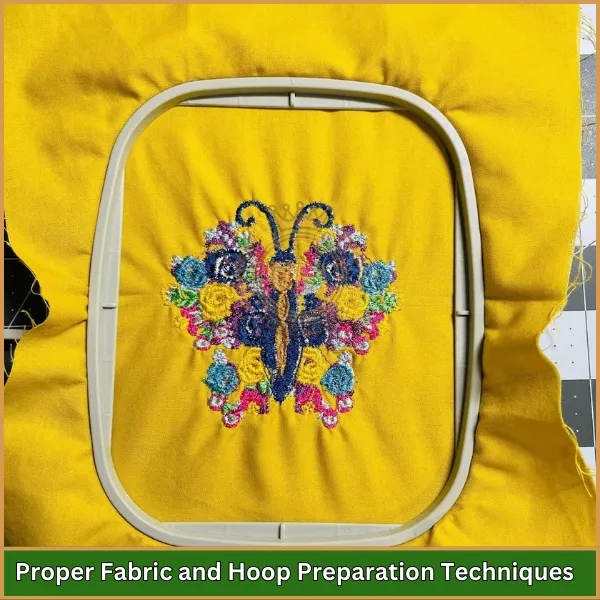
Preparing your fabric correctly before starting can greatly reduce the risk of puckering. First, ensure the fabric is properly ironed and free of wrinkles. When hooping, the fabric should be taut but not overstretched.
It’s like drum skin; it should be tight enough to bounce back when lightly tapped. This balance helps maintain even tension throughout the embroidery process, preventing the fabric from gathering around the stitches.
Advanced Digitizing Tips for Reducing Density and Adjusting Underlay

The way an embroidery file is digitized can significantly impact the final result. To avoid puckering, reduce the density of stitches in your design, especially when working with lightweight or delicate fabrics. Additionally, adjusting the underlay can help stabilize the material.
An underlay acts as a foundation, holding the fabric down and smoothing it out before the top stitches are applied. Proper underlay settings can prevent the fabric from being pulled too tightly by the stitches.
Optimizing Machine Settings for Thread Tension and Speed
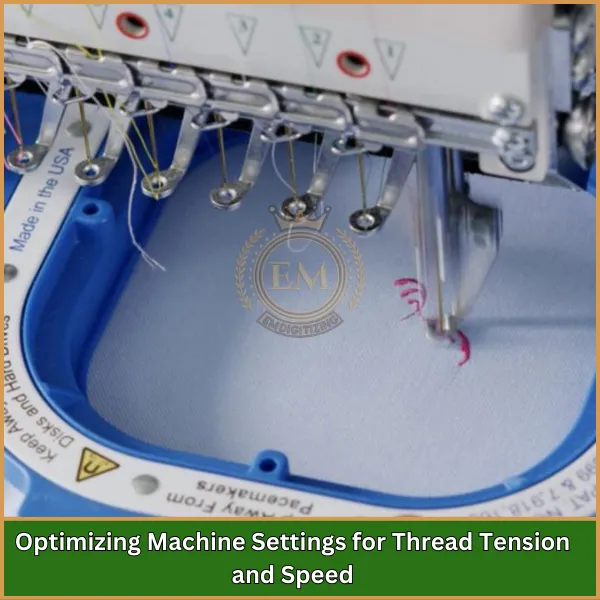
Adjusting your embroidery machine’s settings is crucial for preventing puckering. The thread tension should be set so that it is neither too tight nor too loose; both extremes can cause the fabric to pucker. Also, consider reducing the embroidery machine speed.
A slower speed allows more precise stitch placement and reduces the stress on the fabric, which can help maintain the quality of the embroidery and prevent puckering.
Conclusion: Ensuring Smooth and Professional Embroidery Results
We’ve talked about how to stop embroidery puckering and make sure your embroidery projects look neat and smooth. Remember, to get the best results, you need to use the right backing, make sure your fabric is put into the hoop just right, and set your embroidery machine correctly.
If you’re looking for expert help to get the best out of your embroidery designs, our digitizing services at EMdigitizing are here to assist you. We offer fast turnaround times, affordable pricing, and high-quality results that will elevate your embroidery projects.
Plus, if it’s your first time using our services, you get 50% off! This is a great chance to see how professional help can make your designs come out perfect every time.
So, don’t worry about puckering anymore—let us help you make every project a success!
FAQs
Embroidery can pucker after being washed if there’s too much tension during the stitching or not enough stabilizer was used. When you wash it, the fabric might change shape because it wasn’t properly supported during the embroidery process.
To smooth out puckered embroidery, start by laying the embroidered item face down on a flat surface. Mist it lightly with water. Then, gently stretch the fabric until it lays flat. This method helps relax the fibers and reduce puckering.
Puckering in embroidery can happen for several reasons, including not hooping the fabric correctly, not using enough stabilizer, poor digitizing, or having the thread tension too tight. Often, puckering is also caused by designs that are too dense or have too many stitches packed into a small area, which puts a lot of stress on the fabric.
