Embroidery on towels can be fun, but if you’re not careful, you’ll end up with distorted designs, puckered fabric, or unreadable text. Luckily, a few smart techniques can save your project. Whether you’re making gifts or selling your work, the key is knowing what to do before, during, and after stitching.
In this guide, we’ll walk you through 10 smart tips that will help you get clean, professional results every time.
- Use a stabilizer combo that works with towel fabric
- Always run a test stitch first
- Choose low-pile, good-quality towels
- Keep embroidery designs simple and bold
- Mark your design placement accurately
- Match thread and needle types to towel thickness
- Hoop carefully or float if hooping leaves marks
- Tame towel loops with a topper
- Adjust machine tension to avoid puckering
- Finish and wash your towel correctly
Let’s dive in!
Don’t Start Embroidery on Towels Until You Read These Tips
1. Use a Proper Stabilizer Combo for Cleaner Results
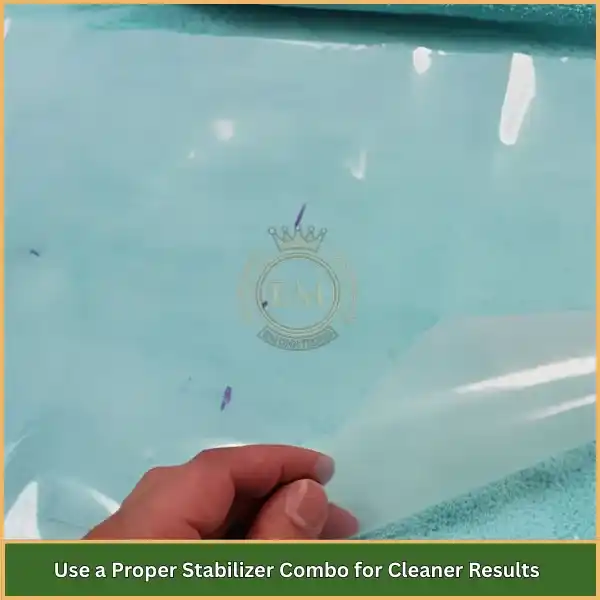
Towels are thick and have a bumpy texture, which makes it hard for the fabric to stay in place while stitching.
That’s why stabilizers are so important. A medium-weight tear-away or cut-away stabilizer placed underneath the towel gives it a solid base.
Add a water-soluble topper on top to hold down the loops and keep the stitches clean and sharp.
This combination prevents the fabric from stretching or shifting during stitching.
If you’re skipping stabilizers or using the wrong ones, you’ll likely end up with wrinkled designs or stitches that sink into the towel.
2. Always Test on a Spare Towel First
Many people rush into embroidering their final piece without testing, and that’s a common mistake. Towels vary in thickness and texture, so test your design on a scrap piece first.
It only takes a few extra minutes and allows you to spot issues like loose threads, misalignment, or wrong tension. This is especially important when doing towel embroidery professionally or on expensive towels.
3. Choose Towels That Are Not Too Thick or Fluffy
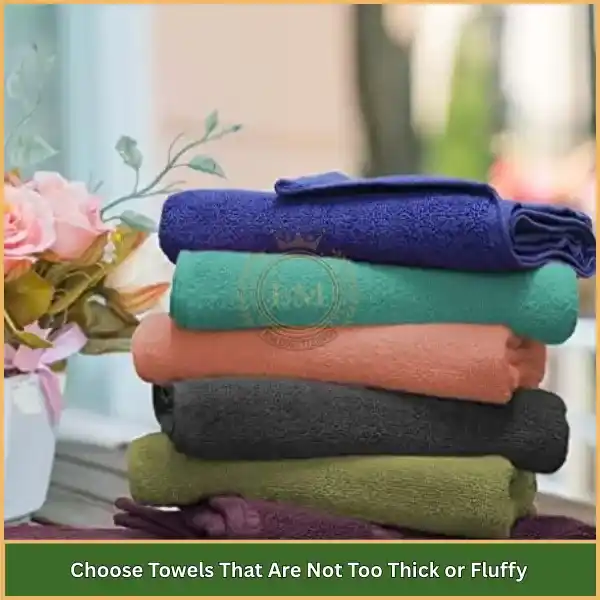
The type of towel you use can make or break your design.
Go for towels made from 100% cotton that have a tight weave and a short to medium pile (loop height).
Extra fluffy or decorative towels often swallow the stitches and make them hard to see.
On the other hand, cheap, thin towels may fall apart or fray during stitching.
If you’re creating gifts or selling products, choose high-quality towels that hold up well through embroidery and repeated washing.
4. Stick to Simple, Bold Embroidery Designs
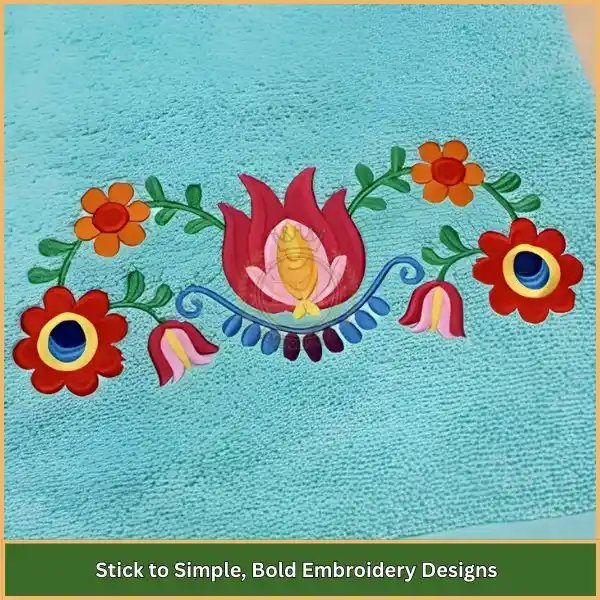
Detailed artwork often gets lost in towel loops. Use thick lines, bold fonts, and open shapes. Monograms, florals, or fun cartoon graphics work well.
Thin lines and small letters can disappear into the fabric, even with a topper.
If you’re looking for ready to use embroidery designs on towels, make sure they are digitized specifically for thick fabrics.
You can also get your own designs custom-digitized for the best outcome.
5. Mark and Center Your Design Accurately
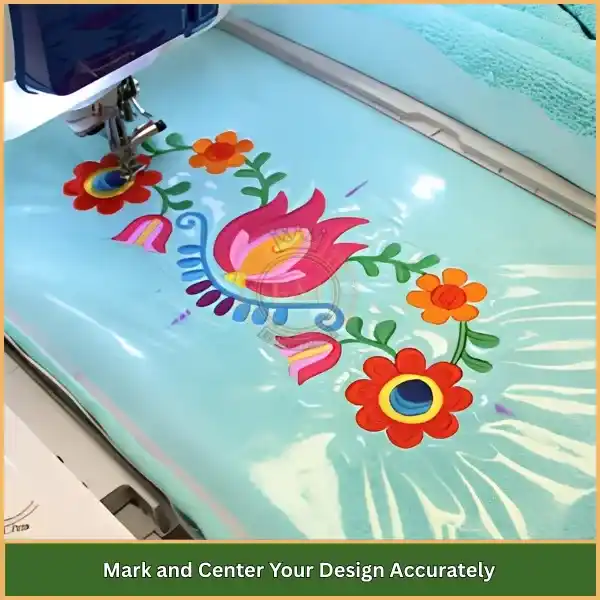
Correct placement is essential for professional results.
Fold the towel in half vertically and horizontally to find the center, or measure specific distances for border placements (e.g., 3 inches above the hem).
Use chalk or water-soluble markers to outline your placement.
You can also pin a paper template to the towel to see how the final design will sit.
This is very helpful for projects like a beach towel monogram where precise alignment matters.
6. Select the Right Needle and Thread for Towels
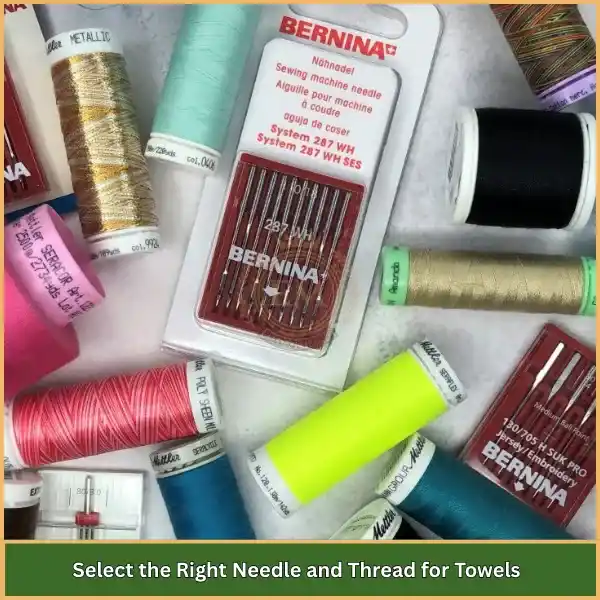
Towels are thicker than most fabrics, so you need a needle that can handle the density.
Use a 90/14 embroidery needle a sharp point works best for firm towels, while a ballpoint works for softer, looped towels. For thread, go with 40 wt polyester.
It’s durable, has a light sheen, and won’t break easily during stitching.
Cotton threads are not ideal for towels. They break easily and can become fuzzy, especially on looped fabrics like terrycloth.
7. Use the Hooping or Floating Method Based on Towel Thickness
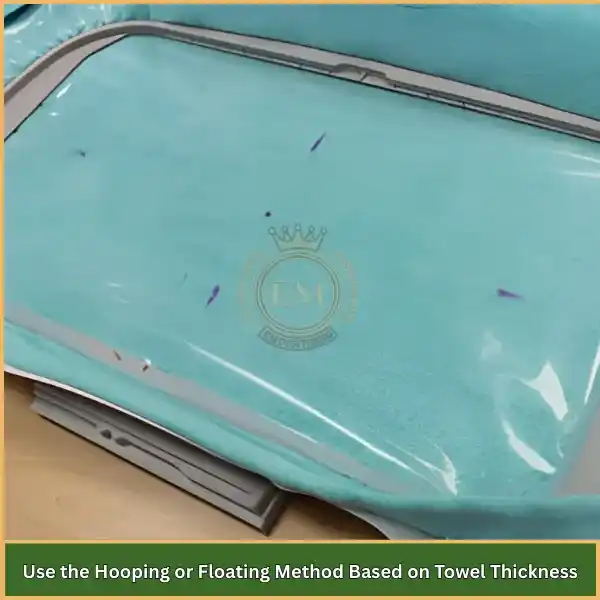
Hooping gives good tension and helps keep everything steady, but some towels are too bulky to fit in the hoop properly. For thinner towels, hoop both the stabilizer and towel together.
Make sure the towel is tight but not overstretched.
For thicker towels that don’t hoop well:
- Hoop only the stabilizer.
- Spray temporary adhesive on the stabilizer.
- Place the towel on top and press it down firmly.
- Use pins outside the design area to keep it extra secure.
This floating method prevents hoop marks and works especially well near towel borders.
8. Flatten Loops Using a Water-Soluble Topper
Terry Cloth loops often pop through your stitches, ruining the look of your design. A water-soluble topper keeps the loops flat and prevents them from interfering with your stitching. Just lay it on top of the embroidery area before you start sewing. After stitching, rinse it off with warm water or steam it away.
This step is especially useful when stitching on towels that include detailed text or fine line work.
9. Set Your Machine Tension for Thick Fabric
If your embroidery looks too tight or bunches up, your tension might be off. Start with a top thread tension setting around 3.5, then test and adjust. The goal is to have smooth stitching with no visible bobbin thread on top.
On thicker fabrics like towels, small adjustments in tension can make a big difference in stitch quality. Watch for any signs of pulling or loose loops.
Smooth tension = smooth embroidery especially when you’re doing machine embroidery on towels.
10. Finish the Towel the Right Way
Once embroidery is complete:
- Gently remove any remaining stabilizer
- Trim loose threads using sharp scissors
- Lightly iron from the back using a cloth to protect the stitches
Wait 24 hours before washing. Always wash in cold water and skip bleach to protect your thread color. Proper aftercare keeps your embroidery towel looking new longer.
Conclusion
Embroidery on towels doesn’t have to be difficult. With the right tools, materials, and setup, you can easily create high-quality designs that look amazing and hold up over time. Whether you’re making gifts, selling online, or just enjoying your hobby, following these 10 tips will give you better, more consistent results.
And if you need custom digitizing to make your designs embroidery ready, EMdigitizing has you covered. We offer fast delivery (usually in 1–4 hours), free edits and lifetime design storage, 24/7 support and secure online payment, 50% discount for first-time customers get now.
Start your next embroidery project with confidence. Let EMdigitizing make your design perfect from the start!
FAQs
Monograms are typically stitched on the side without the towel label. For a clean and balanced look, place the monogram in the center, about 4 inches above the hem or dobby border on a bath towel. This spot ensures the design looks perfect when the towel is folded or hung.
A 75/11 or 80/12 embroidery needle is usually the best option for most towels. These sizes are thin enough to pierce through terry cloth easily without tearing the fabric. For thicker towels, a 90/14 needle provides stronger support and smooth stitching.
Polyester embroidery thread is ideal for towels. It’s strong, fade-resistant, and handles washing and drying well. Cotton thread isn’t recommended for towel embroidery because it can break and lose color faster, especially on plush or looped fabrics.
The right size depends on the towel type. For hand towels, keep the design around 3 inches tall. Bath towels work well with 4-inch designs, and beach towels can handle larger designs, up to 5 inches. Choose a size that stands out but doesn’t look oversized.
The best placement is centered above the bottom edge. On bath towels, position the embroidery about 4 inches above the hem. For hand towels, 2 inches above the hem or decorative border is ideal. This placement makes the design visible when the towel is hanging or folded.
