Are you struggling with embroidery placement and want to make sure your designs look perfect every time? Don’t worry, you’re not alone!
Getting the right placement can be tricky, but with a few simple tips, it becomes much easier. Whether you’re adding a logo to a shirt, stitching a design on a cap, or decorating a jacket, proper custom placement makes all the difference.

In this guide, we’ll walk you through the best methods to ensure your designs are centered, aligned, and looking professional on any garment.
Let’s dive in and make your embroidery projects stand out with flawless placement!
Mastering Embroidery Placement: Tips for Perfect Results
Importance of Correct Embroidery Placement
Proper placement is key for creating professional-looking embroidery. It ensures machine embroidery designs are placed consistently and look good on the final product.
Incorrect placement can result in designs that look crooked or misplaced, making the garment look unappealing. For example, a misplaced logo on a sleeve might look awkward and could damage the fabric or cause needle breaks.
Having a clear plan for placement of embroidery is important, especially when working with clients. It helps clarify design expectations and reduces errors.
Techniques like folding fabric or using precise marking help ensure designs are centered and aligned on different garments. This attention to detail improves the quality of the embroidery and builds trust with customers who expect high-quality work.
Essential Tools for Precision in Embroidery Placement
Achieving precision in placement is key to creating high-quality, visually appealing designs. To help with this, several tools are essential:
- Measuring and Marking Tools
- Embroidery Hoops
- Digital Tools and Software
- Stabilizers
- Placement Stickers
1. Measuring and Marking Tools
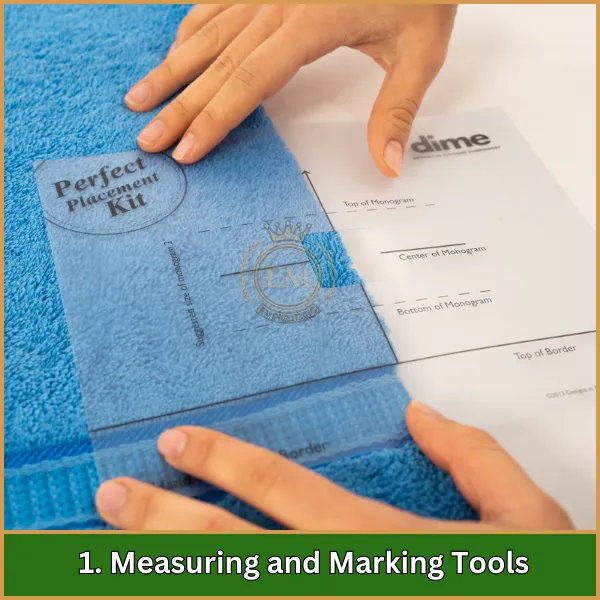
Accurate measurements are critical for perfect design placement. Custom placement requires tools like rulers and tape measures to find the best spot for your design on the fabric.
Temporary marking tools such as chalks and marking pens are also essential items for clearly outlining where to stitch, making sure the design is visible when setting up.
2. Embroidery Hoops
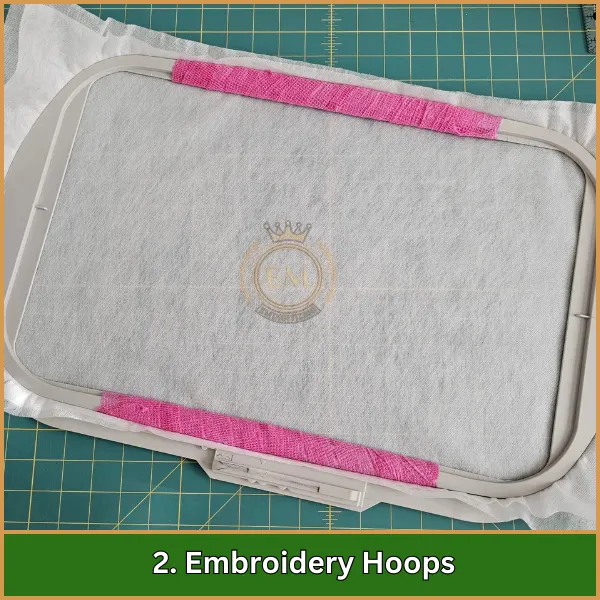
Choosing the right hoop is vital for keeping the fabric stable and ensuring stitches are accurate. A hoop that is a bit bigger than the design helps avoid fabric pulling and puckering. Proper hoop alignment, like making sure it’s centered and level, is crucial for getting the best results.
3. Digital Tools and Software
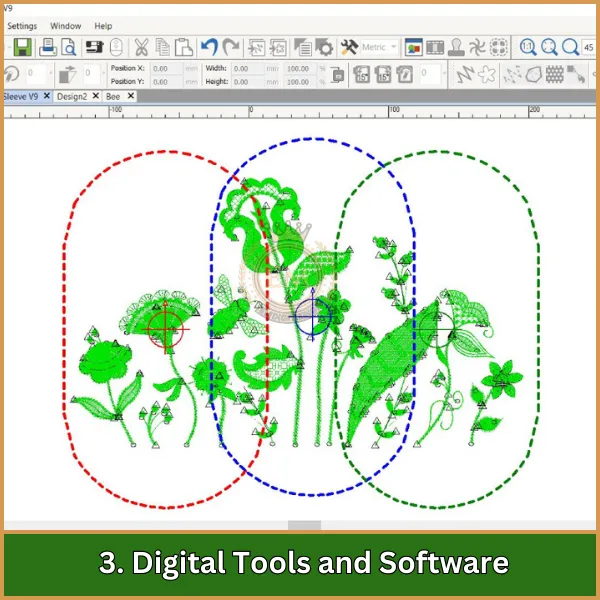
In modern embroidery, specialized software is great for making digital versions of machine embroidery designs and adjusting them before you start stitching.
This technology makes it easier to be precise and lets embroiderers be more creative with their custom placement.
4. Stabilizers
Using the right stabilizer is a must to keep the fabric from changing shape when you embroider. There are different kinds of stabilizers, like tear-away or cut-away, which work well with various fabrics and design details. They help reduce problems like fabric shifting or puckering.
5. Placement Stickers
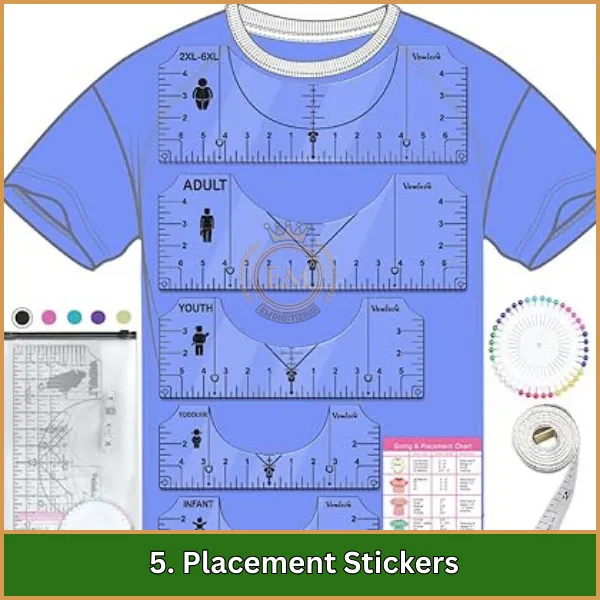
Placement stickers make it simpler to mark where to put the needle. They’re reusable and leave less residue on clothes than other marking methods, making them important items for precise placement.
Techniques for Accurate Placement
Here are three straightforward techniques for precise embroidery placement, ensuring your projects look professional:
- Pinpoint Placement Method
- Using the Folding Method for Centering
- Utilizing Placement Rulers and Charts
1. Pinpoint Placement Method
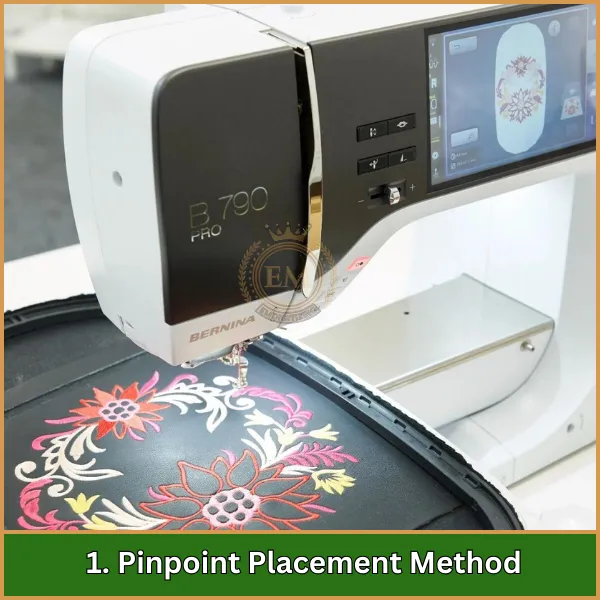
This method utilizes your embroidery machine’s built-in features to pinpoint the exact stitching locations.
First, select and resize your design on the machine, then plot vertical and horizontal centerlines on the fabric where the design will sit.
This precise marking helps ensure perfect alignment, ideal for complex designs or specific placements like logos on shirts or jackets.
2. Using the Folding Method for Centering
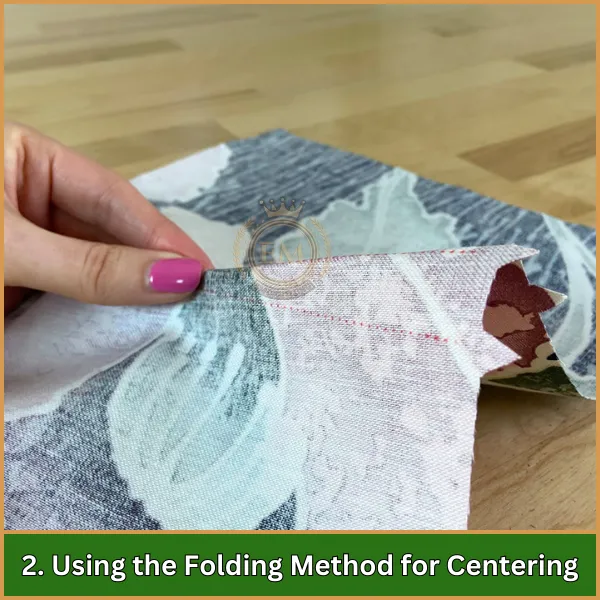
For easy centering, lay the fabric flat and fold it both vertically and horizontally to create crease lines at the center. Mark these center points with a fabric-safe pen or chalk.
Align the design with these marks for a symmetrically placed design. This technique is especially useful for garments like t-shirts or tote bags, where centered designs enhance the visual appeal.
3. Utilizing Placement Rulers and Charts
Placement rulers and charts are essential for consistent design positioning. Lay the ruler on the fabric and mark the design placement points with tailor chalk or washable markers.
These tools ensure uniformity across various projects. Printable placement charts can also be used during client consultations to set clear expectations for design placement.
Guidelines for Embroidery Placement on Various Garments
Here’s a simple step-by-step guide to help you place embroidery on different garments accurately.
1. Shirts: Left Chest and Center Placements
- Step 1: Lay the shirt flat on a surface.
- Step 2: For left chest placement, measure about 6-8 inches from the shoulder seam and 3-4 inches from the center of the shirt.
- Step 3: Mark the placement spot lightly with a washable marker or chalk.
- Step 4: Center the design in the marked area and hoop the fabric securely, adjusting based on the fabric type for optimal stitching.
2. Jackets and Hoodies: Back and Sleeve Placement
- Step 1: For back placement, measure down about 7-9 inches from the neck.
- Step 2: Mark the center of the back for large designs.
- Step 3: For sleeve placement, mark a spot near the cuff or middle of the sleeve.
- Step 4: Secure the fabric in a hoop and make sure it’s taut.
3. Caps and Hats: Front and Side Placement
- Step 1: Use a hat-specific hoop for embroidery.
- Step 2: For front placement, mark the center of the cap just above the bill.
- Step 3: For side placement, mark a spot slightly above the ear area.
- Step 4: Secure the cap in the hoop, ensuring the design is centered.
4. Accessories: Embroidery on Bags and Other Items
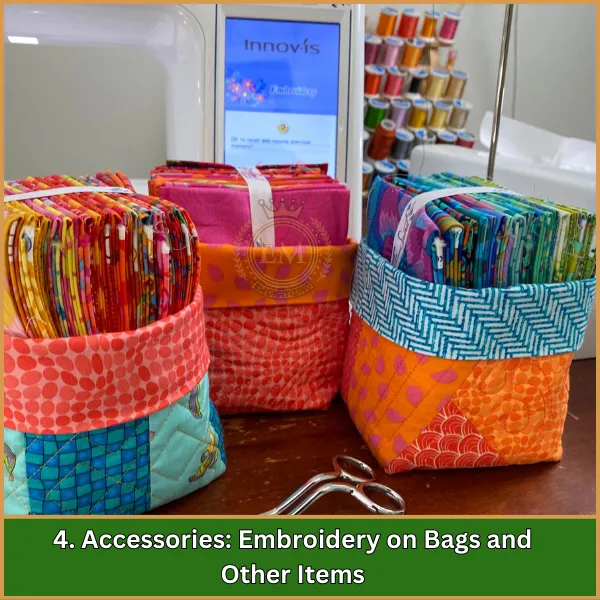
- Step 1: Lay the bag flat and mark the center of the front panel.
- Step 2: Ensure the design fits well within the marked area.
- Step 3: Use a flat hoop or frame to secure the fabric in place.
- Step 4: Double-check the placement before starting the stitching.
Advanced Tips for Embroidery Placement
Achieving precise placement requires more than just basic tools; advanced techniques can greatly improve your results. Here are some helpful tips:
- Utilize Placement Stickers: Placement stickers help align your needle with the center of the design. These reusable stickers make it easy to get perfect placement without leaving any residue on the fabric.
- Create a Placement Plan: Having a plan ensures consistent results. Use placement charts to mark the correct spots for logos or designs on different garments, helping avoid errors and ensuring client satisfaction.
- Test Before Finalizing: Always test on scrap fabric before stitching on the actual garment. This lets you adjust design placement and spot any issues with thread type or fabric.
- Consider Fabric Characteristics: Understand how different fabrics behave. Stretchy materials might need special stabilizers to prevent the design from shifting or distorting during stitching.
- Use Mock-Up Techniques: Digital mock-ups allow you to visualize how the design will look on the garment, letting you make changes before stitching to avoid placement mistakes.
By following these tips, you can improve your machine embroidery placement and create more polished, professional machine embroidery designs.
Creative Placement Ideas for Personalizing Your Projects
Personalizing your embroidery projects with unique placements can turn simple items into special keepsakes. Here are some creative ideas:
1. Left Chest Embroidery
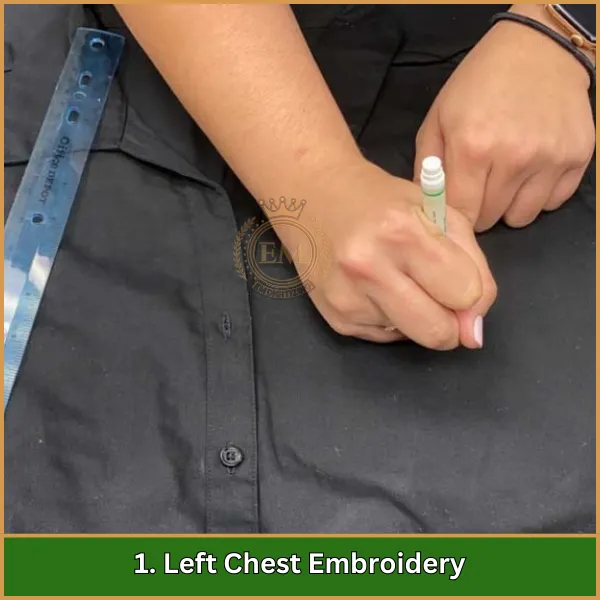
A classic spot for logos or initials, this placement works well on shirts and jackets, giving a subtle but stylish touch.
2. Full Back Designs

For a big, bold design, the full back of jackets or hoodies offers a large space perfect for standout artwork or detailed designs.
3. Sleeve Embroidery
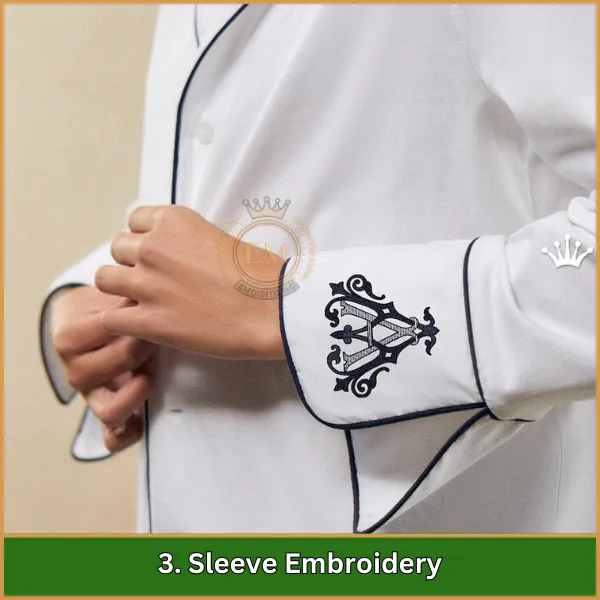
Sleeves are great for adding small logos or patterns. Embroidering on the bicep or wrapping a design around the sleeve adds a fun, creative element.
4. Hat and Cap Embroidery
Designs placed slightly above the center of the cap ensure visibility. This placement is perfect for custom placement on promotional hats or casual wear.
5. Creative Use of Space
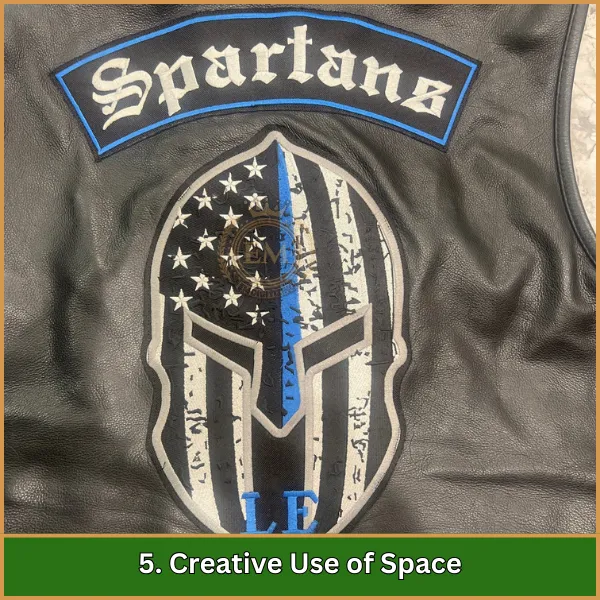
Consider placing embroidery along side seams, on pockets, or inside collars for an unexpected and unique look.
6. Seasonal Themes
Add seasonal designs like snowflakes in winter or flowers in spring to make your embroidery projects more festive and gift-worthy.
7. Commemorative Dates
Embroider important dates, like anniversaries or birthdays, in elegant fonts to create personalized, memorable items.
Conclusion: Get Perfect Placement with EMdigitizing!
With the right embroidery placement techniques in hand, your next step is to ensure your designs are ready for stitching. EMdigitizing is here to help by converting your designs into high-quality, ready-to-stitch embroidery files quickly and affordably.
We take care of the digitizing process, so you can focus on creating flawless, well-placed embroidery every time.
Trust EMdigitizing to handle the technical details, making your embroidery projects easier and more professional!
FAQs
Placement embroidery is the process of putting your design in the right spot on the fabric. It helps make sure the design looks neat and well-positioned.
You can center a embroidery design by folding the fabric to create creases and marking the middle point. Then, align your design with this mark.
Place the fabric inside the inner hoop and press the outer hoop on top. Make sure the fabric is tight and centered in the hoop for even stitching.
A placement guide gives the best spots for designs, like putting logos on the left chest for shirts or larger designs on the back of jackets.
A placement stitch is a light stitch that shows where the main design will go. It helps ensure the design is placed correctly before starting.
