If you’;Stai cercando di aggiungere ulteriore tocco e profondità ai tuoi progetti, 3Il ricamo in schiuma a sbuffo D è la tecnica perfetta da esplorare. Questo metodo ti consente di creare dei rilievi, disegni accattivanti che mettono in risalto i tuoi ricami.
In questa guida, we’;coprirà tutto ciò che devi sapere, dalla scelta dei materiali giusti alla padronanza del processo di cucitura.
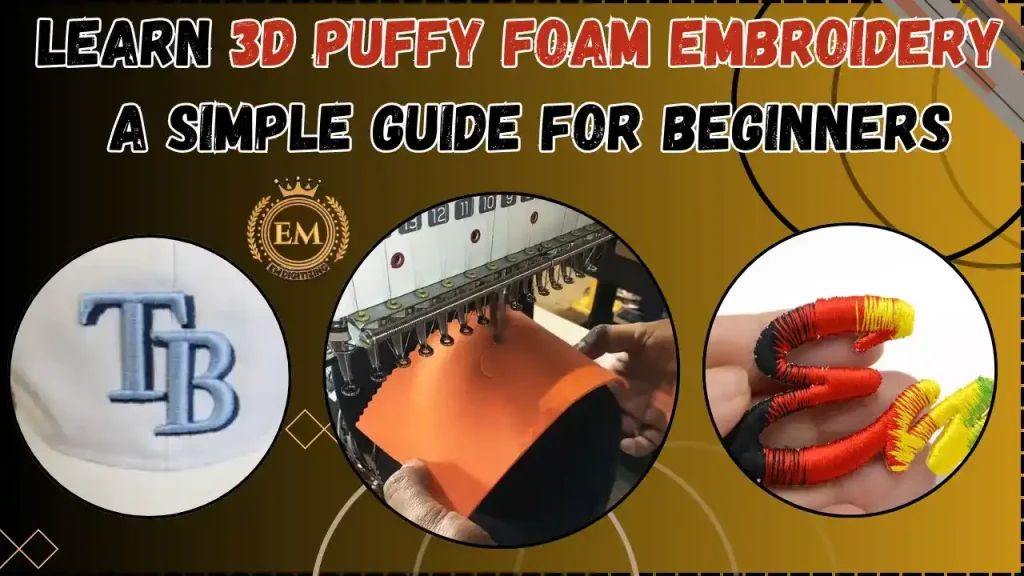
Whether you’;Sei nuovo nel mondo del ricamo 3D o stai cercando di migliorare la tua tecnica, you’;Troverai consigli pratici per creare splendidi, disegni professionali.
Facciamo un salto!
Impara il ricamo 3D in schiuma gonfia: Una semplice guida per principianti
Comprendere il ricamo 3D in schiuma gonfia
È un metodo in cui la schiuma viene posizionata sotto i punti di ricamo per creare un rilievo, 3Effetto D. Questa tecnica conferisce ai tuoi progetti un aspetto audace, aspetto strutturato, facendoli risaltare e aggiungendo un ulteriore livello di interesse visivo.
Materiali necessari per il ricamo gonfio 3D
Per iniziare 3ricamo D, you’;Avrai bisogno di alcuni materiali essenziali che garantiscano che il tuo design si distingua in modo audace, effetto rialzato.
Here’;C'è un elenco dei principali materiali di consumo necessari per creare ricami dall'aspetto professionale.
- Fogli di schiuma gonfia
- Filo da ricamo
- Tessuto
- Stabilizzatore
- Adesivo (Opzionale)
- Macchina da ricamo
Fogli di schiuma gonfia
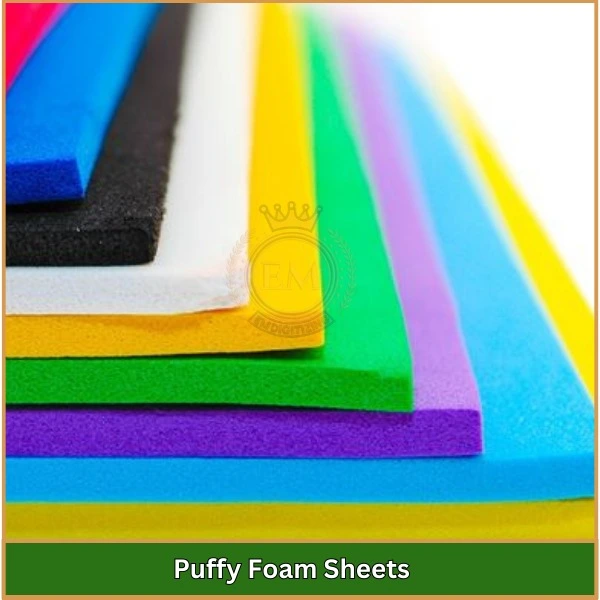
- Tipi: Polietilene ad alta densità (HDPE) e poliuretano sono le schiume primarie utilizzate, appositamente su misura per scopi di ricamo.
- Spessore: Disponibile da 2 mm, 3mm, e 6 mm, con schiume più spesse che creano un effetto 3D più pronunciato. Le scelte più popolari includono la schiuma E-Zee 3D e la schiuma dura Bodybuilder, entrambi spessi 3 mm.
- Colore: Tipicamente si trova in bianco e nero, seleziona un colore della schiuma che contrasti con il filo per evidenziare il disegno in modo efficace.
Quale spessore di schiuma è consigliato per il ricamo 3D? Per ricamo a sbuffo 3D, si consiglia uno spessore di schiuma di 3 mm in quanto fornisce l'equilibrio ideale tra altezza e stabilità, creando un effetto 3D prominente garantendo al tempo stesso la durata durante il processo di ricamo.
Filo da ricamo
- Tipo: Optare per il forte, fili di poliestere o rayon di alta qualità. Garantire il colore del filo integra o contrasta con la schiuma per un impatto visivo.
- Considerazioni: Seleziona i colori del filo che si fondono con la schiuma per ridurre al minimo i problemi di visibilità in cui la schiuma potrebbe essere visibile attraverso i punti.
Tessuto
- Materiale: I tessuti ideali sono tessuti stabili come il twill, denim, o tela, che sostengono bene la schiuma e consentono cuciture precise senza distorsioni.
- Stabilità: Scegli tessuti sufficientemente robusti da supportare gli effetti elevati del ricamo a sbuffo.
Stabilizzatore
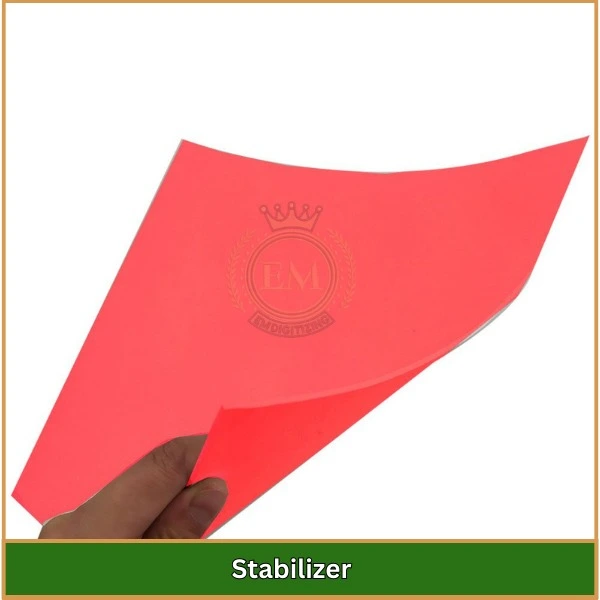
- Scopo: Gli stabilizzatori prevengono la distorsione del tessuto durante il ricamo, fornendo supporto essenziale sia al tessuto che alla schiuma.
- Tipi: Gli stabilizzatori cutaway sono consigliati per la loro durata e sono particolarmente adatti per l'uso con schiume più spesse.
Adesivo (Opzionale)
- Utilizzo: Alcuni tipi di schiuma sono dotati di un supporto adesivo, facilitando un più facile fissaggio al tessuto prima del ricamo, ideale per disegni complessi o pezzi più piccoli.
Macchina da ricamo
- Specifiche: Una macchina in grado di gestire materiali più spessi ed è dotata di attrezzature specializzate software di digitalizzazione è fondamentale per ottenere un ricamo a sbuffo 3D di successo. Assicurati che le impostazioni della macchina siano regolate correttamente per la cucitura in schiuma.
Come eseguire il ricamo 3D in schiuma gonfia | Processo passo dopo passo
Esplora passo dopo passo gli elementi essenziali per creare ricami in schiuma a sbuffo 3D vivaci e dinamici. Perfeziona i tuoi progetti con precisione dall'inizio alla fine!
Fare un passo 1: Scegli il tuo disegno
Seleziona una schiuma gonfia 3D disegni da ricamo adatto per ricamo 3D. Semplice, i design audaci funzionano meglio perché consentono alla schiuma di migliorare efficacemente la profondità.
Alla ricerca del design perfetto? Visita EMDigitalizzazione! Esplora la nostra vasta collezione di ricami gratuiti in schiuma gonfia, realizzati su misura per risultati vibranti e dinamici.
E se stai cercando qualcosa di unicamente tuo, i nostri servizi di digitalizzazione esperti possono dare vita ai tuoi progetti personalizzati, perfettamente abbinati alla tua visione!
Fare un passo 2: Seleziona i Materiali
Scegli il giusto tipo di schiuma, filo, e tessuto. Utilizzare schiuma ad alta densità, robusti fili di poliestere o rayon, e tessuti stabili come twill o tela.
Fare un passo 3: Prepara il tessuto
Fissare il tessuto nel telaio da ricamo assicurandosi che sia teso e stabile. Ciò impedisce qualsiasi movimento che potrebbe distorcere le cuciture.
Fare un passo 4: Posizionare lo stabilizzatore
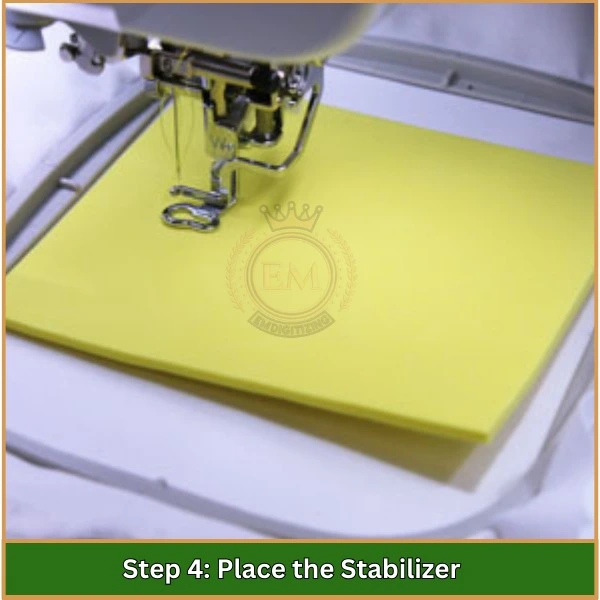
Utilizzare uno stabilizzatore tagliato dietro il tessuto per fornire ulteriore supporto e mantenere l'integrità del tessuto durante il processo di ricamo.
Fare un passo 5: Posiziona la schiuma
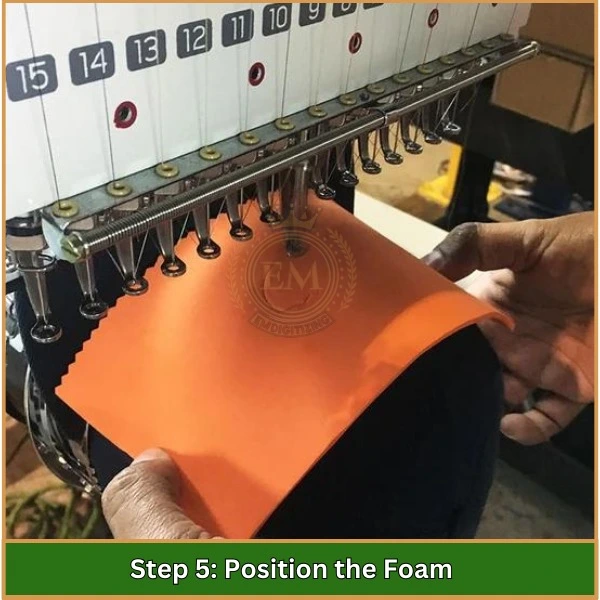
Taglia la schiuma leggermente più grande dell'area del disegno e posizionala sopra il tessuto all'interno del telaio. Assicurati che copra tutte le parti del disegno che verrà ricamato.
Fare un passo 6: Inizia a ricamare
Inizia a ricamare sulla schiuma. La macchina da ricamo deve essere impostata specificatamente per la schiuma gonfia caratteri di ricamo, regolando di conseguenza la penetrazione dell'ago e la densità del punto.
Fare un passo 7: Tagliare la schiuma in eccesso
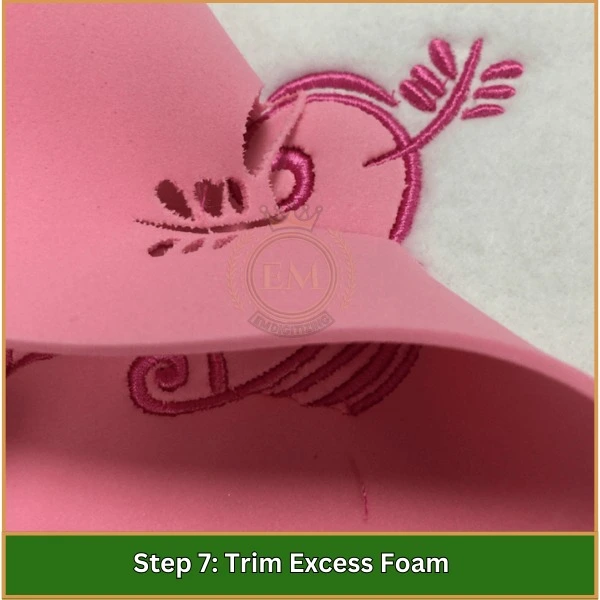
Una volta completato il ricamo, rimuovere con attenzione la schiuma in eccesso attorno ai punti.
Questo può essere fatto rimuovendo delicatamente la schiuma o utilizzando un piccolo, forbici affilate per tagliare vicino alla cucitura.
Fare un passo 8: Ripulire
Esegui tutta la pulizia necessaria attorno al disegno per rimuovere piccole particelle di schiuma e garantire una finitura pulita.
Fare un passo 9: Ispezione finale
Ispeziona l'oggetto ricamato per assicurarti che la schiuma si sia espansa correttamente e che il disegno appaia come previsto. Apporta modifiche alle impostazioni della macchina, se necessario, per progetti futuri.
Fare un passo 10: Finiture
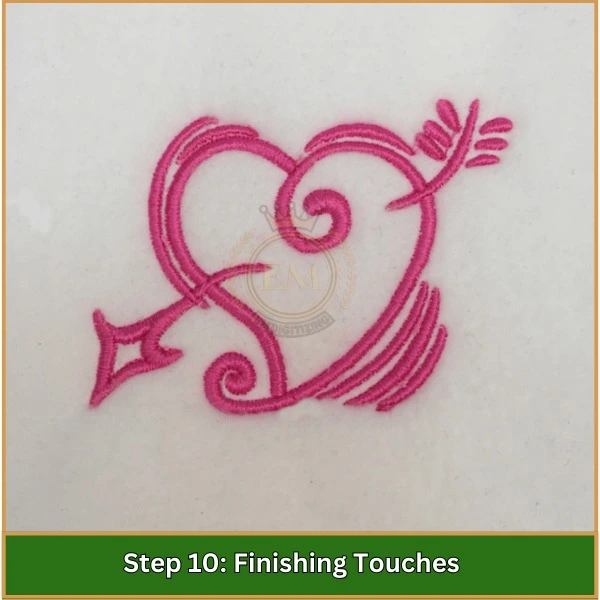
Applica eventuali ritocchi finali, ad esempio pressando l'oggetto ricamato sotto un panno per garantire che i punti siano fissati e che la schiuma non sia visibile.
Come prendersi cura adeguatamente del ricamo 3D in schiuma gonfia
Prendersi cura del ricamo 3D è fondamentale per preservarne l'effetto in rilievo e l'aspetto generale:
- Lavaggio delicato: Lavare a mano o utilizzare un ciclo di lavatrice delicato per i tuoi articoli ricamati. Evita detersivi aggressivi o candeggina, poiché possono indebolire la schiuma e danneggiare i punti.
- Asciugatura: Fai asciugare sempre all'aria i tuoi pezzi ricamati. L'uso di un'asciugatrice può far sì che la schiuma perda il suo gonfiore o distorca i punti.
- Magazzinaggio: Conserva il ricamo piatto o piegato delicatamente per evitare di schiacciare la schiuma. Assicurati che non siano posizionati oggetti pesanti sopra il disegno per mantenerne la forma.
- Esposizione al calore: Durante la stiratura, utilizzare una fiamma bassa e posizionare un panno sul disegno per proteggere la schiuma e i punti dai danni dovuti al calore.
- Ispezione: Dopo il lavaggio, controlla il tuo ricamo per individuare eventuali punti allentati o problemi di schiuma e risolvili tempestivamente per mantenere il disegno al meglio.
Errori comuni da evitare nel ricamo in schiuma 3D
- Copertura dei punti inadeguata: Assicurati che il disegno copra completamente la schiuma per una lucidatura, aspetto professionale.
- Spessore della schiuma non corretto: Select the correct foam thickness based on your design’;s larghezza per garantire una copertura adeguata.
- Selezione dell'ago errata: Utilizzare sempre aghi affilati adatti al ricamo 3D per perforare la schiuma in modo pulito.
- Trascurare i test eseguiti: Esegui prove su tessuto di scarto per ottimizzare la densità e la tensione dei punti prima di iniziare.
- Saltare i punti del contorno: Cuci sempre prima un contorno per fissare la schiuma e stabilizzare l'area del disegno.
- Disegni eccessivamente complicati: Attenersi al semplice, design audaci per i migliori risultati. Affidarsi alla digitalizzazione esperta per il ricamo in schiuma gonfia può garantire che il tuo disegno sia adatto agli effetti 3D.
- Mancata rimozione corretta della schiuma in eccesso: Tagliare con cura la schiuma in eccesso per una finitura ordinata e pulita.
Linea di fondo
Incorporando ricami in schiuma gonfia 3D nei tuoi progetti, puoi portare i tuoi progetti al livello successivo, dando loro un audace, aspetto dimensionale che si distingue davvero. Con i materiali e le tecniche giuste, il tuo ricamo risalta e crea un'impressione duratura.
If you’;Sei pronto per portare i tuoi progetti oltre, EMDigitizing è qui per aiutarti con i professionisti servizi di digitalizzazione. Offriamo tempi di consegna rapidi, prezzi convenienti, e garantire ogni volta risultati di alta qualità. Più, come nuovo cliente, puoi divertirti 50% fuori dal tuo primo ordine!
Contattaci subito per approfittare di questa offerta speciale.
Domande frequenti
Ricamare con schiuma gonfia, posiziona semplicemente la schiuma sul tessuto prima di cucire il disegno, quindi ricamarlo sopra per creare un rilievo, effetti dimensionali.
La schiuma gonfia per ricamo può essere acquistata online da vari rivenditori specializzati in forniture per ricamo, così come dai negozi di artigianato e dai negozi di cucito.
Per ottenere ricami gonfi, strato di schiuma gonfia sotto il tessuto, fissarlo in posizione con spray adesivo o nastro adesivo, quindi ricamare il disegno sopra la schiuma per creare effetti in rilievo e strutturati.
