Con l’attuale epidemia di coronavirus, la vita come la conosciamo sembra essersi fermata improvvisamente. Le cose stanno cambiando così velocemente! Andare al negozio per acquistare latte non è più un'opzione senza cercare di proteggerti dai batteri discutibili in circolazione. Con così tante misure di sicurezza ora offerte, Cosa farai diversamente per garantire la salute e la sicurezza?
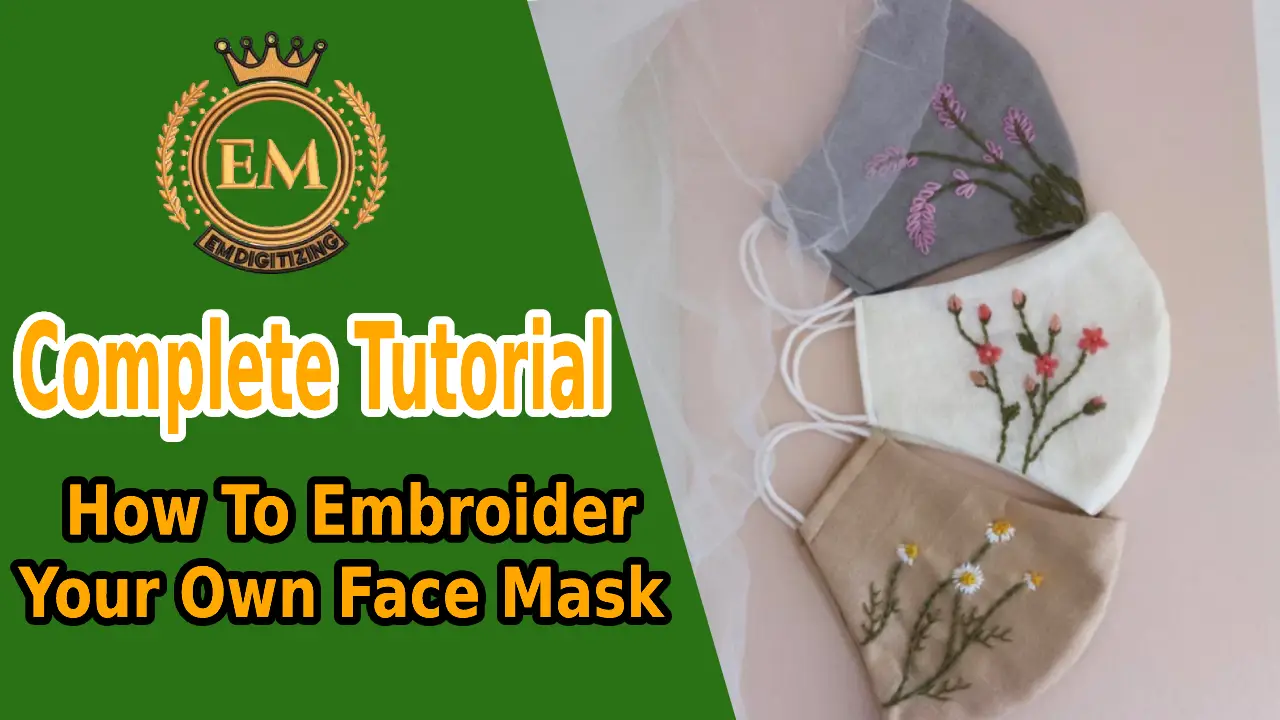
Servizi di digitalizzazione del ricamo
In questi tempi incerti, È essenziale per tutti prendere tutte le precauzioni necessarie per rimanere al sicuro e sano. One way to protect yourself is to wear a face mask when you’;essere fuori in pubblico.
Ma cosa succede se vuoi sembrare decente ed elegante mentre rimani al sicuro? Qui è dove possiamo aiutare!
Come azienda che si dedica all'educazione dei nostri clienti e alla fornitura di risorse per la comunità di abbronzatura, we’;Ve ha messo insieme questo tutorial sulla maschera per il viso riutilizzabile passo-passo e Download di design gratuiti.
Più, Questo blog ti guiderà attraverso ogni fase del processo in modo da poter facilmente creare la tua maschera per il viso in piedi. Userai solo il tuo macchina da ricamo e materiali che probabilmente hai già a casa.
Materiale richiesto
Il modello di progettazione della maschera faccia che forniamo per il download gratuito ha meno punti, Quindi puoi utilizzare meno risorse per produrre più prodotti.
Here’;s what you’;Dovrà iniziare:
- Mascherina disegno del ricamo
- Nastro
- Forbici
- Scatta
- Misura il pizzo
- Cavo elastico per cinturino per maschera per il viso
- leggero
- stoffa
- Una foglio di teatro
Che tipo di tessuto dovresti usare?
Alcuni dei tessuti usati per fare la maschera per il viso possono aiutare a respirare ed efficacia nel limitare la diffusione di malattie infettive.
- Il cotone è un tessuto eccellente per aiutare a filtrare particelle più grandi e ha un'eccellente traspirabilità.
- Il nylon è anche un tessuto raccomandato perché ha un tasso di filtrazione elevato, ma ha una traspirabilità limitata.
Puoi fare un rapido test per assicurarti che il materiale che hai fornirà una certa protezione tenendolo alla luce e vedendo se riesci a vedere attraverso le fibre. Non importa cosa scegli di fare la tua maschera per il viso, Avere qualcosa per coprirti il viso è meglio di niente.
Tutorial della maschera per il viso ricamato in campagna
Questo progetto è semplice, facile, e divertimento. Puoi anche essere creativo con motivi in tessuto e colori fili e fili. Avrai tre download. disegno in piccolo, medio, e grande in modo da poter creare una maschera per il viso che si adatta perfettamente.
Fare un passo 1:
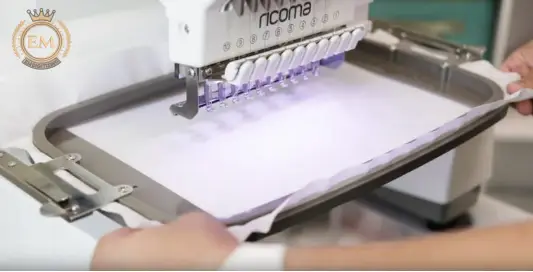
Dal momento che questo è un progetto interno, Non è richiesta una macchina da cucire. I punti di ricamo terranno la maschera per il viso. Così, semplicemente un foglio di supporto a lacrima e metti il cerchio nel tuo macchina da ricamo.
Fare un passo 2:
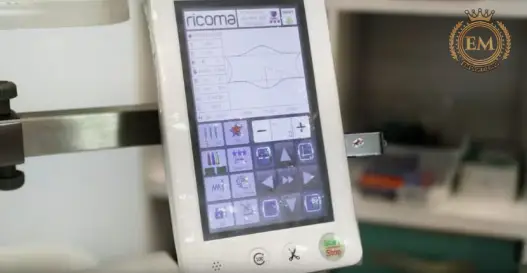
Scarica il file .dst sulla macchina e seleziona la dimensione del cerchio in base alla dimensione della maschera e disegno.
Fare un passo 3:
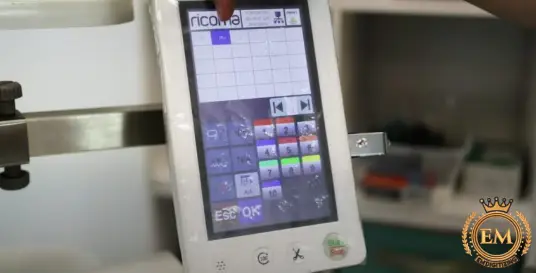
Select color and select “;Frame Out”; Per i primi due passaggi. Puoi trovare questa opzione nella schermata delle impostazioni del colore sulla macchina. Ciò significa che ogni volta che il design è colorato, Il cerchio si allontanerà dalla barra dell'ago in modo da poter posizionare il pezzo successivo della maschera del viso nel cerchio.
Fare un passo 4:
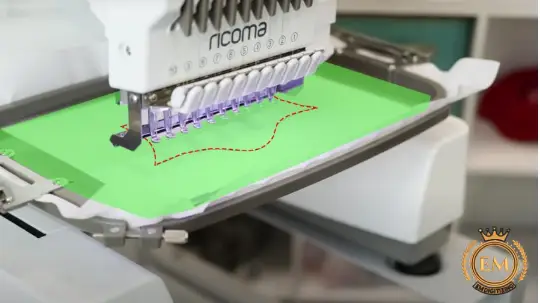
Assicurati di bloccare la macchina ed eseguire una rapida traccia per assicurarti che il tuo design si adatti ai confini del telaio.
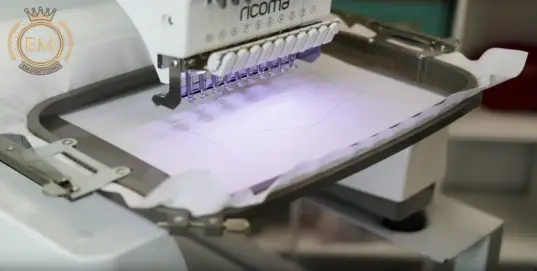
Once you’;VETTENI che il tuo design si adatta, Inizia a cucire la tua traccia! Questa sezione descriverà il tuo design. Quel modo, Dopo che il telaio è stato incorniciato, you’;Saremo in grado di vedere la forma e le dimensioni esatte della maschera delineate sul retro.
Fare un passo 5:
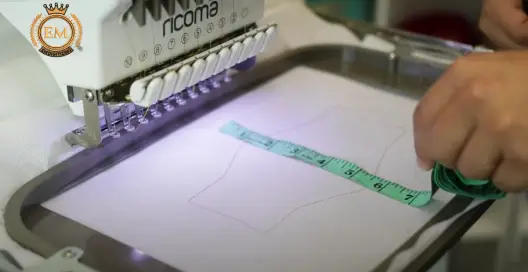
Usa il nastro di misurazione per misurare la maschera per il viso.
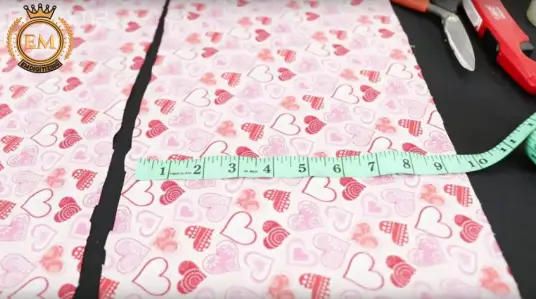
Dopo aver misurato il design della maschera, Taglia un pezzo di tessuto più grande del design da posizionare sul punto tracciamento.
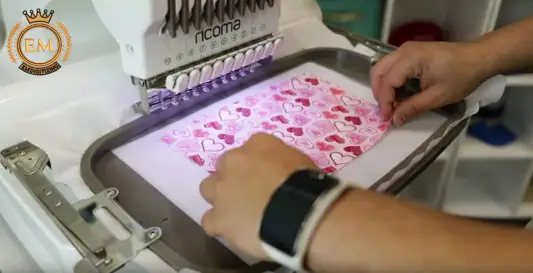
Posizionare il tessuto principale sopra il punto traccia con il design rivolto verso l'alto.
Per la punta: Ricontrollare il tuo lavoro e assicurati che il tessuto copra l'intera area del punto di traccia.
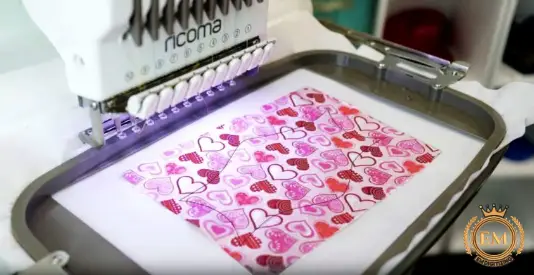
Fare un passo 6:
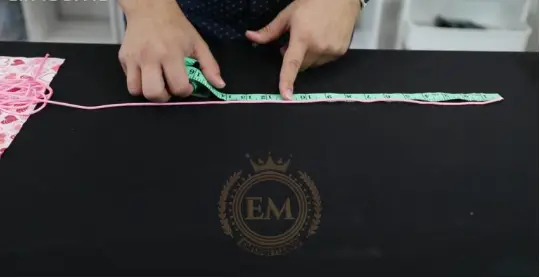
Misura i fili per assicurarti che siano abbastanza lunghi da avvolgere la testa. Una volta che hai la giusta dimensione del tessuto tagliato quattro pezzi identici.
Fare un passo 7:
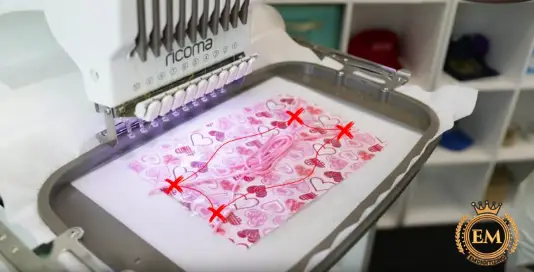
Prendi ogni pezzo e posizionalo in ogni angolo del contorno del design, Assicurarsi di lasciare la punta stessa della corda del tessuto e il resto della corda in diagonale verso il centro della maschera.
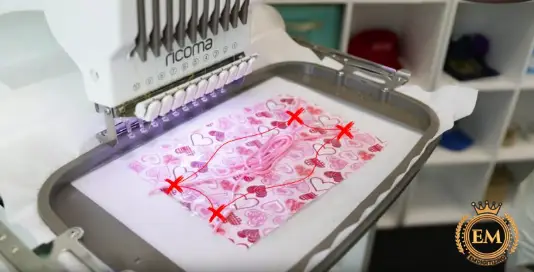
Premere Start. La macchina ora cucirà il cinturino in ogni punto d'angolo. Dopo aver cucito la corda in posizione, you’;Devo tagliare un pezzo di tessuto extra per tenere la parte superiore.
Fare un passo 8:
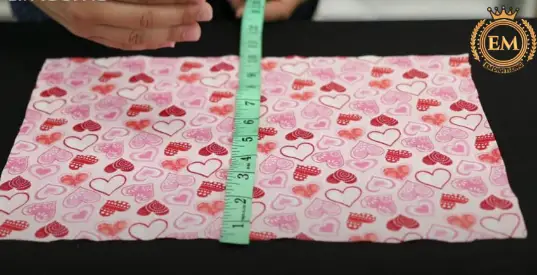
Questo secondo pezzo di tessuto fungerà da supporto per qualsiasi filtro che decidi di mettere nella tua maschera. Taglia un pezzo di tessuto aggiuntivo che misurava le stesse dimensioni del primo pezzo e aggiungi 2 pollici all'altezza.
Fare un passo 9:
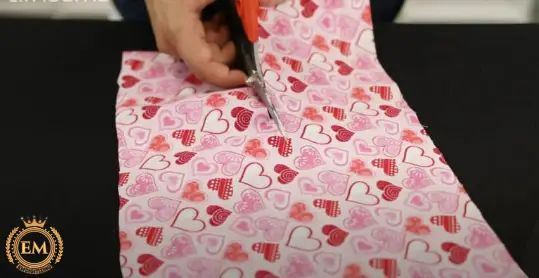
Taglia il tessuto a metà orizzontale per fare 2 strisce identiche.
Metti due nuove strisce di tessuto sulla maschera con il design rivolto verso il basso. Assicurati che coprano completamente la maschera e che si sovrappongano a vicenda. This shouldn’;t be a problem because you’;VE Taglia tutto il tuo pezzo con due pollici in più, Quindi hai più tessuto con cui lavorare.
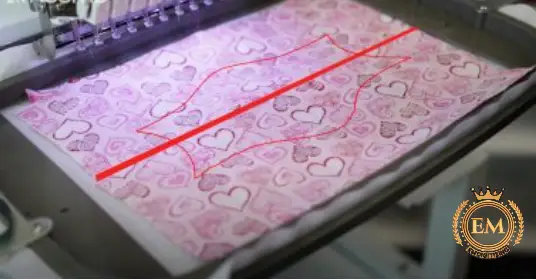
Disporre i pezzi del tessuto in modo che la fessura tra le strisce sia centrata al centro della maschera.
Fare un passo 10:
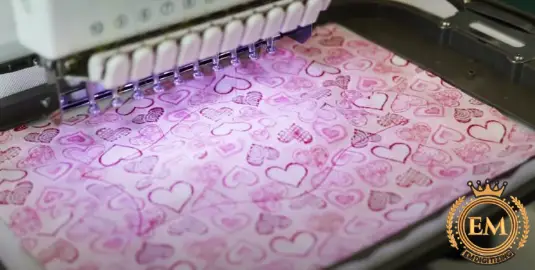
Ora sei pronto a mettere insieme l'intera maschera! Premere Avvia sulla macchina e la maschera verrà cucita insieme all'interno, Tassando le cinghie ordinatamente lontano dall'interno.
Fare un passo 11:
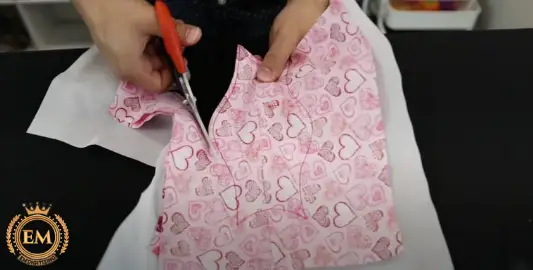
Aprive il prodotto finale e taglia attorno al bordo dei punti per tagliare la maschera.
Per la punta: Fai attenzione, non tagliare troppo ai punti. Farlo potrebbe fargli perdere.
Fare un passo 12:
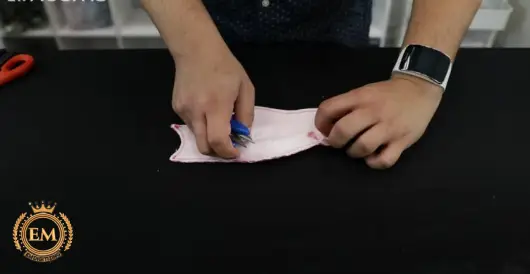
Usa le tue pinzette per pulire il thread in eccesso sul retro della maschera (il lato con lo stabilizzatore) e tagliare con cura il pezzo per fare il buco. Fai attenzione a non strappare il tessuto della maschera.
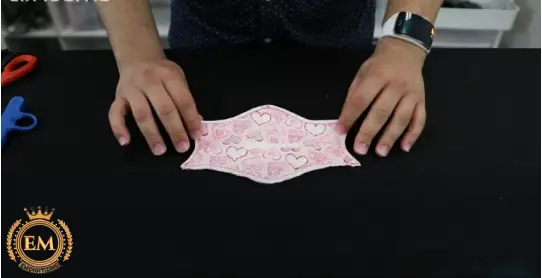
Infine, strappare il resto dello stabilizzatore.
Fare un passo 13:
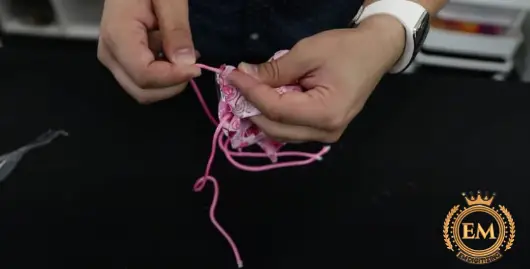
Capovolgi di nuovo la maschera e tira fuori la maschera usando la fessura del filtro che hai fatto con il tessuto secondario. Rimuovere qualsiasi nastro e lasciare le cinghie, Tirare i punti mentre vai per stringere completamente la maschera.
Fare un passo 14:
Ora che la tua maschera per il viso è completa, Ti consigliamo di prendere il tuo più leggero e bruciare le estremità delle cinghie per evitare qualsiasi futuro sfilacciato.
Conclusione
Sono sicuro che questo articolo ti aiuterà a capire come ricamare la tua maschera per il viso in modo semplice. Spero che questo vi aiuti ragazzi!
