If you’ve ever wanted to create elegant and sturdy bows, cutaway bow designs are the way to go. They’re simple to make and can add a unique charm to any embroidery project.
This guide will walk you through the entire process, step by step, in the easiest way possible. You’ll learn how to pick the right materials, set up your design, and add those finishing touches that make a big difference. Whether you’re decorating clothes, hair accessories, or gifts, these bows will take your embroidery skills to the next level.
How to Embroider Stunning Cutaway Bow Designs?
Understanding the Cutaway Bow Design
It is a modern and sophisticated design that stands out due to its wide, open structure. Unlike traditional bow styles, the cutaway design features edges or sections that appear “cut away,” giving it a sleek and contemporary look.
Often seen in formal wear, particularly on shirts with cutaway collars, this design creates a perfect frame for bold and larger tie knots like the Windsor. Its unique shape not only adds elegance but also brings a fresh and stylish twist to classic attire, making it a favorite for special occasions and modern fashion enthusiasts.
Popular Cutaway Bow Designs for Embroidery
They are a great way to add beauty and creativity to your embroidery projects. Here are some popular styles that can elevate any garment or accessory.
- Side Bow Appliqué
- Elegant Classic Bow
- Straight Tailed Classic Bow
- Cutaway Coquette Bow
- Bean Stitch Bow
1. Side Bow Applique
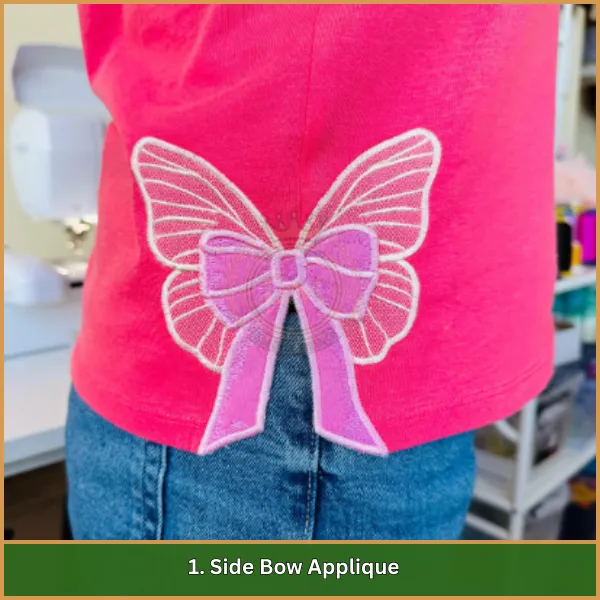
These applique designs style feature a large bow placed on the side of garments like t-shirts or sweatshirts, making it trendy and stylish. It can be created using satin or bean stitches, which add smooth or textured finishes. This design is great for giving casual outfits a unique, modern look.
2. Elegant Classic Bow
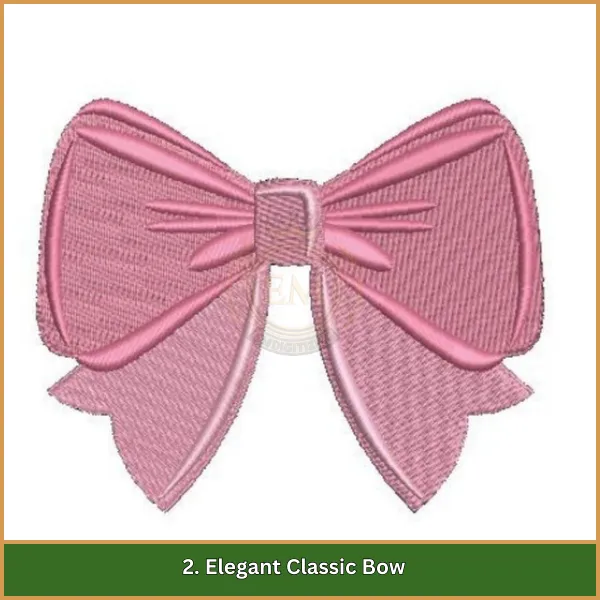
A timeless bow design with smooth satin stitching, giving it a clean and polished finish. It is ideal for formal outfits like blouses, dresses, or scarves and adds a classy touch to the fabric. This style works well for both everyday wear and special occasions.
3. Straight Tailed Classic Bow
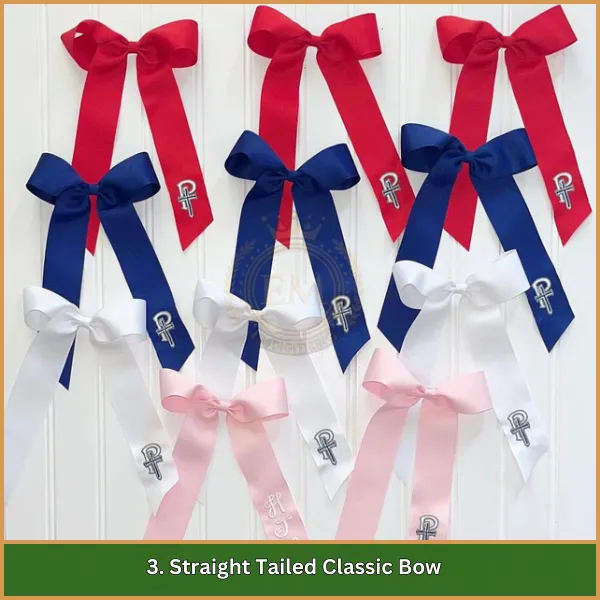
This design has straight tails that provide a neat and structured look. It is versatile and works perfectly on jackets, skirts, and bags, giving them a professional finish. The straight tails make this bow ideal for formal and decorative embroidery.
4. Cutaway Coquette Bow
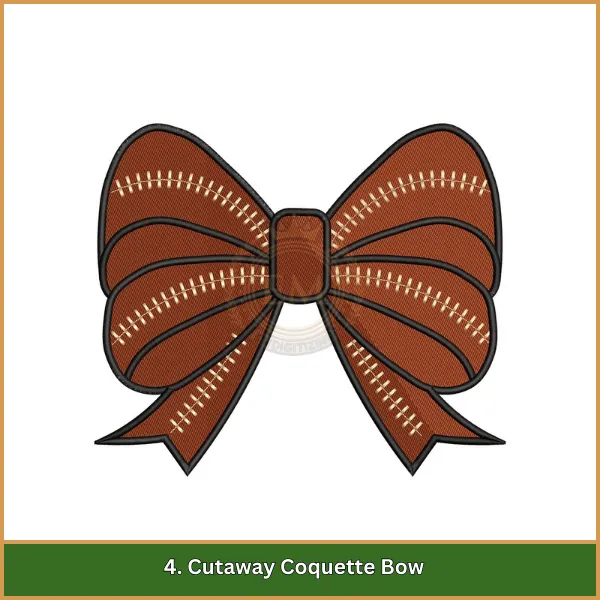
This playful bow features a flirty and fun shape with delicate, stylish details. It is perfect for children’s clothing, festive attire, or accessories like headbands. The design adds charm and a lighthearted feel to any project.
5. Bean Stitch Bow
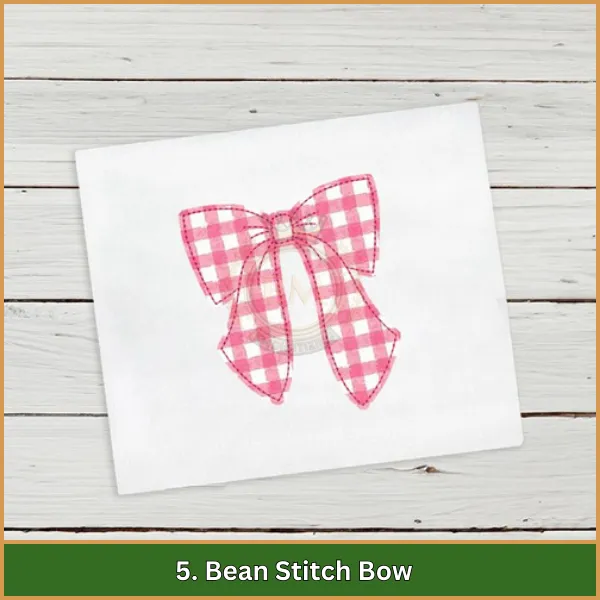
This bow uses bean stitching to create a raised and textured look, giving it a unique finish. It adds depth and detail to embroidery and works well on both simple and decorative garments. It’s ideal for those looking to create more artistic and detailed designs.
Materials Needed for Embroidering Cutaway Bow Designs
Here’s a list of essential materials for creating beautiful trendy bow designs, with a quick description of their use:
Satin or Cotton Fabric – Soft and smooth fabrics like satin or cotton are ideal for embroidery, providing a clean finish and elegant look.
Cut-Away Stabilizer – This stabilizer gives firm support to the fabric during embroidery, preventing stretching and ensuring a smooth design.
Heat N Bond Lite – A lightweight adhesive that helps secure fabric layers, making applique work cleaner and easier.
High-Quality Embroidery Threads (e.g., Isacord, Floriani) – Durable and vibrant threads add color and definition to the design, ensuring the bow looks professional and polished.
Rotary Cutter and Cutting Mat – These tools allow precise cutting of fabric and stabilizer, ensuring clean edges for the design.
Temporary Spray Adhesive – A helpful tool to keep fabric and stabilizer in place while setting up the embroidery process.
Applique Scissors – Specialized scissors perfect for trimming fabric close to the stitch lines without damaging the embroidery.
Embroidery Machine – A reliable embroidery machine is essential to stitch the bow designs accurately and efficiently.
Embroidery Hoop (e.g., 8×13 Mighty Hoop) – A suitable hoop keeps the fabric taut and stable during stitching, ensuring clean and even results.
Simple Steps to Embroider a Cutaway Bow Designs
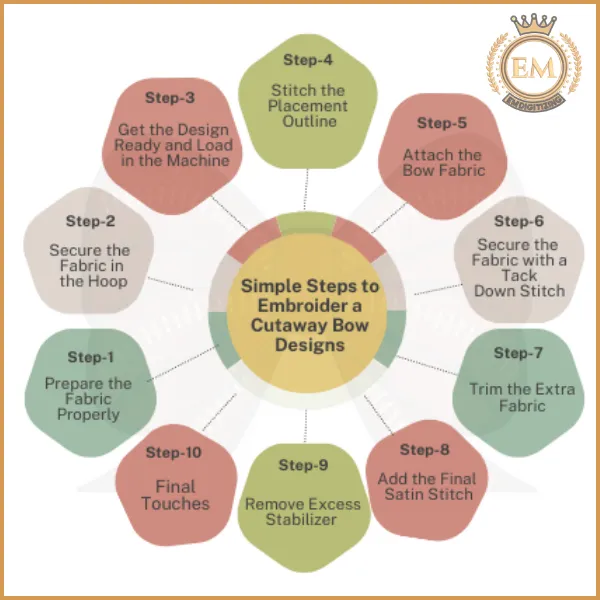
Creating a beautiful cutaway bow design is easy when you know how to embroider bows properly. Here’s a clear guide to help you get the perfect results every time!
Step 1: Prepare the Fabric Properly
Start with a good-quality fabric like satin or cotton. Make sure to iron the fabric to remove any wrinkles. This will give you a smooth surface to work on.
Step 2: Secure the Fabric in the Hoop
Place your fabric and cut-away stabilizer into the embroidery hoop. Make sure the fabric is firm and tight but not stretched too much, as that can cause puckering.
Step 3: Get the Design Ready and Load in the Machine
If you don’t have a digitized bow design, let EMdigitizing help you! We offer top-quality digitizing services at a low cost with a super-fast turnaround time. A perfectly digitized file ensures smooth stitching and beautiful results. Place your order today and let us handle it for you!
Once you have the digitized file, load it into your embroidery machine and align it properly on the fabric.
Step 4: Stitch the Placement Outline
Run your embroidery machine to stitch a placement outline on the fabric. This will show where the bow fabric needs to be placed.
Step 5: Attach the Bow Fabric
Carefully place your bow fabric on the outline. Use a little temporary spray adhesive or pins to hold the fabric in place so it doesn’t move while stitching.
Step 6: Secure the Fabric with a Tack Down Stitch
Start the machine again to stitch a tack down line. This line secures the bow fabric to the base fabric, holding everything in place.
Step 7: Trim the Extra Fabric
Take the hoop off the machine and trim away the excess bow fabric around the edges. Use appliqué scissors for clean and precise trimming without damaging the stitches.
Step 8: Add the Final Satin Stitch
Put the hoop back on the machine and run the final satin stitch. This will neatly seal the edges of the bow fabric, giving it a smooth and polished finish.
Step 9: Remove Excess Stabilizer
Once the stitching is complete, carefully trim or tear away the extra cut-away stabilizer from the back of the fabric.
Step 10: Final Touches
Lightly press the finished design to smooth out any wrinkles and trim any loose threads. Your beautiful cutaway bow design is now ready!
Creative Ideas for Using Cutaway Bow Designs
They are perfect for DIY bow embroidery projects, adding a unique and creative touch to accessories, decor, and gifts. Here are some inspiring ideas:
- Gift Wrapping Bows: Personalize your presents by attaching embroidered bows for a handmade, elegant look.
- Hair Accessories: Create beautiful embroidered hair bows to enhance hairstyles for kids and adults.
- Clothing Embellishments: Add embroidered bows to dresses, shirts, or jackets for a stylish and unique touch.
- Home Decor: Use cutaway bow designs to decorate pillow covers, curtains, or tablecloths.
- Holiday Ornaments: Embroider festive bows for Christmas trees, wreaths, and seasonal decorations.
- Custom Party Decorations: Design bows for birthday banners, gift bags, or centerpieces.
Conclusion
Creating cutaway bow designs can be easy and fun, giving your projects a professional and stylish look. With the right method, you can make bows that are perfect for any occasion.
Want to save time and get flawless results for bow desigs? EMDigitizing is here to help! We offer high-quality digitizing services at the best prices, and we deliver your designs super quickly. Plus, we guarantee excellent quality every time, and you can even preview your design before it’s finalized.
If this is your first order, you’ll also get an amazing 50% discount! Don’t miss this chance – let EMDigitizing turn your ideas into reality. Place your order today and see the difference for yourself!
FAQs
The best materials include sturdy fabrics like cotton or canvas that won’t stretch or tear easily. Pair them with high-quality embroidery thread and a sharp needle to get a clean and polished finish.
You should always use a cutaway stabilizer. It gives strong support to your design while stitching and stays in place after cutting, keeping the bow’s shape perfect and stable.
Absolutely! Beginners can start with simple bow patterns and follow step-by-step guides. With a little patience and the right tools, creating beautiful cutaway bows is easier than it looks.
