Want to learn how to embroider a polo shirt and make it look amazing? With the right tools and simple steps, you can turn an ordinary polo shirt into something unique and stylish.

This guide will walk you through everything, from picking the best materials to creating a design that stands out. Let’s start by bringing your polo shirt to life with embroidery!
How to Embroider a Polo Shirt | Step-by-Step Guide
Materials You’ll Need to Embroider a Polo Shirt
Before starting your stitching polo shirts, gather these essential materials to ensure a smooth and professional outcome:
Polo shirt: Opt for a polo shirt with at least 50% cotton. The cotton content provides a stable surface for embroidery and enhances the thread’s hold on the fabric.
Medium-weight cutaway stabilizer: This is a must-have for keeping the fabric steady during embroidery, helping to prevent puckering and distortion.
Temporary spray adhesive: Use this adhesive to hold the stabilizer and fabric together securely, ensuring everything stays in place while you work.
No-show mesh stabilizer: Ideal for a seamless finish, this lightweight stabilizer supports delicate fabrics without adding bulk or showing through.
Embroidery needle (size 75/11 or ballpoint needle): A 75/11 needle handles most fabrics, but a ballpoint needle is the better choice for knits, ensuring smooth, snag-free stitching.
Embroidery thread (40 weight and 60 weight): Standard 40-weight thread works well for most embroidery design for polos, while 60-weight thread is perfect for detailed, fine embroidery work.
Air erase pen: A temporary marking tool to help you position your design accurately on the shirt. The marks vanish with time or a bit of water.
These materials form the foundation of any successful machine embroidery on polo shirts project. Next, we’ll dive deeper into each item to help you choose the best types for your specific needs.
How to Embroider a Polo Shirt?
Personalizing a polo shirt with embroidery for polos can add a unique and professional touch. Follow this step-by-step guide to achieve outstanding results.
1. Get Your Polo Shirt Ready

The first step in custom polo shirt embroidery is preparing the shirt to ensure it’s clean and smooth for stitching.
Begin by washing the polo shirt to remove any chemicals or residues from manufacturing.
This prevents shrinkage and ensures the fabric won’t distort after embroidery.
Once it’s dry, use an iron to remove wrinkles and create a flat surface, which is critical for accurate stitching.
Take time to inspect the shirt for defects such as loose threads, holes, or uneven seams.
Identifying and addressing these issues now will save you from complications later in the process.
2. Choose and Prepare Your Design
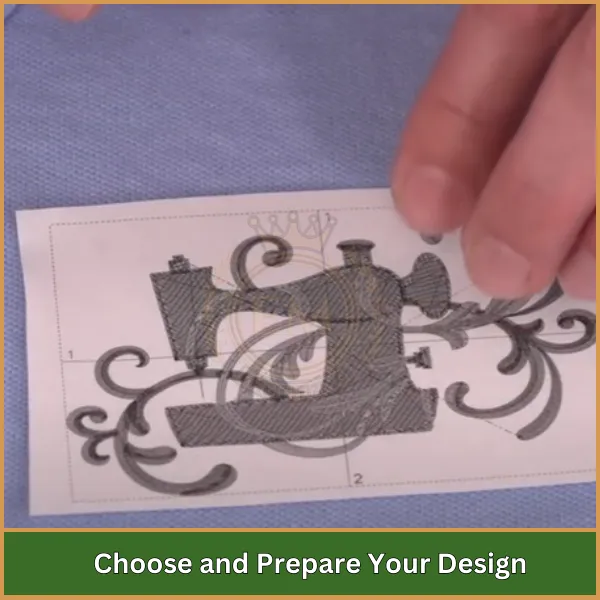
Selecting the right design is essential for a polished look. Choose a design that complements the polo shirt’s fabric, color, and intended purpose.
Popular placements for embroidery include the left chest, back, or sleeve. Ensure the design size is appropriate for the chosen area.
If the design isn’t in the correct format for your embroidery machine, use software to digitize it. This step translates your design into stitch instructions that the machine can follow.
Before committing to the shirt, test the design on scrap fabric and apply these polo shirt embroidery tips to confirm its size, stitch quality, and thread colors. Testing prevents costly mistakes and allows you to fine-tune the design.
3. Find the Right Spot for Embroidery
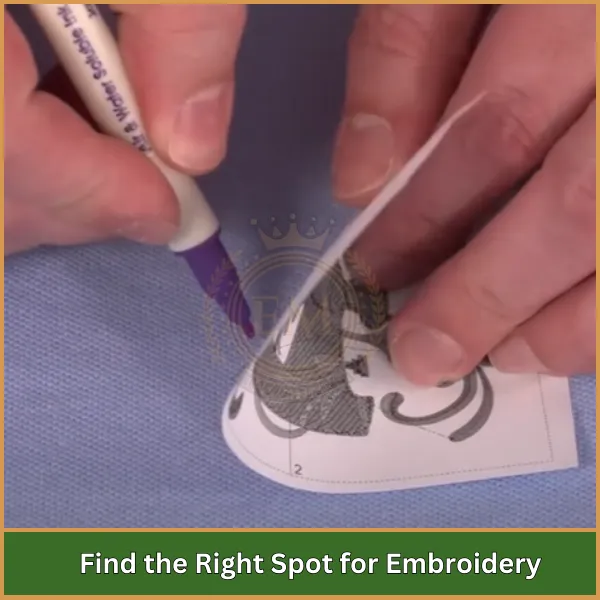
Accurate placement is key to a professional finish.
Fold the polo shirt vertically to find its center and lightly press it to create a guide crease.
For most designs, the left chest is a preferred location, typically about 7-9 inches below the shoulder seam and centered between the placket and side seam.
Use an air-erase pen to mark the design’s center point.
This mark will guide your hooping and stitching process, ensuring your design is perfectly aligned.
4. Set Up the Stabilizer
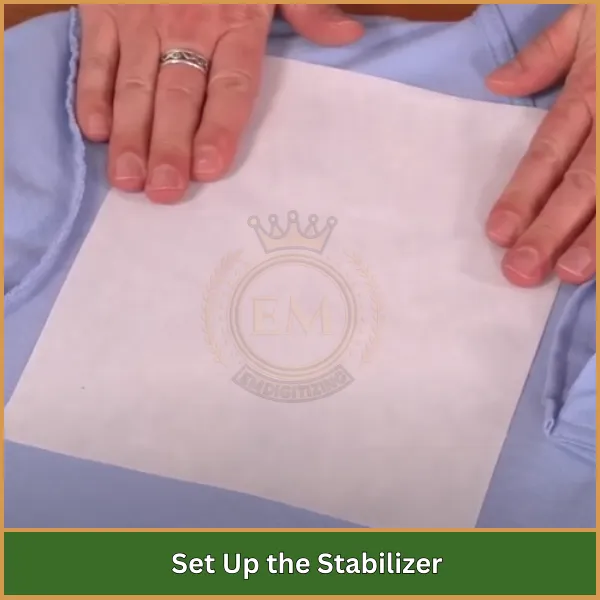
The stabilizer is critical for keeping the fabric steady during embroidery.
Depending on your fabric type, choose either a medium-weight cutaway stabilizer for maximum support or a no-show mesh stabilizer for a less bulky finish.
Cut the stabilizer at least 1-2 inches larger than your hoop size to provide sufficient support around the design.
Place the stabilizer under the polo shirt, aligning it with the marked center point.
To prevent shifting, lightly spray the stabilizer with a fabric-safe temporary adhesive and press the fabric onto it.
This ensures the fabric stays secure during stitching.
5. Hoop the Shirt Properly
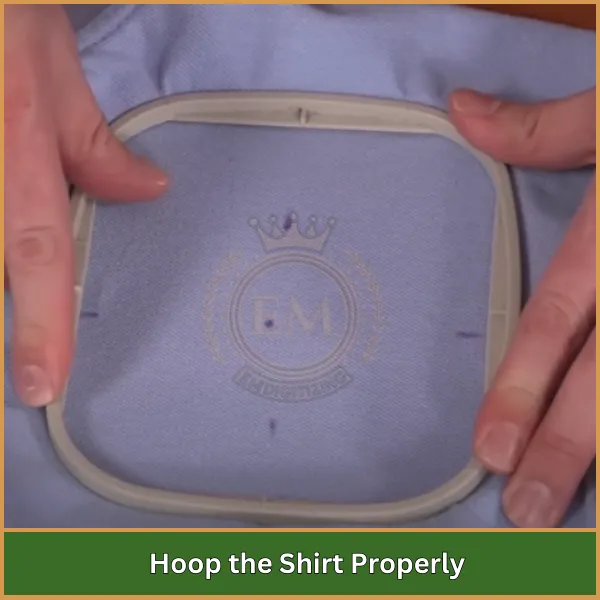
Hooping ensures the fabric remains stable throughout the embroidery process.
Lay the shirt flat over the stabilizer, ensuring the marked center aligns with the hoop’s center point.
Insert both the shirt and stabilizer into the hoop, adjusting the tension to keep the fabric taut but not stretched.
Avoid overstretching the fabric, as it can cause distortion during stitching.
Double-check that the design area is smooth and wrinkle-free before proceeding.
Proper hooping is crucial for clean and even stitching.
6. Prepare the Machine for Stitching
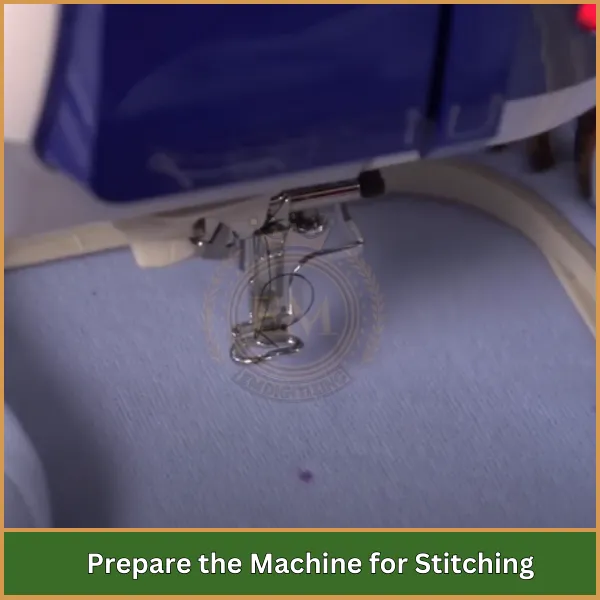
Before starting, set up your embroidery machine to ensure optimal performance.
Load your digitized design into the machine using a USB drive or its memory.
Use the machine’s alignment tools to position the needle directly over the center mark on the shirt.
Many modern machines have a preview feature that lets you visualize the design placement on the fabric—use this to confirm accuracy.
Double-check your thread and needle settings, ensuring the tension is appropriate for both the fabric and the thread type.
7. Start Embroidering the Design
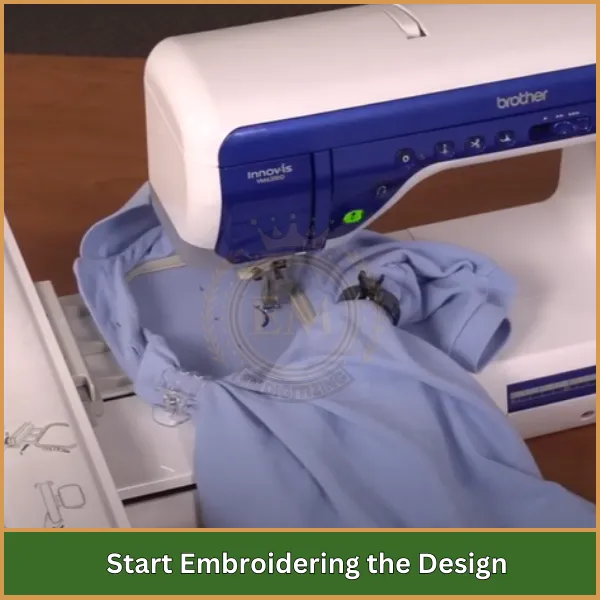
Now it’s time to stitch your design. Begin the embroidery process by starting the machine and monitoring it closely as it stitches.
Keep an eye out for potential issues like thread breaks, uneven stitching, or misalignment.
If something goes wrong, pause the machine immediately and address the problem before continuing.
Regular monitoring ensures the final design is neat and professional.
Be patient and avoid rushing this step to achieve the best results.
8. Finish the Design Neatly
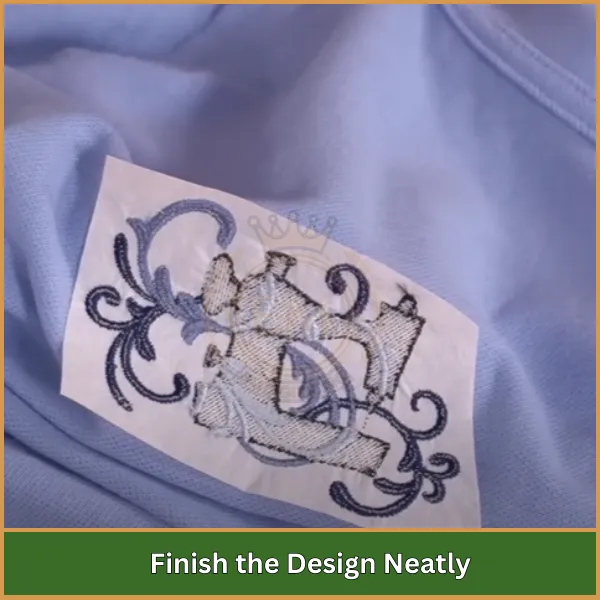
Once the embroidery is complete, carefully remove the shirt from the hoop to avoid stretching or damaging the fabric.
Trim any excess stabilizer from the back of the design, being cautious not to cut into the stitches.
If there are jump stitches—threads connecting different parts of the design—use small embroidery scissors to trim them neatly.
Cleaning up the design ensures a polished and professional appearance.
9. Give It a Final Check
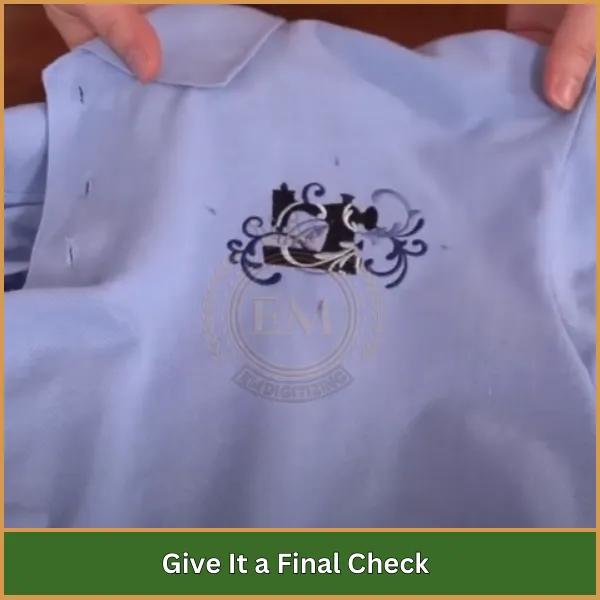
Inspect the embroidery for quality and touch up any areas that need improvement.
Look for loose threads, missed stitches, or uneven areas. If necessary, re-thread any problem spots to ensure a perfect finish.
To smooth the fabric, gently iron around the embroidered area using a pressing cloth to protect the stitches from direct heat.
This final step enhances the overall presentation of the shirt.
Tips to Embroider a Polo Shirt
Creating professional designs on a polo shirt requires a few extra tricks to ensure the best results. Here are some fresh embroidery tips for polo shirt projects:
- Hoop carefully: Avoid overstretching the fabric while hooping to prevent distortion during stitching.
- Choose the right design size: Keep the design proportional to the shirt area, especially on smaller sizes.
- Use water-soluble topping: This helps stitches sit cleanly on textured or uneven fabrics like pique polos.
- Secure seams with tape: Use low-tack tape to hold shirt seams away from the stitching area.
- Check needle sharpness: A dull needle can snag or damage the fabric, so replace it regularly.
- Position designs thoughtfully: For left chest embroidery, measure accurately for a balanced look.
- Clean the machine regularly: Dust and lint can affect stitch quality, so keep your machine in top condition.
Slow down the machine speed: Lower speeds can help improve precision, especially for detailed designs.
Final Thought
If you want to embroider a polo shirt and make it look flawless, following the right steps and using quality designs is key. With a little effort, you can create unique and professional designs that truly stand out.
To make the process even easier, trust EMDigitizing for all your digitizing needs. We offer high-quality digitizing services at the most affordable prices, with a super-fast turnaround time and a guarantee of excellent results.
If you’re a first-time customer, enjoy an exclusive 50% discount on your first order! Don’t wait—this is the perfect time to elevate your embroidery projects.
Click here to order now from EMDigitizing!
FAQs
Absolutely! Polo shirts are great for embroidery. With proper stabilizers and the right technique, you can add logos, designs, or monograms that look both stylish and professional.
Styling a polo shirt is easy! Add a custom embroidery design to make it unique. Pair it with casual jeans for everyday wear or dress it up with slacks for a smart-casual vibe.
The ideal stabilizer depends on the fabric. A medium-weight cutaway stabilizer is perfect for most polos, while a no-show mesh stabilizer works best for lightweight or stretchy materials.
Polo shirts are usually made from cotton pique or a cotton-poly blend. These breathable, slightly textured fabrics are soft and stretchable, making them perfect for embroidery projects.
