The world of screen printing relies on a seemingly simple yet crucial element: mesh. This fine fabric stretched taut over a frame, acts as the stencil that transfers your design onto a substrate.
But beneath its surface lies a world of technical details that can significantly impact your print quality.
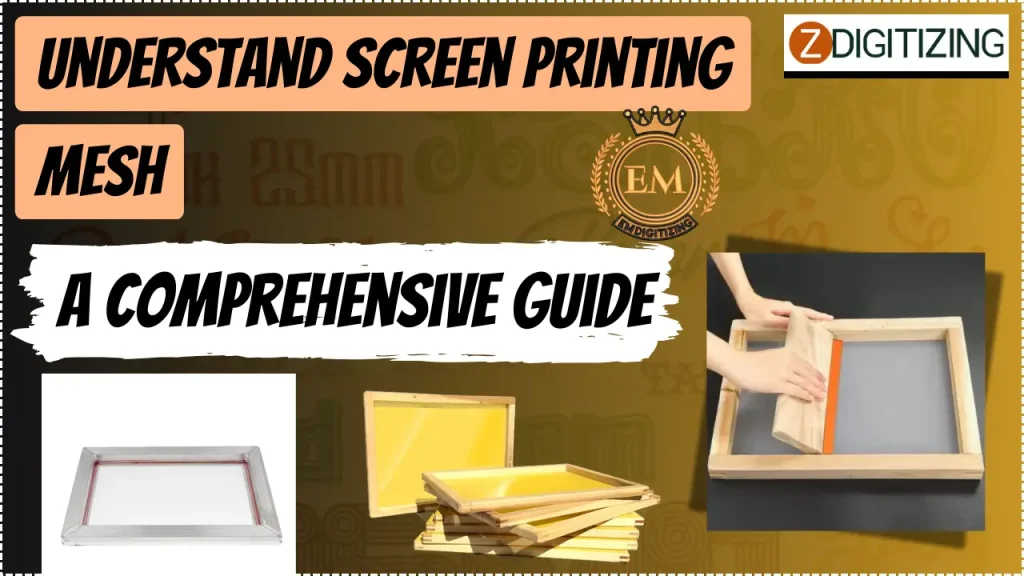
This comprehensive guide dives deep into understanding screen printing mesh, exploring mesh count, its influence on your project, and the factors to consider when choosing the perfect mesh for your screen printing needs.
From achieving intricate details to ensuring optimal ink flow, understanding mesh is the key to unlocking the full potential of your screen printing endeavors.
Understanding Screen Printing Mesh: A Comprehensive Guide
What is Screen Printing Mesh?
In mesh screen print, the mesh acts as a stencil that allows ink to pass through designated areas to create an image on a substrate (the material being printed on).
It’s essentially a tightly woven fabric stretched over a sturdy frame.
Why Mesh Count is Important in Screen Printing?
Screen Printing Mesh count is important in screen printing because it directly affects two key factors of your final product:
Ink Deposit
The mesh acts as a stencil, controlling how much ink gets pushed through onto the substrate (material being printed on). Mesh count determines the size of the openings between threads. Here’s the relationship of print screen mesh:
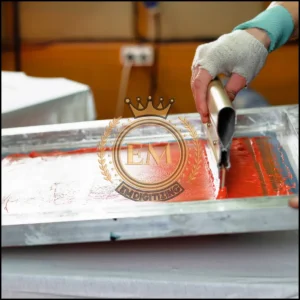
- Higher Mesh Count: Smaller openings, allowing less ink to pass through. This results in a thinner ink deposit, ideal for finer details and smoother prints.
- Lower Mesh Count: Larger openings, allowing more ink to flow through. This creates a thicker ink deposit, better for applications requiring good coverage or thicker inks.
Print Detail
Mesh count also influences the level of detail achievable in your design. A higher mesh count allows for sharper reproduction of fine lines and halftone dots.
Conversely, a lower mesh count might struggle with intricate details, resulting in a slightly blurred or blocky appearance.
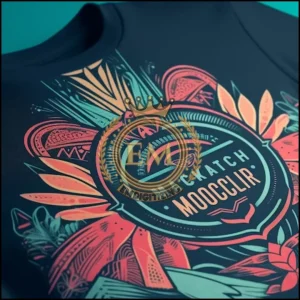
By choosing the right mesh count, you can achieve the desired balance between ink deposit thickness and detail reproduction for your specific project.
Understanding Mesh Count
Mesh count is a fundamental concept in screen printing. It refers to the density of threads in a screen printing mesh, and directly impacts the level of detail achievable in your print.
Let’s delve deeper into how mesh count is measured, its relation to thread thickness, and how it affects your prints.
How Mesh Count is Measured?
Mesh count is indicated by a number followed by the letter “T” (threads per inch). For example, a 110T mesh has 110 threads crossing each other per square inch of the screen.
Higher mesh counts signify finer mesh, with smaller holes that allow less ink to pass through.
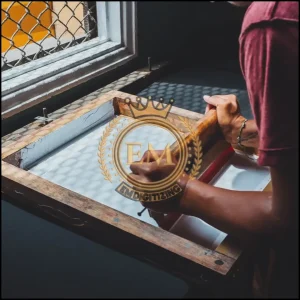
Conversely, lower mesh counts indicate coarser mesh with larger holes enabling a higher ink deposit.
Thread Thickness and Mesh Count
While screen printing mesh count is a crucial factor, thread thickness also plays a role. Thinner threads allow for higher mesh counts while maintaining good ink control.
Thicker threads, on the other hand, result in lower mesh counts.
Relationship Between Mesh Count and Print Detail
Screen mesh for printing significantly affects the detail captured in a screen print. Here’s a general guideline:
- Higher Mesh Count (Finer Mesh): Ideal for intricate details and smooth prints. These screens allow less ink to pass through, resulting in a lighter print deposit but with sharper details. They work well with thinner inks and smoother printing surfaces.
- Lower Mesh Count (Coarser Mesh): Better suited for bold designs and applications requiring a higher ink deposit. The larger holes allow more ink to flow through, creating a thicker and more opaque print. Coarser mesh is often used for printing on rougher surfaces like textiles.
Choosing the Right Screen Printing Mesh Count for Your Project
Selecting the right screen printing mesh count is crucial for achieving high-quality prints in screen printing. Mesh count refers to the number of threads per square inch in the screen.
Lower mesh counts have larger openings, allowing for thicker ink deposits, while higher mesh counts have finer openings for better detail and a softer print feel.
Here are the key factors to consider when choosing a mesh count for your project:
Ink Type
Water-based inks: Generally require higher mesh counts (110 threads per inch or higher) for optimal detail and a smooth print.
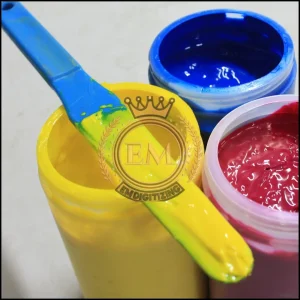
Plastisol inks: Work with a wider range of mesh counts (80T-120T+) due to their thicker consistency.
Substrate (Material Being Printed On)
- Fabrics: Consider the thread thickness and weave of the fabric. Lower mesh counts (around 60T) are suitable for thicker fabrics to allow for better ink penetration. Conversely, finer fabrics benefit from higher mesh counts (110T+) for better ink adhesion.
- Non-porous materials: May require higher mesh counts (120T+) to ensure proper ink deposit and adhesion.
Design Complexity
- Simple designs: Lower mesh counts (around 80T) can be sufficient for bold designs with minimal detail.
- Detailed designs: Higher mesh counts (110T+) are necessary to capture fine lines and intricate elements.
Desired Print Effect
- High opacity: Lower mesh counts allow for a higher ink deposit, resulting in a more solid and opaque print.
- Soft hand: Higher mesh counts create thinner ink deposits, making the print feel softer and more breathable on fabric.
Mesh Tension
The tightness of the screen printing mesh plays a crucial role in print quality and ink transfer. Higher tension creates a sharper print with better detail but requires more pressure to push ink through.
Conversely, lower tension allows for easier printing but may result in ink bleed and blurry details.
Thread Material
Most common mesh is made of polyester, but nylon and stainless steel are also available. Polyester offers a good balance of affordability and durability.
Nylon provides improved stretch and is often used for high-detail applications. Stainless steel is the most durable option and resists corrosion, but is also the most expensive.
Mesh Durability
Mesh printing screen lifespan depends on usage, thread material, and cleaning practices. Higher thread counts and delicate designs will wear out mesh faster.
Coarser meshes and proper cleaning techniques will extend mesh life.
Common Screen Printing Mesh Count Applications
Here’s a general guideline to get you started:
- Low Mesh Count (16T-64T): Ideal for thick inks like glitter or puff inks, printing on rough surfaces, and achieving high ink deposits.
- Mid Mesh Count (80T-110T): The most versatile range, suitable for plastisol inks, basic designs on fabrics, and achieving a good balance between ink deposit and detail.
- High Mesh Count (120T+): Perfect for water-based inks, detailed designs, printing on non-porous materials, and achieving a soft print feel.
Important Note: Remember, these are just guidelines. The best mesh count for your project will depend on the specific factors mentioned above. It’s always recommended to experiment with different mesh counts on test prints to achieve the desired outcome.
Conclusion: Tips for Selecting the Perfect Mesh
In conclusion, selecting the right screen printing mesh is crucial for achieving high-quality prints.
By understanding mesh count, its impact on ink deposit and detail, and how it interacts with other printing factors, you can make informed decisions.
Here are some key takeaways to remember:
- Match mesh count to your project needs: Consider ink type, substrate, design complexity, and desired print effect.
- Higher mesh count = finer detail, lower ink deposit.
- Lower mesh count = thicker ink deposit, suitable for bolder designs and thicker materials.
- Mesh tension and thread material also play a role in print quality and durability.
EMdigitizing: Vector Art Expert At Your Service
If you are interested in any kind of printing project, then EMdigitizing is the best option for you. We offer embroidery digitizing and vector art services with a fast turnaround time. You can also visit and check our website as well as our best services.
We also offer a great 50% discount on all our services for our respected first-time clients. We also offer free quotes generated in just 5 minutes.
You should grab this limited-time offer and take your embroidery project to the next level with EMdigitizing.
If you’ve any queries regarding this topic, you can ask them. Thank you for taking the time to read this article.
Frequently Asked Questions:
Yes, you can screen print on mesh shorts; it requires using a suitable mesh count and screen printing ink to ensure good adhesion and visibility.
To choose the mesh count for screen printing, consider the detail of your design and the viscosity of your ink; finer details and thinner inks typically require a higher mesh count.
To clean screen print mesh, gently wash it with a soft brush and a specialized screen printing mesh cleaner, then rinse thoroughly with water to remove all ink and cleaner residues.
To expose screen printing mesh, evenly coat it with a photosensitive emulsion, then expose it to UV light with your design on a transparency placed on top, and finally wash out the unexposed areas with water.
