If you’;Te preguntas cómo instalar InkStitch en tu computadora, esta guía está aquí para ayudar! InkStitch es una herramienta fantástica para cualquier persona interesada en crear diseños de bordado., pero el proceso de configuración puede resultar un poco complicado, especialmente para principiantes. Este artículo le guiará paso a paso en la instalación tanto en Windows como en Mac., para que InkStitch funcione sin problemas dentro de Inkscape.
Whether you’;Estás en una PC con Windows o una Mac., aprenderás dónde descargar InkStitch, cómo colocarlo correctamente en la carpeta de extensiones de Inkscape, y como verificar que todo esta funcionando como debe. Al final, estarás listo para diseñar y editar archivos de bordado con facilidad. Empecemos!
Cómo instalar InkStitch en Windows y Mac?
¿Qué es InkStitch??
Es una extensión de código abierto para Inkscape., un software de gráficos vectoriales ampliamente utilizado, creado específicamente para apoyar la creación de diseños de bordado. Esta herramienta permite a los usuarios crear, editar, y visualizar archivos de bordado directamente dentro del entorno Inkscape, convirtiéndolo en una solución versátil para aquellos que buscan digitalizar diseños para máquinas de bordar.
InkStitch permite a los usuarios simular patrones de puntadas, ajustar varios tipos de puntadas, y exportar diseños a formatos legibles por máquina, proporcionando una opción económica y accesible tanto para los entusiastas del bordado como para los profesionales que buscan dar vida a sus creaciones digitales en el bordado..
¿Por qué necesitas Inkscape para InkStitch??
InkStitch funciona como una extensión dentro de Inkscape, permitiendo a los usuarios convertir sus diseños vectoriales en bordado-archivos listos. Usando Inkscape con InkStitch, puede:
- Diseñar y editar: Inkscape’;Las herramientas de dibujo le permiten crear y refinar su diseño de bordado..
- Aplicar herramientas específicas de bordado: InkStitch añade funciones relacionadas con el bordado, como selección del tipo de puntada, dirección de puntada, y ajuste de ruta.
- Exportación para máquinas de bordar: Inkscape con InkStitch le permite guardar sus diseños en formatos legibles por máquina, listo para bordar.
En breve, Inkscape sirve como software fundamental que impulsa las capacidades de bordado de InkStitch., lo que lo hace esencial para cualquiera que busque crear diseños de bordado digitalmente..
Requisitos del sistema para instalar InkStitch
Antes de comenzar con los pasos de configuración de InkStitch, asegúrese de que su computadora cumpla con los requisitos esenciales para ejecutarla de manera eficiente. Las especificaciones adecuadas del sistema son cruciales para una instalación y un rendimiento sin problemas tanto en Windows como en Mac. Esto es lo que necesitas:
Requisitos mínimos para Windows
- Sistema operativo: ventanas 7, 8, 10, o más tarde
- RAM: Al menos 2GB (4GB o más recomendados)
- Procesador: Intel Core i3 o equivalente
- Espacio en disco: 500MB gratis para Inkscape e InkStitch
- Software adicional: La última versión de Inkscape.
Requisitos mínimos para Mac
- Sistema operativo: macos 10.11 o más tarde
- RAM: Mínimo de 2GB (4GB+ recomendado)
- Procesador: Chip Intel Core i3 o Apple M1
- Espacio en disco: 500MB gratis para instalación
- Software adicional: Versión actualizada de Inkscape
Cumplir estos requisitos ayudará a garantizar que InkStitch se ejecute eficazmente como un conversor de archivos de bordado InkStitch dentro de Inkscape., permitiéndole crear y editar diseños de bordado sin problemas.
Cómo instalar InkStitch en Windows: Proceso paso a paso
Para ayudarle a empezar con InkStitch, aquí hay un sencillo tutorial de InkStitch para principiantes. Siga estos pasos para garantizar una instalación exitosa en su sistema Windows.
Paso 1: Descargar Inkscape y InkStitch
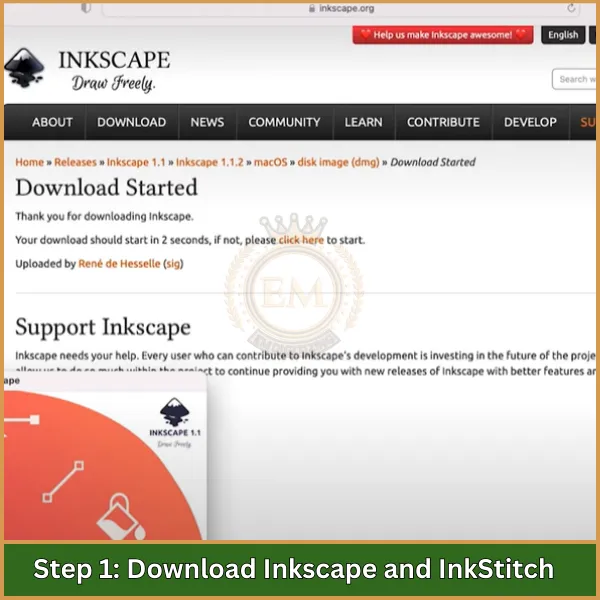
para empezar, necesitarás descargar Inkscape y la extensión InkStitch. Estas herramientas funcionan juntas para crear y editar diseños de bordado..
- Descargar Inkscape: Visita el sitio web oficial de Inkscape y descarga la última versión compatible con tu sistema Windows. Instale Inkscape antes de continuar con InkStitch, ya que es necesario ejecutar InkStitch.
- Descargar la extensión InkStitch: Dirígete a la página InkStitch GitHub y descarga los archivos InkStitch. Busque la última versión, generalmente disponible como un archivo ZIP.
Paso 2: Extraer e instalar archivos InkStitch
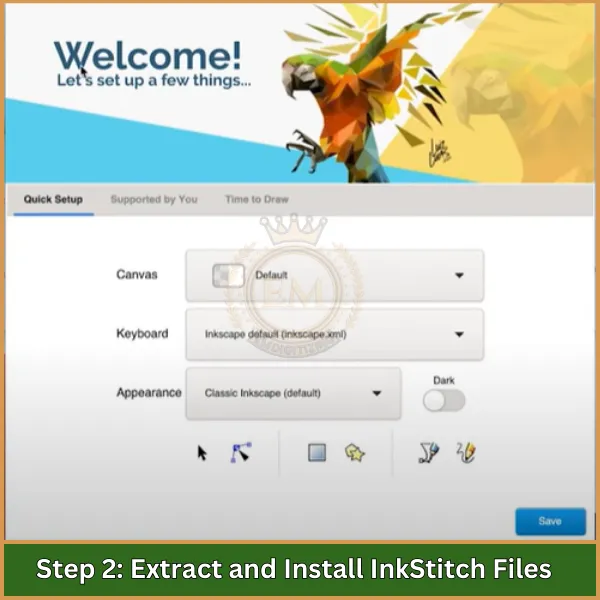
Una vez que haya descargado los archivos necesarios, es hora de instalar InkStitch colocando sus archivos en la carpeta correcta dentro del directorio de Inkscape.
- Extraiga el archivo ZIP: Ubique el archivo ZIP InkStitch descargado en la carpeta Descargas de su computadora. Haga clic derecho en el archivo y seleccione "Extraer todo" para descomprimir el contenido..
- Copiar archivos a la carpeta de extensiones de Inkscape: Abra la carpeta InkStitch extraída, y copie todos los archivos dentro. Navegue hasta el directorio de instalación de Inkscape (generalmente do:\Archivos de programaInkscapeshareextensions). Pegue los archivos de InkStitch en la carpeta "extensiones".
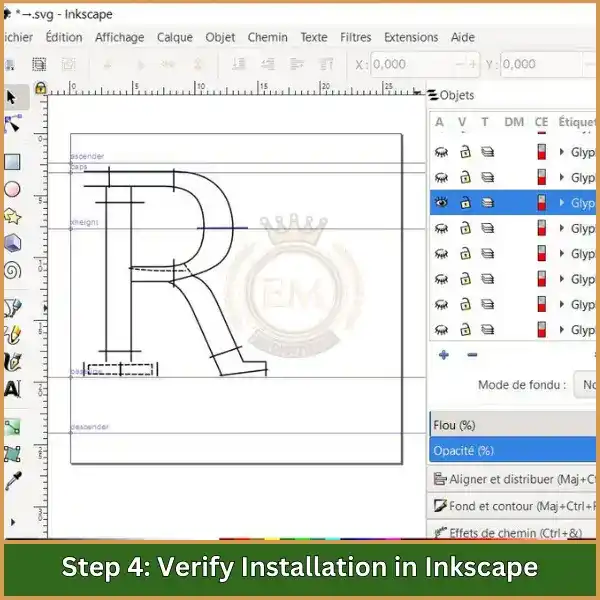
Paso 3: Verificar la instalación en Inkscape
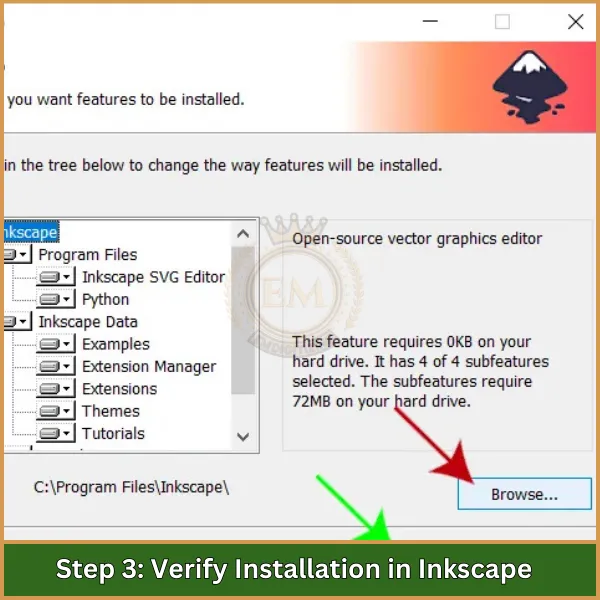
Ahora que los archivos están en su lugar, Deberá verificar si InkStitch está instalado correctamente en Inkscape..
- Iniciar Inkscape: Abra Inkscape para comprobar si InkStitch está instalado correctamente. Vaya al menú "Extensiones" en la parte superior de la pantalla.
- Busque InkStitch: En el menú Extensiones, Deberías ver una opción para "Tinta/Costura". si aparece, la instalación fue exitosa.
Paso 4: Pruebe la funcionalidad InkStitch
El último paso es probar InkStitch aplicándolo a un nuevo proyecto en Inkscape para garantizar que esté completamente operativo..
- Abrir un nuevo proyecto: Inicie un nuevo proyecto en Inkscape para asegurarse de que InkStitch esté funcionando. Crea una forma o texto simple.
- Aplicar comandos InkStitch: Selecciona tu forma, then go to Extensions >; Ink/Stitch >; Parámetros para obtener una vista previa y ajustar la configuración de bordado.
Seguir estos pasos asegurará que InkStitch esté listo para usar en su sistema Windows, permitiéndole crear y modificar diseños de bordado sin problemas.
Cómo instalar InkStitch en Mac: Proceso paso a paso
Esta guía ofrece una instalación de InkStitch paso a paso diseñada específicamente para usuarios de Mac.. Siga estas instrucciones para asegurarse de que InkStitch esté instalado correctamente en su macOS.
Paso 1: Descargar Inkscape y InkStitch
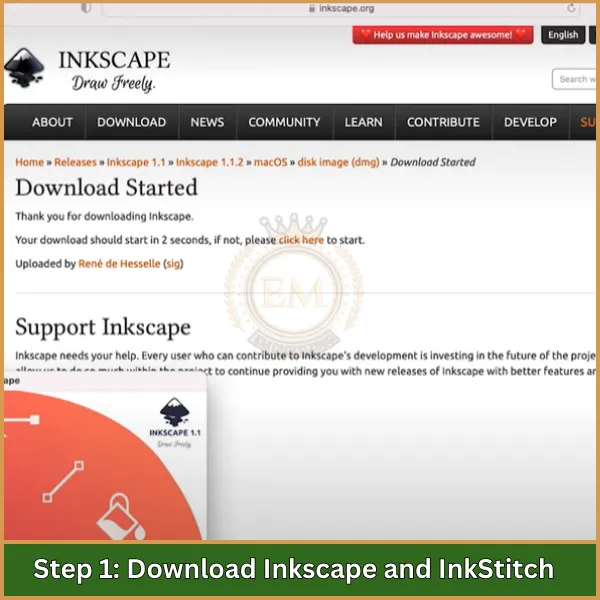
Para comenzar, descargue Inkscape y la extensión InkStitch, ya que son esenciales para crear diseños de bordado.
- Descargar Inkscape: Vaya al sitio web oficial de Inkscape y descargue la versión compatible con macOS. Instale Inkscape primero, ya que InkStitch funciona como una extensión dentro de Inkscape.
- Descargar la extensión InkStitch: Visite la página InkStitch GitHub y descargue la última versión de InkStitch, normalmente un archivo ZIP.
Paso 2: Abra la carpeta Terminal y Extensiones de acceso
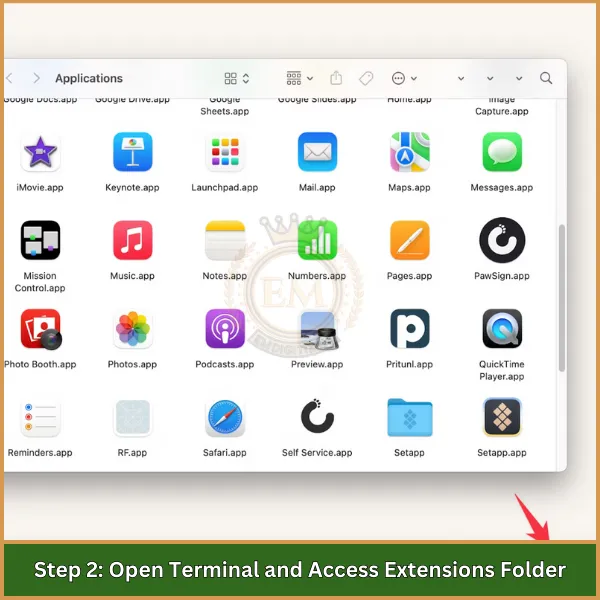
A diferencia de Windows, Mac requiere uso Terminal para acceder y mover archivos dentro del directorio de Inkscape para la instalación de la extensión.
- Terminal abierta: Go to “Applications” >; “Utilidades” y abierto Terminal.
- Vaya a la carpeta Extensiones: Utilice Terminal para acceder a la carpeta de extensiones de Inkscape. Escribe este comando: /Aplicaciones/Inkscape.app/Contents/Resources/share/inkscape/extensions
Paso 3: Extraer y mover archivos InkStitch
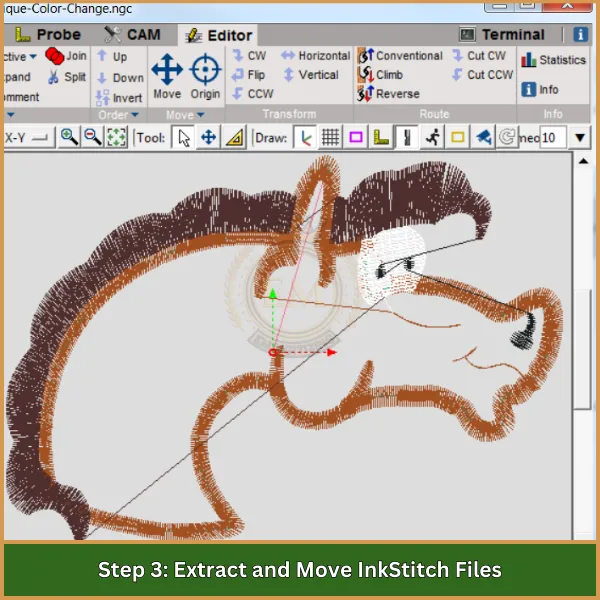
Ahora que ha accedido a la carpeta de extensiones, puedes transferir los archivos InkStitch necesarios.
- Extraiga el archivo ZIP: Localice el archivo ZIP InkStitch en su carpeta de Descargas. Haz doble clic para descomprimirlo..
Copiar archivos usando la terminal: En terminal, use el siguiente comando para copiar los archivos de InkStitch en la carpeta de extensiones de Inkscape (reemplace "YourDownloadPath" con la ruta a su carpeta InkStitch descomprimida):
Usar comando: cp -R /Surutadedescarga/inkstitch-master/*
Paso 4: Verificar la instalación en Inkscape
Después de copiar los archivos, compruebe si InkStitch está instalado correctamente en Inkscape.
- Iniciar Inkscape: Abra Inkscape para confirmar la instalación.. Vaya al menú "Extensiones" en la parte superior.
- Comprobar InkStitch: En el menú Extensiones, busque "Tinta/Puntada". si aparece, la instalación fue exitosa.
Paso 5: Pruebe la funcionalidad InkStitch
Para completar la configuración, Pruebe InkStitch usándolo en un proyecto simple en Inkscape..
- Crear un nuevo proyecto: Abra un nuevo proyecto en Inkscape y cree una forma o elemento de texto.
- Aplicar puntada de tinta: Selecciona tu diseño, then go to Extensions >; Ink/Stitch >; Parámetros para obtener una vista previa y personalizar la configuración de bordado.
Conclusión
Siguiendo esta guía sobre cómo instalar InkStitch en Windows o Mac, ahora estás listo para crear y editar diseños de bordado con facilidad. Esta guía de configuración de InkStitch proporciona todos los pasos necesarios para una instalación sin problemas., para que puedas lanzarte directamente al diseño.
Para aquellos que quieren una digitalización de calidad profesional, EMDigitizing está aquí para ayudar. Ofrecemos primer nivel servicios de digitalización con calidad garantizada, tiempos de respuesta súper rápidos, y tarifas asequibles. Más, nuestra opción de vista previa le permite ver su diseño antes de finalizarlo.
Y si eres cliente nuevo, no te pierdas un 50% descuento en tu primer pedido. Confianza EMDigitalización para hacer realidad sus visiones de bordado con precisión y cuidado.
