Have you ever struggled with embroidery on polyester fabric? It’s no secret that polyester can be tricky—it’s slippery, stretchy, and needs a little extra care. But don’t let that stop you! With the right tools and methods, you can achieve amazing results.
Polyester is a go-to fabric for sportswear, uniforms, and stylish accessories. Its durability is unmatched, but when it comes to embroidery, you’ll need to use the correct stabilizer, needle, and thread to avoid issues like puckering or uneven stitching.
In this guide, we’ll show you simple tips and techniques to handle polyester with confidence. Whether you’re a beginner or experienced, these steps will help you create designs that look professional and last a long time. Ready to get started? Let’s dive in!
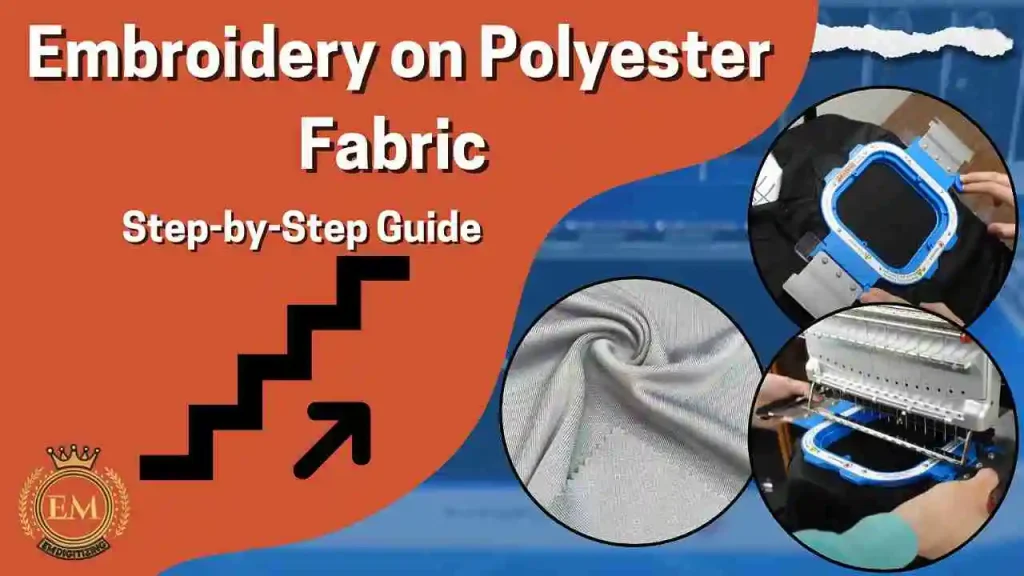
Embroidery on Polyester Fabric | Step-by-Step Guide
Essential Materials for Perfect Polyester Embroidery
Embroidery on polyester fabric can be a rewarding experience if you have the right materials. Each tool and accessory plays a key role in ensuring your designs are crisp, professional, and long-lasting. Here’s everything you need for successful polyester embroidery.
- Polyester Fabric
- Polyester Embroidery Thread
- Embroidery Machine
- Embroidery Hoops (preferably plastic)
- Stabilizer (tear-away or cut-away)
- Fabric Marker or Chalk
- Scissors or Snips
- Topping Stabilizer (optional, for certain designs)
1. Polyester Fabric
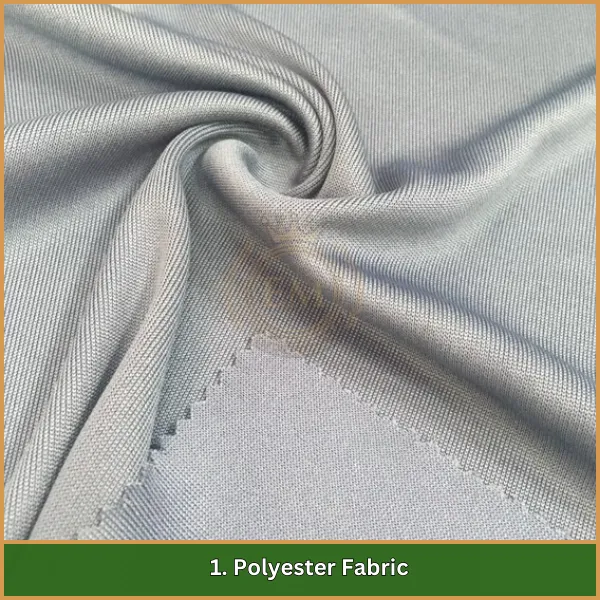
Polyester is a versatile, durable fabric, perfect for embroidery. Its smooth surface and resistance to wear make it ideal for both intricate and simple designs. However, it has some challenges: it stretches easily and is sensitive to heat. Using stabilizers and low heat settings can help avoid these issues.
2. Polyester Embroidery Thread
Thread for polyester fabric embroidery is a game-changer. It offers vibrant colors, excellent durability, and resistance to fading, even after frequent washing. This thread matches the fabric’s strength and flexibility, ensuring your embroidery stays intact.
3. Embroidery Machine
An efficient embroidery machine is your best ally for working on polyester. Choose a machine with precise tension controls and programmable designs to handle polyester’s slippery texture and deliver consistent results.
4. Embroidery Hoops (Preferably Plastic)
Plastic hoops are better at gripping polyester fabric compared to wooden ones. They prevent slippage and help keep the fabric taut, ensuring your embroidery comes out smooth and evenly stitched.
5. Stabilizer (Tear-Away or Cut-Away)
Stabilizers are essential for managing polyester’s stretch. A tear-away stabilizer is ideal for light embroidery, while a cut-away stabilizer provides extra support for dense or detailed designs.
6. Fabric Marker or Chalk
Accurate placement is key to flawless embroidery. Fabric markers or chalk help you mark the design area without leaving permanent stains, ensuring your embroidery is perfectly aligned.
7. Scissors or Snips
Clean edges matter! High-quality scissors or snips allow you to trim excess thread and stabilizer neatly, giving your project a professional finish.
8. Topping Stabilizer (Optional)
For textured or stretchy polyester fabrics, a topping stabilizer is a great addition. It keeps stitches from sinking into the fabric, which is especially useful for bold or detailed designs.
Process for Machine Embroidery on Polyester Fabric
Polyester fabric embroidery can yield stunning results if approached with the right tools and techniques. Here’s how to get started and ensure success.
1. Get the Fabric Ready
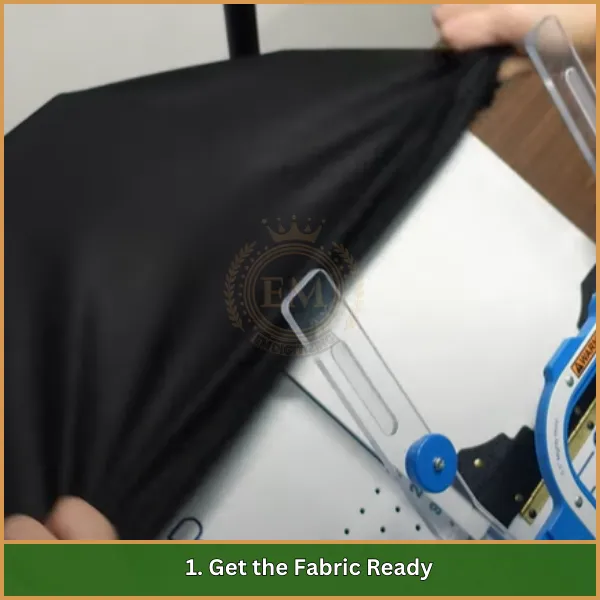
Wash the polyester fabric with mild detergent and cold water to remove any dirt or residues that could interfere with embroidery. Lightly iron it on a low-heat setting to smooth out wrinkles, ensuring a clean, flat surface for stitching. Avoid high heat to prevent damage to the fabric.
2. Select and Digitize Your Design
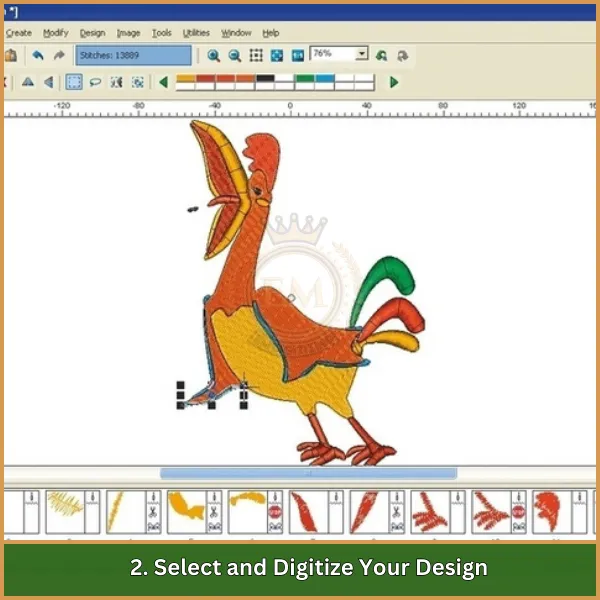
Pick a design that matches your project and digitize it using embroidery software. Adjust stitch density and types for polyester’s slippery nature. If digitizing feels challenging, EMdigitizing offers professional services to convert your artwork into high-quality embroidery files, ensuring perfect results every time.
3. Pick the Perfect Thread Colors
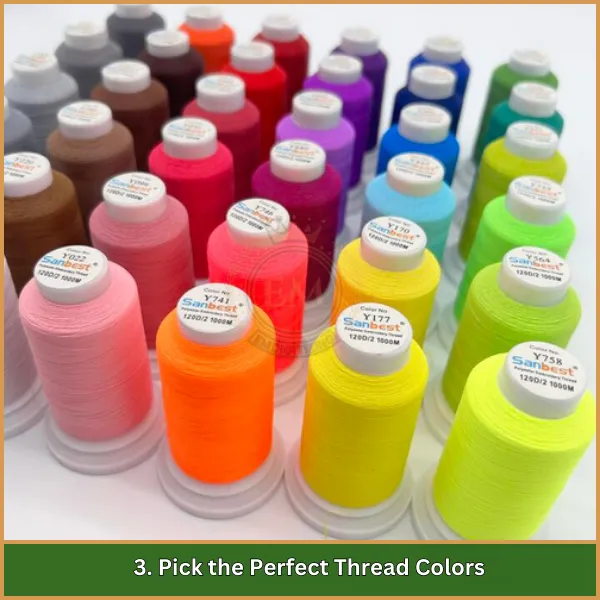
Choose polyester embroidery threads that complement or contrast with your fabric. These threads are durable, vibrant, and designed to handle frequent washing. Use proper thread codes to achieve accurate color matching.
4. Properly Hoop the Fabric
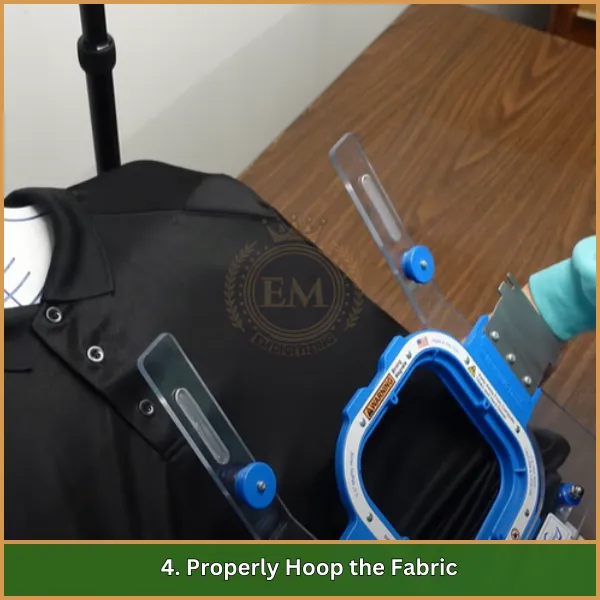
Lay a stabilizer (tear-away or cut-away) on the bottom hoop. Place the polyester fabric over it, ensuring it’s smooth and wrinkle-free. Secure the fabric by attaching the top hoop, keeping it taut but not overstretched to avoid puckering.
5. Mark the Design Placement
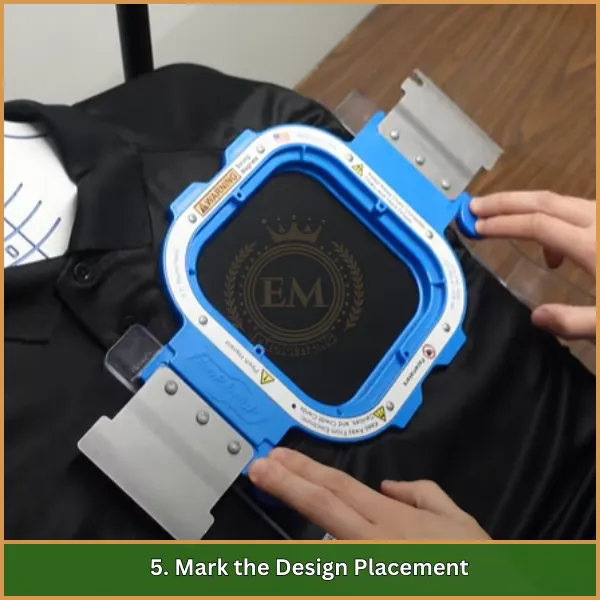
Use a water-soluble fabric marker or tailor’s chalk to mark the center and alignment points of your design. This helps in positioning the embroidery accurately.
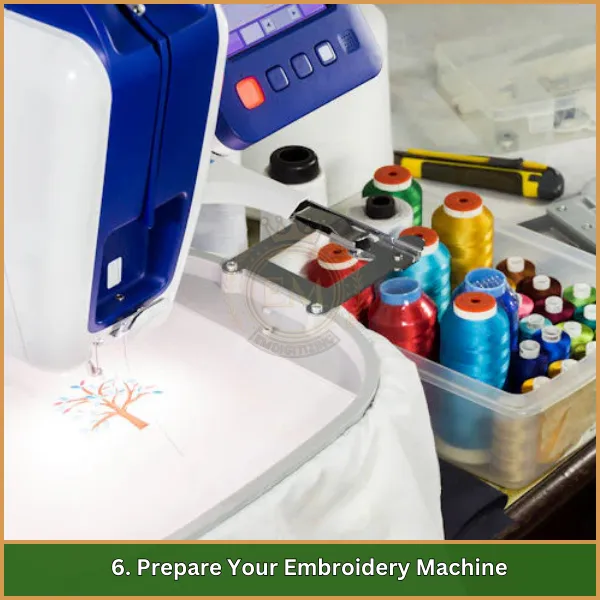
6. Prepare Your Embroidery Machine
Lorem ipsum dolor sit amet, consectetur adipiscing elit. Ut elit tellus, luctus nec ullamcorper mattis, pulvinar dapibus leo.
7. Adjust the Machine Settings
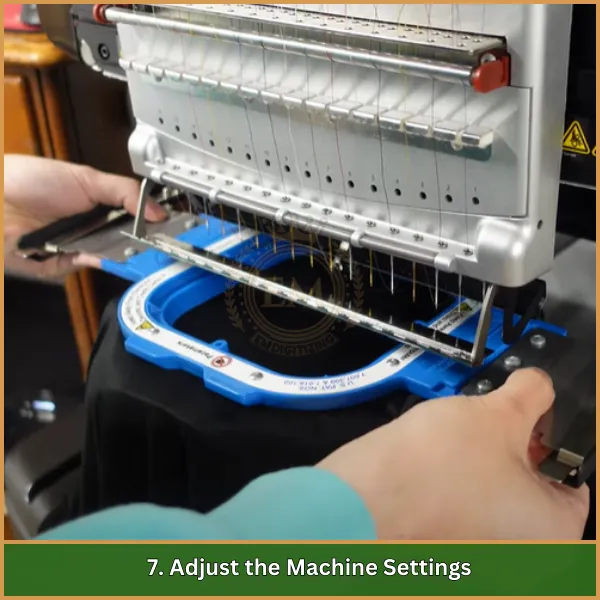
Set the machine speed to a moderate level, between 500 and 800 stitches per minute, to handle polyester fabric effectively. Adjust the stitch length based on the design’s complexity, with shorter stitches for denser areas and longer ones for texture.
8. Start the Embroidery Process
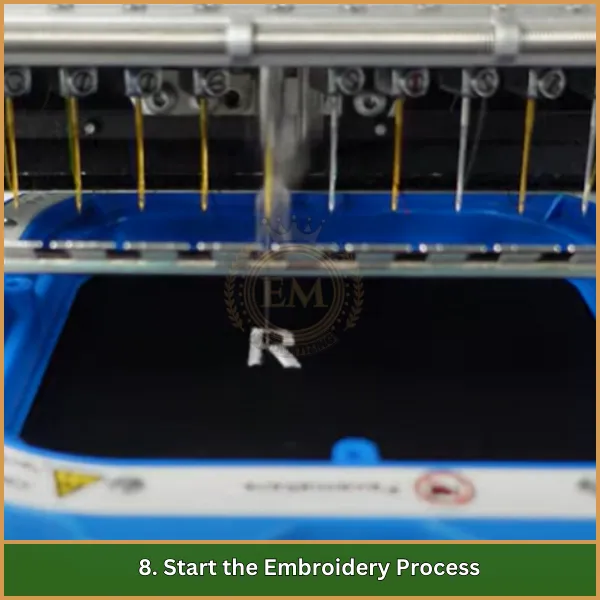
Begin stitching while monitoring the progress closely. Keep an eye out for any thread breaks or fabric puckering. Stop the machine if needed to make tension or alignment adjustments.
9. Monitor Progress and Make Adjustments
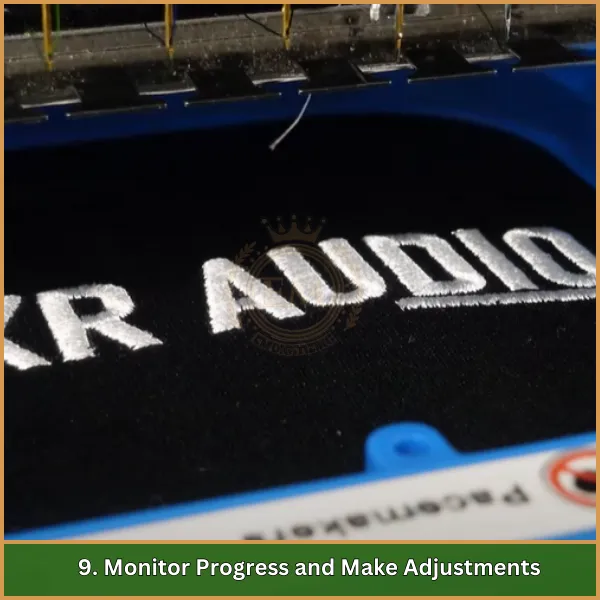
Pause the machine occasionally to inspect the embroidery. Ensure the stitches are consistent, and adjust the hoop or tension settings if necessary to maintain precision.
10. Complete the Embroidery
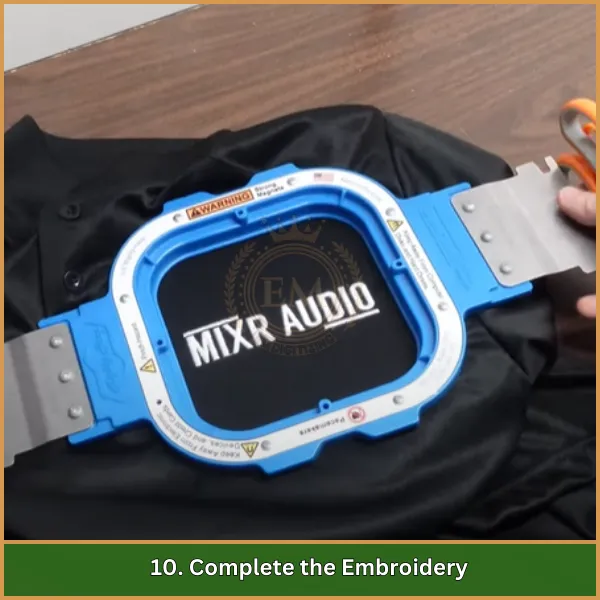
Once the embroidery is finished, carefully remove the hoop from the machine. Trim any loose threads and remove the stabilizer without pulling on the fabric. If you used a topping stabilizer, gently tear it away from the design.
11. Care for the Finished Piece
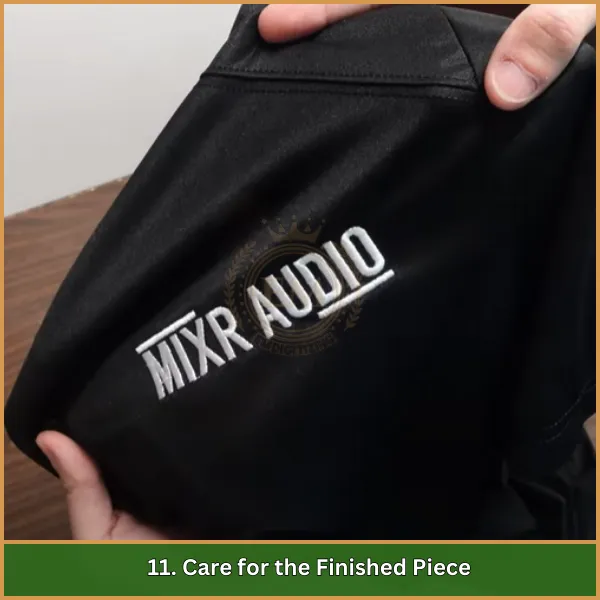
Wash the embroidered fabric gently to remove any chalk or marker lines. If needed, lightly iron it on a low-heat setting to smooth out wrinkles and give it a polished look.
Tips for Embroidering Successfully on Polyester
Achieving flawless embroidery on polyester fabric requires precision, the right tools, and thoughtful techniques. Here are some practical tips to help you create stunning designs.
- Opt for Ballpoint Needles: Rounded-tip needles like ballpoint or stretch needles glide between the fibers, reducing skipped stitches and preventing fabric damage.
- Pick Matching Threads: Use polyester or rayon embroidery threads for their flexibility and sheen. These threads complement polyester fabric better than cotton, which lacks elasticity.
- Tweak Your Machine Settings: Adjust your embroidery machine to reduce stitch density and tighten tension slightly. Keeping the speed moderate (around 500-800 stitches per minute) minimizes shifting during stitching.
- Digitize Smartly: Plan your design with polyester in mind. Digitize patterns to stitch outward from the center to minimize stretching and distortion.
- Use Adhesive for Extra Stability: A light spray of temporary adhesive on the stabilizer helps secure the fabric and keep it in place during stitching.
- Keep Designs Simple: Avoid overly dense designs, as they can lead to puckering. Opt for clean outlines and less complex fills for better results.
- Test Before You Stitch: Always test your settings on a scrap piece of polyester fabric to avoid costly mistakes on your final piece.
Conclusion
Doing embroidery on polyester fabric can be simple if you use the right tools and follow the right steps. With good stabilizers, needles, and proper techniques, you can make your designs look amazing. Polyester might feel tricky at first, but with the right approach, it becomes much easier.
If you want perfect designs without any hassle, try EMDigitizing! We offer affordable digitizing services with super-fast turnaround time and guaranteed quality. Plus, you can see a free preview of your design before finalizing it.
Are you a new customer? You’ll get an exclusive 50% discount on your first order! Don’t miss this chance to make your embroidery projects easier and better with EMDigitizing.
Click here to get started!
FAQs
Absolutely! Polyester fabric is great for embroidery when handled correctly. With the right stabilizer, needle, and thread, you can achieve beautiful and long-lasting designs on this versatile fabric.
Lightweight designs with lower stitch density are ideal for polyester. These types of designs reduce the risk of puckering and ensure the fabric maintains its shape throughout the process.
Yes, using ballpoint needles and polyester threads is essential. Ballpoint needles glide smoothly through the fibers, and polyester threads ensure strength and flexibility for your embroidery.
Yes, polyester can stretch, which might distort your design. To prevent this, avoid pulling the fabric too tight in the hoop and use a stabilizer to keep everything in place.
