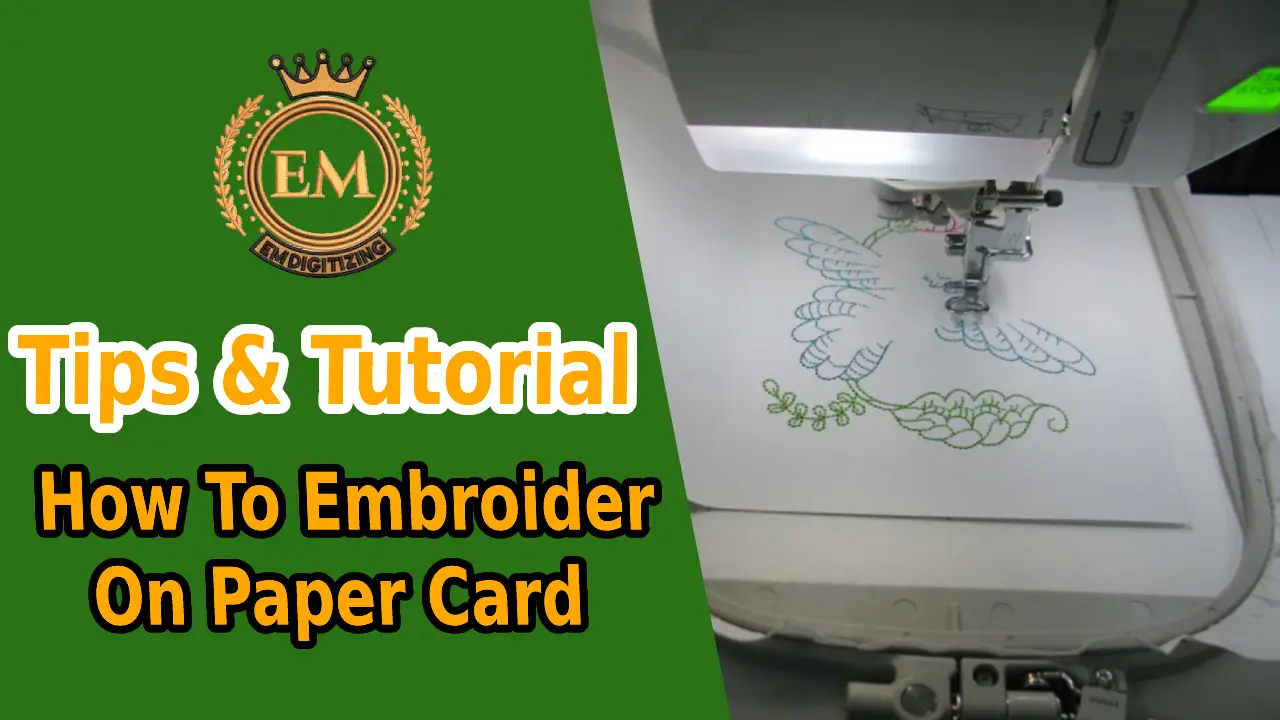
Sticken Sie auf Papierkarten, Geschenkanhänger, und anderen lustigen Papierartikeln ist eine einzigartige Möglichkeit, Ihre Stickmaschine zu verwenden! Bei der Auswahl der besten Kombination von Stabilisator, Entwurf, und Papier, um mit Papierstickereien die besten Ergebnisse zu erzielen, kann entmutigend wirken, Ich habe einige Tipps, die Ihnen helfen sollen, das Sticken auf Papierkarton zu erlernen.
Zubehör zum maschinellen Besticken von Papierkarten
Digitalisierungsdienste für Stickereien
Warum auf Papierkarten aus Aquarellpapieren sticken??
In unserem digitalen Zeitalter, Eine bestickte Karte sieht reich aus, individuell angepasst, und einzigartig. Jedoch, Die Kosten und die Zeit für den Bau sind sehr gering. Plus –; Sie können die Karte vollständig an jeden Empfänger anpassen. Laden Sie einfach ein anderes Entwurf und einen Namen hinzufügen.
Die Karten sind meist nicht sehr groß. Wenn Sie also nur einen kleinen Stickrahmen haben, Das ist ein großartiges Projekt für den Anfang. Das Besticken von Karten ist eine tolle Möglichkeit, sich mit Ihren Karten vertraut zu machen Stickmaschine.
Welche Art von Karten sollten Sie besticken??
Grundsätzlich gibt es zwei Möglichkeiten, eine Karte zu besticken. Sie können es entweder auf Papier sticken und es dann auf die Vorderseite einer einfachen Notizkarte kleben. Alternative, Sie können einfach auf die Vorderseite der Notizkarte sticken. Für welche Methode Sie sich auch entscheiden, you’;ll need to choose a paper that’;Es ist robust genug, um Nadelstichen beim Nähen standzuhalten Stickerei-Design. Aquarellpapier oder Karton eignen sich gut.
Denken Sie daran, wenn Sie das nähen Stickerei-Design auf die Vorderseite der Klappkarte, das Hässliche, Die Rückseite der Stickerei befindet sich auf der Innenseite der Karte. That’;Deshalb bedecken Sie die Innenseite der Karte mit einem Stück Papier.
Bester Stabilisator für Stickereien auf Papier
Wie bei den meisten Papiersorten, ausgeschnittener Stabilisator (oder PolyMesh) macht hervorragende Grußkarten. Es unterstützt Stiche gut, insbesondere bei dichteren Designs und dünneren Papieren. Sie können das ausgeschnittene Vlies nach dem Nähen vom Motiv abziehen, Sie haben noch eins unter dem Design übrig. Dies lässt sich ganz einfach mit einem zusätzlichen Stück Karton abdecken.
As much as I’;Ich möchte Tearaway Stabilizer verwenden, um die Rückseite des Designs zu verschönern, it doesn’;Es bringt nicht wirklich tolle Ergebnisse.
If you’;Ich bin auf der Suche nach einem lustigen Effekt, jedoch, Versuchen Sie es mit einem dichten Satinstich auf der Karte mit einem abreißbaren Vlies. Sie werden einen 3D-Effekt erhalten, als würde ich meinen flatternden Schmetterling niederreißen, danke!
Beste Nadel zum Sticken auf Papier
Je größer Ihre Nadel ist, desto größer ist das Loch.
Daher, Während Sie eine Nadel benötigen, die dick genug ist, um das Papier zu durchstechen, Sie möchten das kleinstmögliche Format wählen, um ein Durchstechen Ihres Papiers zu vermeiden. Wählen Sie eine kleinere Größe, z 75/11 oder 70/10, Stellen Sie jedoch sicher, dass das Auge groß genug für Ihre Fadenauswahl ist. Wenn ein Sticknadel doesn’;Das reicht nicht, Nehmen Sie eine Nummer größer und machen Sie mit einer scharfen Nähnadel ein sauberes Loch.
Für Papierstickereien, it’;Es ist auch am besten, ein frisches zu bekommen, Nehmen Sie eine neue Nadel aus Ihrem Rucksack. Langsame Nadeln verursachen nur Probleme.
Thread-Typen
Viele verschiedene Arten von Faden eignet sich für Papierstickereien. Das Wichtigste ist, sicherzustellen, dass Ihr Thread und Nadelauswahl sind kompatibel. Zierfäden, zum Beispiel, don’;Mit einer Nadel mit kleinem Öhr klappt das nicht gut.
Am meisten Stickmotive werden für 40wt-Faden digitalisiert, Sie können aber auch ein anderes Gewicht wählen. Während ich eher dazu tendiere, mein bevorzugtes 40-Gew.-Polyester- oder Viskosegarn zu verwenden, Hier sind einige andere tolle Garnoptionen für die Kartenstickerei:
- Verwenden Sie Baumwollgarn unterschiedlicher Stärke (Versuchen Sie es mit 30 Gew!) um das Aussehen handgestickter Stickereien nachzuahmen.
- Metallischer Faden
- Im Dunkeln leuchtender Faden (Lernen wie man im Dunkeln leuchtende Stickgarne für die Maschine herstellt!)
- Vielfältiger Thread
Maschinenstickmotive für Papierkarten
Auswahl a Entwurf ist der Schlüssel zu einem perfekt bestickten Papierartikel, especially if you’;Ich verwende dünnes Papier.
Beachten Sie vor allem, dass dichte Vollstichmuster und Muster mit markanten Unterstichen nicht so gut aussehen wie offenere Muster, weniger dichte Designs mit einer geringeren Stichzahl. Während Applikationen möglich sind, Sie müssen eine große Stabilität und einen sehr stabilen Zustand anstreben, Faserpapier, damit sie gut funktionieren.
Designmerkmale, die sich am besten für Stickereien auf Papier eignen:
- Redwork, Kettenstich, oder Umrissentwurf
- Ausführen von Stitch-Schriftarten.
- Wenn die Unterlage entfernt wird, verringert sich die Anzahl der Stiche, Füllstich-Design (entweder durch Erhöhen der Stichlänge oder durch Ändern der Dichte).
- Entwürfe digitalisiert speziell für Karton (Stickereidesigns.com, Oma’;s Platz, und SWAK-Stickerei sind Quellen für die in diesem Tutorial verwendeten Bilder.)
- Minimize jump stitches if you don’;Es gibt keine Maschine, die sie automatisch für Sie zuschneidet.
Und, da die Nadellöcher dauerhaft sind, make sure the needle isn’;t poking down anywhere and it won’;Nicht einmal nähen!
Dekorative Techniken zum Sticken auf Papierkarten
Ja, Die Arten von Designs, die Sie auf Karten sticken können, können etwas begrenzt sein, aber es gibt viele Techniken, mit denen Sie Ihre gestickten Karten wirklich einzigartig machen können.
- Nähen Sie das gesamte Design mit weißem Faden auf eine blaue oder schwarze Karte.
- Sticken Sie ein Motiv mit Farben, Leuchten im Dunkeln, oder Metallic-Stickgarn, um einen Regenbogen aus Farben hinzuzufügen.
- Verschönern Sie Ihre Karte mit einem Locher und einem Bindeband
- Kombinieren Sie gestickte Designs mit Stempeln oder dekorativen Schriftzügen.
Die Möglichkeiten sind endlos.
Tipps zum Besticken von Papierkarten
- Auf hochwertigem Karton nähen, Aquarellpapier, oder anderes schweres Papier ohne dekorative Elemente wie eingebettete Blätter oder Blumen.
- Langfaseriges Papier funktioniert auch, aber erstmal testen.
- Verwenden Sie für zusätzliche Unterstützung einen ausgeschnittenen Stabilisator.
- Lassen Sie Ihre Karte auf dem reifenförmigen Stabilisator schweben und befestigen Sie sie mit etwas temporärem Klebespray.
- Verwenden Sie eine kleine scharfe Nadel, Größe 11 oder kleiner, um große Löcher zu vermeiden.
- Erwägen Sie, Ihre Maschine zu verlangsamen.
- Fügen Sie Scrapbook-Papier hinzu, um die Rückseite der Naht abzudecken.
- Erwägen Sie das Hinzufügen zusätzlicher Verzierungen mit Buntstiften.
Anleitung zum Sticken auf Papierkarten
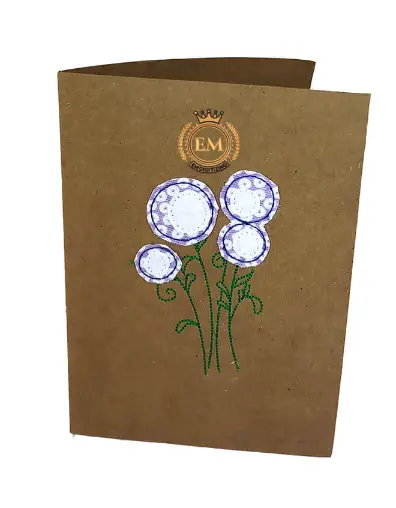
Ich habe dieses Projekt damit begonnen, dass ich etwas Langweiliges fand, braune Papierkarte. It’;s so dull that I can’;t imagine what I’;Ich würde es dafür verwenden. Das Stickerei-Design Die Karte, die ich früher aufgenäht habe, war eine, die ich vor einiger Zeit digitalisiert hatte, eine skurrile Blumenstrauß-Applikation.
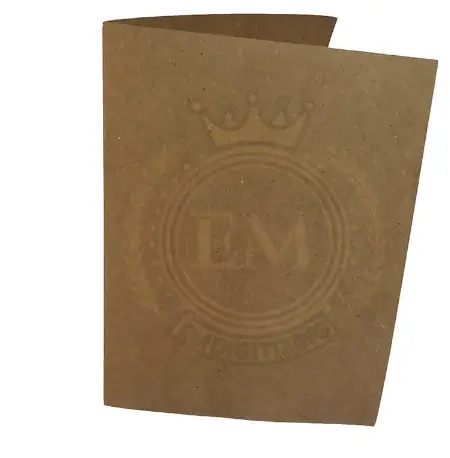
Schritt 1: Spannen Sie ein Stück Vlies ein
Ich denke, man kann wirklich mit allem durchkommen Art des Stabilisators für dieses Projekt. Ich habe ein Stück abreißbaren Stabilisator mit selbstklebender Rückseite aufgetragen, but I’;Ich habe von Leuten gehört, die auch normales Tearaway- oder Cut-Away-Stabilisatoren verwenden. Nach dem Einspannen des Stabilisators, Markieren Sie die Mitte des Stickvlieses mit einem Tuschestift und verlängern Sie die Mittellinien vertikal und horizontal.
Schritt 2: Lassen Sie die Karte schweben
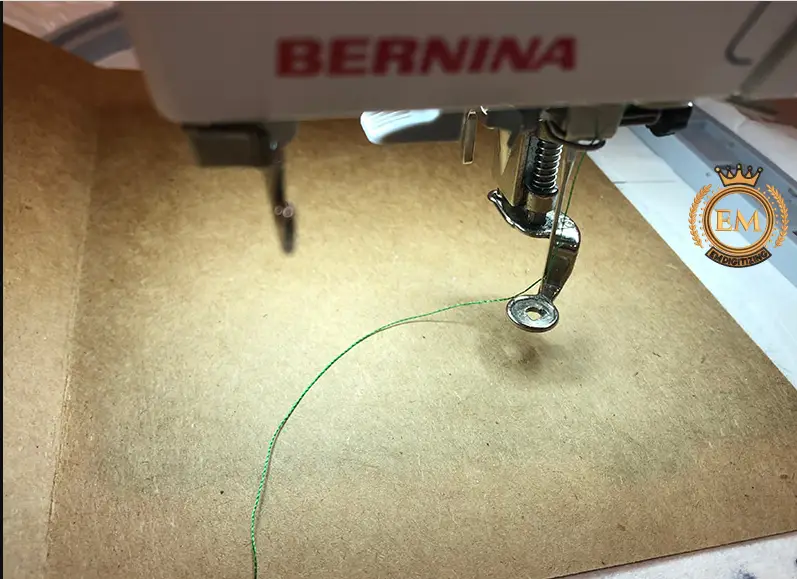
Wenn Sie einen abreißbaren Stabilisator mit selbstklebender Rückseite verwenden, Ritzen Sie die Innenkante des Stabilisators mit einer Nadel ein, um die obere Papierschicht abzureißen. Nächste, Ziehen Sie das Papier ab, um die klebrige Oberfläche freizulegen. Wenn Sie ein normales Tearaway- oder Cutaway-Stabilisator verwenden, Sie müssen den Stabilisator mit einem temporären Kleber besprühen. Kleben Sie die Karte so auf das Unterlegmaterial, dass die Mitte der Karte mit der Mitte des gerahmten Unterlegmaterials übereinstimmt.
Schritt 3: Beginnen Sie mit dem Nähen Ihres Designs
Zuzuhören, wie die Nadeln durch die Karte stechen, ist sehr befriedigend.
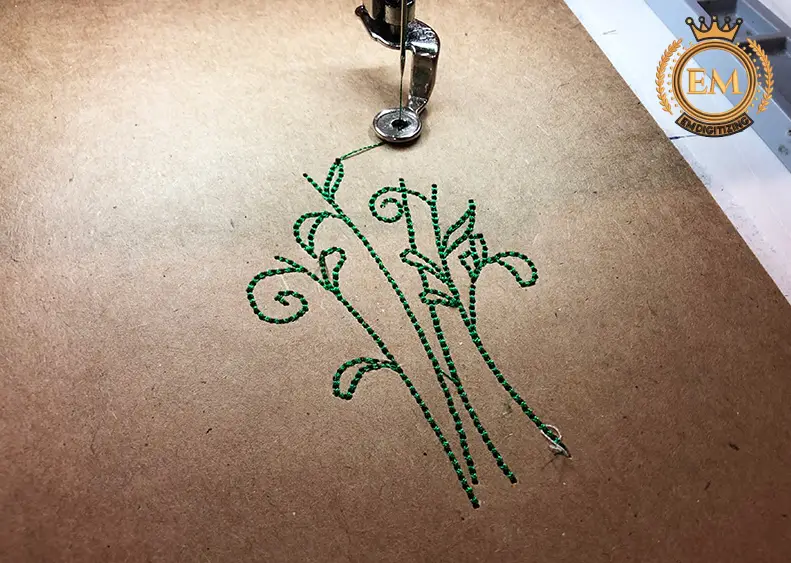
Schritt 4: Nehmen Sie die Karte aus dem Stickrahmen
Wenn Sie einen abreißbaren Stabilisator verwenden, Stellen Sie sicher, dass Sie den Stabilisator zerreißen und nicht, wenn Sie die Karte aus dem Rahmen nehmen.
Schritt 5: Geben Sie den letzten Schliff
Verwendung einer Stickzange, Schneiden Sie Ihre Fäden aus Ihrem Design. Da es sich bei dem Design, das ich gemacht habe, um ein Applikationsdesign mit rohen Kanten handelte, Ich musste meinen Stoff auch mit einer Applikationsschere zuschneiden.
Fazit
Ich hoffe, Sie haben jetzt eine unterhaltsame neue Anwendung für Ihre Stickmaschine kennengelernt: auf Papierkarte sticken!
Übertragen Sie das Transparentpapier und sticken Sie das Motiv, Arbeiten Sie direkt durch den Stoff und folgen Sie den Mustermarkierungen. Verwenden Sie einen Rückstich, ein fest gearbeiteter Stielstich, und einen eng beieinander liegenden Stich, um Ihr Design zu umreißen. Separate Kettenstiche lassen sich leicht nähen, während beim Entfernen des Papiers besondere Vorsicht geboten ist.
Ja, Sie können auf Papierkarte sticken!
Whether you’;Kindern das Nähen beibringen, leere Grußkarten verschönern, oder den Scrapbook-Seiten Farbe hinzufügen, Papier ist eine kostengünstige Möglichkeit, kreativ zu werden. Zierstiche wurden mit buntem Faden genäht, um jedem Papierhandwerk einen wunderbaren Farbtupfer zu verleihen.
Kartenvorrat
Jedes schwere Papier (Karton) wird gut sein. I’;Ich habe auf verschiedene Arten gestickt: paper from an artist’;s Aquarellblock, ein Kurzfaser-Tag-Board, und teures handgeschöpftes Papier. I’;Die besten Ergebnisse haben wir mit schwererem Papier mit längeren Fasern erzielt.
Die Hauptkategorien sind freie Stickerei oder Flächenstickerei, gezählte Stickerei, und Nadelspitzen- oder Leinwandarbeiten. In Oberflächenstickerei, Die Designs werden ohne Rücksicht auf die Webart des darunter liegenden Stoffes angewendet. Beispiele hierfür sind kreolische sowie traditionelle chinesische und japanische Stickereien.
Grundsätzlich gibt es zwei Möglichkeiten, eine Karte zu besticken. Sie können es entweder auf Papier sticken und es dann auf die Vorderseite einer einfachen Notizkarte kleben. Alternative, Sie können einfach auf die Vorderseite der Notizkarte sticken.
