Machine embroidery on canvas is a fantastic way to add creativity and personalization to a sturdy fabric that’s perfect for long-lasting designs. Canvas is a bit thicker than other materials, so it requires some special preparation and care.
In this guide, I’ll walk you through each step, from setting up your fabric to finishing touches, to make sure your embroidery on canvas turns out beautifully. With the right techniques, you’ll find that canvas can hold intricate designs well and give your project a polished, professional look.
Whether you’re a beginner or experienced in embroidery, these steps will help you create unique and lasting designs on canvas fabric. Let’s dive into the process!
Step-by-Step Guide to Machine Embroidery on Canvas Fabric
Materials Needed for Machine Embroidery on Canvas Fabric
For successful canvas machine embroidery, having the right materials is essential. These items will make your design neat, stable, and durable.
- Embroidery Machine
- Canvas Fabric
- Embroidery Thread
- Embroidery Needles
- Embroidery Hoop
- Stabilizer (e.g., tear-away or cut-away)
- Marking Tool
- Scissors
- Iron
1. Embroidery Machine
An embroidery machine is essential for detailed and consistent stitching. A machine with adjustable speed and stitch settings allows more control, especially on thick fabrics like canvas.
2. Canvas Fabric
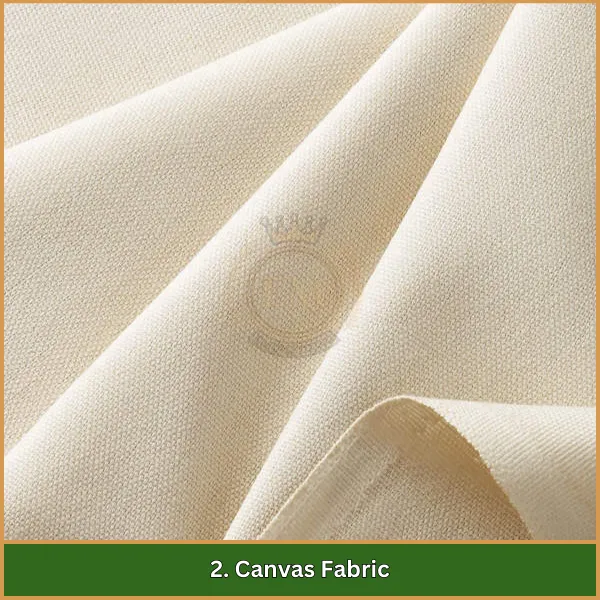
Canvas fabric provides a strong base, ideal for embroidery. Choosing a medium to heavy-weight canvas is best, as it holds stitches securely and gives the design durability.
3. Embroidery Thread
Polyester or cotton embroidery threads are recommended due to their durability. These threads are strong and create vibrant designs on the thick canvas material.
4. Embroidery Needles
Size 75/11 or 80/12 needles are ideal for canvas, as they easily pierce through the thick fabric, reducing the chance of needle breakage and ensuring smooth stitching.
5. Embroidery Hoop
A sturdy hoop is necessary to keep the canvas fabric taut. Hoops with a strong grip help prevent the fabric from slipping, ensuring even stitches throughout the design.
6. Stabilizer (e.g., Tear-Away or Cut-Away)
A tear-away or cut-away stabilizer adds support to the canvas, preventing puckering and holding the fabric steady during stitching, which is particularly helpful for intricate designs.
7. Marking Tool
A water-soluble or disappearing ink pen works well for marking design placement on canvas. These tools provide clear lines for guidance without leaving permanent marks.
8. Scissors
Sharp, small embroidery scissors are ideal for trimming threads precisely, helping maintain a neat and professional finish on your design.
9. Iron
An iron is useful for smoothing the canvas before and after embroidery. A steam iron helps remove wrinkles, creating a flat surface that promotes even stitching.
Step-by-Step Process for Machine Embroidery on Canvas
Embroidering on canvas fabric can produce stunning results, especially when following the correct steps. This guide will walk you through creating a beautiful and long-lasting design on stretched canvas machine embroidery, using the right materials and techniques.
1. Prepare the Canvas Fabric
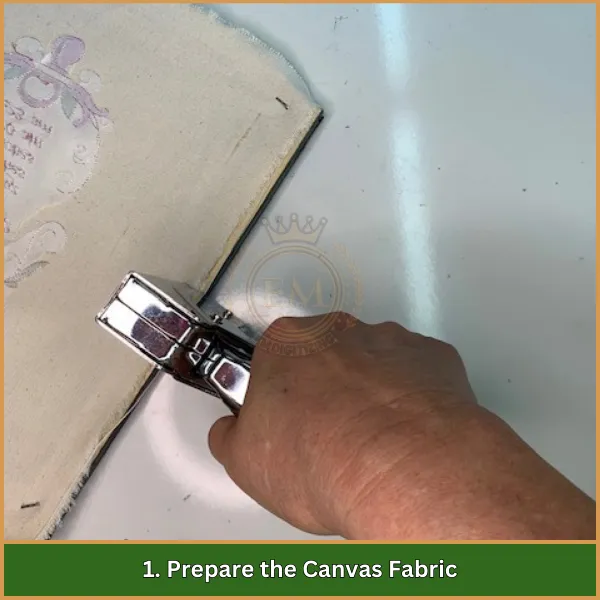
Start by preparing your canvas fabric. Iron the fabric to remove any wrinkles, creating a smooth surface for embroidery. If your canvas has a tendency to pucker, pre-washing can also help it lay flat. Proper preparation ensures your embroidery design will appear neat on the fabric without distortions.
2. Choose and Mark the Design Area
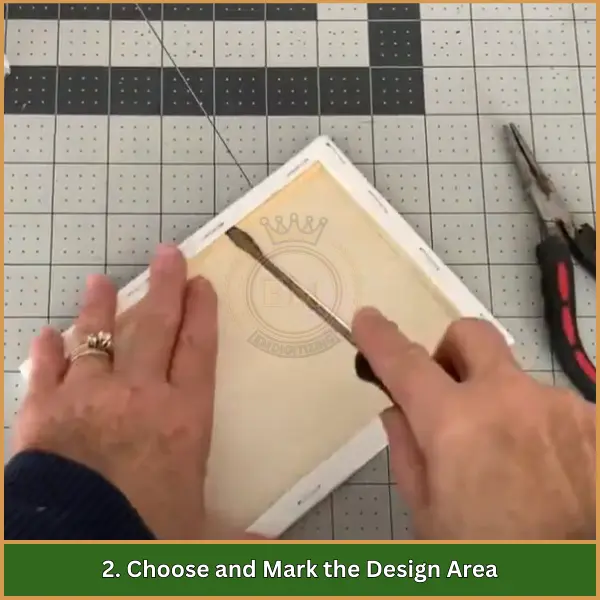
Decide on the placement of your embroidery design on the canvas. Use a water-soluble or disappearing ink pen to mark the center and outline of the design area lightly. This helps align your design accurately, ensuring it appears exactly where you want it on the canvas, which is particularly useful for symmetrical designs or large projects.
3. Apply the Stabilizer
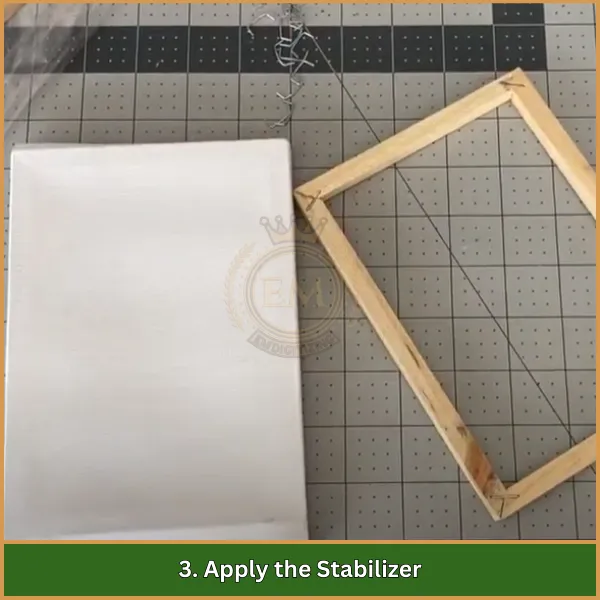
Canvas is a sturdy fabric, but adding stabilizer provides extra support. Place a tear-away or cut-away stabilizer on the back of the canvas, then secure both the stabilizer and fabric in an embroidery hoop. Stabilizer keeps the fabric from shifting or puckering as you stitch, helping to maintain the design’s shape and precision.
4. Select the Embroidery Design
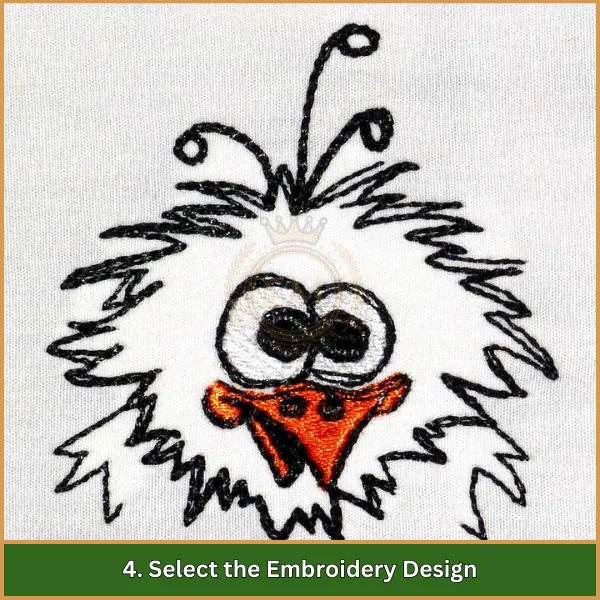
Choose an embroidery design suitable for canvas. If you’re looking for a custom design, consider EMdigitizing’s professional digitizing services. With our help, you can transform unique logos or artwork into embroidery-ready files that deliver high-quality results on thicker fabrics like canvas. Custom digitizing saves time and ensures the design is optimized for smooth and precise stitching.
5. Load the Design onto the Embroidery Machine
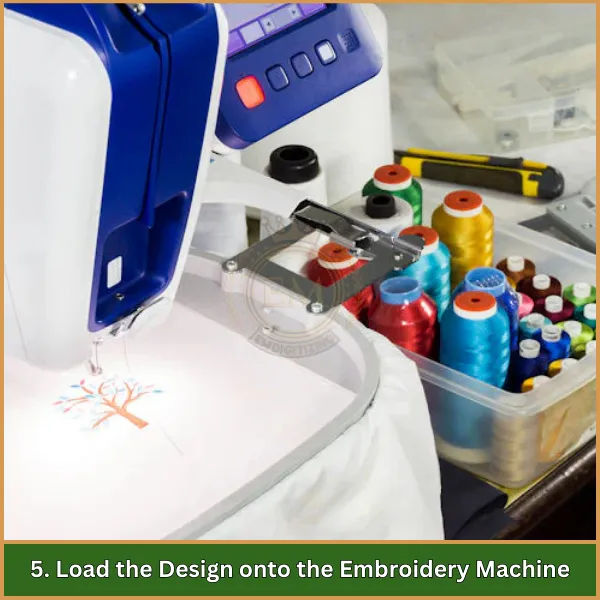
Transfer your embroidery design to the machine. Carefully position the hooped canvas fabric in the machine, aligning it with the design location. Double-check the orientation and position to avoid any issues with alignment.
6. Adjust the Machine Settings
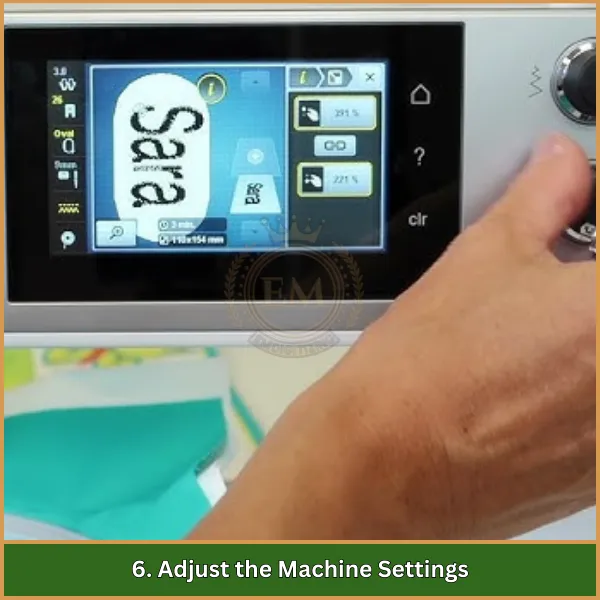
Canvas requires specific machine settings for best results. Adjust the speed to a slower setting, allowing more control when embroidering on thick fabrics. Set the thread tension accordingly to prevent breaks or uneven stitching. These adjustments ensure smoother stitching and reduce the chance of errors.
7. Begin the Embroidery Process
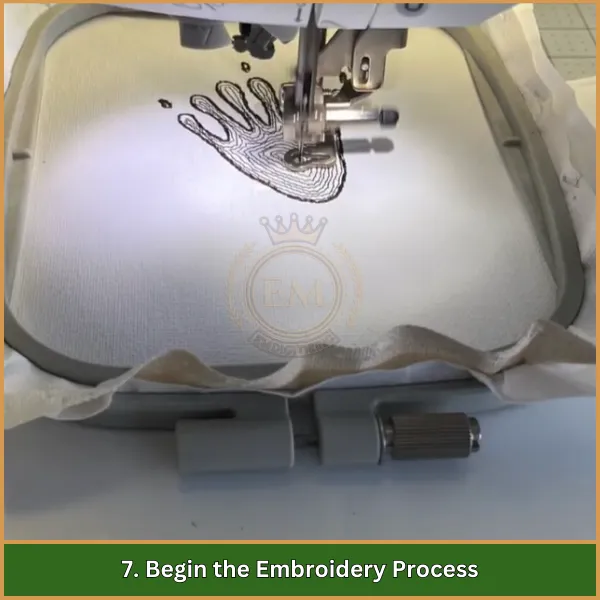
With everything set, start the embroidery process. Monitor the machine as it stitches, especially for large designs. Keeping an eye on the process lets you catch any issues early on, resulting in a cleaner, more professional-looking design.
8. Finish the Embroidery and Remove the Stabilizer
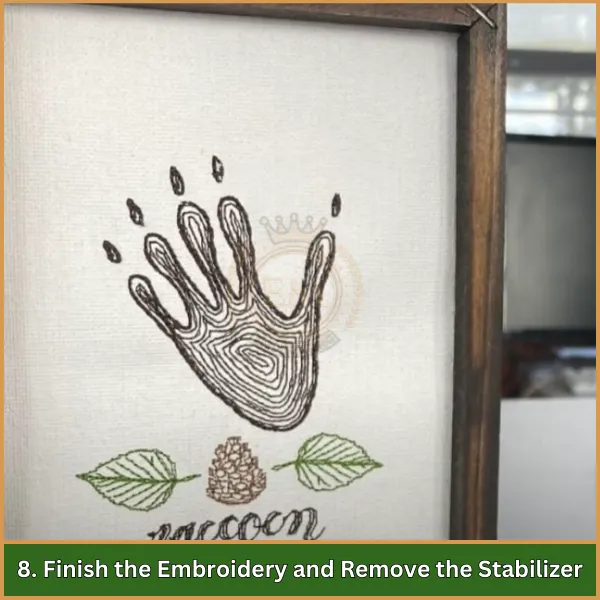
After the design is complete, remove the hoop from the machine. Carefully tear or cut away the stabilizer from the back of the fabric, being cautious not to pull the stitches. This step leaves a polished and neat finish, enhancing the appearance of your design.
9. Trim Loose Threads and Iron
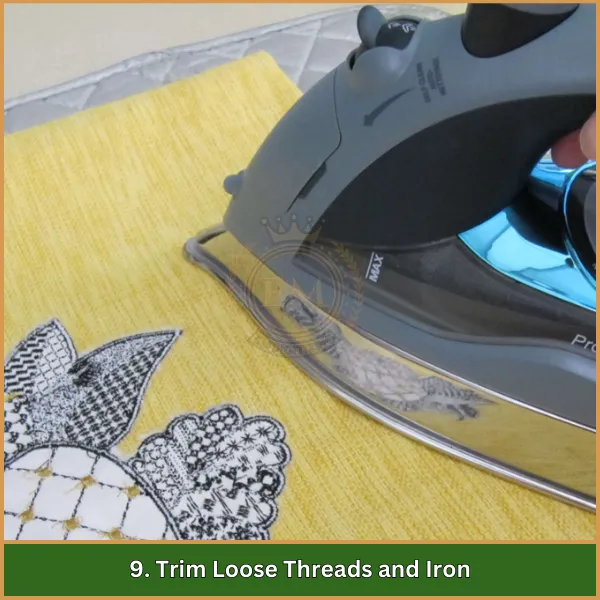
To give your design a refined look, use sharp embroidery scissors to trim any loose threads around the embroidery. Finally, lightly iron the canvas to set the embroidery design. Ironing helps the design lay flat, giving it a polished and professional finish.
Tips and Tricks for Best Results on Canvas Fabric
For successful machine embroidery on stretched canvas, it’s important to follow a few tips to ensure quality and precision. These tricks will help you achieve a smooth, professional-looking design on canvas.
- Choose the Right Stabilizer: Use a tear-away or cut-away stabilizer to provide support, preventing the canvas from shifting or puckering during stitching.
- Secure the Fabric Tightly: Make sure the canvas is stretched tightly in the embroidery hoop to keep the fabric from moving and ensure even stitching.
- Use a Suitable Needle Size: A 75/11 or 80/12 needle works best for canvas, allowing it to pierce through the thicker fabric without breaking.
- Select Strong Thread Types: Polyester or cotton embroidery threads are ideal for canvas, as they are durable and less likely to snap on the dense material.
- Adjust Machine Settings: Slow down the embroidery machine speed and adjust thread tension to avoid thread breaks and maintain smooth stitching.
- Monitor the Stitching Process: Keep an eye on the embroidery as it stitches to catch any issues quickly, especially if working with a large or complex design.
- Trim Threads Carefully: After finishing, use sharp scissors to trim any loose threads around the design, giving it a neat appearance.
- Gently Iron the Canvas: Lightly press the canvas with an iron to smooth any wrinkles and set the design, enhancing its final look.
These tips will help you achieve the best possible results of machine embroidery on canvas, ensuring that your design appears clean and professional.
Creative Ideas for Using Embroidered Canvas in Projects
Using machine embroidery on canvas allows you to create beautiful and versatile pieces that work well in many projects. Here are five popular ways to use embroidered canvas in creative and practical projects:
1. Personalized Wall Art
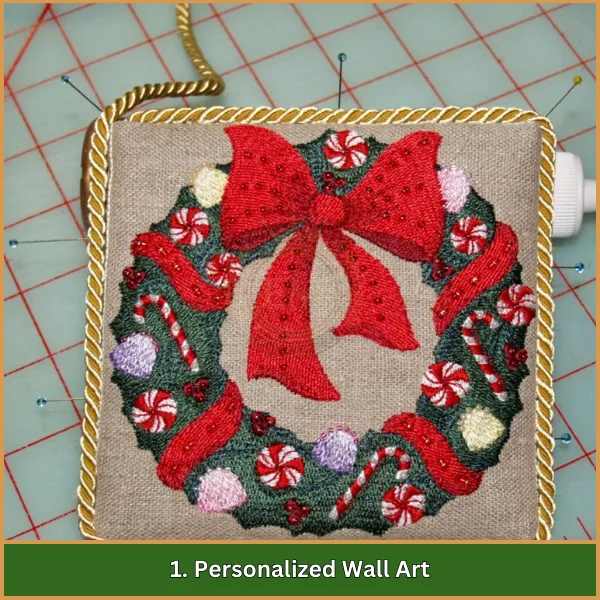
One of the most popular uses for embroidery on canvas is creating custom wall art. With a sturdy, stretched canvas, you can embroider names, quotes, monograms, or favorite patterns and frame them for a polished look. Personalized wall art adds a unique touch to any room and makes for a thoughtful gift, as it can be tailored to the recipient’s style or interests.
2. Embroidered Tote Bags
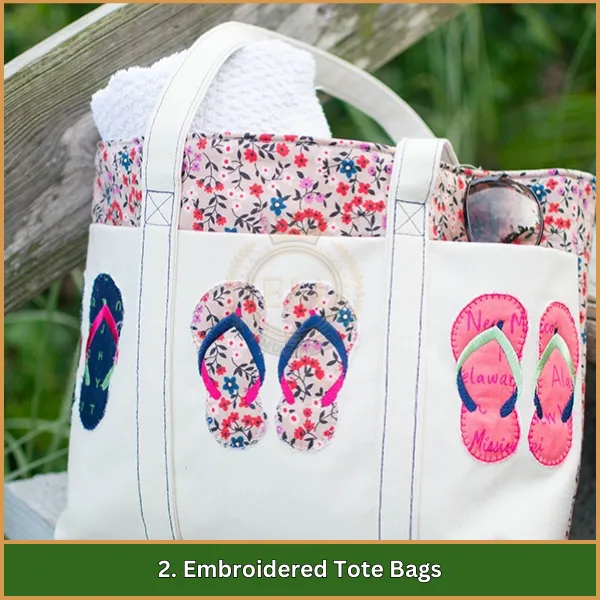
Canvas tote bags are both durable and stylish, making them a favorite canvas embroidery project. By adding unique designs to the front, you create a custom accessory that’s ideal for everyday use. Personalized tote bags with embroidered names, initials, or small artworks are perfect gifts and can even be used for branding or event giveaways.
3. Custom Pillow Covers
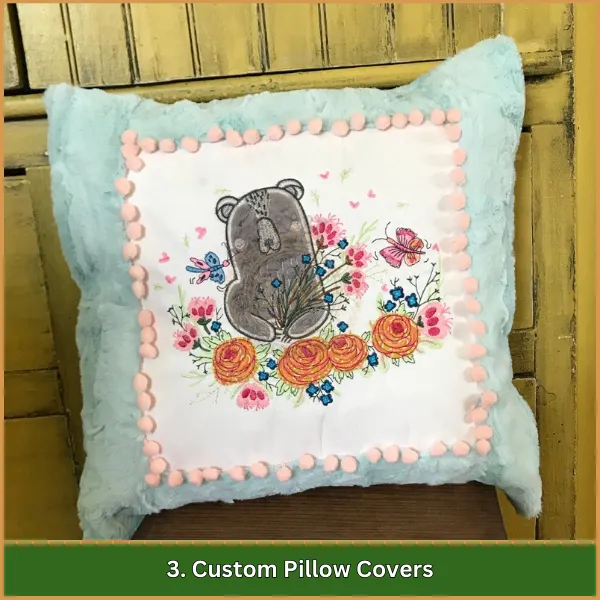
Embroidered canvas pillow covers add a personal and stylish element to home decor. Canvas is ideal for pillow covers as it holds up well over time, even with regular use. Embroider designs that match the decor, such as floral patterns, family initials, or geometric shapes, to enhance living rooms, bedrooms, or outdoor spaces with a custom touch.
4. Canvas Banners
Creating banners from embroidered canvas is a popular trend, especially for seasonal or celebratory decor. Embroider phrases, symbols, or themed designs, and attach the canvas to a wooden dowel or decorative stick. These banners make great wall hangings and can be customized for holidays, birthdays, or as welcoming messages in any room.
5. Fashionable Patches
Embroidery on canvas is perfect for making durable patches that can be sewn onto clothes, hats, or bags. Create custom designs or symbols and cut them into patches, which can then be applied to various items. These patches are a great way to showcase personal style, making them especially popular for jackets, backpacks, and even jeans.
Bottom Line
Bringing your designs to life on canvas fabric can be incredibly rewarding, especially when you see the vibrant, professional results that machine embroidery on canvas offers. With the right techniques, your canvas embroidery can look sharp and last for years to come.
If you’re ready to take your project to the next level, EMdigitizing is here to help! Our expert digitizing services ensure that your designs are transformed into perfect, stitch-ready files at an affordable rate. We’re proud to offer a fast turnaround without sacrificing quality, and every design comes with a preview option, so you know exactly what to expect.
And as a special welcome, first-time customers receive an exclusive 50% discount. Let EMdigitizing be your trusted partner for high-quality, dependable digitizing services.
