Cleaning an embroidery hoop is an essential part of maintaining your embroidery machine. It might not sound like the most glamorous task, but trust me, it’s worth it in the long run.
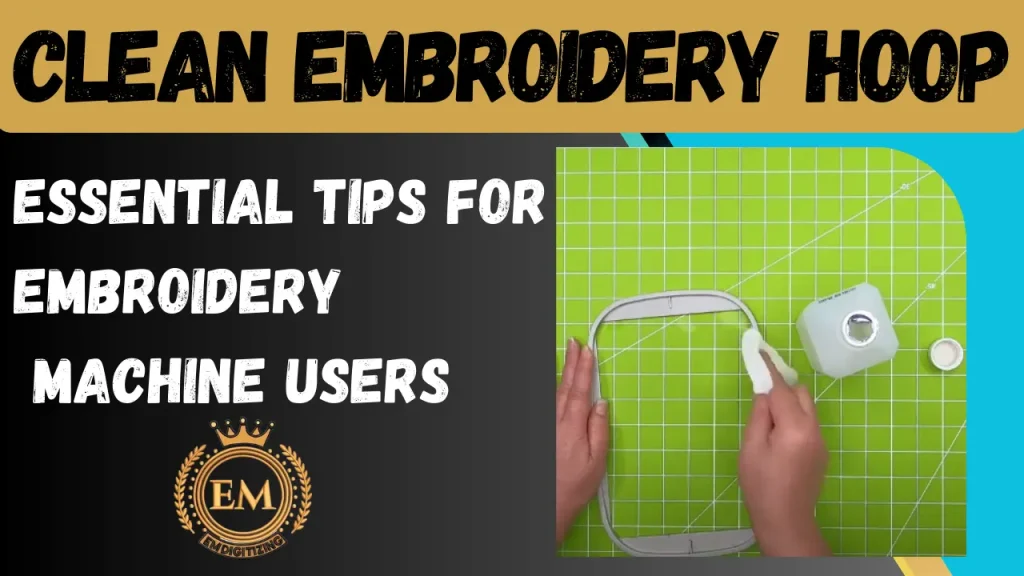
In this article, we’ll dive into why cleaning the hoop is important and the benefits of a clean embroidery hoop regularly.
Clean Embroidery Hoop: Essential Tips For Embroidery Machine Users
Why is Cleaning the Embroidery Hoop Important?
Clean embroidery hoop is important because, over time, it can accumulate dust, lint, and even residue from stabilizers and fabrics. This buildup can affect the performance of your machine and the quality of your embroidery.
Plus, a dirty hoop can transfer dirt onto your fabric, creating an unwanted mess on your beautiful designs.
Benefits of Regular Cleaning
Regularly cleaning hoops has its perks. Not only will it keep your machine running smoothly, but it will also help maintain the integrity of your projects.
You’ll avoid any unwanted stains or blemishes caused by a dirty hoop and ensure that each design comes out looking flawless.
Plus, a clear embroidery hoops makes it easier to hoop your fabric evenly, giving you better embroidery results.
So, let’s get into the nitty-gritty of how to clean embroidery hoops!
Understanding the Different Components of an Embroidery Hoop
To clean embroidery hoop effectively, you first need to know its different components. Don’t worry; it’s not rocket science! Here are the main parts you should be familiar with:
Hoop Frame
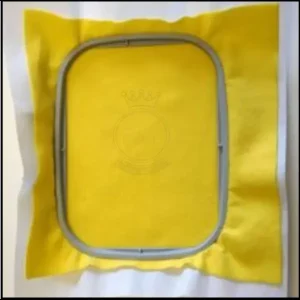
The hoop frame is the outer ring that holds everything together. It’s usually made of plastic or metal and comes in various sizes to accommodate different fabric sizes.
Hoop Screw
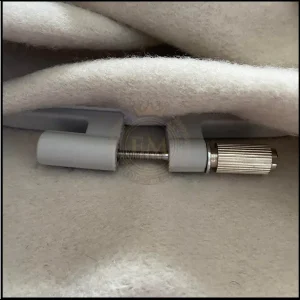
The hoop screw, as the name suggests, is the screw that tightens the hoop frame, keeping the fabric and stabilizer in place.
Inner Hoop
The inner hoop is the smaller ring that fits inside the hoop frame. It is used to secure the fabric and stabilizer, ensuring they stay taut and in the right position during embroidery.
Stabilizer and Fabric
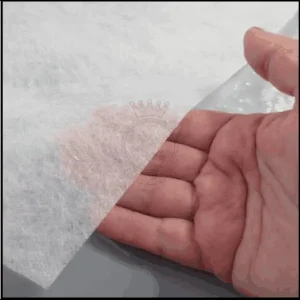
The stabilizer is a backing material placed behind the fabric to provide support during embroidery. The fabric is what you’ll be embroidering on, and it can vary in thickness and texture.
Tools and Materials Needed for Cleaning
Now that you know your embroidery hoop inside out, let’s gather the tools and materials you’ll need to give it a good clean:
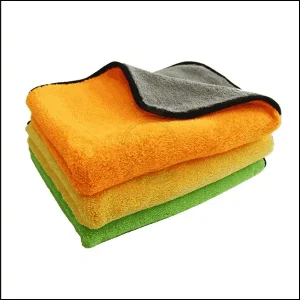
Soft Cloth or Microfiber Cloth
A soft cloth or microfiber cloth will be your go-to for wiping away dust and debris from the hoop frame, inner hoop, and screw.
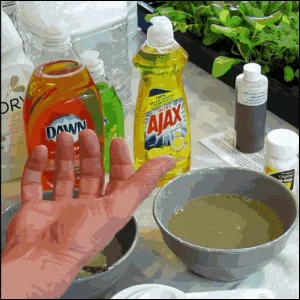
Mild Soapy Water
Using a mild soapy water solution will help remove any sticky residue or stains. Just be sure to use a gentle soap that won’t damage the hoop or leave behind a residue of its own.
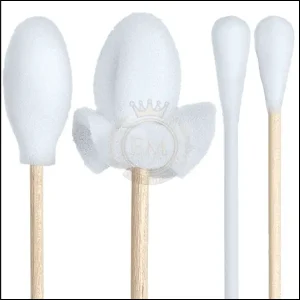
Cotton Swabs
Cotton swabs come in handy for reaching those tight corners and crevices that a cloth might not be able to reach.
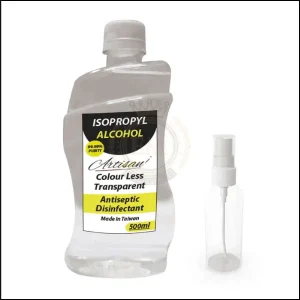
Isopropyl Alcohol
Isopropyl alcohol is great for sanitizing your hoop and removing any stubborn stains or sticky substances. Just remember to use it sparingly and avoid getting it on any electronic components.
Step-by-Step Instructions to Clean Embroidery Hoop
Now that you have all your cleaning tools ready, let’s dive into the step-by-step process to clean embroidery hoop:
Removing the Fabric and Stabilizer
Start by removing the fabric and stabilizer from the hoop. Carefully loosen the hoop screw and separate the inner hoop from the frame, gently pulling out the fabric and stabilizer.
Disassembling the Embroidery Hoop
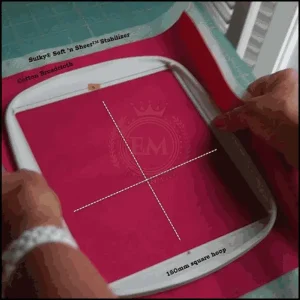
Next, fully disassemble the embroidery hoop by unscrewing the hoop screw and separating the inner hoop from the frame. This will allow you to clean each component thoroughly.
Cleaning the Hoop Frame and Inner Hoop
Using a soft cloth or microfiber cloth, wipe down the hoop frame and inner hoop to remove any dust or debris.
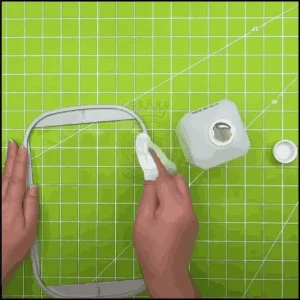
For any stains or residue on the frame, dampen the cloth with mild soapy water and gently scrub. Dry them thoroughly before moving on to the next step.
Cleaning the Hoop Screw
Take a cotton swab and dip it in isopropyl alcohol. Gently scrub the hoop screw to remove any dirt or grime. Be sure to dry it completely before reassembling the hoop.
Reassembling the Embroidery Hoop
Once all the components are clean and dry, it’s time to put everything back together. Insert the fabric and stabilizer into the inner hoop, making sure they are centered.
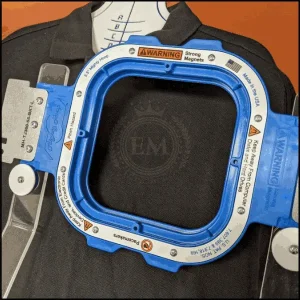
Place the inner hoop back into the frame, aligning the holes. Finally, tighten the hoop screw to secure everything in place and your clean embroidery hoop is ready
Tips and Precautions for Proper Maintenance
Proper maintenance of embroidery supplies is essential for extending their lifespan and ensuring optimal performance in your projects.
Avoiding Harsh Chemicals
Cleaning your embroidery hoop doesn’t have to feel like a chemistry experiment gone wrong. Avoid using harsh chemicals that could damage the hoop or leave behind unwanted residue.
Stick to mild soaps or clean basting spray from embroidery hoop that is specifically designed for embroidery machines. Remember, your hoop deserves a gentle touch, just like your favorite pet.
Handling the Hoop with Care
Treat your embroidery hoop with the tenderness it deserves. Avoid tossing it around like a hot potato or using it as a frisbee during embroidery parties (unless you’re looking for a hoop-shaped hole in your wall).
Handle the hoop gently and avoid applying excessive force when cleaning it. Think of it as a delicate flower that needs your nurturing touch.
Storing the Hoop Properly
When you’re not using the hoop, give it a cozy place to rest. Store it in a dry and clean environment to prevent any moisture or dust from sneaking in.
Avoid piling heavy objects on top of it, unless you want a sad and squished hoop that resembles a pancake. Treat it like the valuable treasure it is, and it will reward you with beautiful embroidery stitches.
Troubleshooting Common Issues with Embroidery Hoop Cleaning
Cleaning embroidery hoops is a crucial aspect of embroidery maintenance that can sometimes present challenges.
Rust or Corrosion on the Hoop
If you’re greeted by unsightly rust or corrosion on your precious hoop, don’t panic. Grab a soft cloth and dip it in a mixture of vinegar and water. Gently rub the affected areas, and voila!
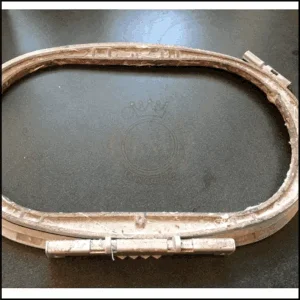
Your hoop will be gleaming like new, ready to embark on another embroidery adventure.
Difficulty in Removing the Fabric Residue
Sometimes, fabric residue can be as stubborn as a toddler who refuses to eat their vegetables. If you’re struggling to remove it, try using a toothbrush or a soft-bristled brush to gently scrub the residue away.
Be patient and persistent, just like your determination to finish that epic embroidery project.
Loose or Damaged Hoop Screw
If your hoop screw is acting loose or you suspect it might be damaged, it’s time for a little TLC. Tighten it gently with a screwdriver but be careful not to overtighten and strip the screw.
If the screw is beyond repair, don’t fret. You can easily find replacement screws online or at your local embroidery supply store.
Give your hoop the love it deserves, and it will reward you with secure and hassle-free embroidery sessions.
Conclusion on Maintaining a Clean Embroidery Hoop
Cleaning your embroidery hoop doesn’t have to be a daunting task. By following these simple tips and precautions, you can keep a clean embroidery machine hoops for years to come.
Treat it gently, avoid harsh chemicals, and store it properly like you would a prized possession.
Remember, your embroidery hoop is not just a tool but a trusted companion on your creative journey. Show it some love, and it will reciprocate with flawless stitches and beautiful embroidery masterpieces.
Happy embroidering, my fellow crafters!
EMdigitizing: Embroidery Digitizing Expert At Your Service
If you are interested in any kind of embroidery project, then EMdigitizing is the best option for you. We offer embroidery digitizing and vector art services with a fast turnaround time. You can also visit and check our website as well as our best services.
We also offer a great 50% discount on all our services for our respected first-time clients. We also offer free quotes generated in just 5 minutes.
You should grab this limited-time offer and take your embroidery project to the next level with EMdigitizing.
If you’ve any queries regarding this topic, you can ask them. Thank you for taking the time to read this article.
Frequently Asked Questions:
To remove a burn from an embroidery hoop, gently sand the affected area with fine-grit sandpaper, then apply a small amount of wood polish or oil to restore its appearance.
To remove adhesive from embroidery hoops, apply a solvent like rubbing alcohol or adhesive remover onto a soft cloth and gently rub the sticky areas, then wash with mild soap and water if necessary.
Protect your embroidery hoop from dust by storing it in a clean, dry place, preferably in a fabric bag or a storage box when not in use, to keep it clean and ready for your next project.
After completing your embroidery in a hoop, you can finish the piece by trimming excess fabric, securing the edges with running stitch or glue, and adding a backing for a neat presentation or framing it for display.
