Voglio imparare a fare la stampa a schermo di maglietta a casa? Questa guida ti mostrerà come!
I trasferimenti di stampa sullo schermo a casa sono un ottimo modo per creare le tue magliette uniche. We’;ti guiderà attraverso ogni passaggio, Dalla raccolta dei materiali giusti alla stampare effettivamente il design. Questa guida è perfetta per i principianti e per chiunque voglia essere creativo con i loro vestiti.
Segui, and you’;Farò le tue fantastiche magliette in pochissimo tempo!
Come eseguire la serigrafia delle magliette a casa | Guida dettagliata
Materiali necessari per la stampa a casa a casa
Here’;s a list of everything you’;Devo iniziare a casa stampa sullo schermo di seta. Gather these materials and you’;essere pronto per iniziare:
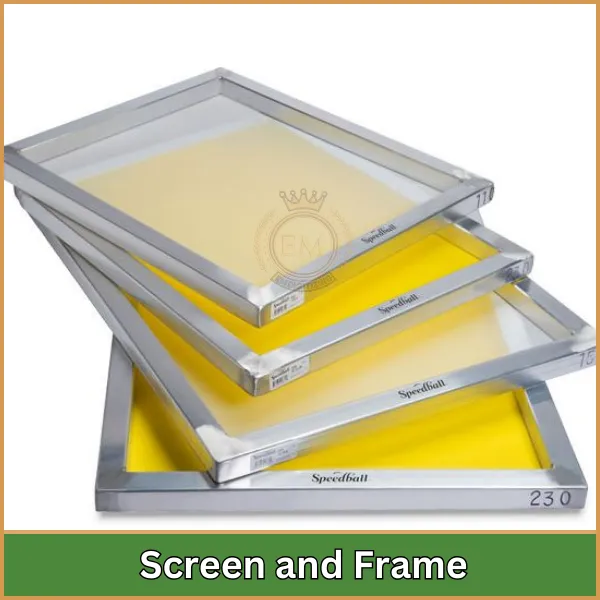
Schermo e frame: Scegli uno schermo con un conteggio di mesh tra 110 e 160. Questa dimensione funziona bene per la maggior parte dei progetti. Le cornici possono essere realizzate in legno o alluminio e alluminio dura più a lungo.
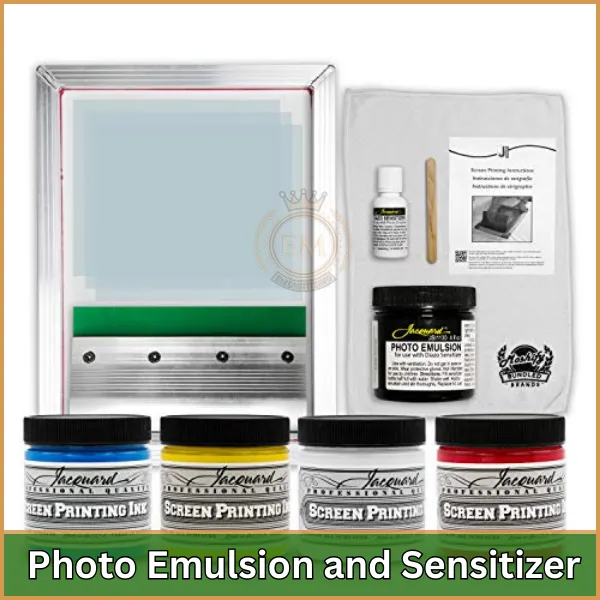
Emulsione fotografica e sensibilizzatore: Scegli un'emulsione a doppia cura. It’;s più facile da usare, especially if you’;stiamo appena iniziando. Assicurarsi che il sensibilizzatore sia compatibile con il tipo di emulsione che scegli.
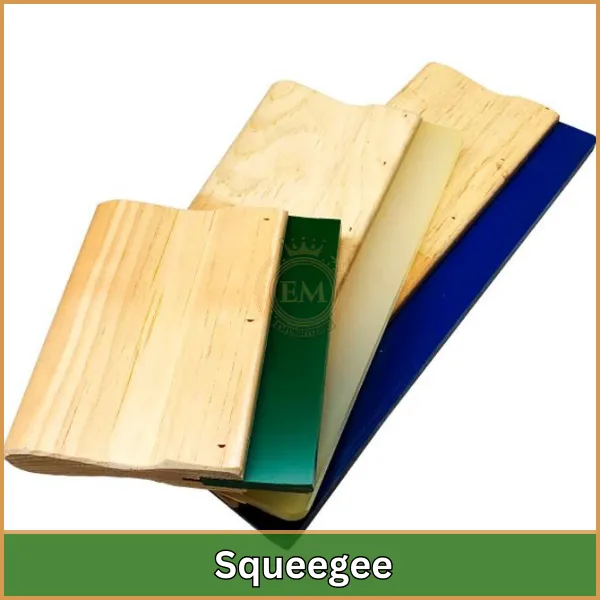
Tergipavimento: È consigliato uno spremuto a 70 durometri per la maggior parte delle attività di stampa a schermo in tessuto. It’;S abbastanza rigido da spingere l'inchiostro attraverso lo schermo ma abbastanza flessibile da dare una finitura liscia.
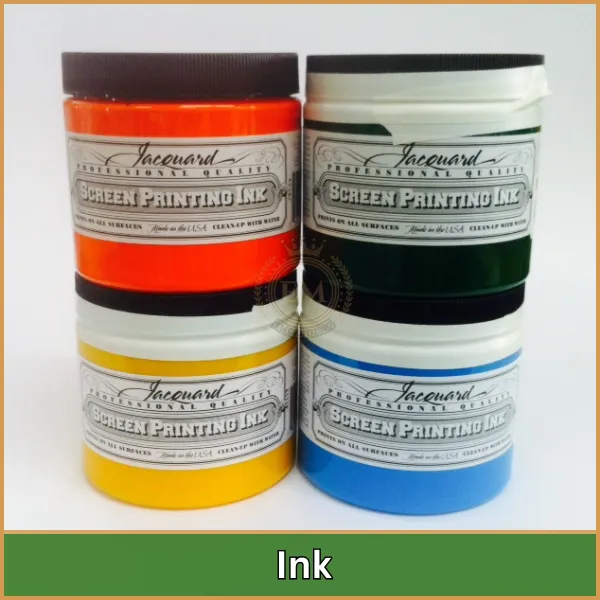
Inchiostro: Gli inchiostri a base d'acqua sono fantastici per i principianti. Sono facili da ripulire e buoni per l'ambiente.
Sembrano migliori su tessuti di colore chiaro. Se stai lavorando con tessuti scuri, Usa l'inchiostro Plastisol per colori più luminosi.
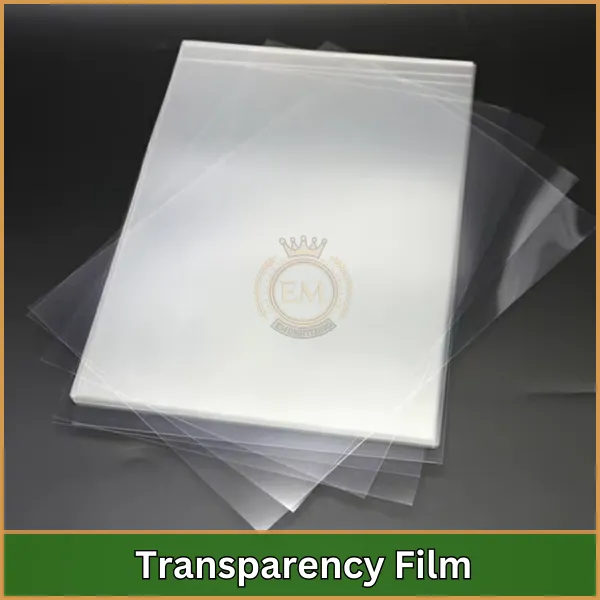
Film di trasparenza: Assicurati che il film di trasparenza sia chiaro e si adatti al tipo di stampante (getto d'inchiostro o laser).
Dovrebbe essere realizzato per la stampa sullo schermo in modo che blocchi la luce correttamente quando esponi il tuo design.
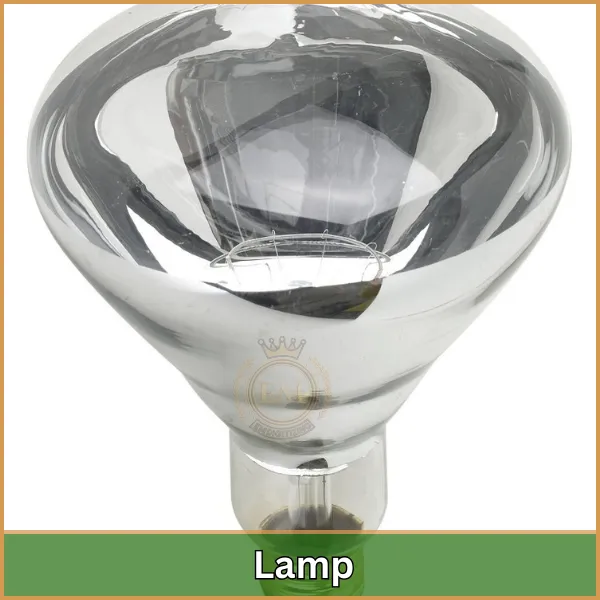
Lampada: Una lampadina da 250 watt dovrebbe funzionare bene. Deve emettere luce UV, Il che aiuta l'emulsione fotografica indurita correttamente.
Questi materiali sono essenziali per l'istituzione della maglietta da stampa a schermo domestico., permettendoti di trasferire i tuoi disegni sulle magliette in modo efficace.
T-shirt Schermata di stampa a casa in 9 Passaggi facili
Now that you’;Ve ha raccolto tutti i materiali necessari, it’;S è ora di avviare il processo di stampa dello schermo!
Fare un passo 1: Crea il tuo design

Inizia progettando la tua opera d'arte. È meglio mantenerlo semplice, Soprattutto per la tua prima stampa. Usa grafico software di progettazione o stampare il tuo design su un film acetato trasparente. Assicurarsi che il design abbia bordi chiari ed è adatto per la stampa dello schermo.
Se hai già un design ma non è di alta qualità, puoi contattarci a EMDigitalizzazione. Possiamo vettorare il tuo design, Garantire che non importa quanto tu lo ingrandhi, I pixel non si distorceranno, E i tuoi risultati finali saranno fantastici.
Fare un passo 2: Preparare lo schermo
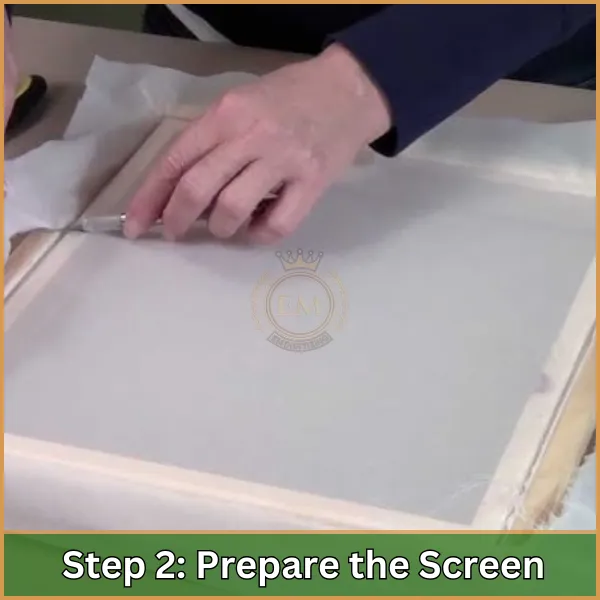
Select a mesh screen appropriate for your design’;S Complessità e Texture Fabric. Richiedere lo schermo con un'emulsione reattiva leggera usando uno spremuto. Assicurati che un livello pari per creare un buon stencil.
Fare un passo 3: Esporre l'emulsione
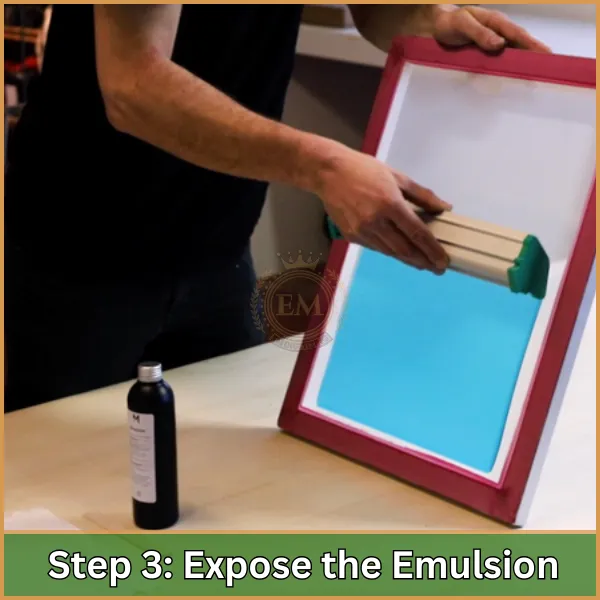
Una volta che l'emulsione si è completamente asciugata, Posiziona il tuo foglio acetato con il design sullo schermo.
Esporre lo schermo a luce intensa (Come un bulbo da 150 watt) Per il tempo specificato dalle istruzioni di emulsione.
Questo processo indurisce l'emulsione in cui colpisce la luce, Lasciando le aree coperte dal tuo design senzadighe.
Fare un passo 4: Lavare lo schermo
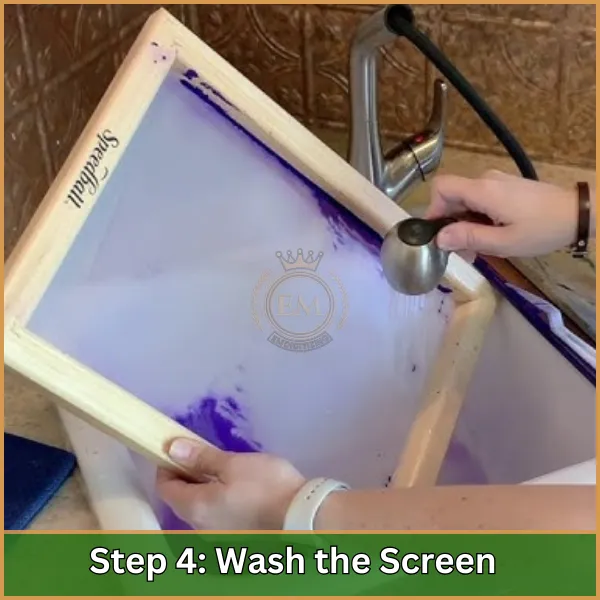
Dopo l'esposizione, Sciacquare con cura lo schermo con acqua tiepida. L'emulsione non salvata si lascerà via, Rivelando il tuo stencil. Lasciare asciugare completamente lo schermo.
Fare un passo 5: Preparare il tessuto per la stampa
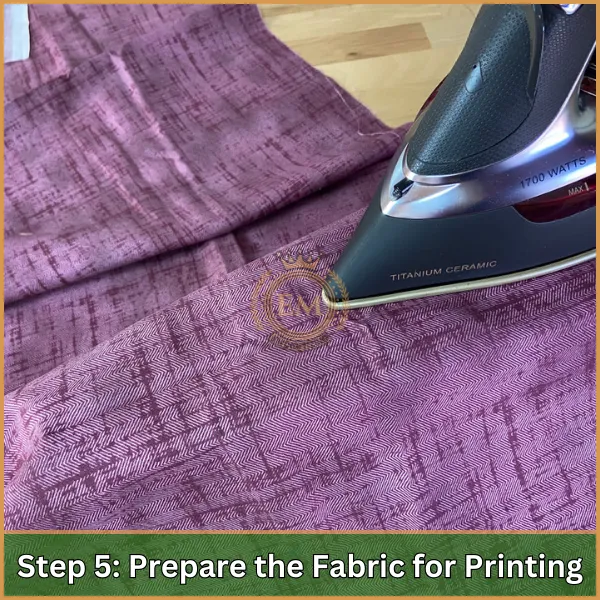
Posare la tua maglietta vuota piatta su una tavola da stampa o una superficie. Assicurati che sia senza rughe per una stampa uniforme. Se si utilizza una stampa di stampa, Assicurare la camicia al pianeta.
Fare un passo 6: Applicazione dell'inchiostro
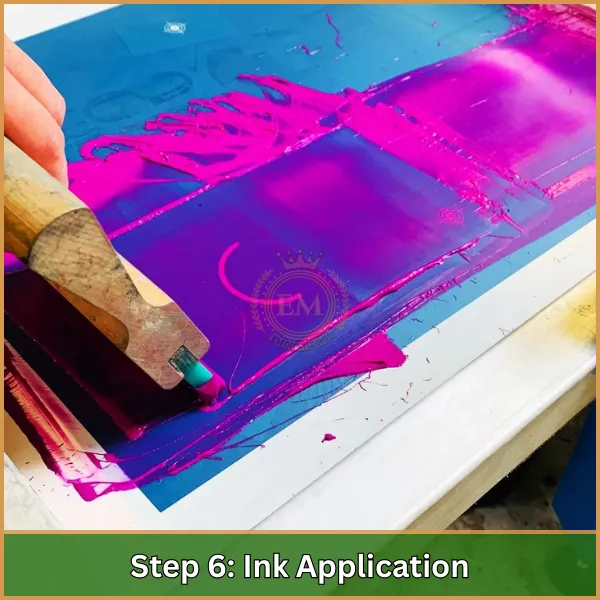
Posizionare lo schermo sulla maglietta. Applicare l'inchiostro nella parte superiore dello schermo e utilizzare uno spremuto per tirare l'inchiostro attraverso lo stencil. Questo costringe l'inchiostro attraverso le aree aperte dello schermo sul tessuto sottostante.
Fare un passo 7: Curare l'inchiostro
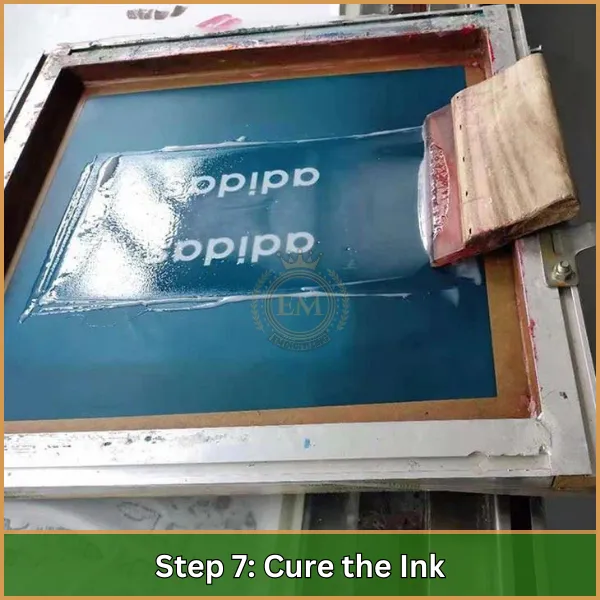
Per durare gli inchiostri, Devono essere curati dopo la stampa. Puoi usare una stampa di calore, asciugatrice trasportatore, o un forno, A seconda della configurazione. Follow the ink manufacturer’;S Istruzioni per la temperatura di cura e il tempo appropriati.
Fare un passo 8: Ripulire
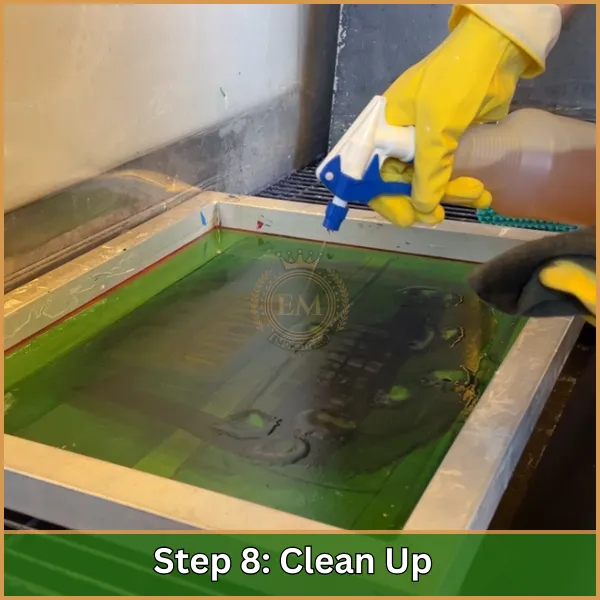
Una volta completata la stampa, Pulire lo schermo e gli strumenti con acqua per rimuovere l'inchiostro e l'emulsione rimanenti. È importante pulire correttamente l'attrezzatura per prolungare la vita.
Fare un passo 9: Controllo di qualità
Ispeziona la maglietta stampata per eventuali imperfezioni. Se necessario, Lavare la camicia per rimuovere qualsiasi residuo e assicurarsi che la stampa aderisca bene.
Quali sono i vantaggi della stampa sullo schermo a casa?
La stampa di seta a schermo a casa offre diversi vantaggi che lo rendono una scelta accattivante per gli hobbisti, artisti, e imprenditori allo stesso modo:
- Conveniente: Una volta investiti nell'attrezzatura di base, La stampa sullo schermo può essere abbastanza conveniente, Soprattutto quando si producono design alla rinfusa. Elimina la necessità di pagare per i servizi di stampa professionale.
- Personalizzazione: Hai un controllo creativo completo sui tuoi design, permettendoti di sperimentare colori diversi, modelli, e materiali. Questo è l'ideale per creare oggetti personalizzati o merce unica.
- Flessibilità: La stampa a schermo a casa consente di stampare su una varietà di superfici tra cui tessuti, ceramica, legna, carta, bicchiere, e metallo. Questa flessibilità può espandere la gamma di progetti o prodotti.
- Qualità e durata: I disegni stampati da screen sono noti per la loro durata e alta qualità, Soprattutto se correttamente curato. Gli inchiostri utilizzati sono in genere più robusti di quelli nella stampa digitale, con conseguenti stampe che possono resistere all'usura e al lavaggio meglio.
- Potenziale per le imprese: Per coloro che cercano di iniziare un file Small Business, La stampa dello schermo a casa può essere trasformata in un'impresa redditizia. La possibilità di produrre in piccoli lotti consente bassi costi di avvio e la capacità di offrire prodotti personalizzati.
- Controllo ambientale: Quando si stampa a casa, Puoi scegliere di utilizzare inchiostri e materiali ecologici, contribuire a ridurre l'impatto ambientale rispetto ad alcuni processi di stampa commerciale.
Questi benefici evidenziano i vantaggi pratici ed economici dell'adozione della stampa sullo schermo come attività o business a domicilio.
Linea di fondo: Pronto per iniziare la stampa dello schermo a casa!
Ora che hai impostato la macchina da stampa a schermo, Avrai bisogno di immagini di alta qualità per ottenere i migliori risultati. Per questo, Considera di far vettorare le tue immagini.
Offriamo servizi artistici vettoriali a prezzi convenienti con un tempo di consegna rapido. Più, Se stai ordinando da noi per la prima volta, you’;Riceverà un 50% sconto.
So don’;T Aspettare, Effettua il tuo ordine oggi e porta i tuoi disegni di magliette al livello successivo!
Grazie per aver dedicato del tempo a leggere questo articolo.
Domande frequenti:
La stampa sullo schermo può essere redditizia, soprattutto per gli ordini ad alto volume, grazie al suo basso costo per unità e alla capacità di produrre durevoli, design vibranti.
La stampa a maglietta è un'azienda redditizia con una domanda elevata disegni personalizzati, Ma il successo dipende dalla creatività, marketing, ed efficienti metodi di produzione.
La migliore stampante per la stampa di magliette è spesso un diretto al garment (DTG) stampante, che offre di alta qualità, stampe dettagliate ed è adatto per dimensioni di batch da piccoli a medi.
