Iniziare con machine embroidery for beginners can be an exciting journey, ma è naturale non essere sicuri da dove cominciare. Di quali strumenti hai bisogno? How does the process work? Don’t worry—we’ve got you covered!
This article is designed to guide you step by step, making embroidery simple and enjoyable. Whether you’re adding a personal touch to your clothes or creating unique gifts, learning the basics can open up endless creative possibilities.
From setting up your machine to choosing the right materials, we’ll walk you through everything you need to know. Let’s explore the wonderful world of machine embroidery together!
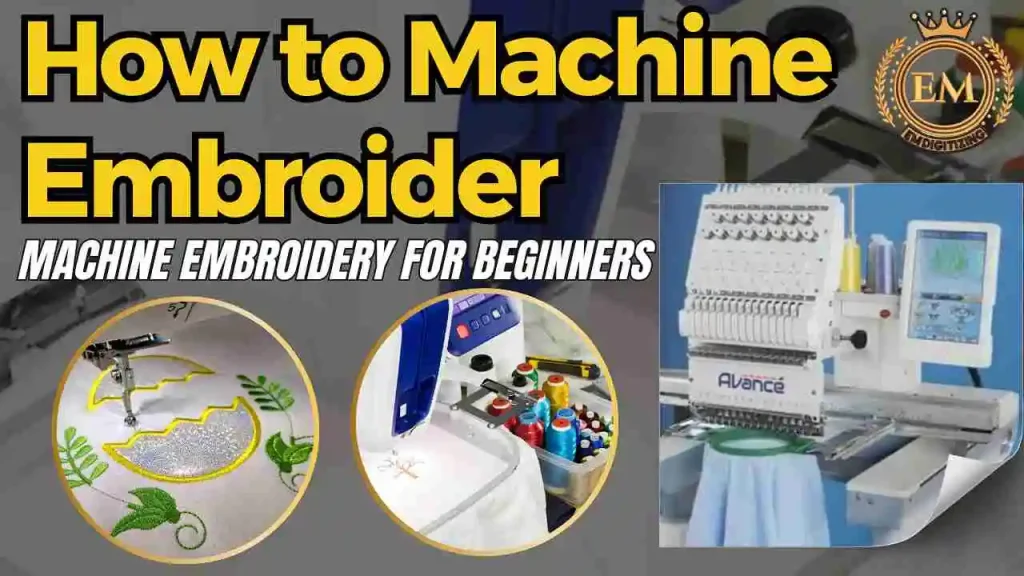
Come ricamare a macchina | Ricamo a macchina per principianti
Cos'è il ricamo a macchina?
It is a modern method of adding designs to fabric using advanced sewing machines. A differenza del tradizionale ricamo a mano, this process is automated, allowing for quick and precise stitching. By uploading a digital design file, the machine works its magic to bring the pattern to life on your fabric.
With the ability to use multiple thread colors and create intricate details, machine embroidery is a go-to option for creating professional-looking designs on clothes, Accessori, e decorazioni per la casa. It’s a blend of creativity and technology, perfect for anyone looking for efficient and high-quality results.
Advantages and Limitations of Machine Embroidery
It is an efficient way to learn how to embroider and create beautiful designs on fabric. Understanding its benefits and limitations will help you achieve the best results.
Vantaggi
- Velocità ed efficienza: Machine embroidery completes designs much faster than hand embroidery, making it perfect for large projects.
- Precisione e accuratezza: Ensures flawless stitching, creating intricate and detailed patterns with ease.
- Uniformity: Produces consistent quality across multiple items, making it ideal for bulk orders.
- Versatilità: Works on a variety of fabrics, from sturdy denim to delicate silk, offering endless possibilities.
- Costo-efficacia: Reduces labor costs and boosts productivity for high-volume projects.
- Durata: Thread-based embroidery is long-lasting compared to other printing methods.
- Complex Design Capability: Handles challenging patterns that are difficult to achieve manually.
Limitazioni
- High Initial Investment: Embroidery machines and software can be expensive, soprattutto per i principianti.
- Curva di apprendimento: Requires technical knowledge and practice to operate effectively.
- Limited Artistic Expression: Lacks the personal touch and unique variations of hand embroidery.
- Esigenze di manutenzione: Regular servicing and upkeep are necessary to keep machines in top condition.
- Dipendenza dalla tecnologia: Machine or software malfunctions can delay production significantly.
- Complex Setup: Preparing the machine for embroidery involves time-consuming steps like threading and fabric setup.
Essential Tools and Materials Needed for Machine Embroidery
Machine embroidery for beginners can be exciting and rewarding, but having the right tools is crucial to achieving great results. From choosing the perfect embroidery design to using the correct materials, every step plays a vital role in your embroidery journey.
- Macchina da ricamo
- Fili da ricamo
- Stabilizzatori
- Aghi (Aghi da ricamo)
- Cerchi da ricamo
- Tessuto (cotone, Biancheria, eccetera.)
- Forbici (Piccolo, Sharp Ones)
- Strumenti di marcatura (Washable Pens or Chalk)
- Pre-Made Embroidery Designs or Custom Designs
1. Macchina da ricamo
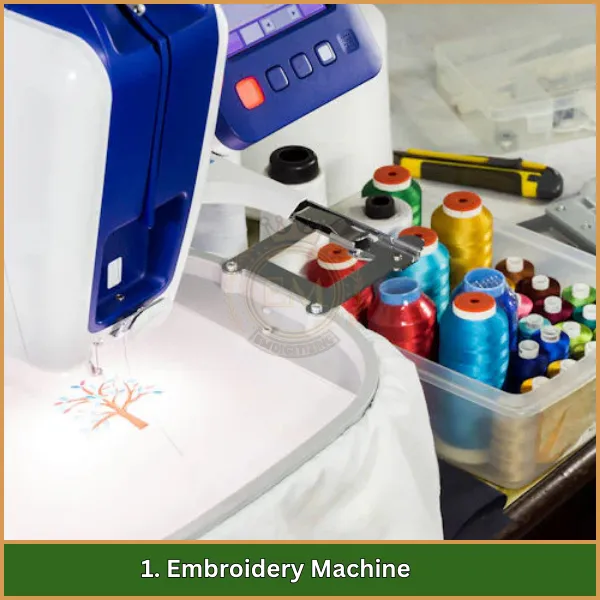
An embroidery machine is the core tool for any embroidery project. Per principianti, it’s important to choose the best embroidery machine for beginners that is user-friendly, has automatic features, and offers built-in designs to practice with. Machines like the Brother PE535 or Baby Lock Aventura 2 are great options as they provide pre-loaded designs and easy-to-use controls. Starting with a simple macchina da ricamo per principianti helps you focus on learning without getting overwhelmed.
2. Fili da ricamo
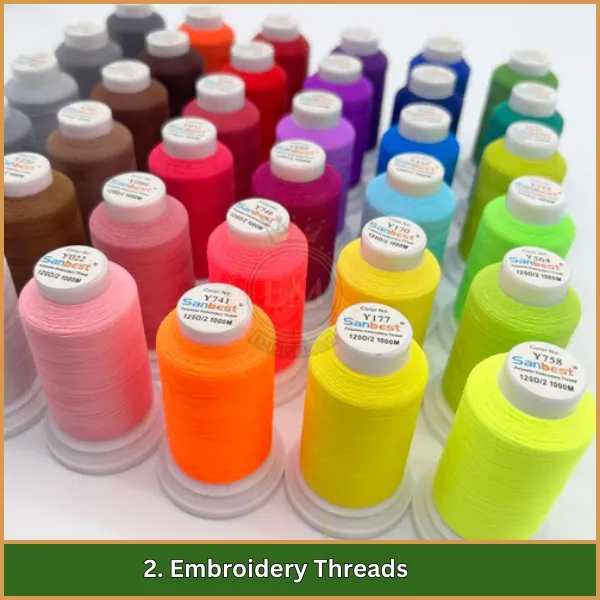
Threads are what bring your designs to life! Beginners should use polyester embroidery threads because they are durable and less prone to breakage. You’ll find these threads in vibrant colors and can purchase them from craft stores, online platforms like Amazon, or specialty embroidery shops. Always match the thread type to your project for the best results.
3. Stabilizzatori

Stabilizers prevent fabric from shifting or puckering during stitching. Per principianti, tear-away stabilizers are easy to use and suitable for most projects. Cut-away stabilizers are better for stretchy or delicate fabrics, while wash-away stabilizers are great for projects requiring a clean finish. Stabilizers can be found at fabric stores or online, and it’s helpful to stock a variety to experiment with.
4. Aghi (Aghi da ricamo)
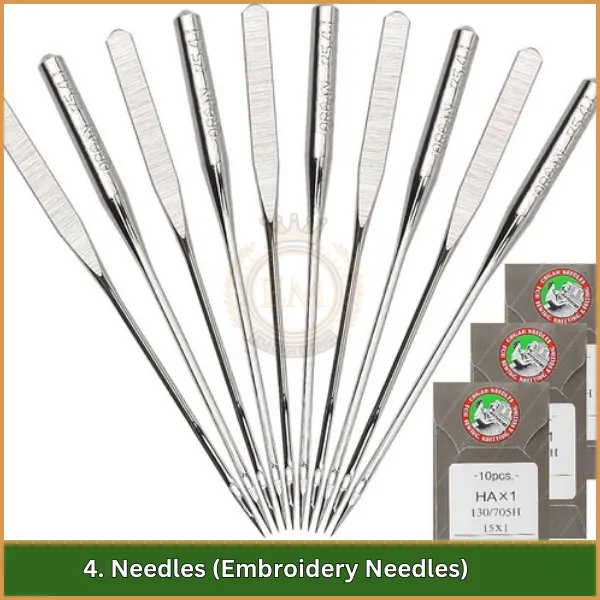
Aghi da ricamo are designed with larger eyes to accommodate thicker threads. Beginners should start with sizes 75/11 o 90/14, as they work well with standard fabrics and threads. These needles are widely available at craft stores or online. Always keep extra needles on hand, as they can dull or break with frequent use.
5. Cerchi da ricamo
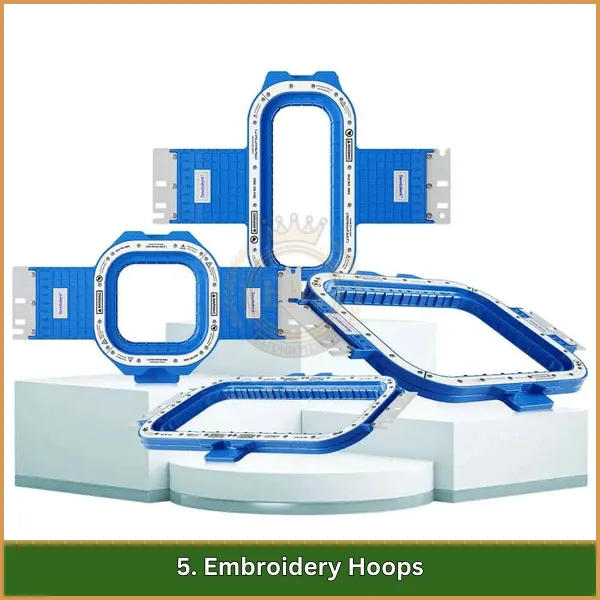
Hoops keep your fabric tight and in place for precise stitching. Come principiante, start with a medium-sized hoop, as it’s easier to manage. I cerchi sono disponibili in varie dimensioni, and you can purchase them at embroidery supply stores or online. If your machine includes hoops, make sure to familiarize yourself with how they attach and adjust.
6. Tessuto (cotone, Biancheria, eccetera.)
The fabric you choose determines the success of your embroidery project. Per principianti, cotton and linen are the easiest fabrics to work with because they are sturdy and hold stitches well. Avoid delicate or stretchy fabrics like silk and jersey until you have more experience. Fabric is available at local fabric stores or large retailers like Joann or Hobby Lobby.
7. Forbici (Piccolo, Sharp Ones)
Good embroidery scissors are crucial for trimming threads and cutting small details. Look for scissors with a sharp, pointed tip to ensure precision. These are widely available in craft stores and online. Beginners should invest in a quality pair to avoid frustration during projects.
8. Strumenti di marcatura (Washable Pens or Chalk)
Marking tools are used to trace designs or mark placement on fabric. Beginners should choose washable pens or tailor’s chalk to avoid permanent marks. These tools are inexpensive and can be found in craft stores or online. Ensure the marks can be easily removed after stitching to keep your project clean and professional.
9. Pre-Made Embroidery Designs or Custom Designs
Embroidery designs are what make your project unique. Beginners can start with pre-made designs available online from websites like EmbroideryDesigns, Zdigitizing or UrbanThreads. These designs come in various sizes and formats compatible with most machines.
If you want a custom design, Possiamo aiutare! All'EMdigitizing, we offer high-quality custom embroidery digitizing services at affordable prices. Whether you need a logo, monogramma, or intricate design, we’ll digitize it to perfection. Our services ensure smooth stitching results, and we guarantee high-quality designs tailored to your needs. Visit our website to explore more!
Step-by-Step Process for Machine Embroidery for Beginners
Fare un passo 1: Configura la tua macchina da ricamo
Begin by setting up your embroidery machine properly:
- Attach the embroidery unit securely if it’s a separate part.
- Insert a suitable embroidery needle (75/11 o 90/14) and thread the machine following the provided instructions.
Fare un passo 2: Seleziona il tuo disegno
Choose a design to embroider:
- Start with a basic, pre-made design to keep things simple.
- Ensure the design file format matches your machine’s compatibility.
Fare un passo 3: Prepare Your Fabric and Stabilizer
Get your fabric and stabilizer ready:
- Cut a piece of fabric larger than your hoop to avoid tight edges.
- Match your stabilizer type (a strappo, spaccato, o lavabile) to the fabric’s needs and layer it under the fabric for support.
Fare un passo 4: Hoop Your Fabric Correctly
Hooping is key to a successful outcome:
- Place the stabilizer in the outer hoop.
- Smooth your fabric over it to remove wrinkles.
- Lock both layers in place by securing the inner hoop.
Fare un passo 5: Load Your Design
Bring your design into the machine:
- Use a USB stick or direct connection to transfer the file.
- Navigate the interface to locate and select your design.
Fare un passo 6: Inizia a cucire
It’s time to start embroidering:
- Attach the hooped fabric to the machine.
- Double-check settings like thread tension and stitch type.
- Press start and watch the machine bring your design to life!
Fare un passo 7: Monitor and Finish the Design
Keep an eye on the process:
- Be ready to address thread breaks or pauses.
- Once completed, remove the hoop carefully and trim excess stabilizer and threads for a clean finish.
Fare un passo 8: Care for Your Finished Item
Follow proper care steps:
- Wash away stabilizer if needed.
- Handle your embroidered fabric with care to maintain its quality.
This straightforward process will help you confidently complete your first embroidery project!
Troubleshooting Common Problems in Machine Embroidery
Iniziare con machine embroidery for beginners can be a fun and creative journey, but it’s not uncommon to face a few challenges. Here are some common problems and practical solutions to help you create flawless embroidery projects.
1. Thread Keeps Breaking
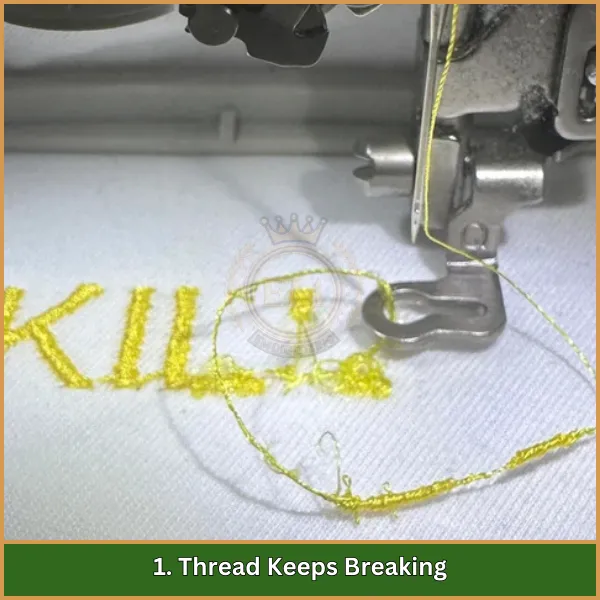
One of the most frustrating issues is frequent thread breakage, which can disrupt your workflow.
How to Fix It:
- Check the threading path to ensure everything is set up correctly.
- Use high-quality embroidery threads to avoid fraying or snapping.
- Adjust the thread tension to a balanced level for smoother stitching.
2. Fabric Wrinkles or Puckers
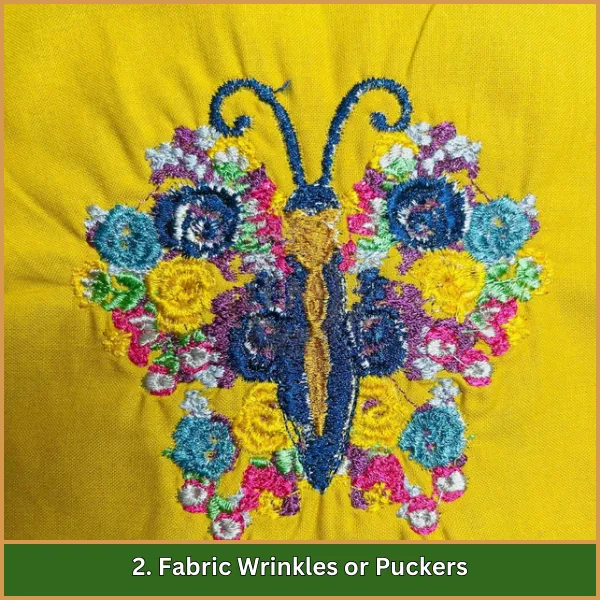
Puckering happens when the fabric around your design gathers or wrinkles, ruining the final look.
How to Fix It:
- Choose a stabilizer that suits your fabric’s type and weight.
- Hoop the fabric securely, ensuring it’s taut but not stretched.
- Test your design on a similar fabric scrap to avoid surprises.
3. Punti saltati
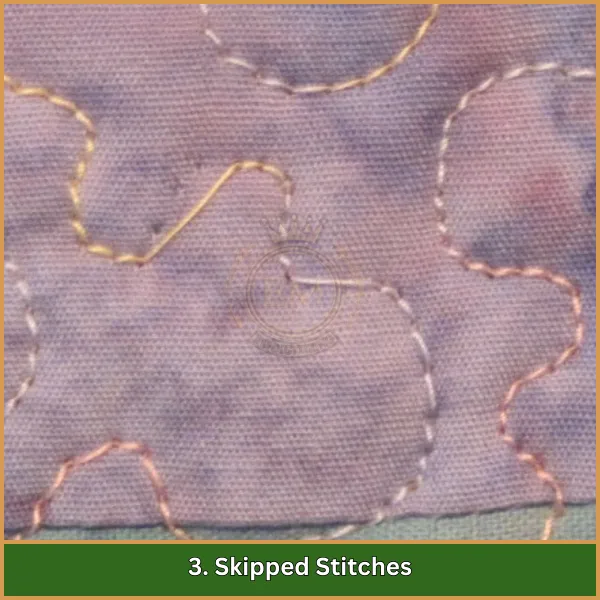
Missing stitches in your design can make it look incomplete and unprofessional.
How to Fix It:
- Replace the needle if it’s dull or bent; a sharp needle works best for embroidery.
- Match the needle size with the type of thread and fabric you’re using.
- Reduce the machine speed for intricate or detailed designs.
4. Tangled Thread Underneath (Bird’s Nesting)
A bird’s nest of thread on the fabric’s underside can ruin your project and waste time.
How to Fix It:
- Clean the bobbin area to remove lint and debris.
- Use a properly wound bobbin and ensure it’s inserted correctly.
- Balance the upper and bobbin thread tension for smooth stitching.
5. Machine Running Too Slowly
A slow-running machine can make embroidery feel tedious.
How to Fix It:
- Check the machine settings and adjust the speed for your project.
- Perform regular maintenance, including cleaning and oiling, to keep your machine in good condition.
6. Lower Thread Isn’t Picking Up
If the machine isn’t catching the bobbin thread, it won’t stitch properly.
How to Fix It:
- Replace a bent or dull needle with a new one.
- Rethread both the upper and lower threads, following the machine’s manual for accuracy.
7. Hoop Marks on Fabric
Hoop marks can leave unwanted impressions on delicate fabrics, detracting from your finished work.
How to Fix It:
- Use magnetic hoops or avoid hooping the fabric too tightly.
- Remove marks by gently steaming or washing the fabric after embroidery.
Conclusione
Starting with machine embroidery for beginners opens the door to endless creative possibilities. With a little practice and the right approach, you can master the art of transforming simple fabrics into personalized masterpieces. Every stitch brings you closer to perfecting your skills and exploring exciting new projects.
Per portare il tuo ricamo al livello successivo, Fidati di emdigitizzare per tutte le tue esigenze di digitalizzazione. We offer premium-quality servizi di digitalizzazione a prezzi imbattibili, ensuring fast turnaround times and exceptional results. Più, our unique preview option lets you see your design before it’s finalized, quindi sai esattamente cosa aspettarti.
If you’re new to EMDigitizing, we have a special treat for you—enjoy an exclusive 50% sconto sul tuo primo ordine! Let us help turn your creative ideas into stunning embroidery designs. Visita EMDigitalizzazione oggi e sperimenta la differenza!
Domande frequenti
Start by choosing a beginner-friendly machine and gathering supplies like threads, aghi, e stabilizzatori. Use online tutorials and beginner kits to practice at your own pace. Join embroidery communities for tips, supporto, e feedback.
A single-needle machine with easy controls and built-in designs, like Brother PE535 or Janome 400E, è l'ideale. Look for models with clear instructions and support resources. These machines make learning simple and enjoyable.
Familiarize yourself with your embroidery machine by reading the manual and practicing threading. Begin with simple patterns on scrap fabric to build confidence. Gradually move to complex designs as your skills improve.
Set up and thread the machine, then select and load your design. Hoop and stabilize your fabric securely before starting the embroidery. Finish by trimming threads and removing excess stabilizer.
