Curioso di sapere come ricamare sulla carta igienica? È una tendenza creativa che unisce umorismo e abilità, trasformare un oggetto quotidiano in qualcosa di veramente unico. Dai regali eccentrici all'arredamento delle feste, La carta igienica ricamata è un modo divertente per sorprendere e deliziare.
Se sei nuovo in questa idea, Non preoccuparti, è più semplice di quanto sembri! Questa guida ti porterà passo dopo passo attraverso il processo, Aiutarti a evitare errori comuni e ottenere risultati impeccabili. Pronto per iniziare? Trasformiamo la carta igienica ordinaria in un capolavoro!
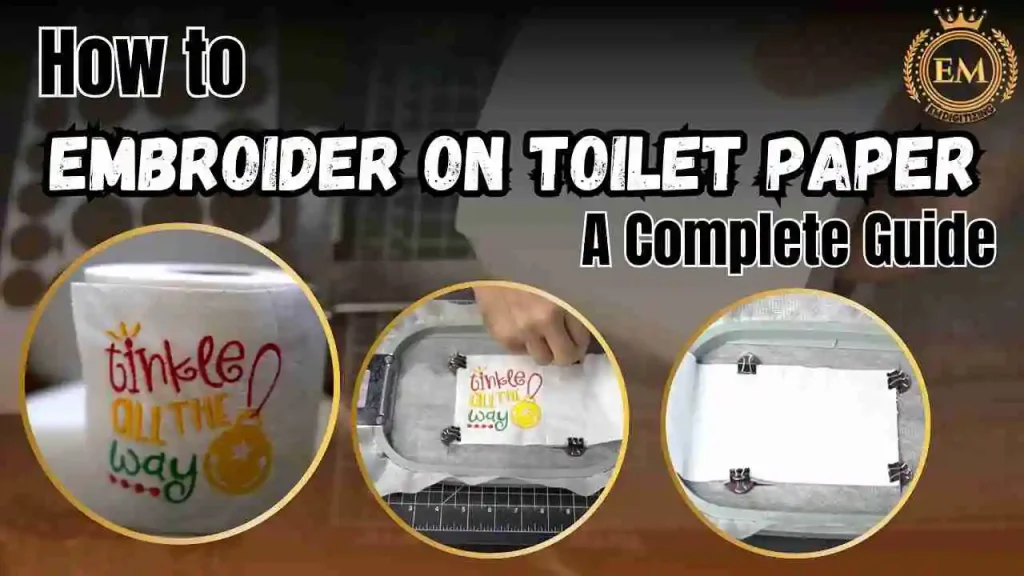
Come ricamare sulla carta igienica: Una guida completa
Perché ricamare su carta igienica?
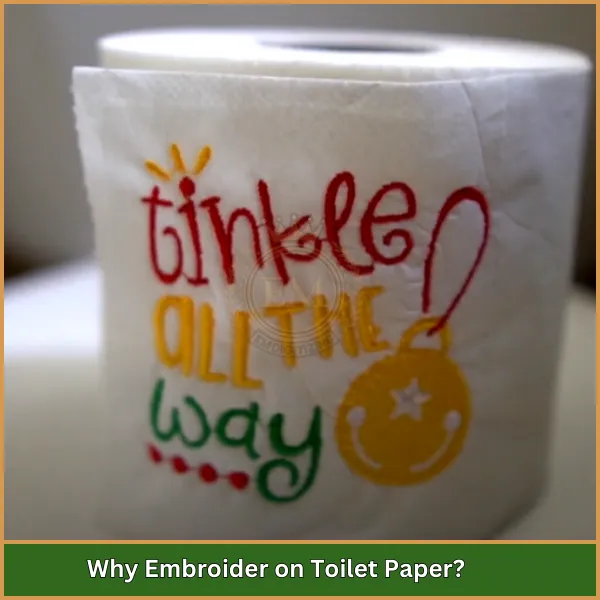
Ricamare su carta igienica può sembrare non convenzionale, Ma è diventata una tendenza divertente e creativa nel mondo dei ricami. Questo mezzo unico consente di creare disegni eccentrici e personalizzati che creano regali memorabili o oggetti di novità.
Sia per le vacanze, compleanni, o proprio come un pezzo umoristico, La carta igienica ricamata può portare un sorriso sul viso di chiunque. It’;s anche un modo fantastico per mostrare le tue abilità di ricamo in modo inaspettato, renderlo un antipasto di conversazione.
Oltre l'umorismo, Può essere un tocco decorativo per eventi a tema o addirittura servire come un unico branding per le aziende. Ricambio su carta igienica è un modo entusiasmante di pensare fuori dagli schemi ed esplorare nuove possibilità nel ricamo.
Materiali necessari per il ricamo di carta igienica
Quando si impara a ricamare su carta igienica, it’;s essenziale raccogliere i materiali giusti per garantire il successo. L'uso degli strumenti corretti ti aiuterà a raggiungere la pulizia, disegni professionali Su questa delicata superficie.
- Carta igienica (2-Ply o più)
- Macchina da ricamo
- STABILITORE LA TRADA
- Adesivo a spruzzo temporaneo
- Filo da ricamo
- Ago (taglia 75/11 o 80/12)
- Piccole forbici
- Righello o metro a nastro
1. Carta igienica (2-Ply o più)
Per ricamo, Seleziona il La migliore carta igienica su cui ricamare, che dovrebbe essere 2 o superiore. Questo garantisce che la carta sia abbastanza robusta da resistere alle cuciture senza strappare. La carta igienica di qualità premium con una superficie liscia funziona meglio per design dettagliati.
2. Macchina da ricamo
Una macchina da ricamo è essenziale per design precisi e coerenti. Assicurarsi che la macchina sia impostata per gestire materiali delicati, e testalo prima su un campione per evitare problemi.
3. STABILITORE LA TRADA
L'uso di uno stabilizzatore di lacrime è vitale per supportare la fragile carta igienica durante il ricamo. Impedisce alla carta arricciarsi e garantisce un liscio, anche design.
4. Adesivo spray temporaneo
Un adesivo a spruzzo temporaneo aiuta a fissare la carta igienica allo stabilizzatore. Questo impedisce il cambio durante il ricamo, Garantire che il design rimanga adeguatamente allineato.
5. Filo da ricamo
Scegliere di alta qualità filo da ricamo per design vibranti e durevoli. I fili di poliestere sono particolarmente adatti in quanto sono forti e sono disponibili in un'ampia varietà di colori.
6. Ago (Dimensione 75/11 o 80/12)
Usa un piccolo ago da ricamo, come le dimensioni 75/11 o 80/12, per ridurre al minimo il rischio di strappare la carta igienica durante le cuciture. Un ago affilato creerà fori puliti per il filo.
7. Piccole forbici
Affilato, Piccole forbici sono essenziali per tagliare i fili ordinatamente senza danneggiare la carta delicata. Aiutano anche a rimuovere qualsiasi stabilizzatore attorno al design.
8. Sovrano o nastro di misurazione
Un righello o un nastro di misurazione garantisce un posizionamento preciso del design sulla carta igienica. Il corretto allineamento è la chiave per raggiungere un aspetto professionale.
Come ricamare sulla carta igienica | Passo dopo passo
Apprendimento Come ricamare a macchina su carta igienica Può essere un modo gratificante e divertente per mostrare le tue abilità di ricamo. Questa guida passo-passo ti aiuterà a creare splendidi design su questo mezzo non convenzionale evitando le insidie comuni.
1. Scegli la carta igienica giusta
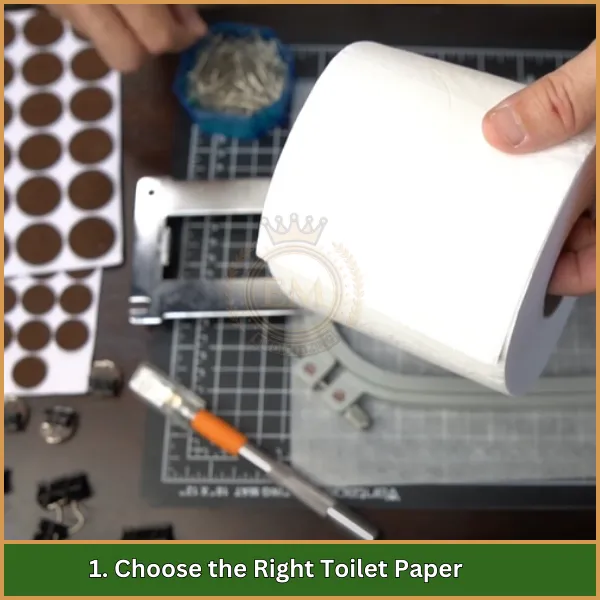
Il tipo di carta igienica che usi è cruciale. Optare per carta igienica a 2 o più alte, in quanto fornisce la forza necessaria per trattenere i punti senza strappare. La carta igienica di qualità premium con una superficie liscia funziona meglio, poiché garantisce un design più pulito e più dettagliato. Evita la carta igienica con motivi o goffrazioni, come possono interferire con il ricamo.
2. Preparare lo stabilizzatore
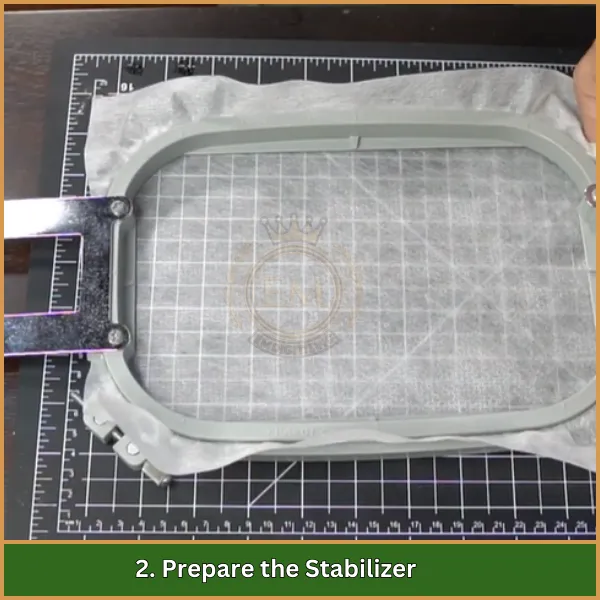
Lo stabilizzatore è essenziale per supportare la delicata carta igienica durante il processo di ricamo. Taglia un pezzo di stabilizzatore a vena leggermente più grande del tuo cerchio di ricamo. Ciò contribuirà a impedire alla carta di arricciare e fornire una base robusta per il tuo design.
3. Sottoponi la carta igienica
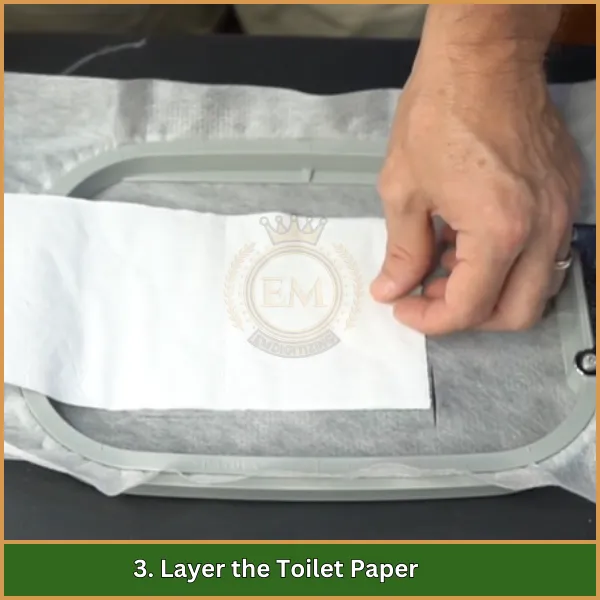
Per rafforzare l'area del ricamo, strato 3-4 fogli di carta igienica. Allinea gli strati uniformemente per garantire che l'intera area sia rafforzata. Questi strati aiuteranno a evitare che la carta igienica si strappa durante il processo di cucitura.
4. Sicuro con adesivo a spruzzo temporaneo

Applicare una nebbia leggera di adesivo temporaneo a spruzzo allo stabilizzatore e premere con cura gli strati di carta igienica su di esso. Questo passaggio garantisce che la carta igienica rimanga in posizione durante il ricamo, Ridurre il rischio di spostarsi o raggruppare.
5. Cerchio la carta igienica e stabilizzatore
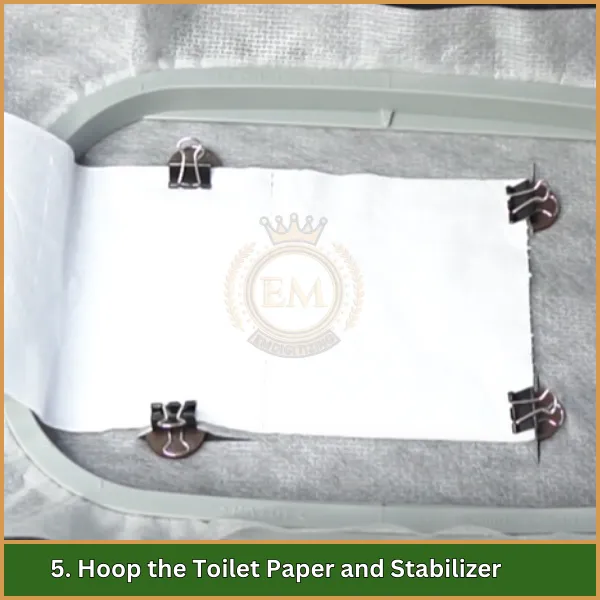
Posizionare lo stabilizzatore e la carta igienica nel cerchio di ricamo. Sii gentile per evitare di strappare la carta. Assicurarsi che l'area da ricamare sia tesa e piatta, Poiché qualsiasi lento può portare a punti arrucciati o irregolari.
6. Seleziona e carichi il design

Scegli un design semplice e leggero, Poiché i disegni pesanti o complessi possono strappare la carta. Carica il design sulla macchina da ricamo e posizionalo correttamente sulla carta igienica.
Se hai bisogno di un design personalizzato, Emdigitizzare può digitalizzarlo per te! Ci assicuriamo che il design sia perfetto per la carta igienica, so it won’;t causare danni durante il ricamo.
7. Regola le impostazioni della macchina
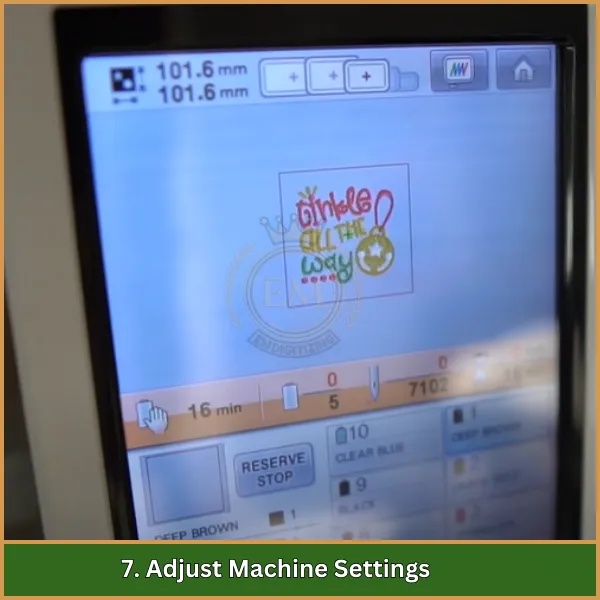
Metti la macchina da ricamo a una velocità più lenta per ridurre al minimo la tensione sul materiale fragile. Usa un piccolo ago, come le dimensioni 75/11 o 80/12, che crea buchi più piccoli e riduce la possibilità di strappare la carta. Regolare le impostazioni della tensione se necessario per garantire cuciture fluide.
8. Inizia a ricamare
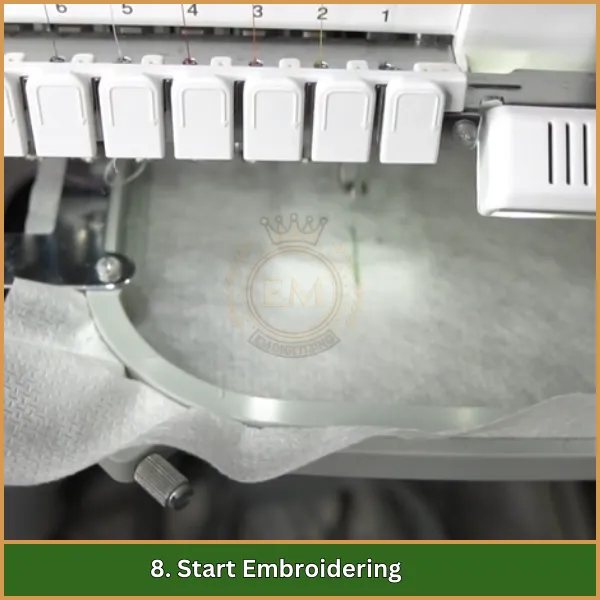
Inizia lentamente il processo di ricamo. Tieni d'occhio la macchina per assicurarti che la carta igienica non si muova o si strappa. Se la macchina si interrompe o se c'è un eccessivo accumulo di thread, mettere in pausa e apportare modifiche prima di continuare.
9. Rimuovere lo stabilizzatore
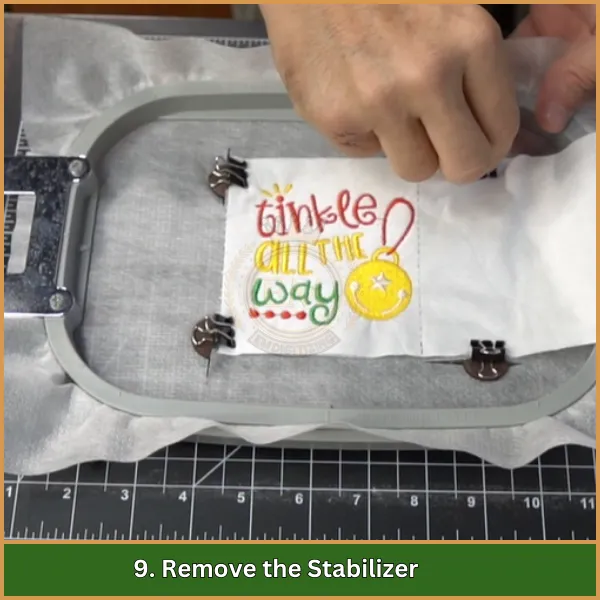
Una volta completato il ricamo, Rimuovere delicatamente il cerchio e strappare via lo stabilizzatore dal retro della carta igienica. Fai attenzione a non tirare troppo forte, poiché ciò potrebbe danneggiare i punti o strappare la carta.
10. Taglia i fili in eccesso
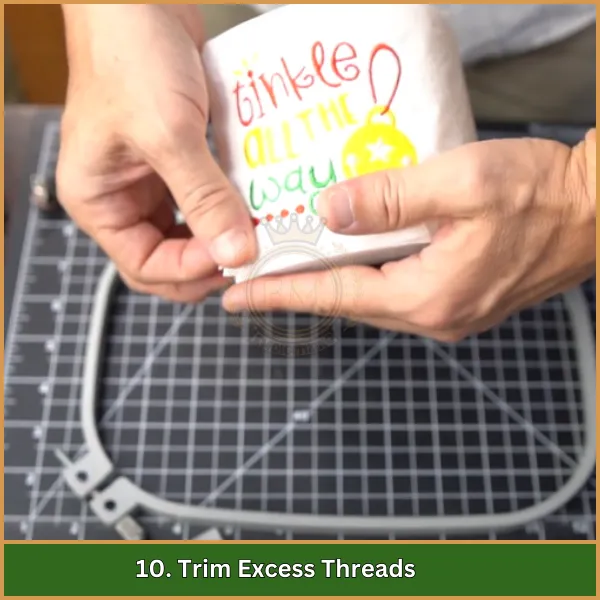
Usa un paio di acuti, Piccole forbici per tagliare con cura eventuali fili sciolti attorno al design. Questo passaggio dà alla tua carta igienica ricamata una finitura pulita e professionale.
Risoluzione dei problemi di problemi comuni mentre ricamerai su carta igienica
Quando impari come ricamare su carta igienica, Potresti affrontare alcune sfide. Ecco i problemi più comuni e come risolverli:
- Lacerazione durante il ricamo: Usa carta igienica a 2 strati o più spessa, e assicurarsi che sia saldamente attaccato a uno stabilizzatore con adesivo a spruzzo temporaneo per evitare lo strappo.
- Spostamento della carta nel cerchio: Assicurati che la carta igienica e lo stabilizzatore siano stretti. L'aggiunta di strati extra di carta igienica può anche aiutare a ridurre lo spostamento.
- Raggruppare il design: Controlla le impostazioni di tensione sulla macchina per ricami e assicurati che lo stabilizzatore sia abbastanza forte da tenere la carta piatta.
- Discussione che si rompe frequentemente: Usa un filo di alta qualità e un ago più piccolo (taglia 75/11 o 80/12). Regola la velocità della macchina per evitare sforzi extra sul filo.
- Design troppo denso per la carta: Scegli la luce, disegni semplici. I punti densi possono facilmente strappare la carta igienica o causare distorsioni.
- Stabilizzatore difficile da rimuovere: Strappare delicatamente lo stabilizzatore mentre tieni saldamente la carta. Usa uno stabilizzatore più leggero per lacrime per una più facile rimozione.
Conclusione
Padroneggiare come ricamare sulla carta igienica può trasformare un normale oggetto domestico in una creazione unica e accattivante. Con il design e la tecnica giusti, Puoi fare qualcosa di veramente memorabile per i regali, eventi, o divertimento personale.
Hai bisogno di un design da ricamo personalizzato? EMdigitizing è qui per aiutarti! Noi offriamo servizi di digitalizzazione di alta qualità a prezzi imbattibili, con tempi di inversione di tendenza e precisione garantita. Più, La nostra opzione di anteprima assicura che tu sia 100% soddisfatto del design prima che venga finalizzato. Ed ecco la parte migliore: se è la prima volta con noi, otterrai 50% dal tuo primo ordine!
Pronto a dare vita alle tue idee creative? Clicca qui per iniziare EMDigitalizzazione Oggi!
Domande frequenti
sì, Persone ricamare su carta igienica, Spesso come un modo divertente e creativo per fare regali o decorazioni di novità per occasioni speciali.
La gente ricamò la carta igienica per creare regali personalizzati o aggiungere un utente, Tocco artistico a un oggetto quotidiano, rendendolo più unico e memorabile.
A parte la carta igienica, Puoi ricamare su materiali robusti come cartoncino o carta artigianale spessa, che può gestire le cuciture senza strappare.
I disegni su carta igienica ricamata sono in genere per la decorazione, Con temi come le vacanze, monogrammi personalizzati, o motivi giocosi che portano gioia e risate.
