Come ricamare sulla pelliccia sintetica all'inizio può sembrare complicato, ma con i giusti consigli, puoi creare bellissimi disegni anche su superfici soffici! La pelliccia sintetica è unica per la sua consistenza, che spesso nasconde dettagli fini, quindi far risaltare il ricamo richiede alcune tecniche speciali.
In questa guida, Ti guiderò attraverso semplici passaggi e consigli indispensabili per rendere i tuoi ricami in pelliccia sintetica un aspetto professionale e raffinato. Che tu sia nuovo nel mondo della pelliccia sintetica o desideri migliorare le tue abilità, questi semplici metodi ti aiuteranno a creare progetti dall'aspetto fantastico, stai chiaro, e avere quel fattore wow.
Immergiamoci!
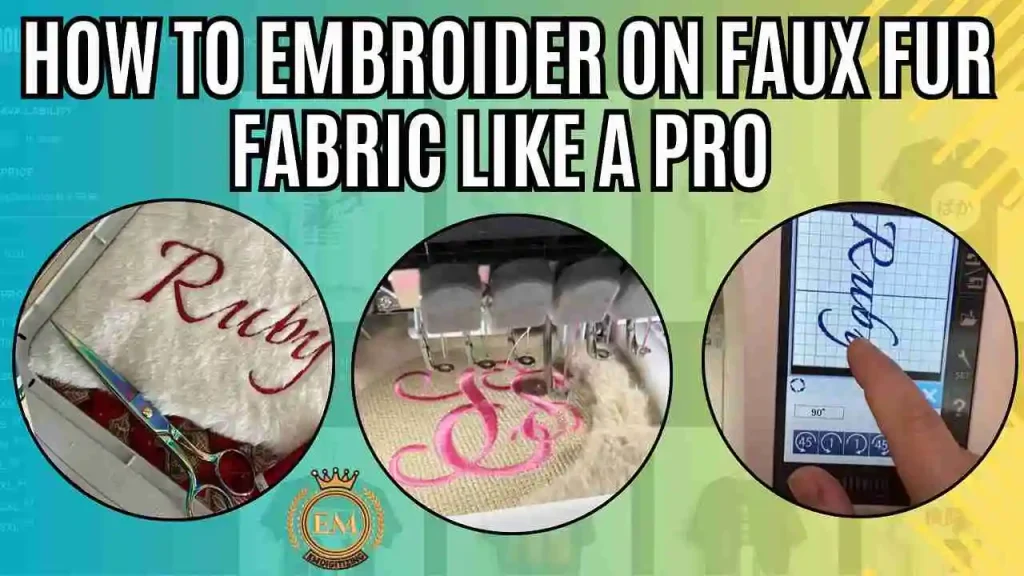
Come ricamare su un tessuto in pelliccia sintetica come un professionista?
Materiali essenziali per ricamare sulla pelliccia sintetica
Per ottenere i migliori risultati sulla pelliccia sintetica, utilizzare i materiali giusti è essenziale. Here’;C'è un elenco di elementi che ti aiuteranno a creare cose pulite, ricamo professionale su questo tessuto unico.
- Tessuto in pelliccia sintetica
- Macchina da ricamo
- Aghi da ricamo (appuntito o a sfera)
- Filo da ricamo (poliestere o rayon)
- Stabilizzatore (tagliato o strappato)
- Adesivo spray temporaneo
- Forbici (per tagliare la pelliccia e i fili)
- Strumento di marcatura (solubile in acqua o cancellabile a caldo)
- Telaio da ricamo
1. Tessuto in pelliccia sintetica
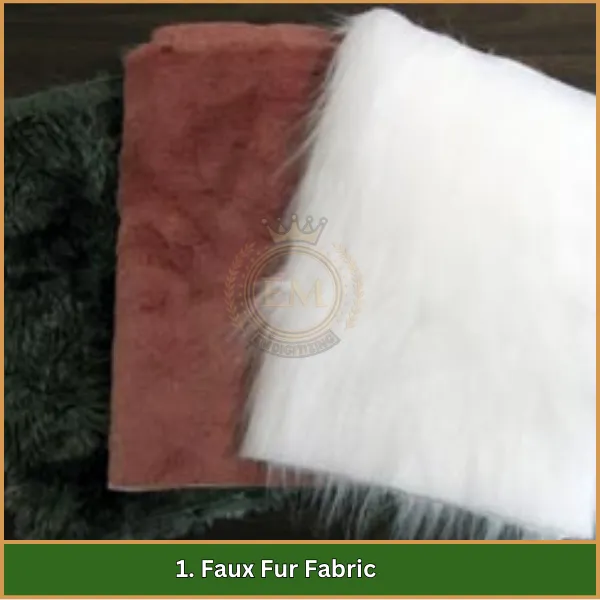
Il tessuto in pelliccia sintetica è il materiale principale che richiede una manipolazione e una preparazione speciali per il ricamo. È disponibile in vari tipi, compreso breve, medio, e lunghezze a pelo lungo.
La pelliccia sintetica a pelo corto è generalmente consigliata per il ricamo poiché offre una superficie più stabile, rendendo i dettagli del disegno più visibili e il processo di ricamo più semplice. Scegliere il giusto tipo di pelliccia sintetica è fondamentale per evitare un'eccessiva lanugine che può oscurare il disegno.
2. Macchina da ricamo
Una macchina da ricamo è essenziale per ricamare in modo preciso e professionale su tessuti in pelliccia sintetica. Una macchina con tensione regolabile e varie opzioni di punto è ideale per lavorare su tessuti spessi come la pelliccia sintetica, in quanto consente una maggiore personalizzazione e garantisce fluidità, anche cuciture.
3. Aghi da ricamo
Usare il tipo di ago corretto è fondamentale per ricamo in pelliccia sintetica. Si consigliano aghi affilati perché perforano il tessuto spesso senza danneggiare le fibre. Gli aghi a sfera sono anche un'opzione per la pelliccia sintetica con supporto in tessuto, mentre scivolano tra le fibre senza tagliare.
4. Filo da ricamo
I fili di poliestere o rayon sono più adatti per la pelliccia sintetica poiché sono forti e resistenti allo sbiadimento, anche su superfici strutturate. Filo di poliestere, in particolare, è consigliato per la durata e la vivacità del colore, assicurando che il design risalti su tessuti morbidi come la pelliccia sintetica.
5. Stabilizzatore
Uno stabilizzatore è vitale per mantenere la pelliccia sintetica in posizione e impedire che il tessuto si sposti. Lo stabilizzatore cutaway è consigliato per la pelliccia sintetica più spessa poiché fornisce un supporto solido. Lo stabilizzatore a strappo può essere utilizzato anche se la pelliccia sintetica è leggera e non richiede tanta stabilità.
6. Adesivo spray temporaneo
L'adesivo spray temporaneo aiuta a mantenere saldamente in posizione lo stabilizzatore e il tessuto in pelliccia sintetica durante il ricamo. Ciò impedisce lo spostamento, che è comune con la consistenza soffice della pelliccia sintetica, garantendo che il progetto rimanga allineato durante tutto il processo.
7. Forbici
Le forbici da ricamo affilate sono essenziali per tagliare sia la pelliccia che il filo senza tirare o danneggiare il tessuto. Più piccolo, le forbici precise sono particolarmente utili per tagliare attorno al disegno, dando una finitura pulita alla pelliccia sintetica ricamata.
8. Strumento di marcatura
Uno strumento di marcatura solubile in acqua o cancellabile a caldo è ideale per tracciare linee guida sul tessuto in pelliccia sintetica. Questi contrassegni facilitano il posizionamento accurato del disegno e possono essere facilmente rimossi dopo il ricamo, garantendo che non rimangano residui sul tessuto.
9. Telaio da ricamo
Un telaio da ricamo è fondamentale per fissare saldamente il tessuto in pelliccia sintetica, consentendo cuciture precise. Scegli una dimensione del telaio che corrisponda al tuo design per evitare spostamenti, poiché l'intelaiatura aiuta a controllare la morbidezza della pelliccia sintetica e impedisce che interferisca con il ricamo.
Come ricamare sulla pelliccia sintetica: Guida passo passo
Il ricamo su pelliccia sintetica richiede tecniche specifiche per ottenere risultati professionali. Segui questi passaggi per assicurarti che il ricamo a macchina sulla pelliccia sintetica appaia pulito e ben definito.
1. Prepara il tessuto in pelliccia sintetica
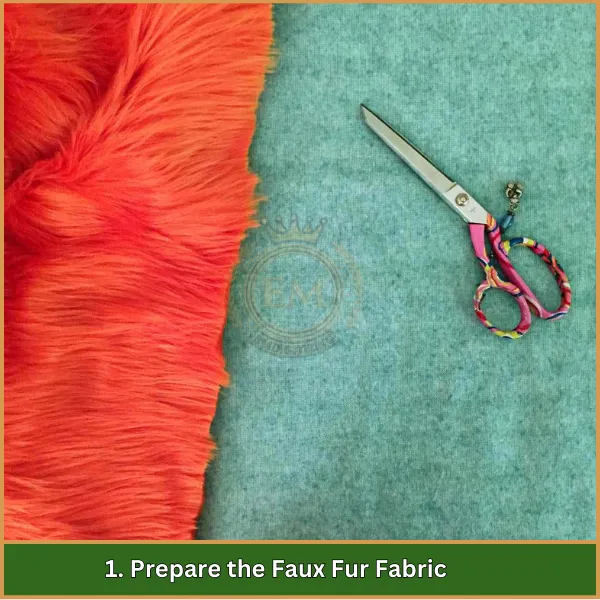
Prima di iniziare, prepara la pelliccia sintetica eliminando la peluria in eccesso dalla zona in cui ricamerai. Questo passaggio è essenziale se lavori con pelliccia sintetica a pelo lungo, in quanto potrebbe oscurare i dettagli del design.
2. Scegli e fissa lo stabilizzatore

Attacca uno stabilizzatore a spalla mancante o a strappo sul retro del tessuto in pelliccia sintetica. Utilizzare un adesivo spray temporaneo per tenerlo in posizione, garantendo che il tessuto rimanga stabile durante tutto il processo di ricamo.
3. Segna l'area di ricamo
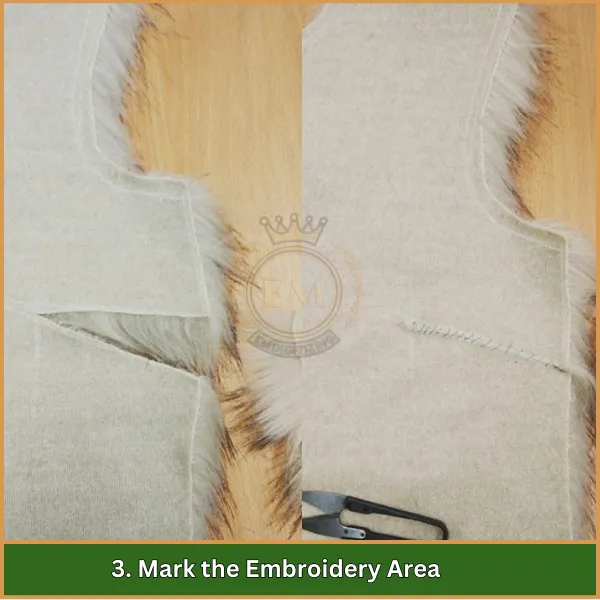
Utilizzando uno strumento di marcatura idrosolubile o cancellabile a caldo, segna il centro del tuo disegno sulla pelliccia sintetica. Questa marcatura aiuterà con il posizionamento accurato del disegno sul tessuto.
4. Fai galleggiare il tessuto e lo stabilizzatore (Invece di Hoop)
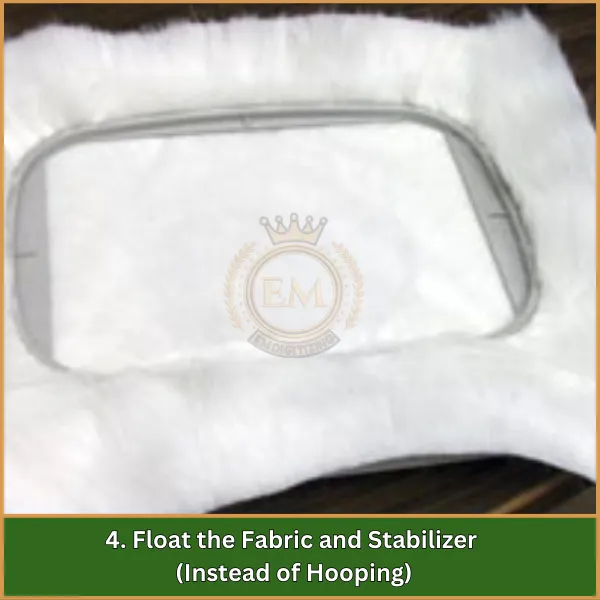
Per pelliccia sintetica, il galleggiamento del tessuto è spesso preferito rispetto all'intelaiatura. Posiziona la pelliccia sintetica stabilizzata sopra lo stabilizzatore nel telaio senza fissarla direttamente nel telaio. Il galleggiamento aiuta a prevenire l'appiattimento della pelliccia e riduce le bruciature del cerchio, che possono lasciare segni sul tessuto.
5. Digitalizza il disegno da ricamo per la pelliccia sintetica
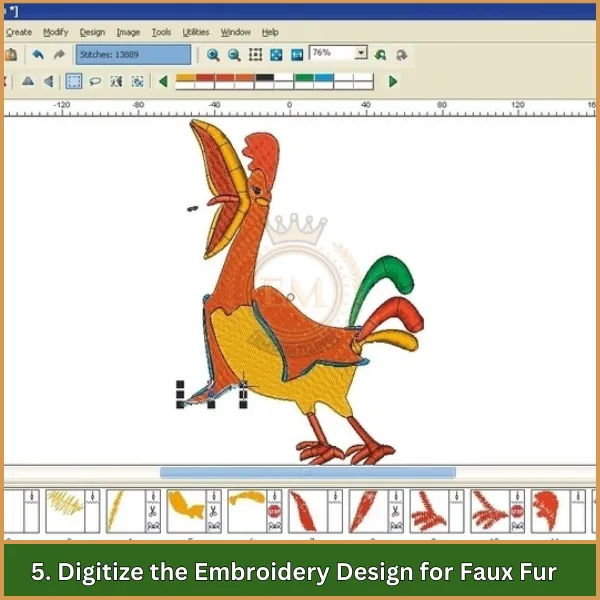
Saper ricamare con successo su pelliccia sintetica inizia con la giusta digitalizzazione. Disegni con dimensioni maggiori, forme più audaci e una densità di punto inferiore funzionano meglio, poiché risaltano più chiaramente sulla soffice consistenza della pelliccia sintetica.
Se non hai un disegno digitalizzato pronto, puoi farlo digitalizzare sapientemente EMDigitalizzazione. Noi offriamo servizi di digitalizzazione di alta qualità a tariffe convenienti, garantendo i migliori risultati per il ricamo in pelliccia sintetica, con ogni design ottimizzato per chiarezza e professionalità.
6. Caricare e impostare la macchina da ricamo
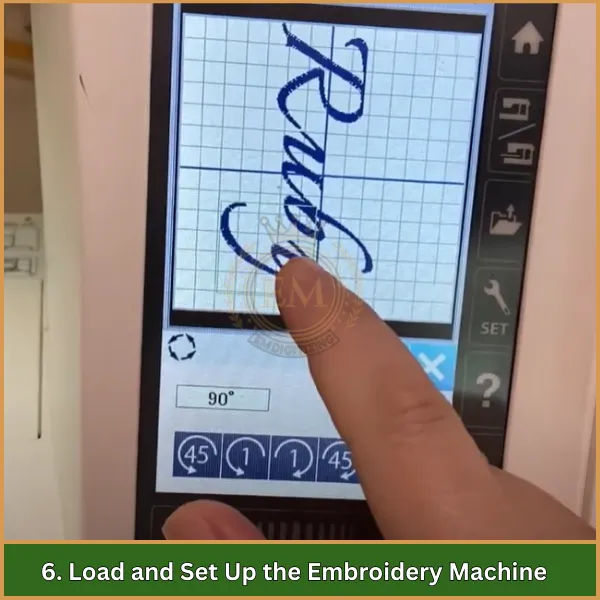
Una volta digitalizzato il tuo progetto, caricalo nella macchina da ricamo per ricamare efficacemente sulla pelliccia sintetica. Assicurati che le impostazioni corrispondano allo spessore della pelliccia sintetica e, se possibile, imposta la velocità su un valore inferiore, poiché la pelliccia sintetica richiede cuciture più controllate per mantenere il disegno allineato e preciso.
7. Inizia il processo di ricamo
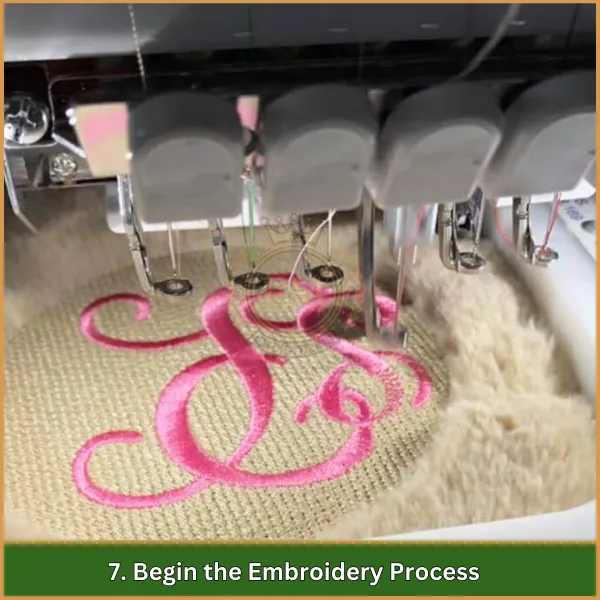
Inizia a ricamare il disegno, monitorare attentamente il processo. La pelliccia sintetica potrebbe richiedere lievi regolazioni o pause per garantire che il tessuto rimanga allineato e che i punti rimangano chiari e definiti.
8. Taglia e pulisci l'area di disegno
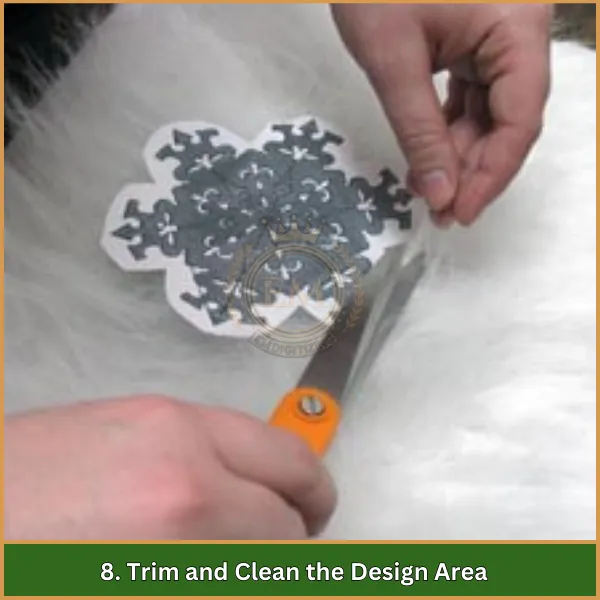
Una volta completato il ricamo, tagliare eventuali fili vaganti e sprimacciare la pelliccia attorno al disegno per ripristinarne la consistenza. Fare attenzione a non tirare troppo forte, poiché ciò potrebbe danneggiare il ricamo o il tessuto.
9. Rimuovere i contrassegni e lo stabilizzatore
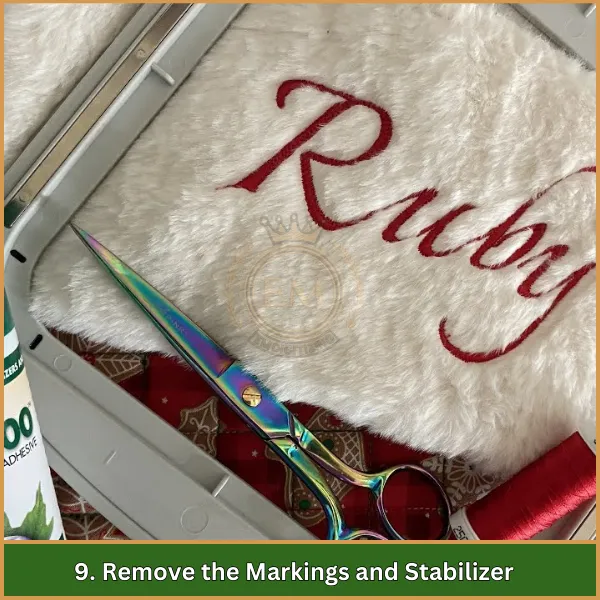
Infine, rimuovere eventuali stabilizzatori rimasti dal retro del tessuto. Se hai utilizzato uno strumento di marcatura solubile in acqua, pulire delicatamente le marcature con un panno umido, garantendo che non rimangano residui sul tessuto.
Suggerimenti per la digitalizzazione di disegni da ricamo per pelliccia sintetica
- Scegli Grassetto, Disegni semplici: Evita dettagli complessi; le forme audaci risaltano meglio sulla pelliccia sintetica.
- Densità del punto inferiore: Riduce l'opacità e mantiene il disegno visibile sulla superficie del tessuto.
- Aumenta la compensazione della trazione: Previene la distorsione del disegno sulla pelliccia sintetica regolando lo spostamento del tessuto.
- Usa punti pieni per i contorni: Crea audace, linee visibili; evitare punti sottili o continui.
- Evitare caratteri piccoli: Usa grande, caratteri semplici per la leggibilità; il testo piccolo può perdersi nella pelliccia.
- Prova su tessuto campione: Esegui un punto di prova per verificare l'aspetto del disegno e apportare modifiche.
- Opzione di digitalizzazione professionale: Ottieni da noi una digitalizzazione esperta per risultati di alta qualità su pelliccia sintetica.
Linea di fondo
Come ricamare sulla pelliccia sintetica può essere un'esperienza divertente e gratificante quando si conoscono le tecniche giuste. Seguendo i passaggi e i suggerimenti contenuti in questa guida, sarai in grado di creare disegni che risaltano davvero su tessuti soffici. Una corretta digitalizzazione è essenziale per il ricamo in pelliccia sintetica per garantire che il tuo disegno appaia chiaro e professionale.
Se hai bisogno di aiuto con la digitalizzazione, EMDigitalizzazione offre servizi di prim'ordine alle tariffe più convenienti, con tempi di consegna super rapidi e qualità garantita. Più, forniamo un'opzione di anteprima in modo che tu possa vedere il tuo progetto prima di finalizzarlo.
E se sei un cliente per la prima volta, goditi uno speciale 50% sconto sul tuo ordine. Lascia che ti aiutiamo a dare vita ai tuoi ricami in pelliccia sintetica digitalizzazione esperta!
