Are you excited to start embroidering but not sure where to begin? Per iniziare, it’s important to understand the embroidery machine basics before diving into your first project. Once you have a clear knowledge of the process, you’ll be able to create beautiful designs with confidence.
In questa guida, we’ll first explain the essential components of an embroidery machine and then walk you through a simple step-by-step process that you can follow to use an embroidery machine for any design, whether it’;s a built-in design or a custom one.
Let’;Iniziamo!
Nozioni di base sulla macchina da ricamo
Cos'è una macchina da ricamo?
UN macchina da ricamo is a tool designed specifically for creating embroidery designs on fabric. Unlike a regular sewing machine, it automatically stitches complex patterns and can be programmed to replicate designs with precision.
Tipi di macchine da ricamo
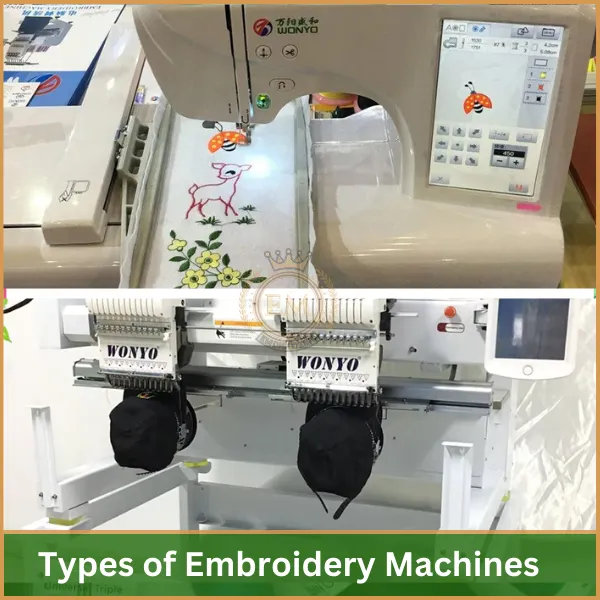
When it comes to embroidery machines, there are two main types you should know about: single-needle e multiago macchine.
Each one has its own benefits and limitations, so it’;s important to choose the right one based on your needs.
Understanding these differences will help you make better decisions for your projects.
Type of Embroidery Machine | Descrizione | Professionisti | Contro |
Single-Needle Machines | These machines use a single needle to create embroidery designs. They are most common for home use and are perfect for smaller, simpler projects. |
|
|
Macchine multi-needle | Multi-needle machines have multiple needles (Generalmente 4 a 10) that allow for multiple thread colors to be used simultaneously, making them ideal for professional use and larger designs. |
|
|
Understanding the type of machine you have will help you manage projects better. Learning these embroidery machine basics is crucial before starting your first project.
Key Parts of an Embroidery Machine
Before starting your embroidery journey, it’s essential to understand the main components of your machine. Each part plays a crucial role in the overall embroidery process:
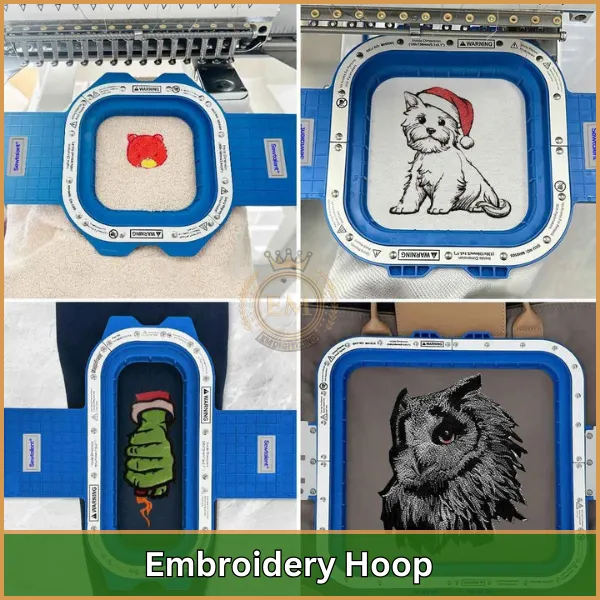
Telaio da ricamo: This is a circular or rectangular frame that holds your fabric securely in place while the machine works. It ensures the fabric doesn’t move or wrinkle, allowing the machine to stitch with precision.
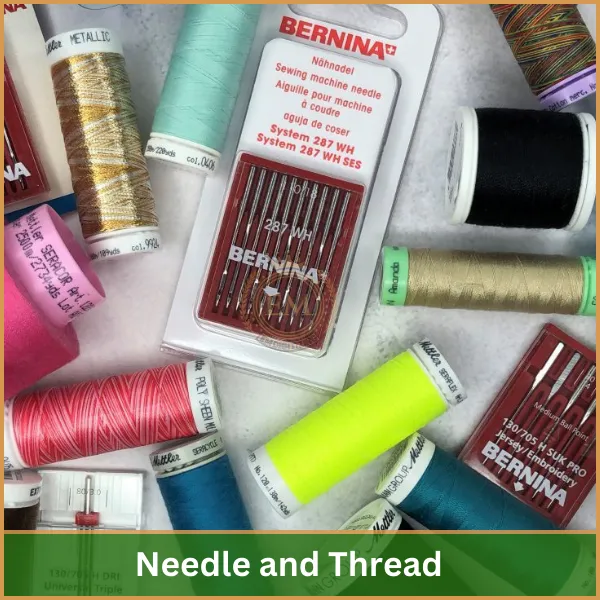
Needle and Thread: The needle moves up and down through the fabric, while the thread forms the actual stitches.
Insieme, they create the design on the fabric. Different types of needles and threads are used depending on the fabric and design requirements.
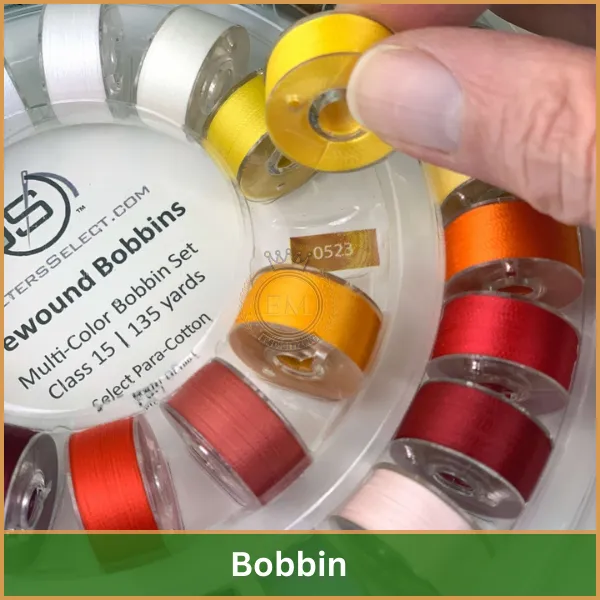
Bobina: The bobbin holds the lower thread, which works together with the upper thread from the needle to form the stitches.
It’s a small spool placed in the lower part of the machine, and without it, stitches wouldn’t lock properly.
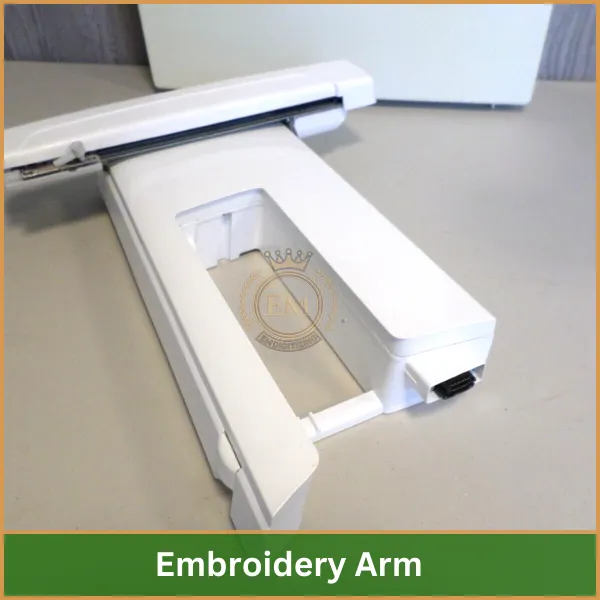
Braccio di ricamo: This arm is responsible for moving the telaio da ricamo and guiding the needle to stitch the design in different positions. It follows the programmed path of your design to ensure the stitches are placed accurately.
Understanding how these parts work together is a fundamental step in learn using an embroidery machine. Take your time to explore each part and refer to your machine’s manual for specific instructions.
What are the Key Features of Embroidery Machine?
Embroidery machines come with a variety of features that enhance their functionality and usability. Here are the key features to consider when looking at embroidery machines:
1. Zona di ricamo
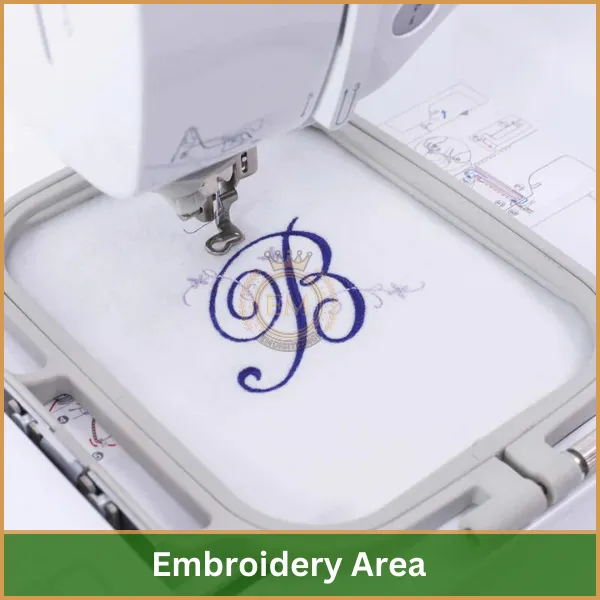
The size of the embroidery area dictates the maximum size of the designs you can create.
Larger machines often have bigger hoops, allowing for more extensive designs.
2. Built-in Designs and Customization
Many machines come with a variety of pre-installed designs. Some allow for importing disegni personalizzati via USB or other means, providing flexibility in project choices.
3. Interfaccia utente
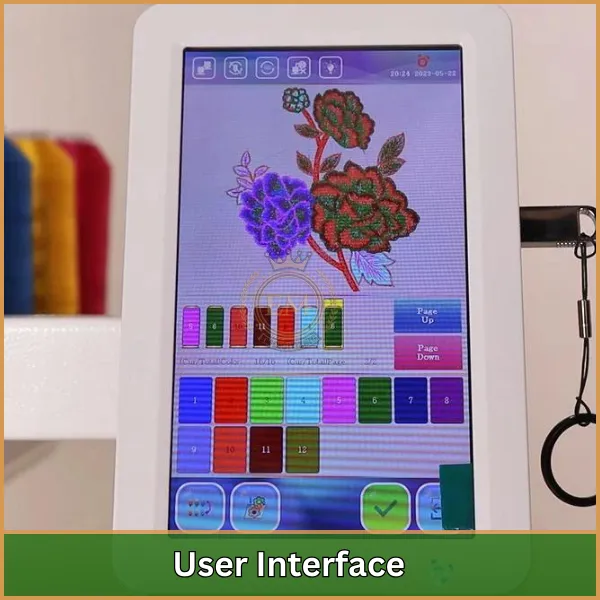
A user-friendly interface with a color LCD touchscreen makes it easier to navigate through designs, regolare le impostazioni, and preview your work before stitching.
4. Velocità ed efficienza
Machines can vary in stitch speed, in genere vanno da 300 a 1100 punti al minuto. Higher speeds are beneficial for commercial use, allowing for quicker project completion.
5. Funzionalità automatiche
- Taglio automatico del filo: This feature cuts the thread at the end of each color change, saving time and ensuring neatness.
- Infilatura automatica dell'ago: Simplifies the setup process by automatically threading the needle, reducing the frustration of manual threading.
6. Thread Tension Management
Proper tension is crucial for high-quality embroidery. Many machines have built-in systems to automatically adjust tensione del filo, ensuring consistent results across different fabrics and designs4.
7. Stabilizer Compatibility
Compatibility with various stabilizers is essential for different fabric types. Machines often have recommendations for stabilizers to use based on the fabric and design complexity.
8. USB Connectivity and Software Compatibility
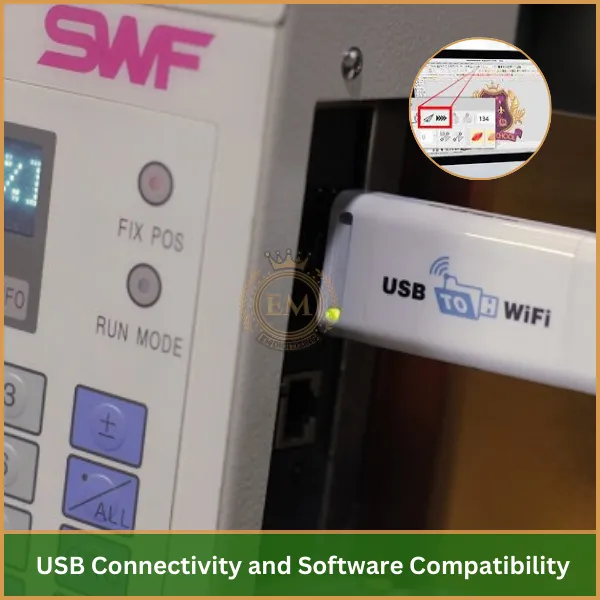
Modern machines offer USB ports that allow users to import designs from a computer or a USB stick. This feature is particularly useful for custom designs and updating machine software.
9. Memory and Storage
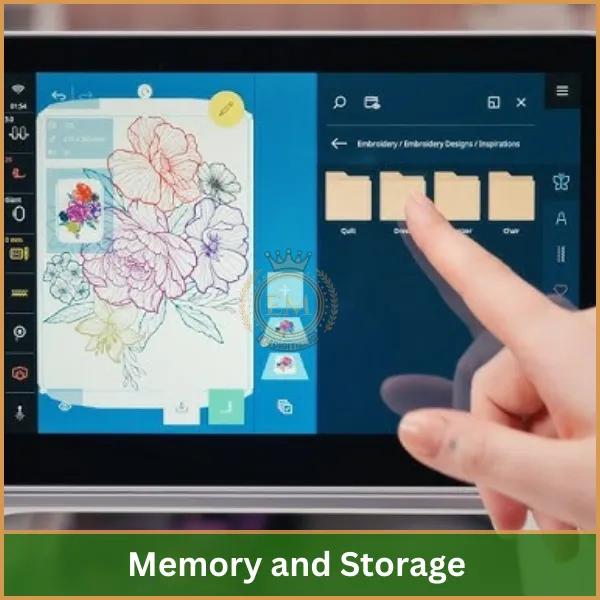
Some machines come with built-in memory to store designs, allowing users to save frequently used patterns for easy access in future projects.
How to Use an Embroidery Machine: Guida passo passo
Using an embroidery machine for the first time can seem a bit overwhelming, but by following these simple steps, you’ll be able to create beautiful designs in no time. Below is a detailed, step-by-step guide on learn how use embroidery machine.
Fare un passo 1: Impostazione della macchina da ricamo
Prima di iniziare qualsiasi progetto di ricamo, it’s important to set up your machine properly.
Threading the Machine
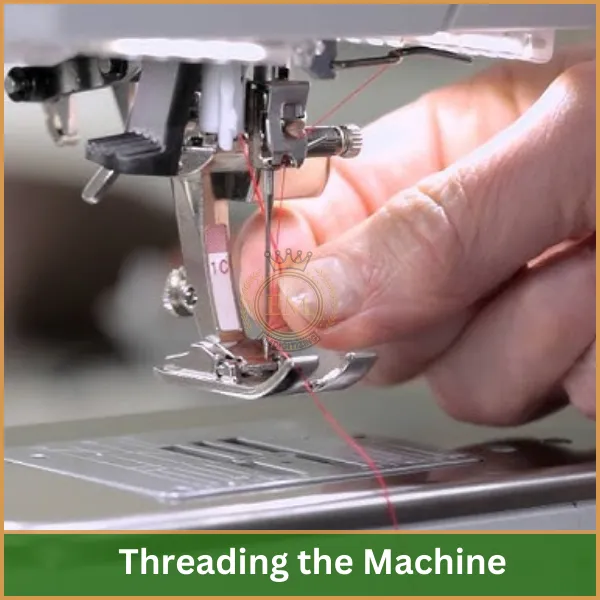
Start by threading your embroidery machine. Most modern machines have an automatic threading function, but if yours doesn’t, you will need to manually thread the top thread.
- Place the spool of thread on the spool pin.
- Follow the path marked on the machine to guide the thread through the tension discs.
- Pull the thread down to the needle and use the automatic threader (se disponibile) to thread the needle.
Inserting the Bobbin
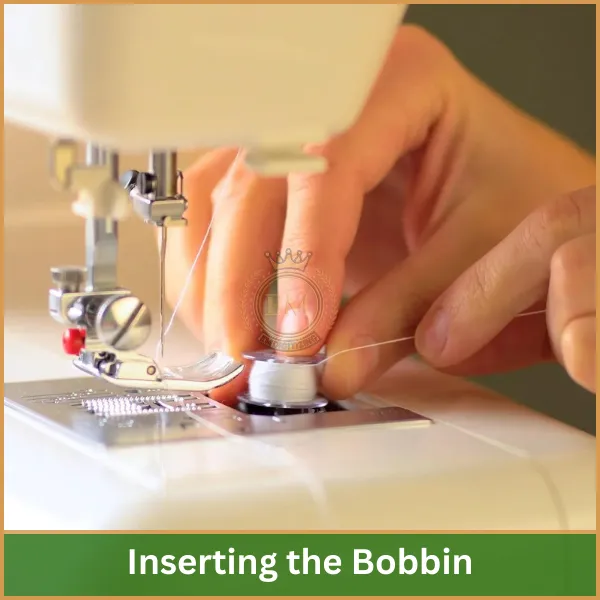
The bobbin is essential for providing the lower thread. Here’s how to insert it:
- Open the bobbin case, usually located under the needle plate.
- Place the bobbin inside the case, ensuring the thread is unwinding in the right direction.
- Pull the thread through the small slot and guide it out.
Fare un passo 2: Preparing the Fabric
Proper fabric preparation ensures smooth stitching and accurate results.
Choosing and Preparing Fabric
Select the fabric you want to embroider on. Per principianti, a medium-weight fabric like cotton or linen works best.
- Place your fabric between the two parts of the embroidery hoop.
- Tighten the hoop to ensure the fabric is stretched and free of wrinkles.
Adding Stabilizer
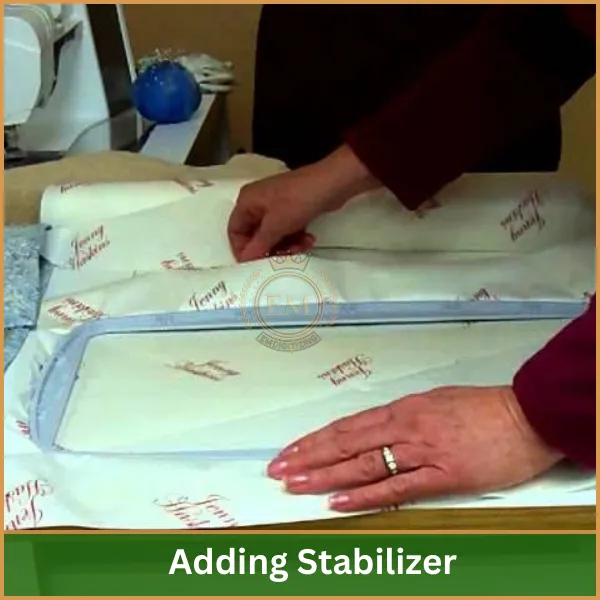
A stabilizer helps to keep your fabric stable during embroidery, preventing puckering or stretching.
- Choose the right stabilizer based on your fabric type (per esempio., a strappo, spaccato, o solubile in acqua).
- Place the stabilizer behind the fabric before hooping it.
Fare un passo 3: Selecting and Adjusting the Design
Now that your fabric is prepared, it’s time to choose the design.
Choosing Your Design
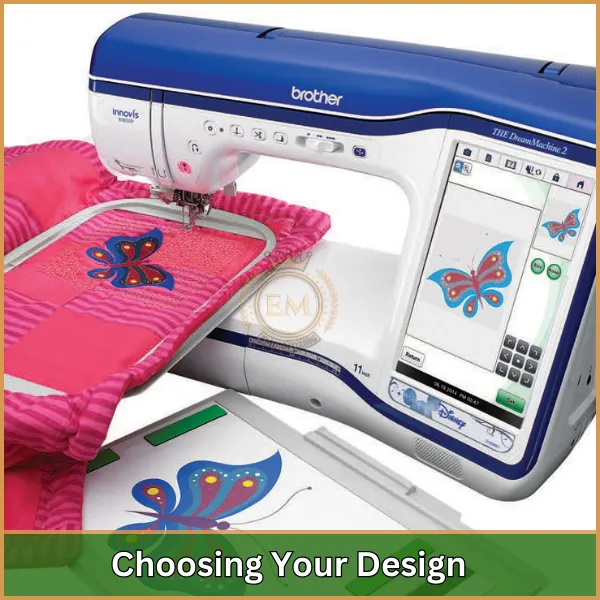
Most machines come with built-in designs, or you can upload a custom one.
- Use the machine’;s display to scroll through the available designs.
- If using a custom design, load it via a USB drive or digital connection.
Mancia: If you don’t have any built-in designs or need something special, you can rely on EMdigitizing services to get high-quality custom disegni da ricamo. We can provide the perfect design to match your project.
Adjusting the Design
Prima di cucire, adjust the design’s size, orientamento, e posizionamento.
- Use the machine’s preview function to visualize how the design will look on the fabric.
- Resize and reposition the design as needed.
Fare un passo 4: Avvio del processo di ricamo
You’re now ready to begin stitching!
Attaching the Hoop
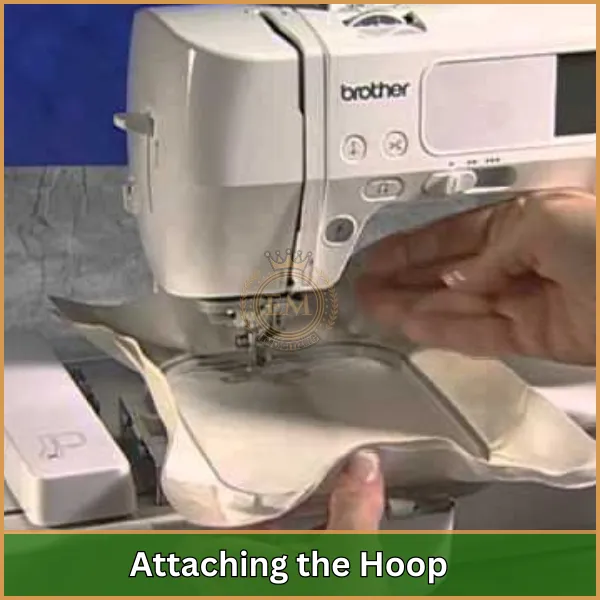
Place the hooped fabric onto the embroidery arm of the machine. Make sure it’s securely fastened, and the fabric is flat and tight.
Avvia la macchina
With everything in place, you can now start embroidering.
- Press the start button on your machine, and it will begin stitching the design.
- Monitor the machine as it stitches to ensure there are no issues with the thread or fabric.
Fare un passo 5: Finishing Your Embroidery Project
Una volta completato il ricamo, it’s time to finish up.
Removing the Hoop
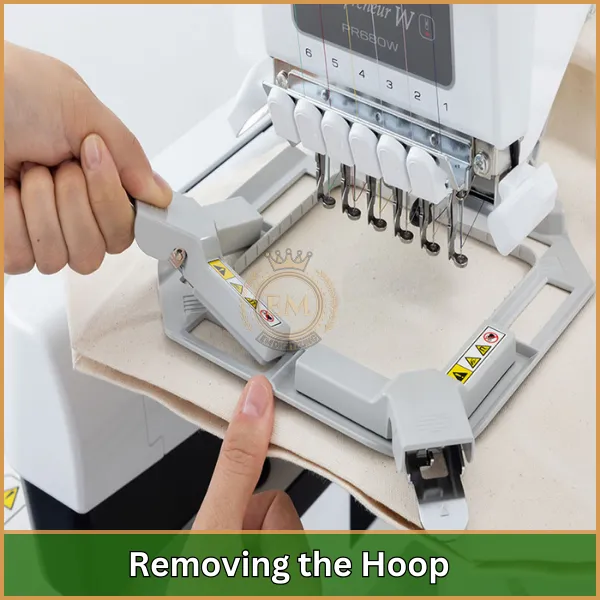
After the design is fully stitched, turn off the machine and carefully remove the hoop from the embroidery arm.
- Gently release the fabric from the hoop, being careful not to damage the stitches.
Trimming the Threads
Use a small pair of scissors to trim any loose or excess threads from the design. Be careful not to cut the actual stitches that form the design.
Rimozione dello stabilizzatore
Depending on the type of stabilizer used, you will either tear it away or cut it out.
- For tear-away stabilizers, gently pull the stabilizer from the back of the design.
- For cut-away stabilizers, carefully trim around the design, leaving a small amount to ensure the stitches stay secure.
Conclusione: Start Your First Embroidery Project
By understanding the embroidery machine basics and following a simple process, you can create stunning designs with ease. Con la pratica, you’ll be able to master your embroidery machine and tackle more complex projects confidently.
For all your embroidery needs, EMdigitizing è la tua scelta preferita. Offriamo la massima qualità digitalizzazione del ricamo and vector art services with quick turnaround times. Come offerta speciale, first-time clients enjoy a 50% sconto su tutti i servizi!
Visit our website to get a free quote in just 5 minutes and elevate your embroidery project with EMDigitalizzazione. Se hai qualche domanda, sentiti libero di contattarci! Grazie per aver letto.
Domande frequenti
Learning to use an embroidery machine varies in difficulty depending on the complexity of the machine and your background in sewing, but beginners can start with basic designs and gradually progress to more complex projects.
To start embroidery for beginners, it’;s recommended to begin with simple designs, using basic stitches on an embroidery hoop with fabric, and gradually moving on to more intricate patterns as skills improve.
sì, you can learn embroidery at home through online tutorials, courses, e pratica, starting with basic stitches and projects, and progressively tackling more disegni complessi.
To use an embroidery machine, you’;ll need the machine itself, fili da ricamo, stabilizzatori (to support your fabric), aghi da ricamo, e disegni, which can often be downloaded or created using specialized software.
