Il ricamo con doppia applicazione è una tecnica creativa che aggiunge un aspetto dinamico e stratificato ai tuoi disegni. Utilizzando due strati di tessuto, puoi introdurre contrasti e trame audaci che danno vita ai tuoi progetti.
Questo metodo non solo migliora l'attrattiva visiva del tuo lavoro, ma offre anche infinite possibilità di personalizzazione.
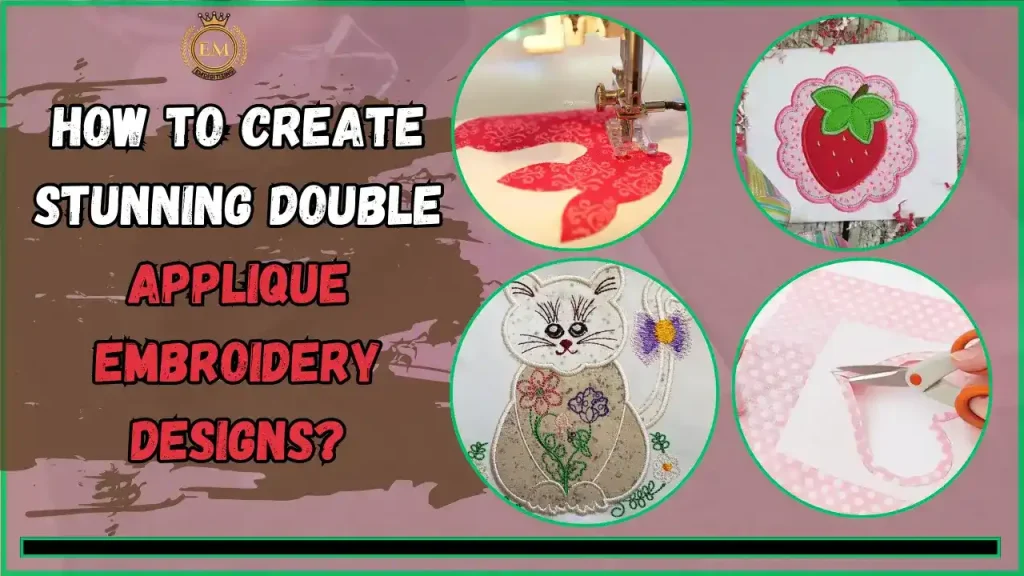
In questo articolo, esploreremo come creare facilmente splendidi disegni di applicazioni con doppio ricamo, dando ai tuoi progetti una finitura professionale e accattivante ogni volta.
Come creare splendidi disegni di ricamo con doppia applicazione?
Cos'è il ricamo a doppia applicazione?
Applique disegno del ricamo è un modo divertente e creativo per aggiungere livelli ai tuoi progetti. Si tratta di posizionare due pezzi di tessuto sopra il tessuto di base e cucirli per creare un disegno decorativo.
Il risultato è un colorato, motivo strutturato che si distingue. La doppia applique aggiunge profondità ai tuoi progetti e li rende professionali e unici.
Materiali essenziali per creare ricami con applicazioni
Avere i materiali giusti garantisce che i tuoi disegni di ricamo con doppia applicazione risultino perfetti. Di seguito è riportato un elenco dei materiali essenziali di cui avrai bisogno:
- Tessuto applicato
- Tessuto di base
- Stabilizzatore
- Rete fusibile
- Filo da ricamo
- Miniferro
- Forbici per applicazioni
Esploriamo ogni materiale e strumento in dettaglio per comprenderne l'importanza e il modo in cui contribuiscono alla creazione di bellissime applicazioni e ricami:
1. Tessuto applicato
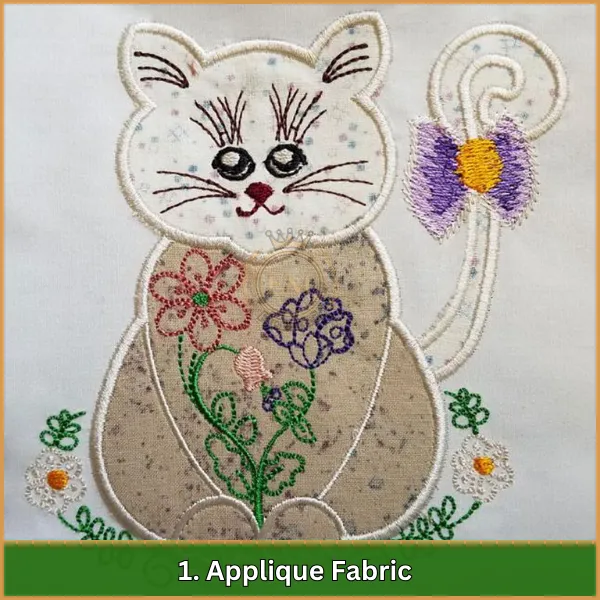
Per creare il disegno a strati, avrai bisogno di due tipi di tessuto per applicazioni.
Scegli tessuti che contrastano per colore o trama rispetto al tessuto di base, come il raso, seta, o cotone, per far risaltare gli strati.
2. Tessuto di base
Questo tessuto costituisce la base per il tuo design di applique. Dovrebbe essere abbastanza robusto da supportare gli strati aggiuntivi. Tessuti come il cotone o il lino sono ideali a questo scopo, poiché mantengono bene la forma durante la cucitura.
3. Stabilizzatore
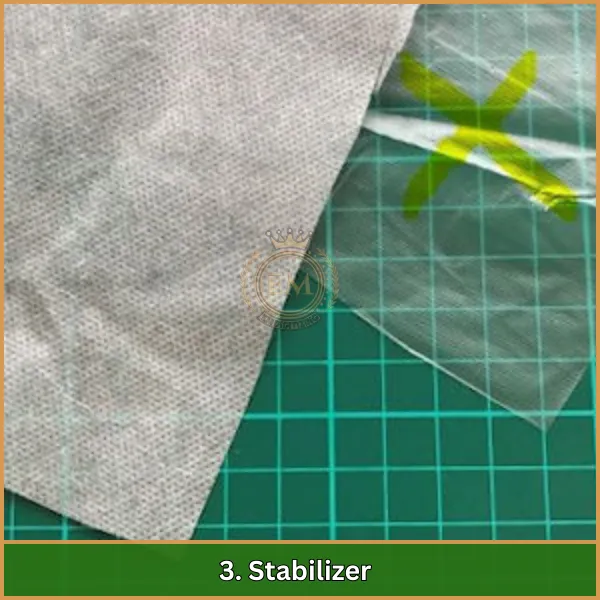
Gli stabilizzatori forniscono supporto al tessuto durante la cucitura, prevenendo raggruppamenti o distorsioni.
Gli stabilizzatori a strappo o tagliati sono comunemente usati per i progetti di applique per mantenere tutto liscio e sicuro.
4. Rete fusibile
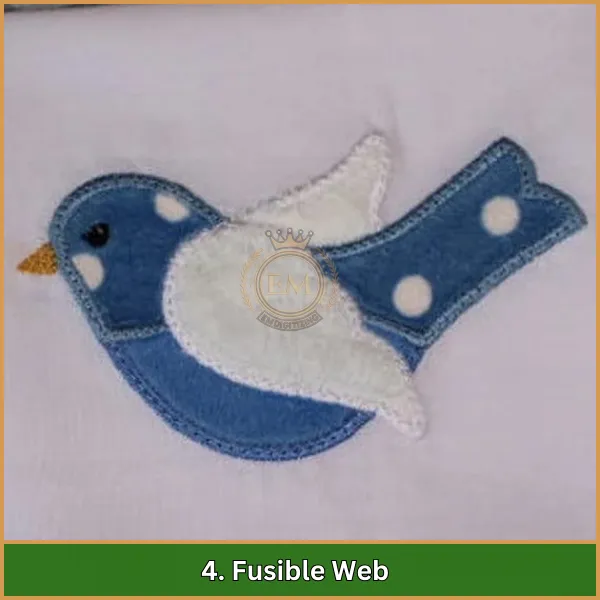
La rete fusibile funge da adesivo, tenendo temporaneamente in posizione i pezzi dell'applicazione prima di cucirli.
È un must per garantire un posizionamento preciso e ridurre lo spostamento del tessuto durante il processo di cucitura.
5. Filo da ricamo
Usa l'alta qualità fili da ricamo come il poliestere o il rayon sia per le cuciture che per quelle decorative. Questi fili non solo sembrano lucidi ma sono anche abbastanza resistenti da mantenere il tessuto saldamente in posizione.
6. Miniferro
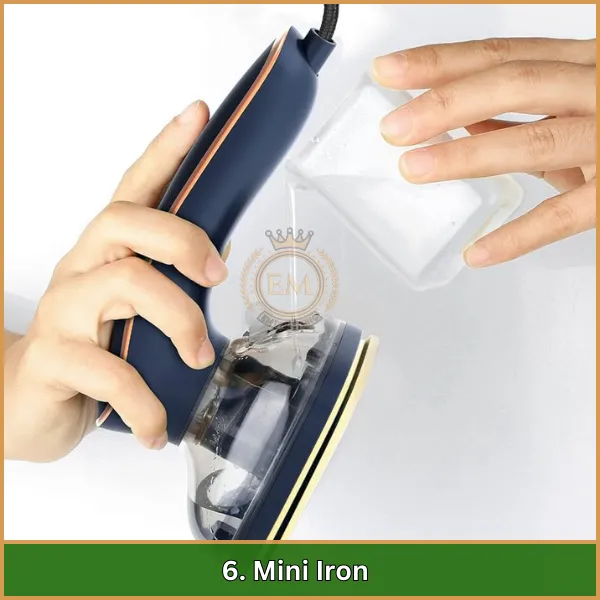
Un mini ferro da stiro è essenziale per posizionare piccoli pezzi di applique.
Le sue dimensioni compatte consentono di premere con precisione il nastro fusibile senza danneggiare le aree circostanti del tessuto.
7. Forbici per applicazioni
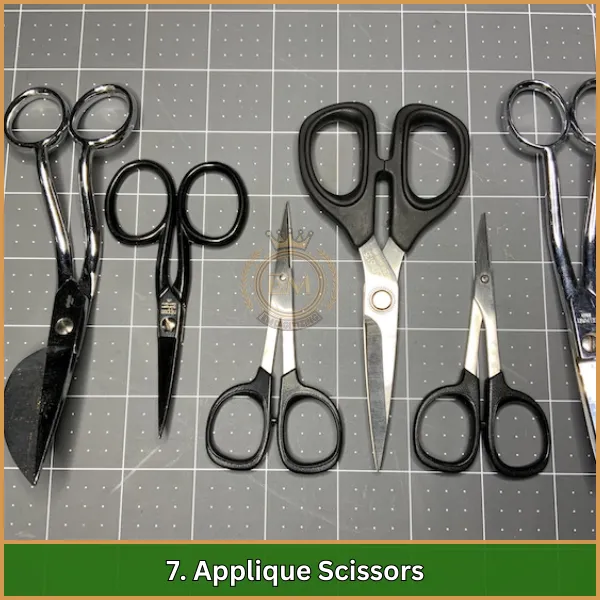
La precisione è fondamentale nel lavoro con le applique, e le forbici affilate per applicazioni ti aiutano a tagliare ordinatamente il tessuto in eccesso attorno ai punti di imbastitura.
Investire in forbici di alta qualità garantirà la pulizia, bordi dall'aspetto professionale.
Come eseguire il ricamo con doppia applicazione
Segui questi passaggi per creare un bellissimo design con doppia applique:
1. Progetta il tuo modello di applique
Inizia creando o scegliendo un motivo con doppia applicazione utilizzando software di ricamo. Assicurati che il disegno includa strati per l'effetto doppia applicazione. Salvalo in un formato leggibile dalla macchina come .PES o .DST.
Se la progettazione sembra difficile o non disponi di software costoso, La digitalizzazione EM può aiutare. Offriamo alta qualità, conveniente servizi di digitalizzazione che ti fanno risparmiare tempo e fatica.
2. Intelaiare il tessuto di base
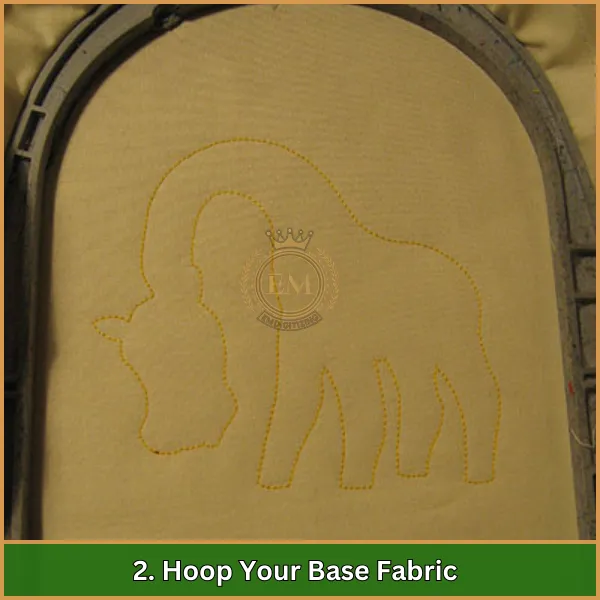
Posiziona il tessuto di base nel telaio da ricamo.
Assicurarsi che il tessuto sia teso e liscio per evitare grinze o arricciature durante la cucitura.
3. Aggiungi stabilizzatore per sostenere il tessuto
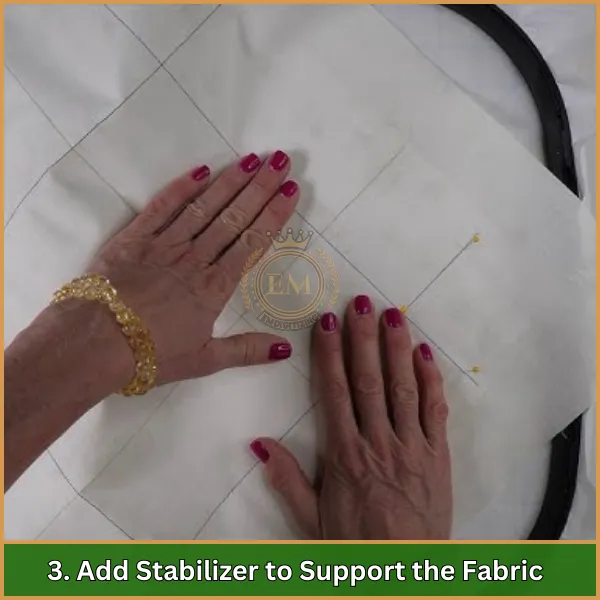
Fai scorrere uno stabilizzatore, come strappato o tagliato, sotto il tessuto nel telaio per mantenerlo fermo durante la cucitura.
Ciò eviterà spostamenti e arricciamenti durante il ricamo.
4. Cuci il contorno del posizionamento
Carica il disegno nel tuo macchina da ricamo e cuci il contorno di posizionamento. Questo punto mostra dove devi posizionare il tessuto dell'applicazione.
5. Ritaglia il tessuto dell'applique
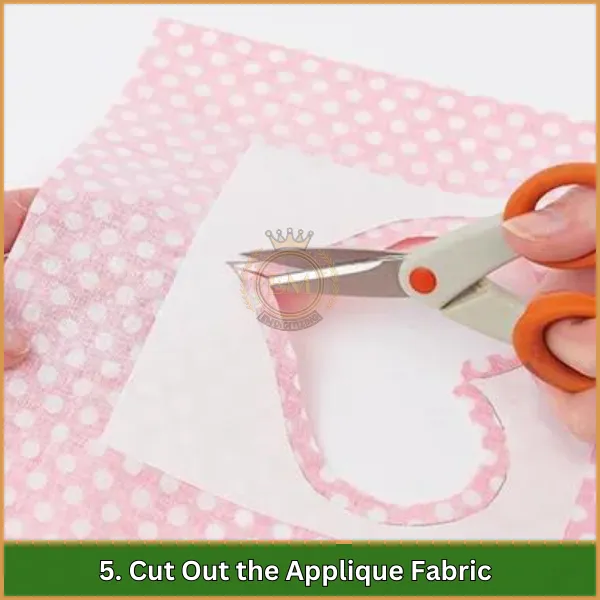
Taglia i pezzi di tessuto dell'applicazione leggermente più grandi del contorno di posizionamento.
Ciò consente al tessuto di coprire completamente l'area da cucire.
6. Attacca la rete fusibile al tessuto dell'applique
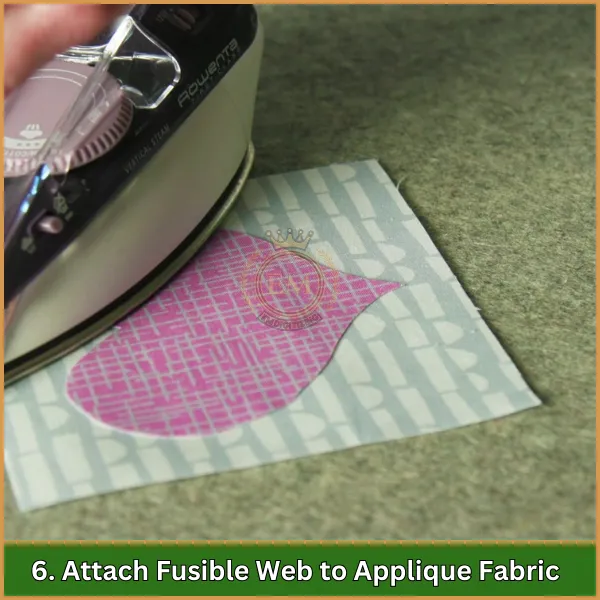
Taglia la rete fusibile in modo che corrisponda alle dimensioni di ciascun pezzo di tessuto applicato e stirala sul retro del tessuto.
Questo fungerà da adesivo per mantenere il tessuto in posizione. Una volta raffreddato, staccare la carta di supporto.
7. Posiziona e stira il primo strato di applicazione
Posiziona con attenzione il primo tessuto dell'applicazione sopra la linea di posizionamento, assicurandosi che copra il contorno. Pressalo con un mini ferro da stiro per attivare la rete fusibile e tenere il tessuto in posizione.
8. Cuci il punto di imbastitura
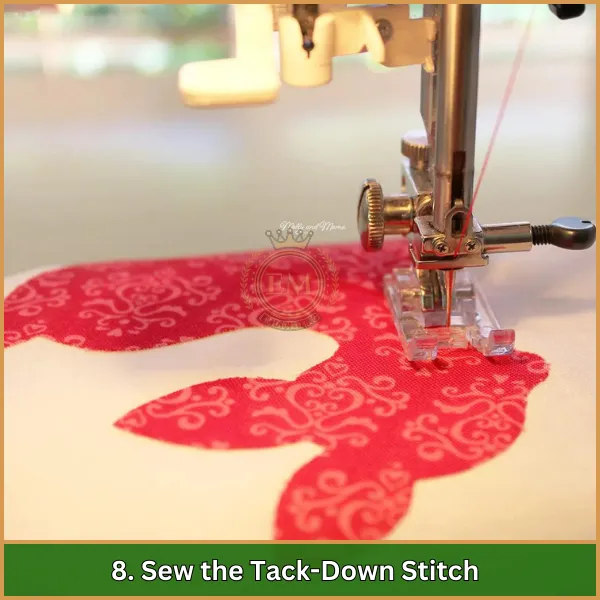
Riporta il telaio nella macchina da ricamo e cuci il punto di imbastitura per fissare il tessuto dell'applicazione sul tessuto di base.
9. Rifinisci il tessuto applicato in eccesso
Rimuovi il telaio dalla macchina e usa delle forbici affilate per applicazioni per tagliare via il tessuto in eccesso attorno al punto di imbastitura. Sii preciso per evitare di tagliare i punti.
10. Aggiungi il secondo strato di applicazione
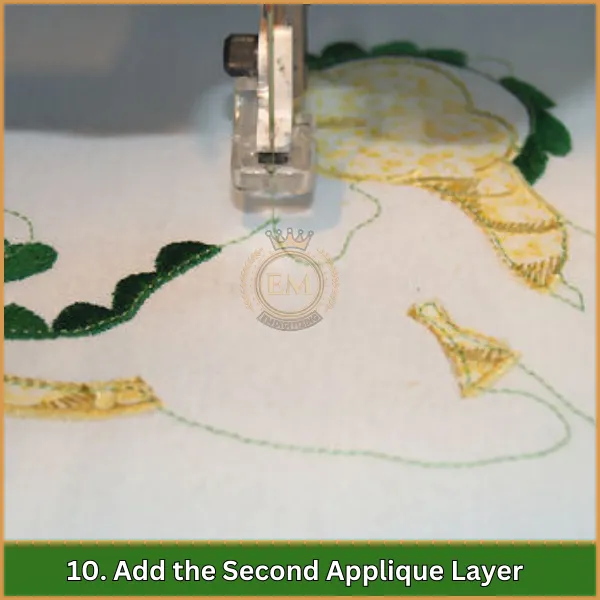
Per il secondo strato, ripetere i passaggi 5 Attraverso 9, posizionando il secondo tessuto applicato sopra il primo per creare un effetto a strati.
11. Finisci con punti satin o zigzag
Rimetti il telaio nella macchina e usa un punto satin o zigzag per rifinire i bordi del tessuto applicato. Questo dà una pulizia, aspetto lucido al tuo design.
12. Rimuovere lo stabilizzatore e pulire il disegno
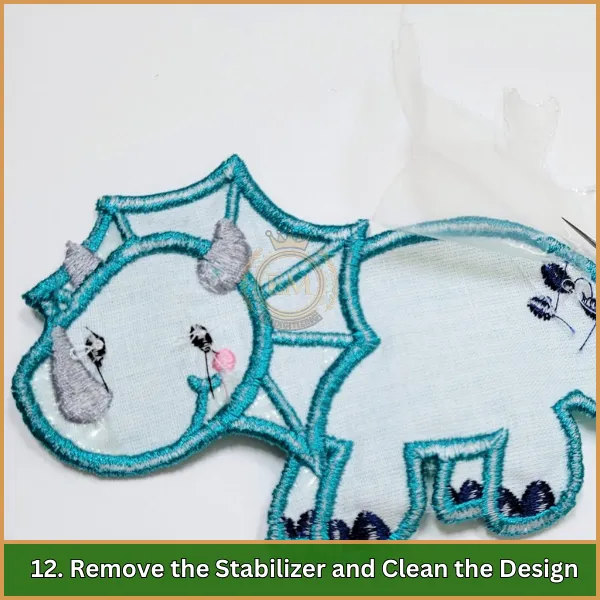
Una volta completata la cucitura, strappare o tagliare delicatamente lo stabilizzatore in eccesso dal retro del disegno.
Pulisci eventuali fili sciolti per mantenere pulito il tuo disegno.
13. Ispezionare e apportare le modifiche finali
Esamina il tuo disegno finito per eventuali difetti o punti allentati. Taglia eventuali fili rimanenti o apporta piccole modifiche per garantire che tutto sembri perfetto.
Consigli utili per il ricamo con doppia applicazione
Ecco alcuni suggerimenti utili per la doppia applicazione che possono migliorare il processo e i risultati:
- Utilizza materiali di qualità: Scegli una trama fitta, tessuti di alta qualità sia per la base che per l'applicazione per garantire una finitura pulita.
- La stabilizzazione è fondamentale: Utilizzare sempre lo stabilizzatore appropriato, come cutaway di peso medio, per sostenere il tessuto durante la cucitura.
- Applicazione Web fusibile: Applicare la rete fusibile (per esempio., Calore N Bond Lite) sul retro del tessuto applicato per evitare arricciamenti e garantire una finitura liscia.
- Taglio accurato: Usa delle forbici affilate per applicazioni per tagliare il tessuto in eccesso vicino al punto di imbastitura, evitando bordi grezzi.
- Importanza del punto di posizionamento: Segui attentamente il punto di posizionamento come guida per posizionare il tessuto dell'applicazione.
- Tieni saldamente il tessuto: Mantieni fermo il tessuto dell'applicazione durante il punto di imbastitura per evitare disallineamenti.
- Tecniche di stratificazione: Per doppia applicazione, cuci pezzi sovrapposti chiaramente con colori o texture contrastanti per un impatto visivo.
- Utilizzo delle linee guida: Se sono incluse le linee guida, usali per tagliare con precisione il tessuto applicato, migliorare l'allineamento e risparmiare tempo.
Conclusione
Il doppio ricamo applicato aggiunge strati, struttura, e bellezza ai tuoi progetti. Con i giusti passaggi e materiali, puoi facilmente creare design unici e sorprendenti. Whether you’;stiamo lavorando sull'abbigliamento, arredamento della casa, o regali, questa tecnica offre infinite possibilità di creatività.
Per i migliori risultati nel tuo progetti di ricamo, EMdigitizing è qui per supportarti. Forniamo servizi di digitalizzazione del ricamo e di arte vettoriale con tempi di consegna rapidi. Più, stiamo offrendo a 50% sconto per i clienti alle prime armi e fornire preventivi gratuiti in soli 5 minuti!
Approfitta di questa fantastica offerta e migliora oggi stesso i tuoi ricami EMDigitalizzazione. Se hai qualche domanda, sentitevi liberi di chiedere.
Grazie per aver letto!
Domande frequenti
Per realizzare applicazioni disegni da ricamo, seleziona prima un disegno e un tessuto, quindi ritaglia la forma del disegno dal tessuto, posizionarlo sul tessuto di base, e usa una macchina da cucire o cuci a mano attorno ai bordi per fissarlo.
Per ricamare si applica il rovescio, sovrapporre due tessuti, cuci un disegno attraverso entrambi, quindi ritaglia le parti dello strato superiore per rivelare lo strato inferiore, creando un design contrastante.
Per realizzare una semplice applicazione, scegli una forma semplice (come un cuore), tagliarlo dal tessuto, quindi cucilo sul tessuto di base utilizzando una linea dritta, zigzag, o punto festone per i bordi.
Il miglior metodo di applicazione dipende dal progetto; l'applicazione a macchina è rapida e durevole per oggetti di grandi dimensioni, mentre l'applicazione manuale offre precisione e flessibilità per lavori dettagliati.
